Those of you who follow me on Facebook know about the little project I’m working on these days. As we find ourselves more isolated than we’ve been in FOREVER, we have to find ways to keep touching, reaching out, connecting with people. I’m doing that by handwriting a short note of encouragement to about three people each day.

I asked my Facebook friends to send their mailing addresses—and they really came through! Some even asked me to send a note to someone else whom they knew would benefit from some #encouragingwords.
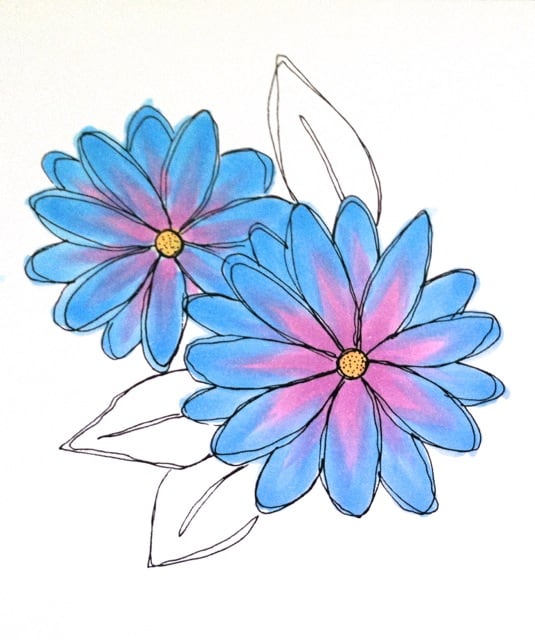
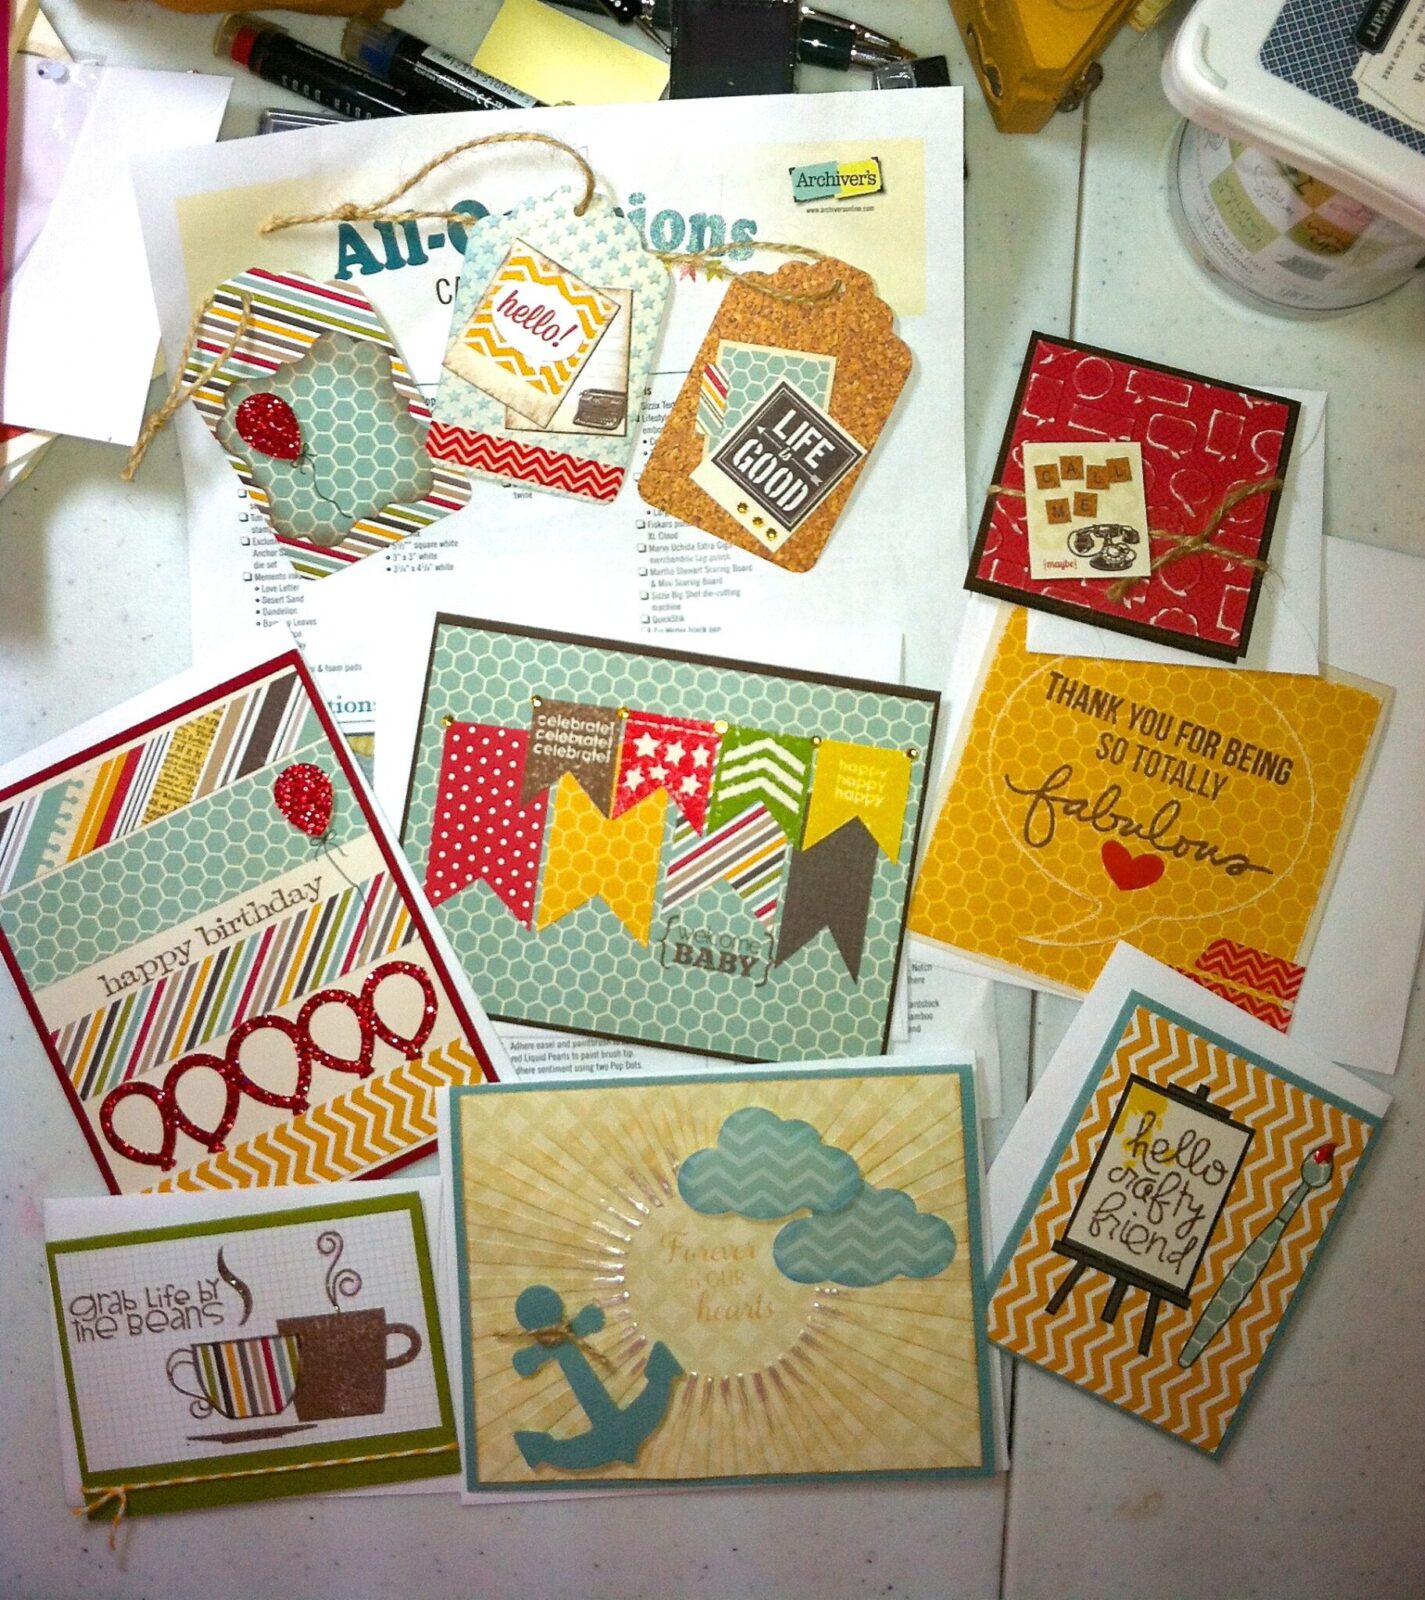
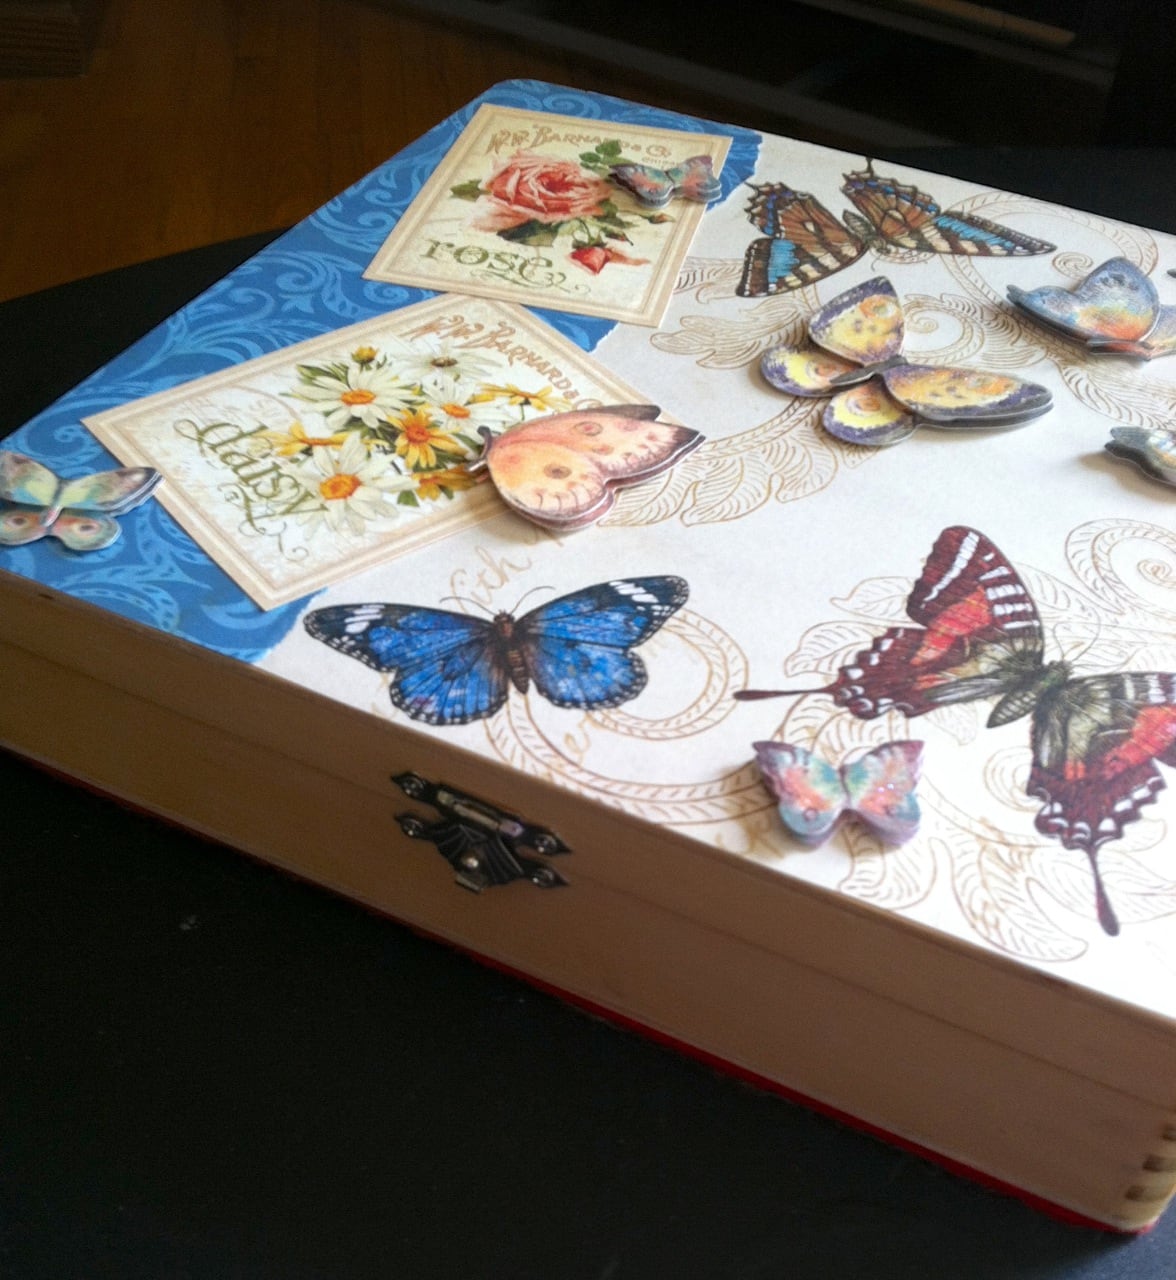
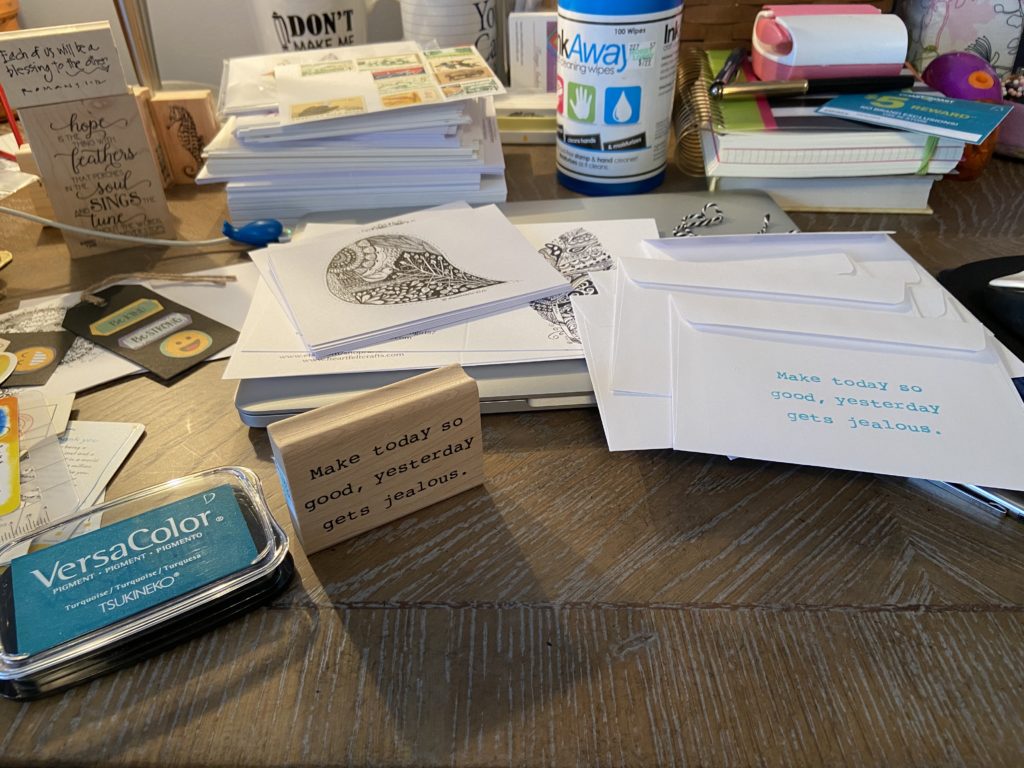
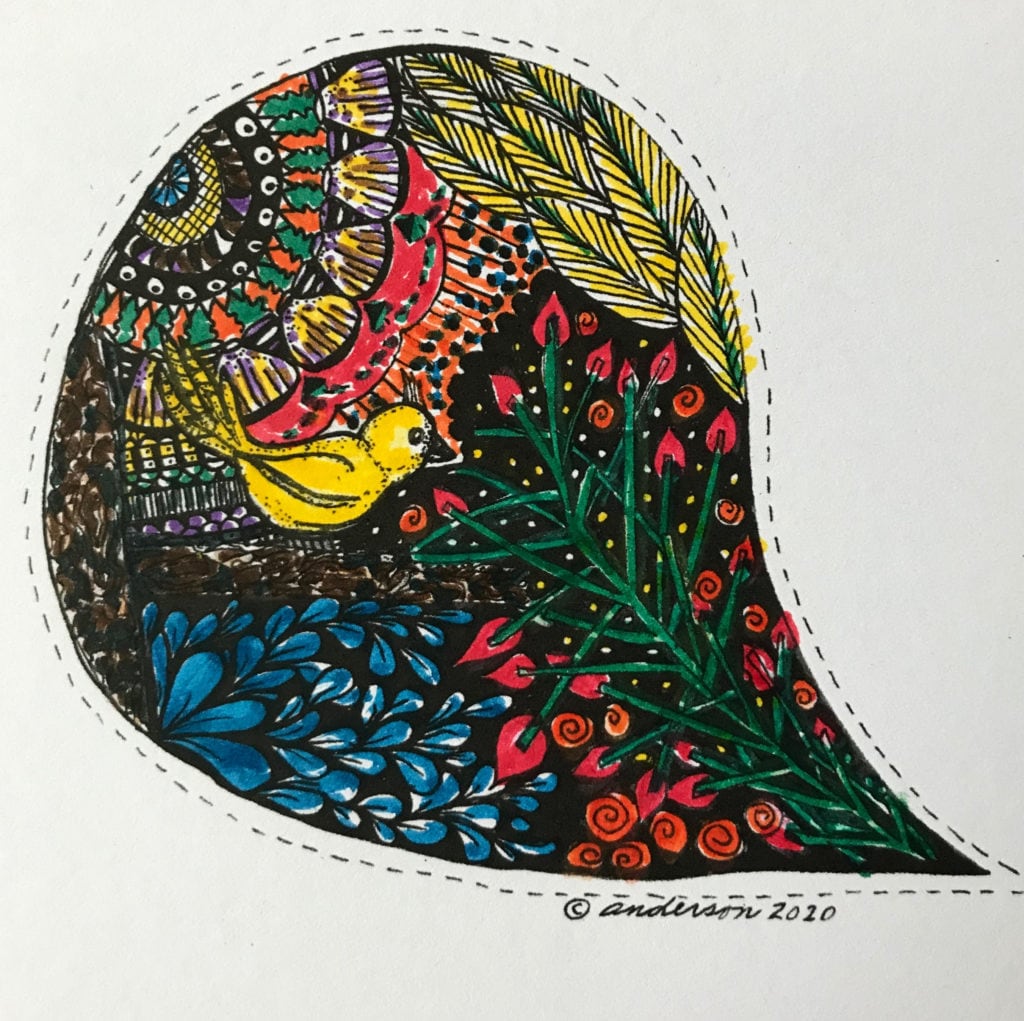
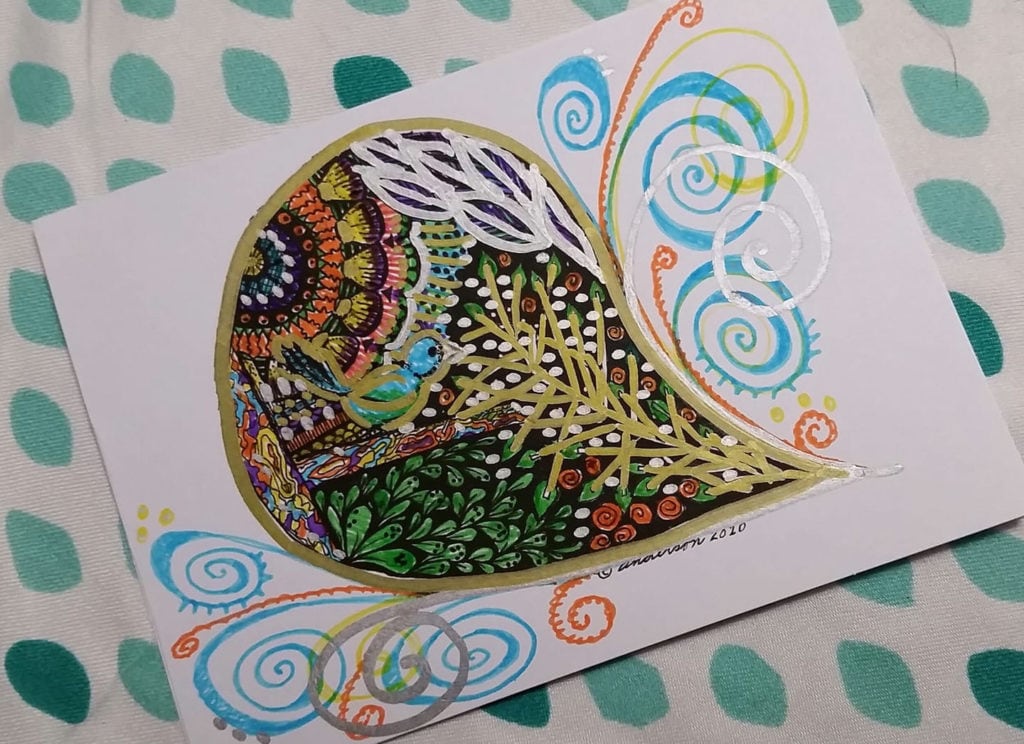
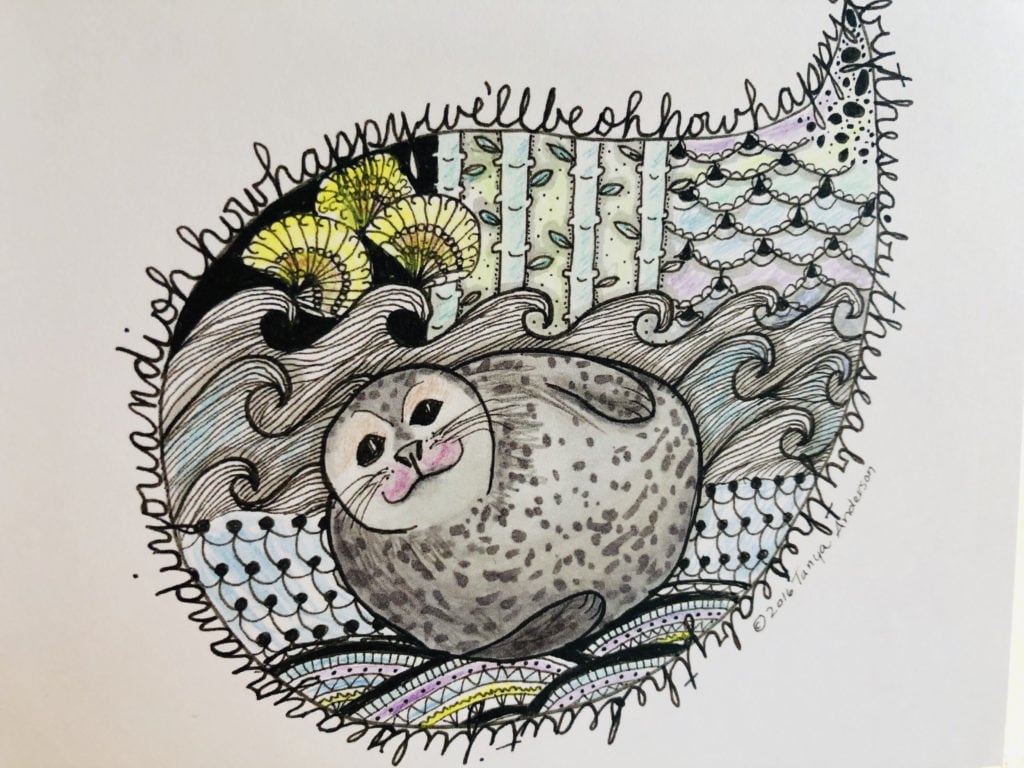
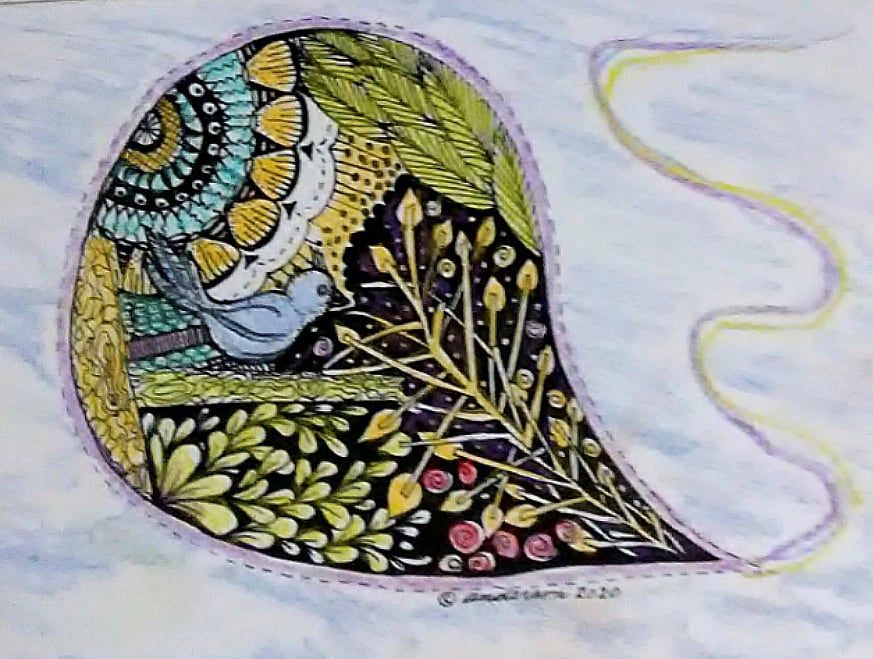
I ordered extra stamps, organized my pens, selected a few rubber stamps, and made a pile of cards. Using my paisley Zentangle(R) notecards, I am doing two things:
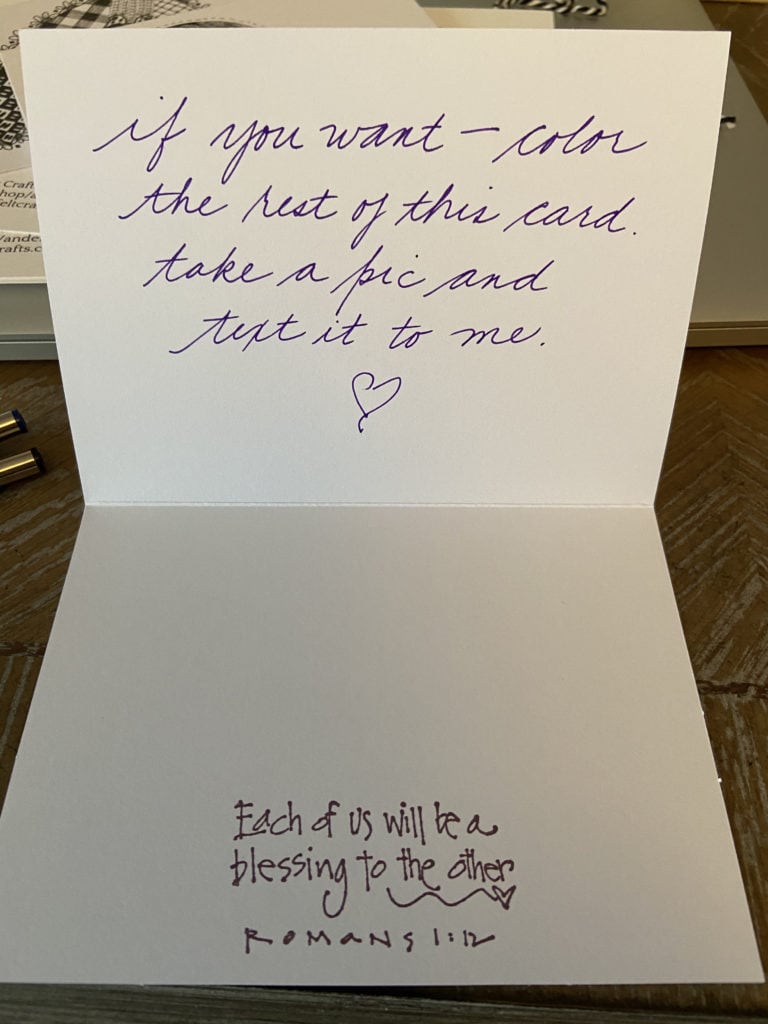
- I write a personal note, something I hope is unique and encouraging to the recipient.
- I offer them the option of coloring the card and sending me a photo of the finished result.
I wanted to make this experience active, interactive, a blessing to the people who receive a card. The few moments it takes to color the little illustration on the front are moments of calm refreshment. The brain gets to take a break from the worries of the day and just make something. Color is a mood-changer. And it’s a personal way to make something that never existed before. We are all creators at heart.
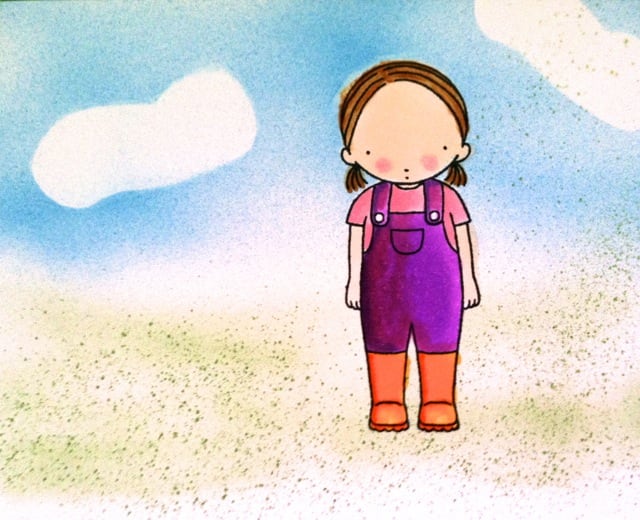
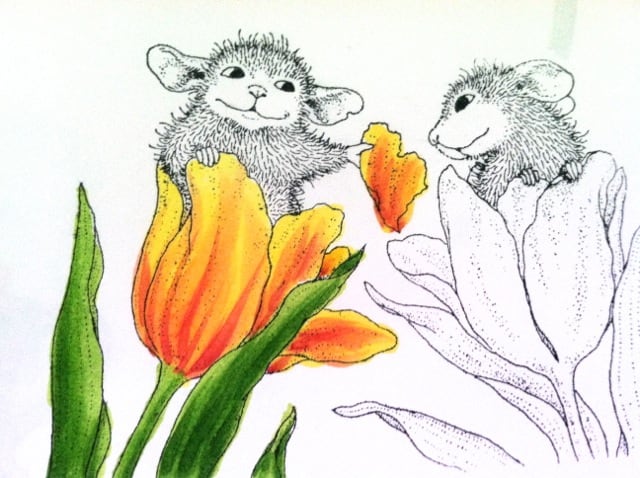
Here are some of the glorious results, from people all over North America:
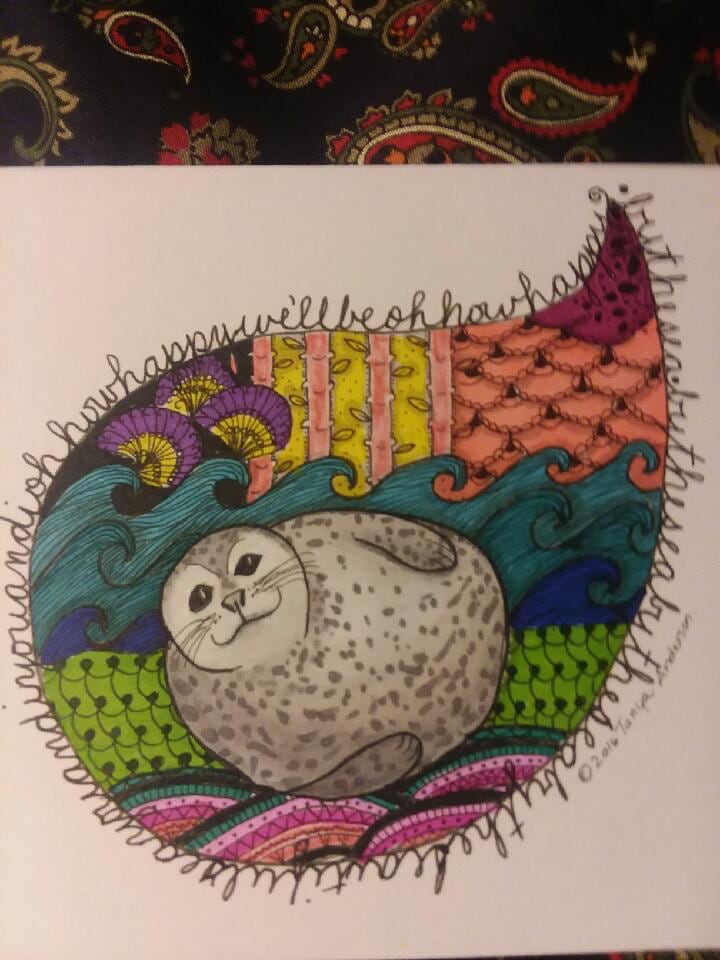
And more come in every day. I hope you enjoy seeing them, because I want to post them here as a gallery of joy. This kind of connection, for me, is a heartfelt craft. My heart is in it. As you can see, the recipients’ hearts are in it, too.
If you would like to receive a card from me, please use the contact form on this site or email me directly at
editortanya at gmail dot com.