Sending Greetings to Kids: Cards or Books?

It’s been a couple of weeks since I’ve posted, but that’s because there’s been so much good stuff going on. I did some editing assignments, writing assignments, and crocheting for the season. (I usually donate hats and scarves to the Salvation Army for their winter clothing drive.) And the BIG event was my grandson’s fifth birthday! 
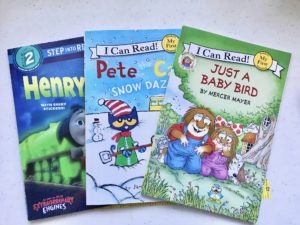
As I was wrapping his gifts, I realized that I had forgotten to buy him a card. Oh no! And that made me think: Why do we all need to give him cards when he’s probably never going to look at them again? What can I do that is different and useful? I spotted, among my gifts, a leveled reader. You know, one of those 6 x 9 paperbacks with a big 1 or 2 or 3 (and even higher) in a circle on the front. 
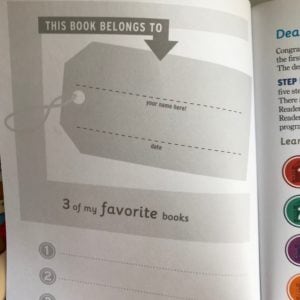
I opened the book, and right there on the inside cover was a place to write a greeting, along with Matthew’s name. It’s almost like a birthday card, right? I signed it “Happy 5th birthday to Matthew. Love, Grammy and Grandpa.” Now, where’s an envelope that will work?

Nothing fit! Like Goldilocks, I found some that were too small or too large or too thick—but none that were just right. Well, challenge accepted!

Follow along with me and you’ll see how to make a lined envelope perfect for holding—and MAILING—a leveled reader instead of a card. (Or include a card. There’s room. Also: most greeting cards these days are going for $3.95 to $5.95 apiece! Sheesh! These leveled readers are only $3.99 or $4.99, and they won’t get tossed in the trash. Genius, right?)

Step One

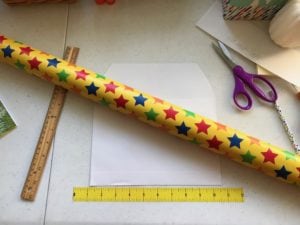
Get a 9½” x 13″ envelope that opens at the top (not the side, like some do). I’m using white, but if you prefer the standard yellow, that’s fine.

Step Two

Measure from the bottom 9½” and mark with a pencil. This will be your cutting line. Yes, you’ll be cutting off the sealer at the top. Now you’ll have a 9½” x 9½” square.
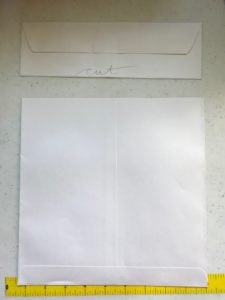
  

Step Three

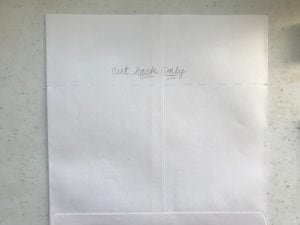
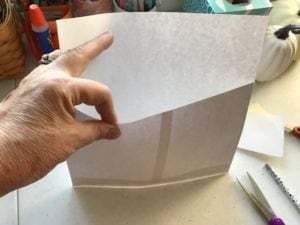
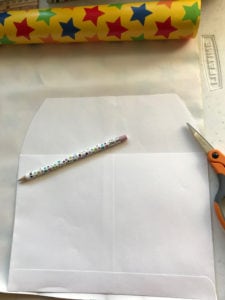
Measure from the bottom up 6½” and draw a line for cutting. But DO NOT CUT it yet.
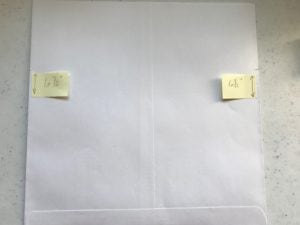
Step Four

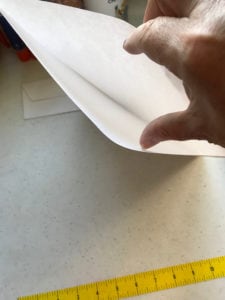
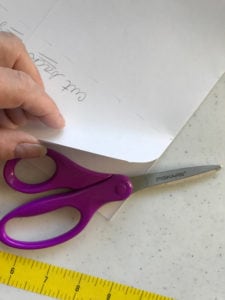
You will only cut the BACK SIDE ONLY of the envelope this time. This is how you get the envelope flap on the front.


Step Five

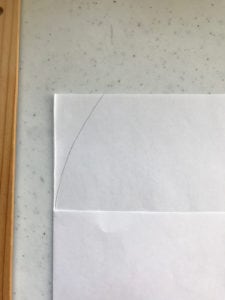
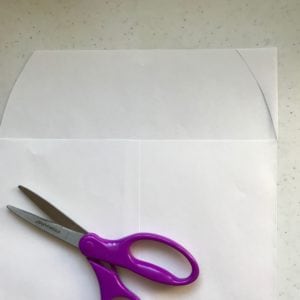
Next you will cut curves on the outer edges of the envelope flap. Try to make these as even as you can. I drew one side and cut it, then used the cut off piece to show me where to draw the other curve. It’s kind of like geometry, but fun!


Step Six

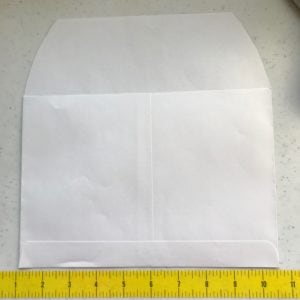
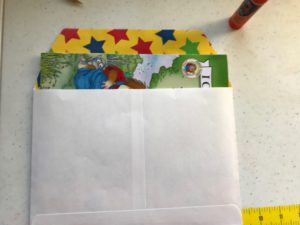
Just a quick check and you’ll see that one book fits perfectly inside! You can stop here if you want, but for some added pizzazz, let’s keep going. We’re going to make a bright, happy liner for the envelope next.
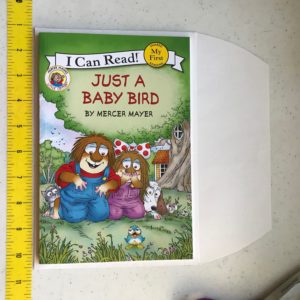
Step Seven

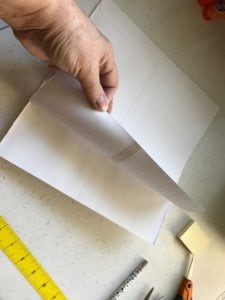
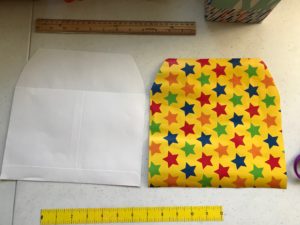
To make a liner, you can use any light- to normal-weight decorative paper. In this case, I’m using gift wrapping paper. (It can be tricky if it’s from a roll, but not difficult.) Start by cutting a piece by using your envelope as a pattern. Cut INSIDE your lines so it will fit in the envelope.


Step Eight

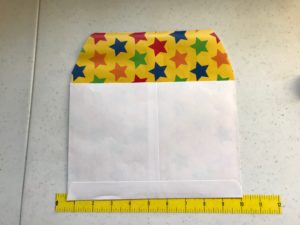
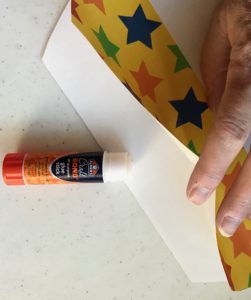
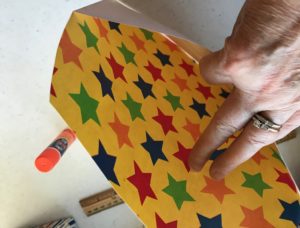
Slide the liner into the envelope so it is face-out as shown below. Then use a glue stick or other non-liquidy glue to adhere the liner to the top of the flap.


Step Nine

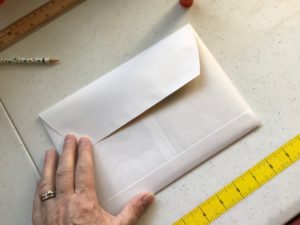
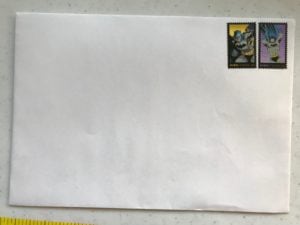
Fold over the flap. Before mailing, you can seal the envelope using a glue stick, Scotch tape, or washi tape. Just make sure it’s sealed well. Insert the book and add postage if you’re mailing it. Two first-class stamps will get it where it’s going in the U.S. 

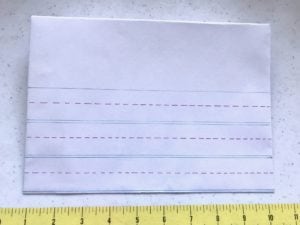
Add some envelope art or stickers to the front if you like. I made one recently that looks like notebook paper. I’ll add the name and address in big, round print, just like in kindergarten!


Other Fun Ideas

Don’t stop here. Think of ways you can share books and the love of reading. Adapt the envelope for 8″ x 8″ readers or Little Golden Books or other formats. Cards are nice, but books are better. Or throw a card in with the book. Add bookmarks, sticker sheets, trading cards, etc. Your little ones will be thrilled to get mail—and even more excited to have a gift they can keep for their very own.

Happy reading and crafting, my friends.


Let’s Fill Those Pockets, Part 1—Plus a Giveaway Prize!

Okay, fellow crafters, gather all your goodies from the previous post and let’s get started!

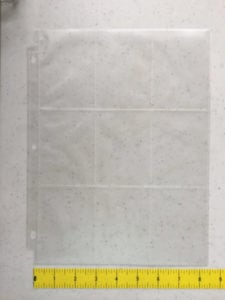
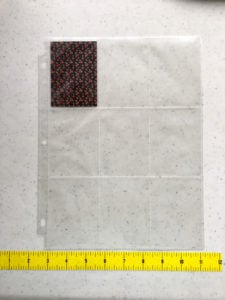
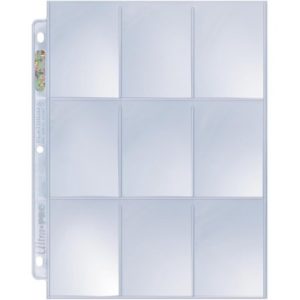
First, place your pockets nearby. Note that there are nine pockets and each of them opens at the top. (If you have it upside-down, your papers will just fall out. You’ll feel sad, bad, and slightly mad. No one has ever done this. Ahem…) Let’s do some math!

9 pockets = 9 papers, right?

Well, only if you want to make a one-sided PL, which is okay with me. My first one was one-sided. Then I thought, “Hey, what a missed opportunity to double my fun!” So I made sure there were enough papers for 9 + 9 = 18 sides. Does that mean you need to cut 18 pieces? Not necessarily.

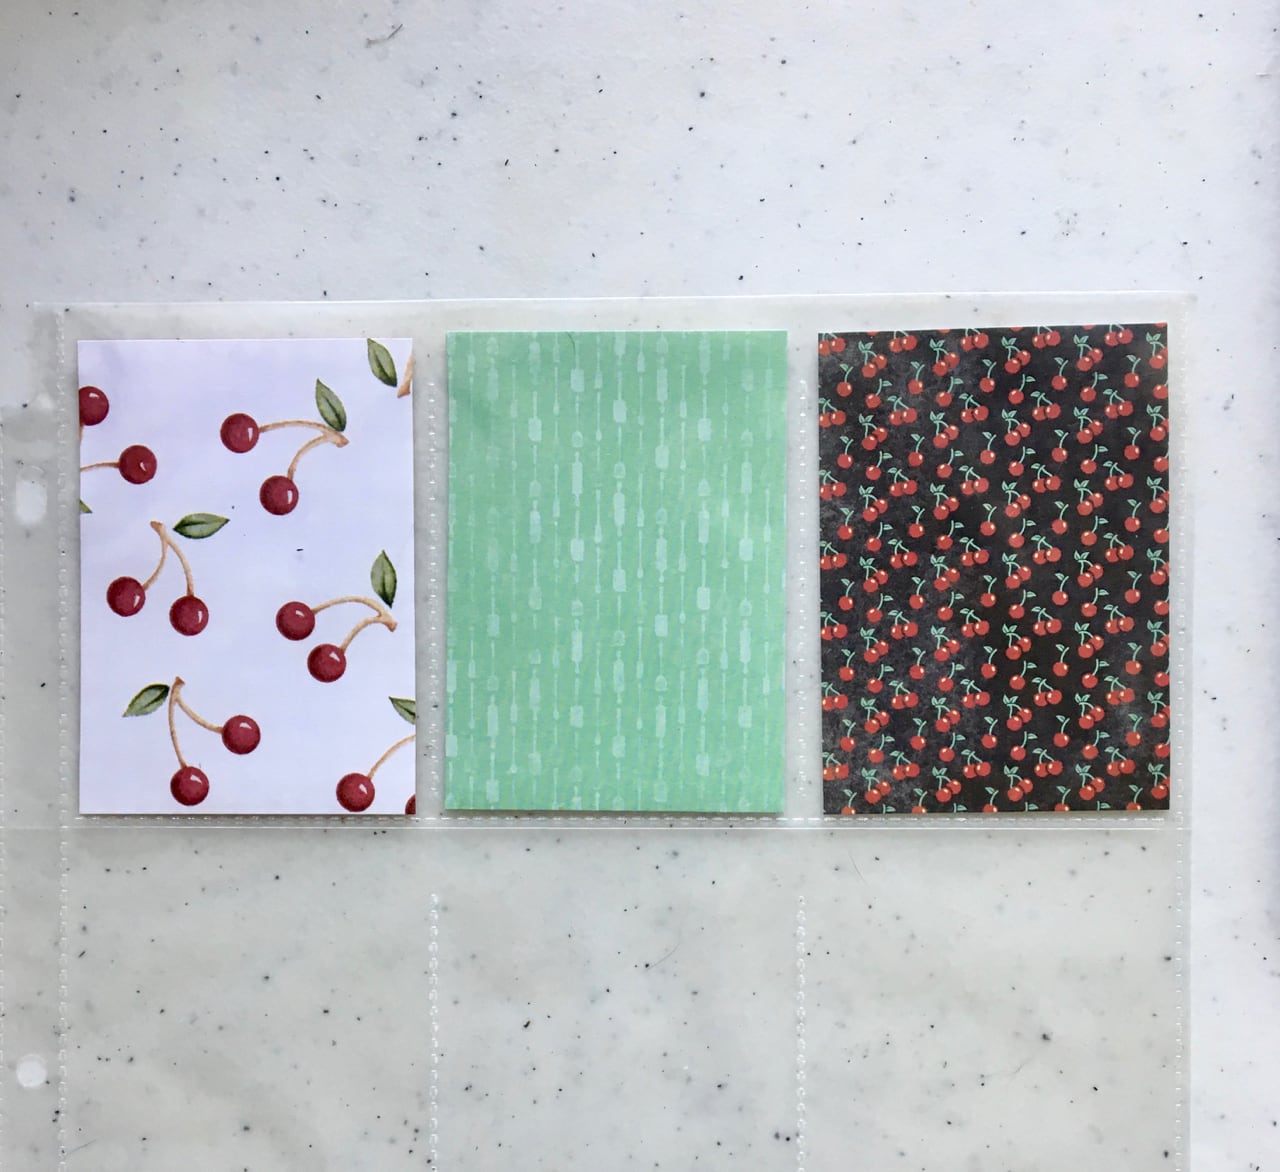
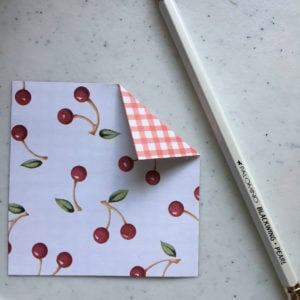
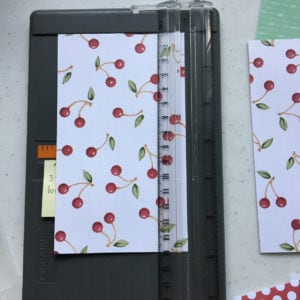
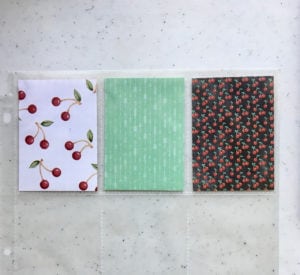
If your papers are printed only on the front and the back is white, then you will need 18 pieces (2 per pocket) to cover both sides. However, the wonderful world of paper crafting has provided us with 2-sided printed papers, too. Here’s an example. One side is covered with sweet cherries and the other has a complimentary color/design of gingham. When you slide one of these cards in a pocket, you get a different design on the front and back. This can save you time, but you will want to have 2-sided papers that you really like. 

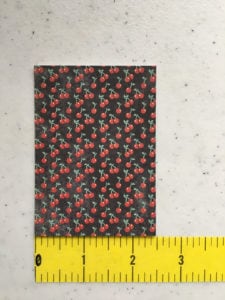
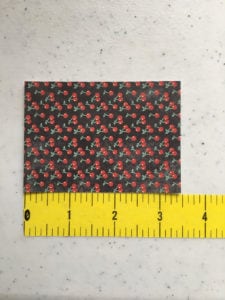
If you want more control over your colors and patterns, then you will want to cut 18 individual papers. Quick Quiz: Do you remember the dimensions?

2.5 inches wide
3.5 inches tall

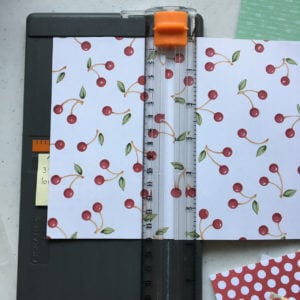
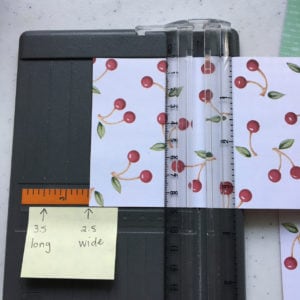
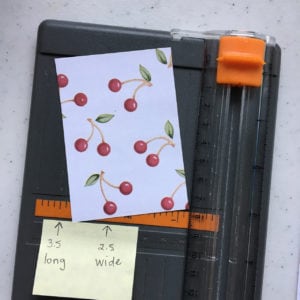
How should you cut them? Very carefully! But seriously, folks, you can either cut them with scissors (trace your cards with pencil or make a template and use it) or use a paper trimmer like the one shown below. As you can see, I’ve marked the 2.5 and 3.5 inch lines so I don’t mess up. (Remember the old adage “measure twice, cut once”? Yeah, that actually works.) Having markers helps me get it right the first time. Do what you feel most comfortable doing. Using the trimmer looks like this:


As you can see, the 3.5 x 2.5 paper fits perfectly in a pocket.


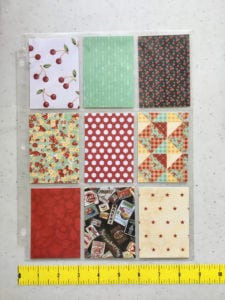
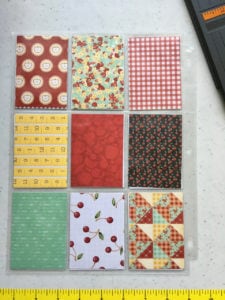
It’s fun to move the pieces around until you get them in an array that makes you happy. Here’s mine, from various papers with a kitchen/Americana/fruit theme (front and back). Yes, I’ve made two of several papers, one for each side. It keeps my theme from running amok.


This post is running a bit long, so we will finish our PLs in the next post. Here’s a tip: scrounge around your craft room, home office, kitchen, garage, local craft store, etc. for little items that will fit your theme and the pockets. Ideas: stickers, buttons, tiny envelopes (!), misc. embellishments, quotes, photos, cards, decorative tapes, recycle-able stuff, and whatever your heart loves. We’ll be using them to decorate the pockets.

Okay, so here’s the GIVEAWAY!!! You will get points for each of the following. Each point gives you an entry into the drawing. The prize is described below the list.

  1. Subscribe to this blog. (If you already have, you’re my best friend. Truly.)
  2. Post a link to my blog on your Facebook page, Instagram, Pinterest, or Twitter in the next 72 hours (ends at 11:59 p.m. on Sunday, August 5, 2018). If you do all four, that’s more chances to win! Use the hashtag #heartfeltcraftblog so I can keep track.
  3. Leave a comment at the bottom of this post.
  4. Post a photo of your PL with its papers in place on the Heartfelt Crafts Facebook page. I’ll give you a “like” to show I’ve seen it.

Each entry will earn you a name on a slip of paper. I’ll put all of the papers out on my floor and let my adorable dog, Kirby, select the winner. Photos will follow!!!
Drumroll please! THE PRIZE!

The winner will be mailed a themed set of papers, stickers, and other goodies, perfect for making your own PLs or other paper craft. (Retail value around $15.)

Ready, set, CUT THOSE PAPERS AND GET POSTING!!!


A Bit about PLs: Background and Basics

Origins and Other Names for This Fun Craft

A crafter named Janet Lane takes credit for inventing the concept and the name “pocket letter.” She has a terrific website (www.pocketletters.com), and, for a fee, you can join a pen-pal service that lets you share your PLs with other PL creators. Check out her videos (free) to get all kinds of ideas. It’s almost as entertaining as watching videos of kittens doing silly stuff.

But wait…there’s more!

After the whole pocket letter phenomenon took off, crafters were finding a lot of other ways to use the trading card protectors to feature their work. The basics are all the same: nine compartments, each 2 ½” x 3 ½”, that hold all manner of creative expression.

Some call this pocket scrapbooking—use photos in some of the pockets and scrapbook papers and embellishments in the others. Many scrapbookers use a different pocket filler that is 12″ x 12″ to fit in their scrapbooks. For our purposes, however, we’ll focus on the 8½” x 11″ version.

Others use the pockets to hold artists’ trading cards (ATCs). Crafters who like to dabble in various art forms create a pieces of art on 2 ½” x 3 ½” cards made of different kinds of paper. This YouTube video from art supply store Dick Blick® explains ATCs and the papers available:

Basic Supplies 

My favorite part of any craft is going shopping for the supplies—or looking around my office, kitchen, garage, bathroom (oops, maybe not) for ideas and objects.

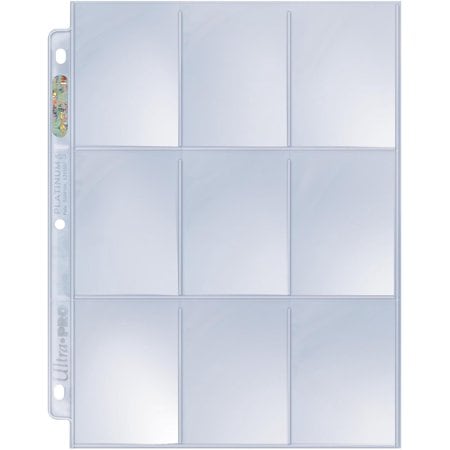
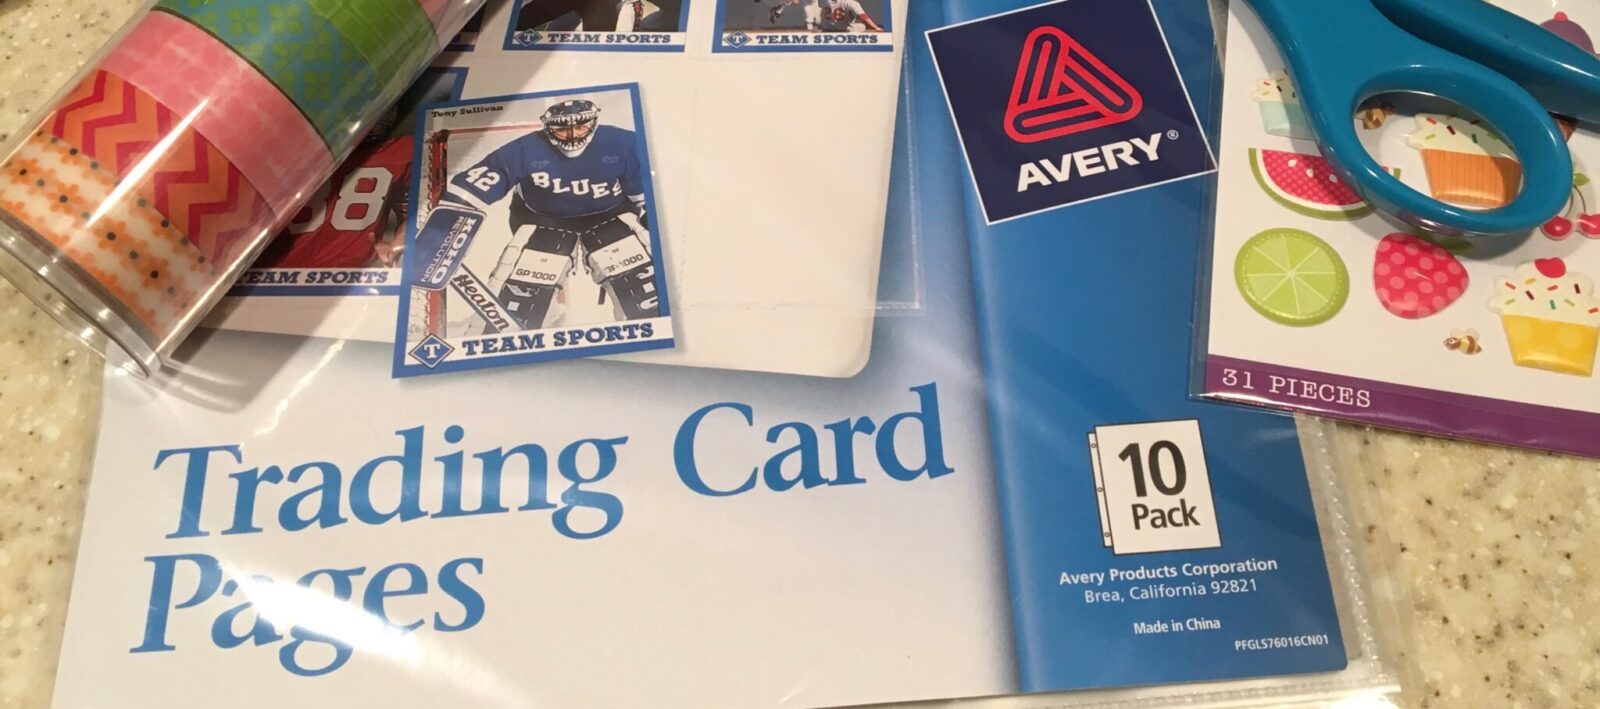
Trading Card Pages: These vinyl pages hold nine trading cards, 2 ½” x 3 ½”. Now they will be holding your beautiful, quirky, wonderful pocket letters!!! I have found several brands (Avery, Ultra Pro, Office Depot), and they come in packs of 10 to 100 for between $3.50 to $15.00, respectively. Super reasonable!
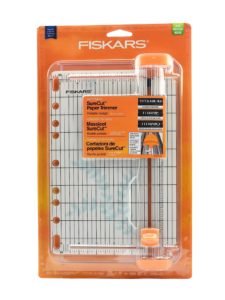


Cutting tools: You can just use scissors if you want. However, I found that using a cutting ruler thingie saved me a lot of time and was more precise. I like the 12″ paper trimmer by Fiskars. You can find them at any craft store—and even at my favorite place to spend too much money, Target.


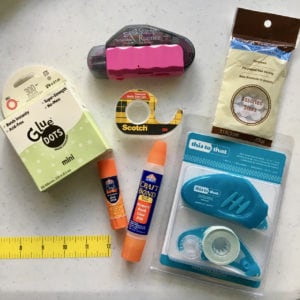
Adhesives: Glue stick, glue dots, Elmer’s glue, double-sided tape, basically anything that you can use to get paper to stick to stuff and stuff to stick to paper. To get a 3-D effect for some designs, I like to use Glue Dots and Foam Adhesive pieces.
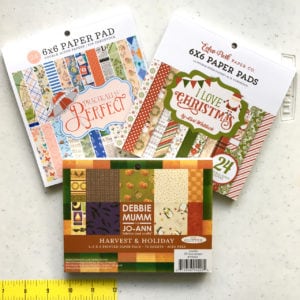


Paper: Now we can get creative! It helps to start with a theme or color palette. You can use construction paper, notebook paper, gift wrap, scrapbook paper—basically anything you can cut into the card shape and glue stuff onto. (It helps if the paper is stiff enough to be able to slide into the pocket. For that reason, I don’t recommend using toilet paper. For this.) The easiest way to get a good theme going is to find a pad of printed paper that paper crafters use for scrapbooking, cardmaking, and general paper wizardry. Each pad has its own theme or color scheme and costs from about $5.00 a pad to $6.99 and more for specialty papers.
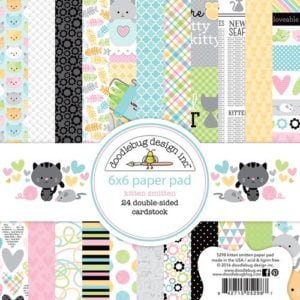
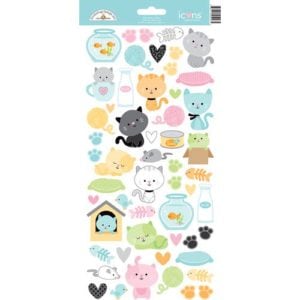
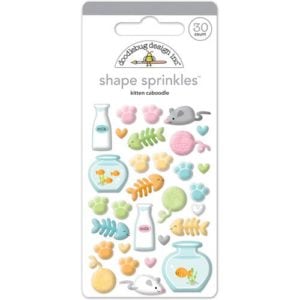
Extras: The craft stores are filled with all kinds of embellishments. You can use buttons, stickers, washi tape, sequins, adhesive jewels and dots, lace, ribbon, etc. You are only limited by your imagination (and budget and possibly federal laws that prohibit the mailing of certain substances).

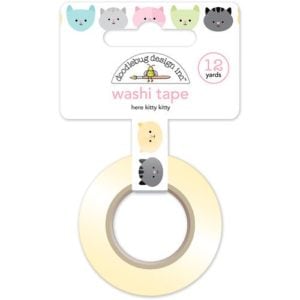
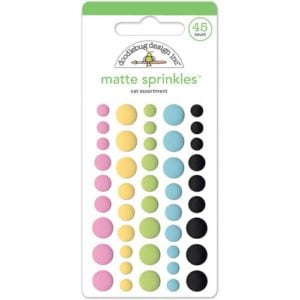
Some of the themed pads also have matching add-ons. The easiest, fastest, but not the least expensive, way to make PLs is to get a group of that kind of stuff. This can be fun—and expensively addictive. Here’s a set I used recently. (All items purchased online at www.scrapbook.com.)


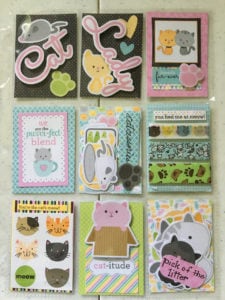
And here’s the PL I made using some of these kinds of items (plus some other kitty items I had around):


So, that’s all you need to get started. Gather your papers, adhesives, cutters, stickers, tapes, and card pocket holders—we’re going to put one together in our next post! Join me, won’t you?

Spoiler alert: There’s going to be a giveaway offered in the next post. You could be a winner! Of course, you’re already a winner in so many ways, but why not add this to your list? (Oh, and be thinking of someone with whom you’d like to exchange PLs. It’s a team sport.)


What the heck is a pocket letter?

When I first heard the term “pocket letter,” I thought it might be something simple like a letter in a pocket. 

Or could it be . . . a letter ON a pocket?

I’m not seeing the craft possibilities yet. Oh, I know! It’s a letter that USED to be a pocket! I feel so smart.

Wait. What? That’s not it either? So what in the heck is this newfangled fun craft thing that so many scrapbookers are crazy about—and that has the unofficial endorsement of the United States Postal Service?*

My friend Jennifer sent me a link to a Pinterest folder: Pocket Letters. She suggested we try to make some and send them to each other. I was in Ohio and she was in Florida, so it was kind of a nice way to do a craft together—but apart—you get it.

So we did. And we agreed to photograph our PLs (we quickly created an abbreviation to keep from having to write or type the words over and over again) and to post them on Pinterest for others to share and adore. That was almost a year ago! We have had a blast. Let me show you some and give you some ideas for how to start your own #PLPenPalProject.

A Few of Our PLs

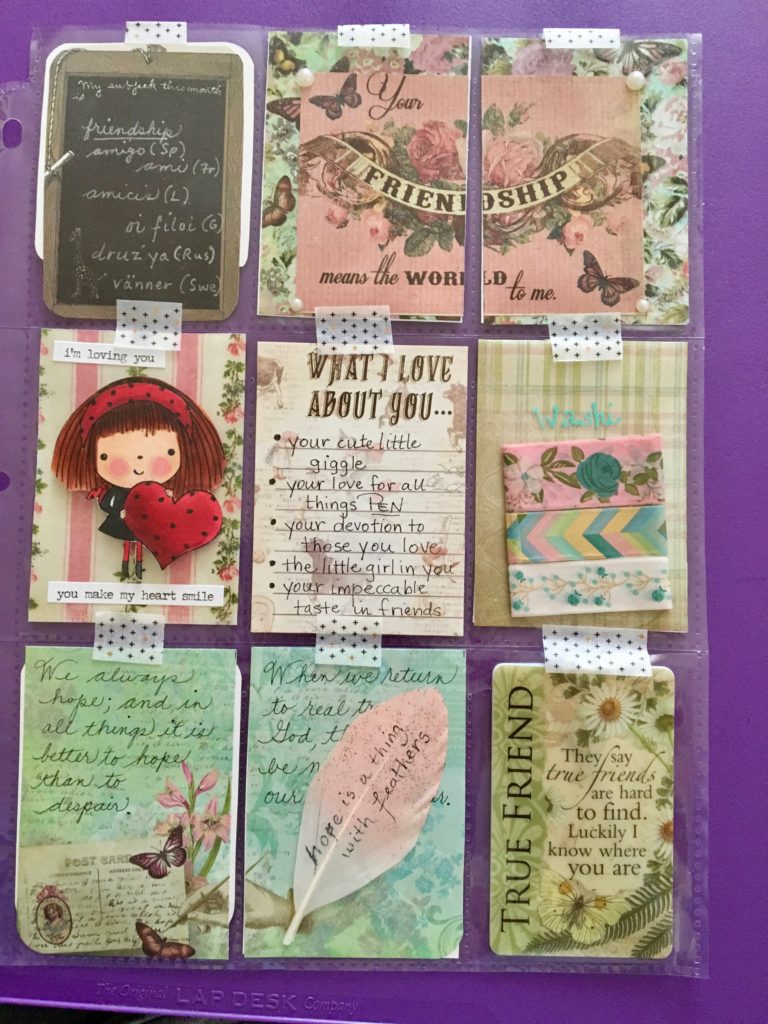
This one has a friendship theme. I made it very personal for Jennifer, the recipient. The middle row, far right pocket has samples of some washi tape I wanted to share with her. I wrapped 3-ft lengths around a piece of mylar I cut from some packaging. Good use for that mylar stuff instead of throwing it in the trash!


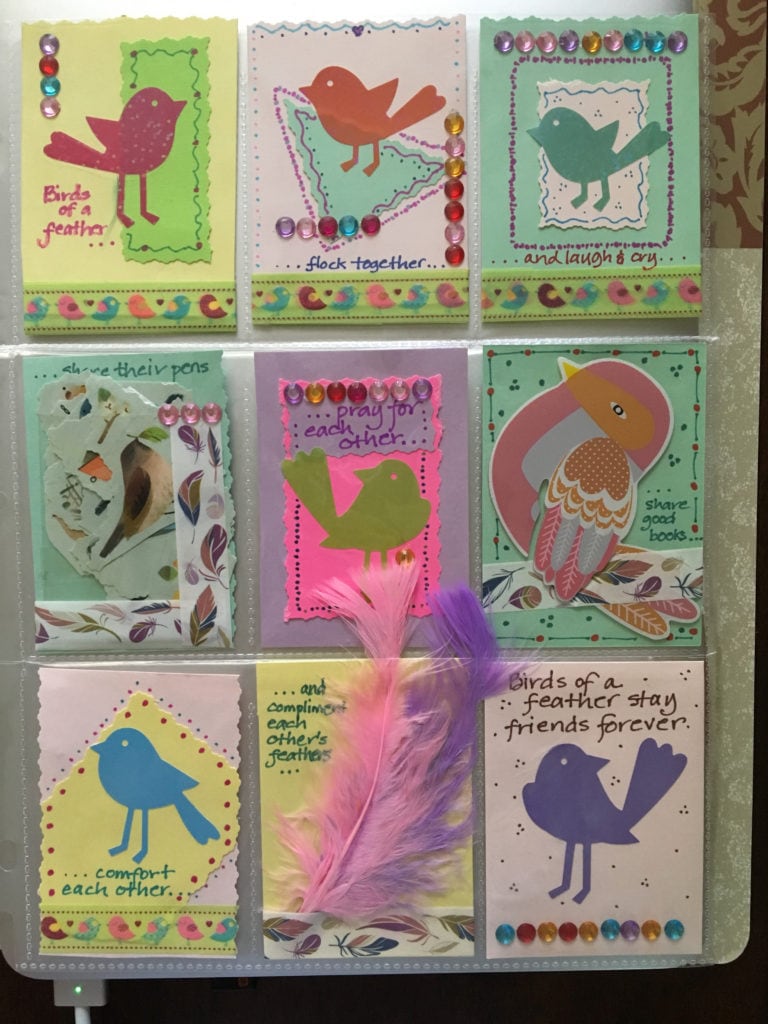
Jennifer sent me this one with a birds-of-a-feather theme. She included stickers for me to use (middle row, left) and some adorable feathers!

As you can see, coming up with a theme is half of the idea. Then you can have fun finding all kinds of things to add. Some themes we’ve used or seen others use include:

  • back to school
  • our home state (Ohio/Buckeyes for me!)
  • by the seashore
  • quotes about pennies, with a penny in each pocket
  • owls (whoooo doesn’t love owls???)
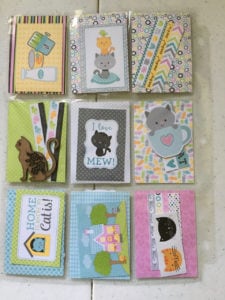
  • kitties (see above, but kitties)
  • fall/autumn
  • Christmas
  • patriotism–4th of July
  • summer fun
  • coffee and tea
  • sweet stuff (cupcakes, candy, etc.)
  • I could go on all day, but you get the idea. Check out the Pinterest link for tons of ideas!

Now that you can tell what PLs are, I’ll walk you through making one of your own in our next post.

P.S. Go get some baseball card protector sleeves:


*I made that up. But I’m sure they appreciate the increase in actual snail mail that’s hitting their inboxes—I mean, mailboxes—lately. Maybe they don’t like the lumpiness or the fancy, schmancy hand lettering on the envelopes. Hey, for 50¢ (so far, but who knows what with tariffs and such—just kidding!!!), it’s a heck of a deal to send these things. Maybe they’ll even get where they’re supposed to go–and in one piece!


Zen and the Art of Doodling

I’ve always been a doodler—have you? I remember taking notes in high school and college and decorating the margins with nondescript squiggles, piles of squares, and a recurring cluster of grapes. I had no idea that doodling was anything more than something that kept me from being bored in classes and at meetings. Recently, however, I watched this TED talk about its value:

Just google the phrase “benefits of doodling,” and you’ll be astounded at the research that supports it as a powerful brain tool. Who knew?


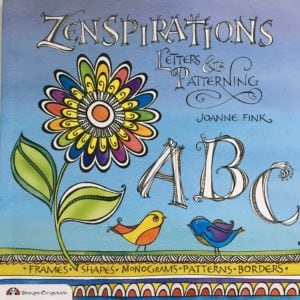
Zenspirations: Letters & Patterning by Joanna Fink

So, after feeling confident with my painting effort (see previous post), I went to Michael’s to nose around the art section. That’s a couple of intimidating aisles! I spotted an end-cap display with some books that caught my eye. They all had to do with Zen and drawing or Zen and doodling. I picked one up, leafed through it, and saw the simple step-by-step instructions. “I can do this,” I told myself. So I bought the book and some fine-line Sharpies to get started. This is the book. Click on it to go to Joanna’s website. I’ll wait. ———————>


first doodles3

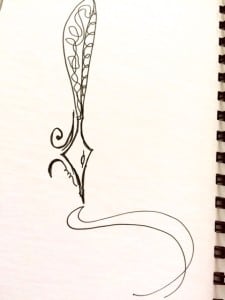
After reading the introduction and basics covered in the book, I started trying out some of the patterns and pieces that evening. I’d always had good handwriting, so the loops and swirls and lines looked like things I could manage. I had a spiral-bound blank journal to work with, so I opened my Sharpie, found a page with something kind of simple, and gave it a try. Here’s the first thing I finished:


first doodles4

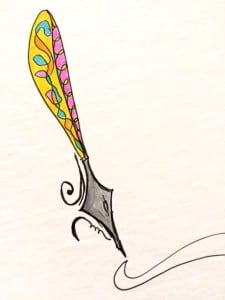
It seemed to need something, so I used the Copic markers to brighten things up a bit. (See previous post, Fun with Color, about my Copic class.) This is how it turned out:


I was encouraged, but I knew I’d need to practice if I wanted to do some of the other pieces I liked. And I’d have to give myself permission to mess it up. That’s where the Zen of the art comes in. Check back next time and I’ll explore that topic with you.

Happy doodling, dear doodlers!