
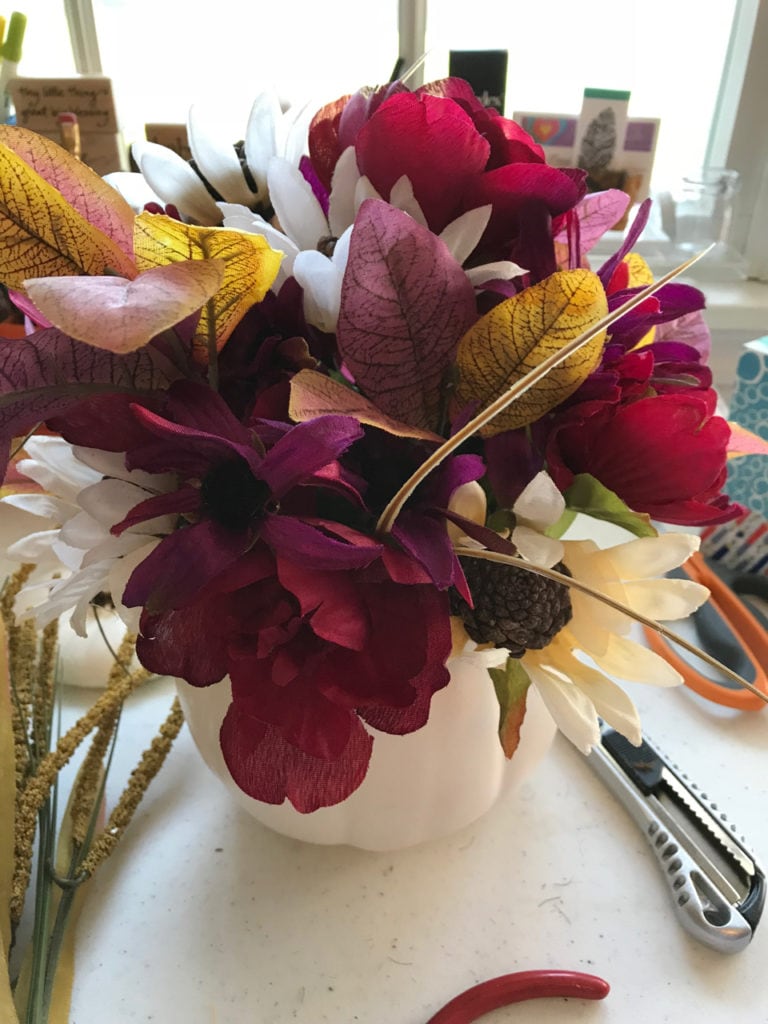
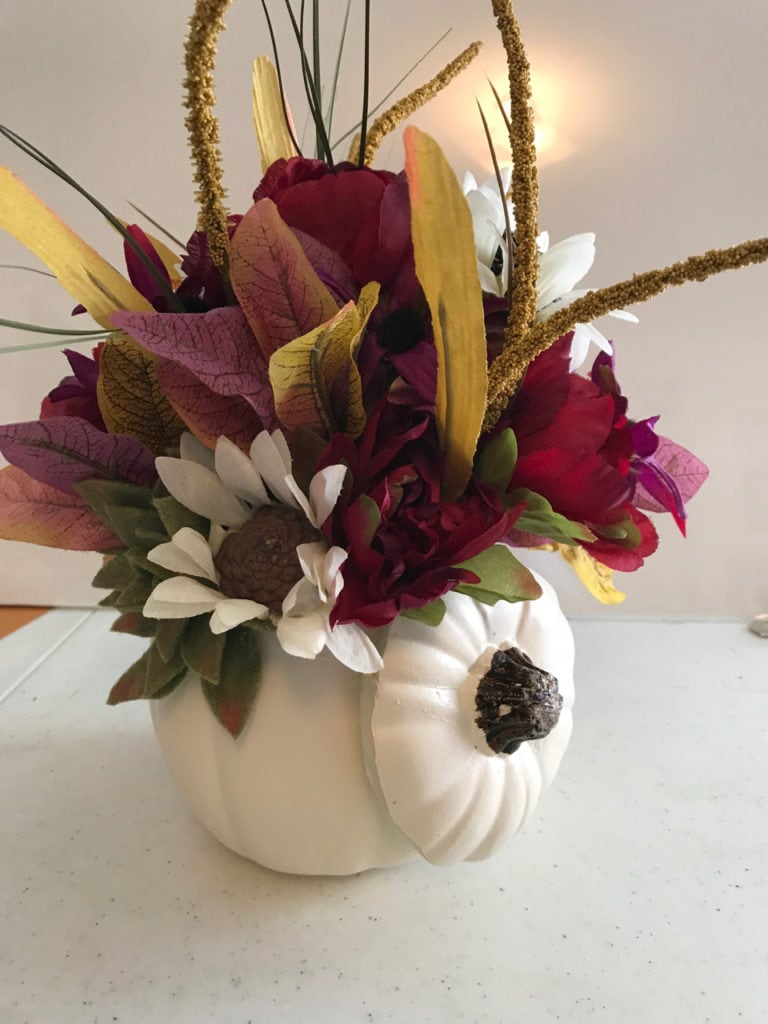
 The little succulent we made several days ago has been so lonely. It’s time to make it a home, where it can live with other pretty things and be enjoyed by others. Thus, I introduce you to our newest project: the white pumpkin floral arrangement.
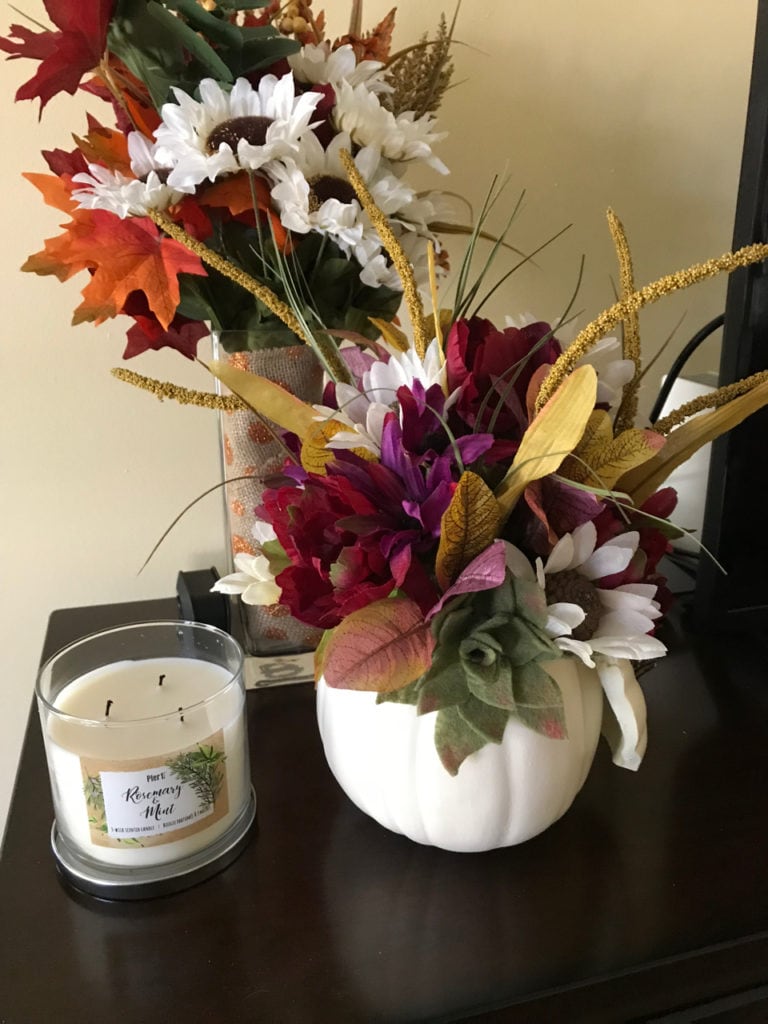
Orange pumpkins are bright and cheery and oh-so-autumny, but white pumpkins are classy, elegant, and much more versatile. You can use any colors you want! Let’s move past the rusts, yellows, browns, and oranges and embrace purple, burgundy, green, and gold!
This project takes more time to shop for than it does to put together. In my mind, that a win-win! (wink, wink)
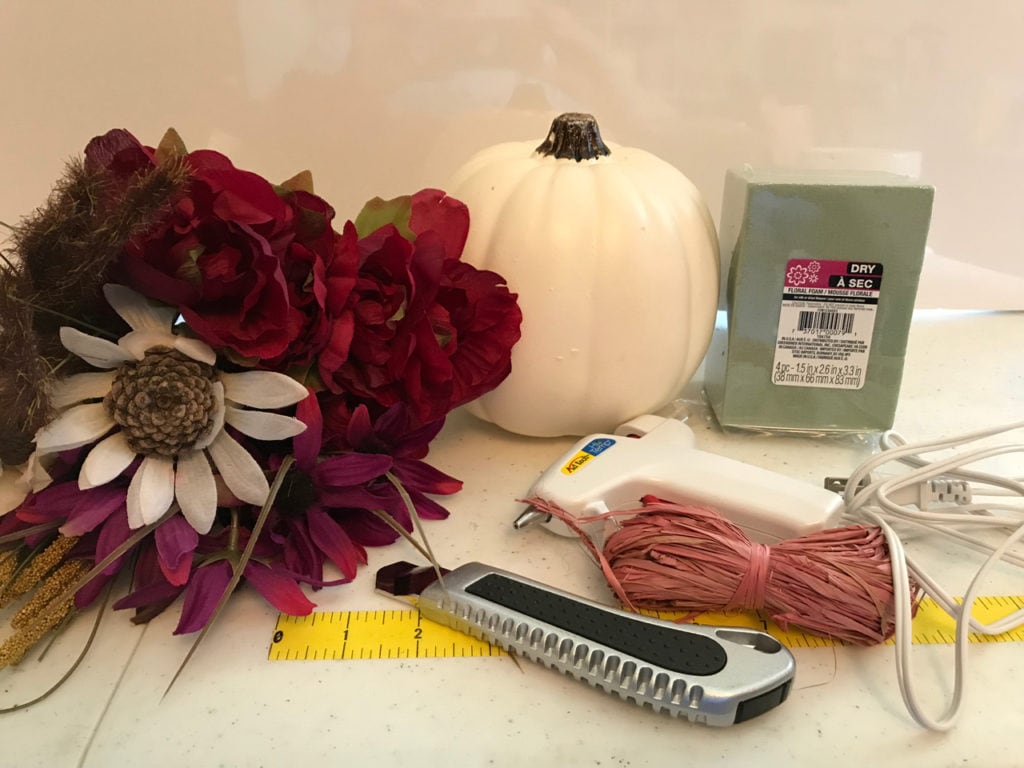
Let’s start with our list of supplies:
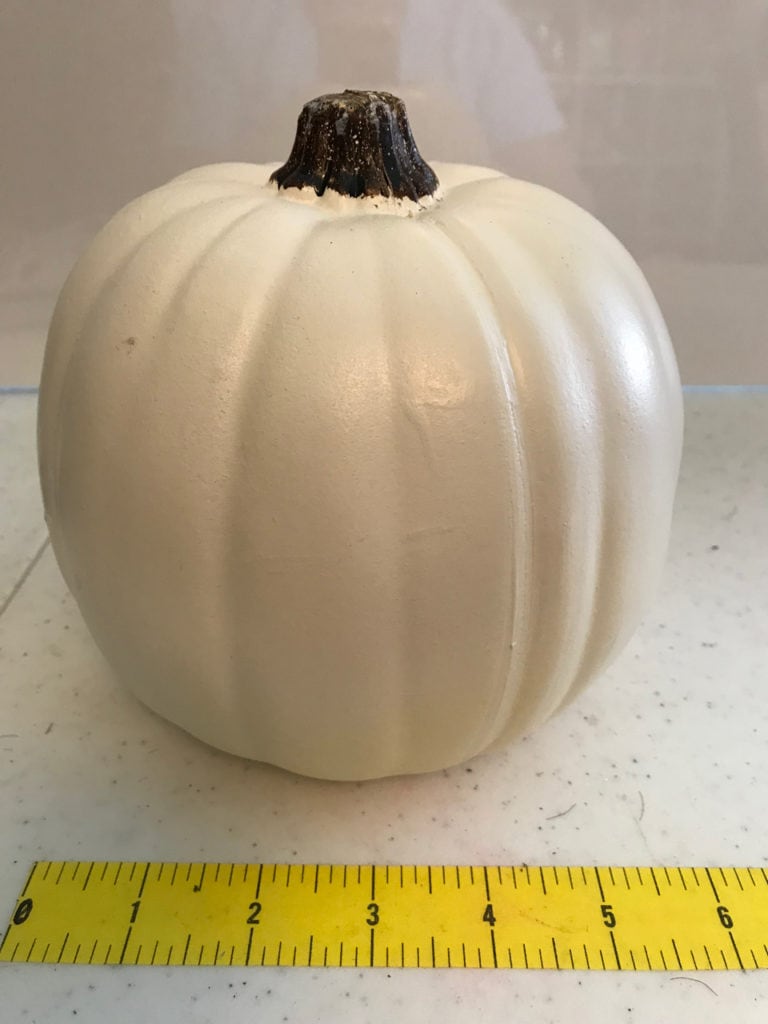
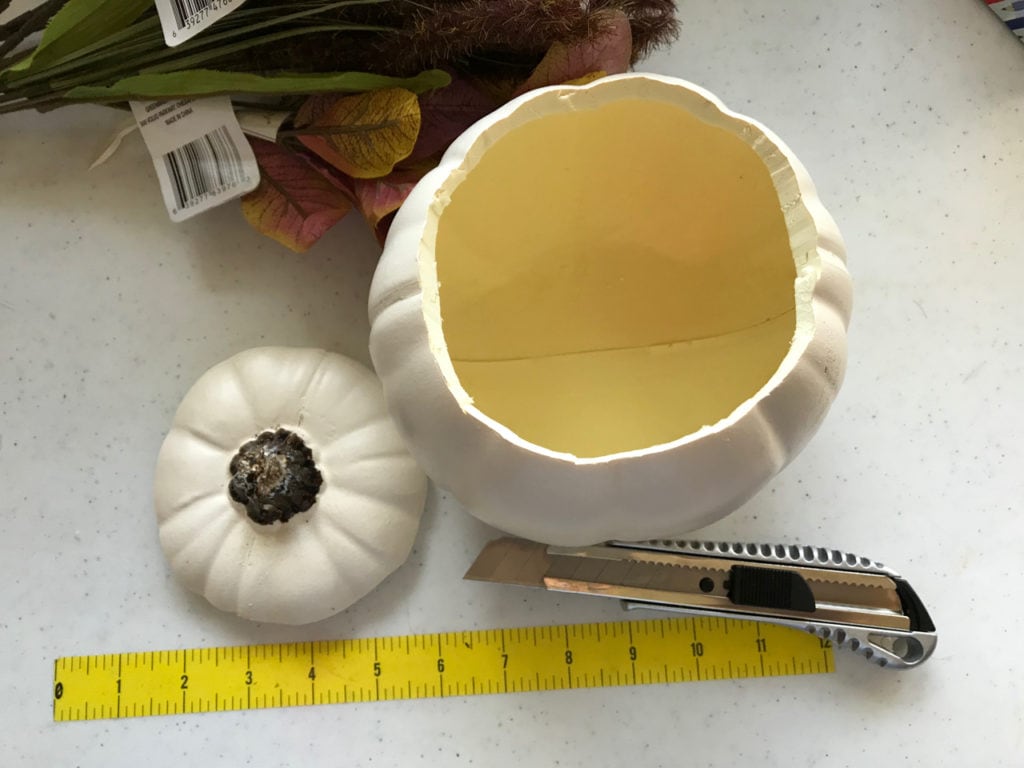
- a small (or large if you prefer) white foam pumpkin
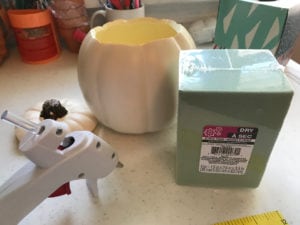
- a large wedge of floral foam
- an Exacto knife or similar one that can be extended (see photo)
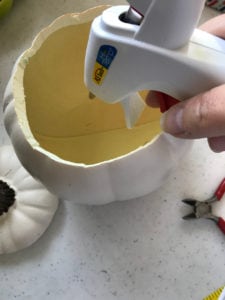
- hot glue gun and glue sticks
- 12–15 individual stems of silk flowers, leaves, accents, etc.
- wire cutter
- your succulent from the last project
Step-by-step instructions
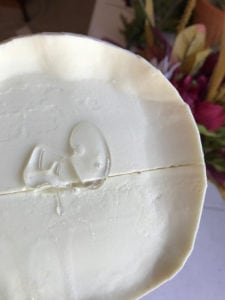
Step #1: Draw or score a line around the top of the pumpkin where you will be cutting the top off. I like to use the razor to score the line. Then I just have to push the blade through on my second trip around.
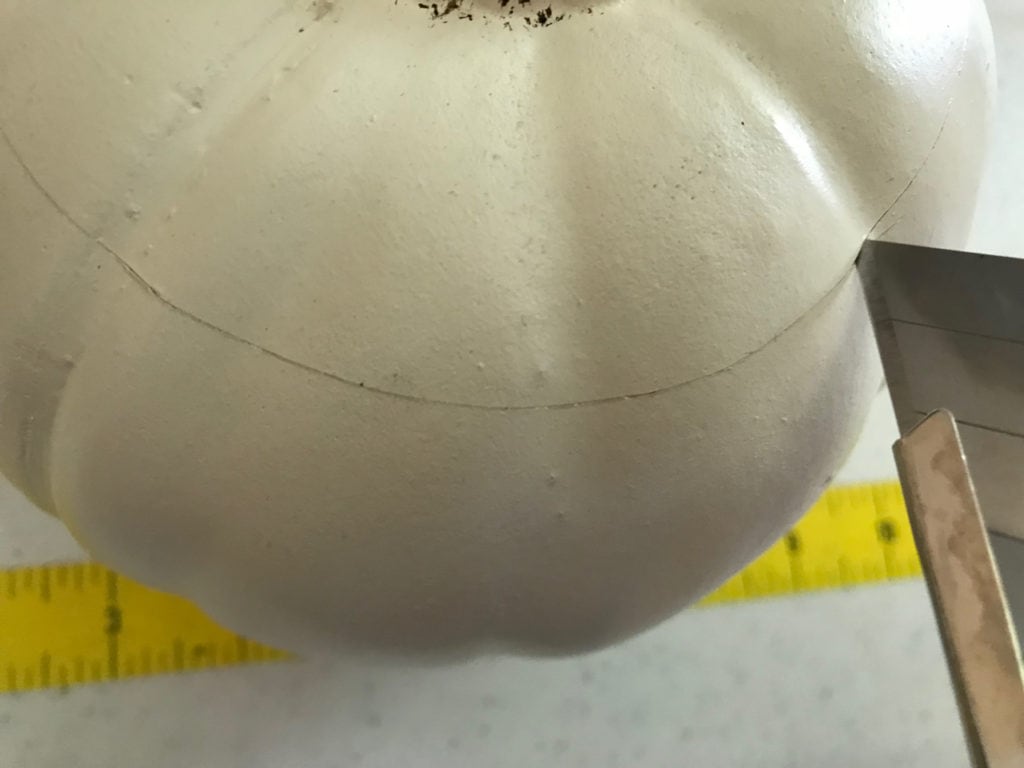
Step #2: Use the cutter to cut through until your have a lid you can pull off the top of the pumpkin. Be careful! This doesn’t have to be perfect. The opening will not show under the flowers and you can later trim the edges of the lid to look neater.

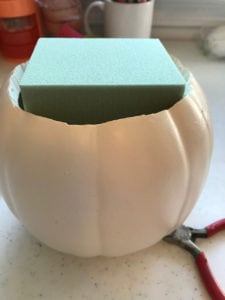
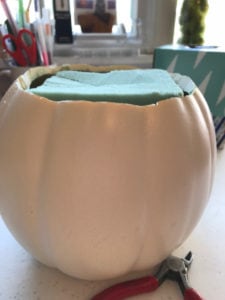
Step #3: Plug in your hot glue gun. (Put the lid aside for now.) Unwrap the floral foam and set aside. Drizzle a puddle of hot glue into the bottom of the open pumpkin. Insert the floral foam while the glue is hot and press down. (You might need to trim the edges to get it to fit inside.) Once it’s set, shave off the top so it’s more or less even with the top of the opening.
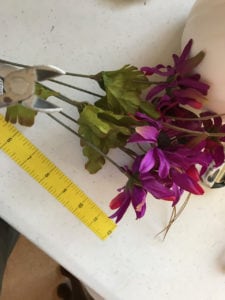
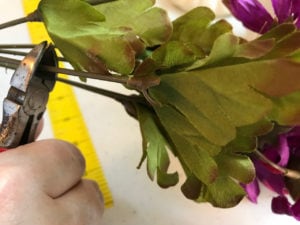
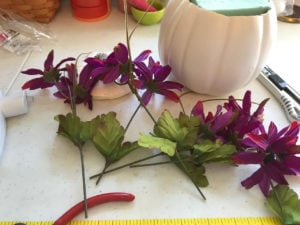
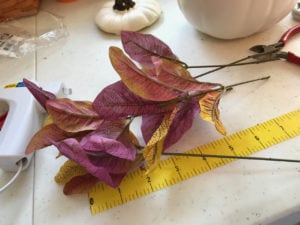
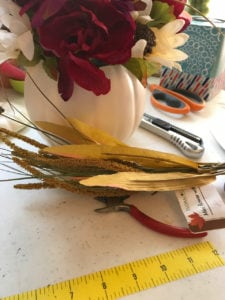
Step #4: Gather your silk flowers and use a wire cutter to cut the stems so you have a dozen or more individual pieces.
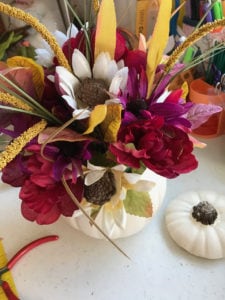
Step #5: Arrange your flowers! I like to start in the center with one and then move outward until I’ve filled the opening. Add various tall, short, full, textured pieces to make it interesting and beautiful.
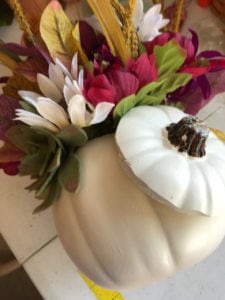
Leave a space somewhere toward the edge of the pumpkin for your succulent. Here’s a look at my progress.

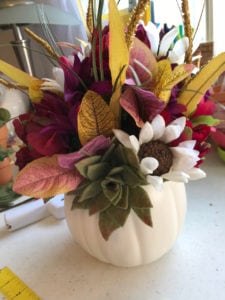
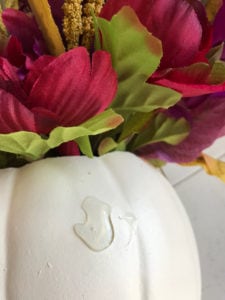
Step #6: Use the pin on the bottom of your succulent to stick it in place.

Step #7: This step is optional. Some people like to have the lid show, making it clear that this arrangement is actually a pumpkin. Others don’t care for the look.
To add the lid, you will need to put hot glue on BOTH the inside of the lid and on the outer area of the pumpkin where you are going to place it. Press the glue areas together and hold for about a minute, or until you cannot move the lid. I carefully laid the pumpkin on its side while I was holding it down.
Step #8: Admire your handiwork and find a perfect place to display it. Be sure to tell everyone, “I made this! Why, yes, I’ll take orders if you want one.”
Thank you for spending time with me as I make and play and create projects. I hope you will share them with others and find yourself feeling happier, more creative, and surprised at your power to make stuff.
As always, comments are welcome.