‘Tis the Season…ings

Sugar and spice and everything nice, that’s what the grown-up girls on your list are made of. Let’s make something special just for them. A bag of seasoning with some mini accessories!

This easy felt project can be completed in about one hour.

But first you need to gather all the ingredients.
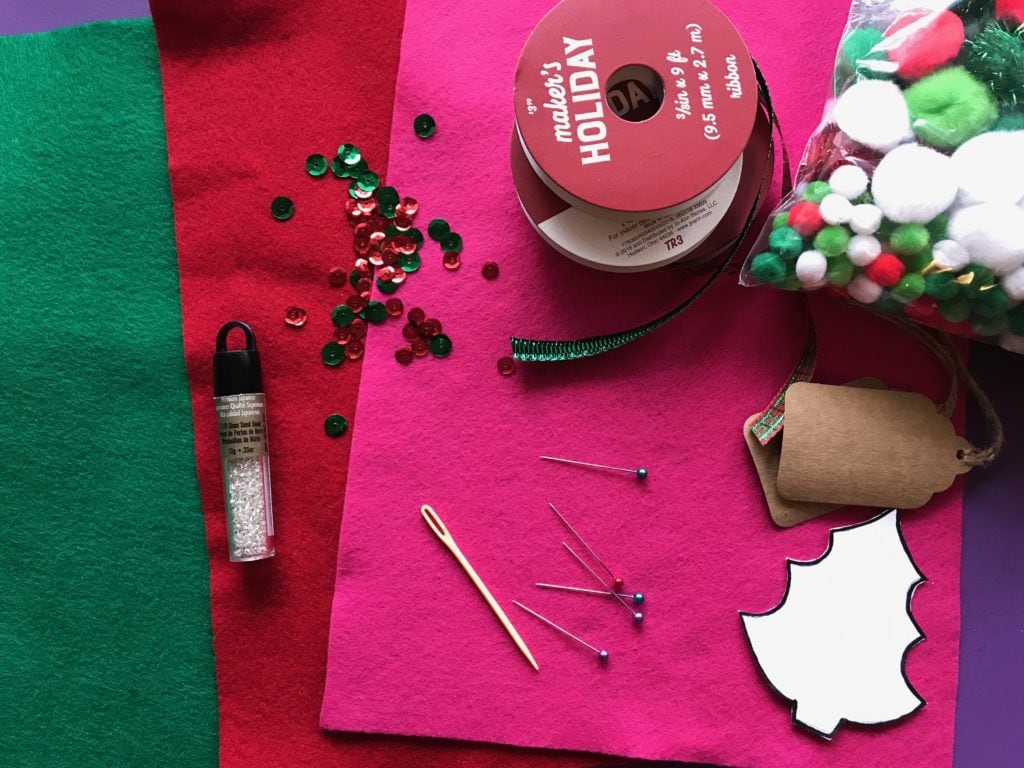
Ingredients:

  • 8 1/2 x 11″ felt piece in main color
  • felt scrap in green
  • scissors
  • pins
  • sewing needle
  • embroidery floss in matching or contrasting color
  • plastic yarn needle
  • two (2) 18″ pieces of ribbon 3/8″ wide
  • pompoms (optional)
  • sequins (optional)
  • glass beads for sewing on sequins (optional)
  • gift tag

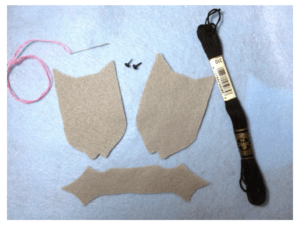
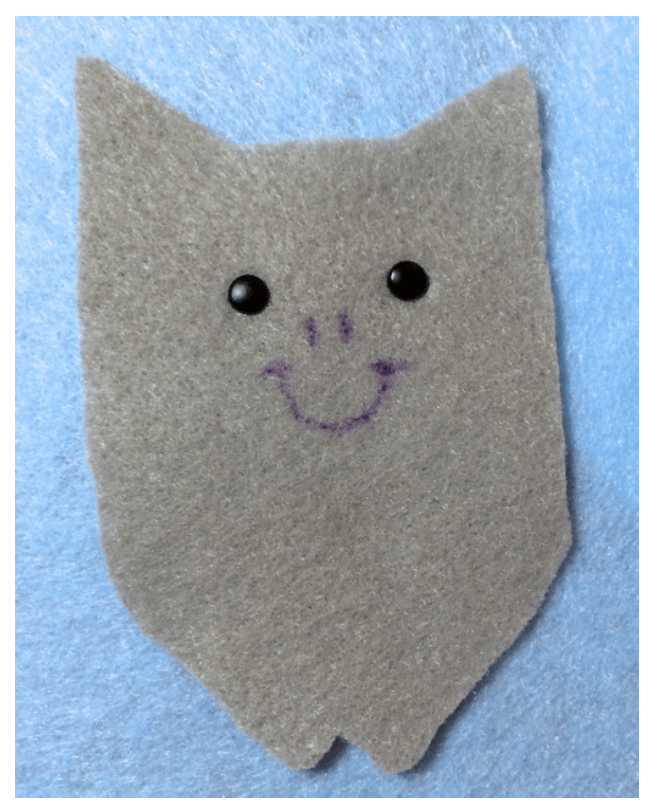
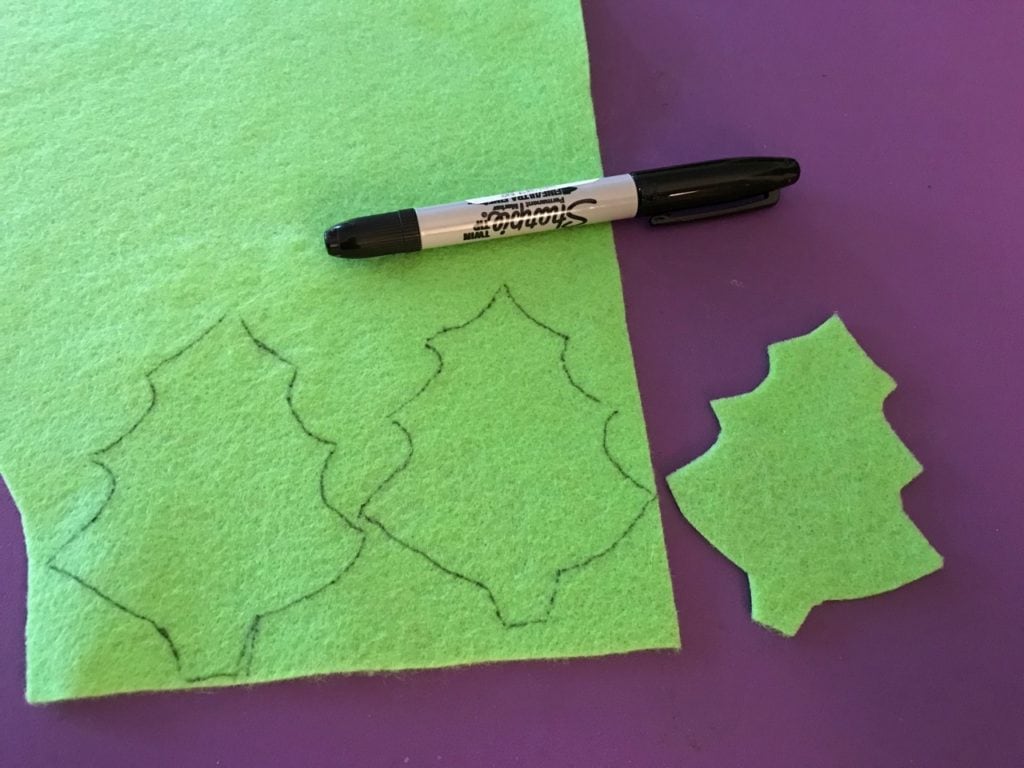
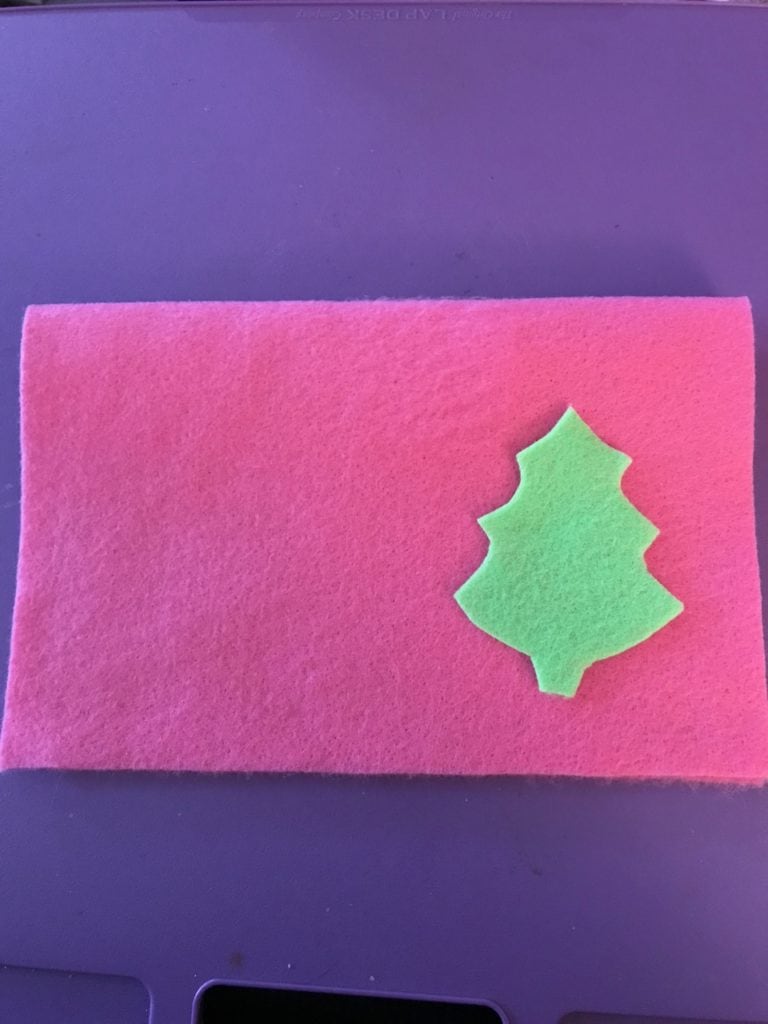
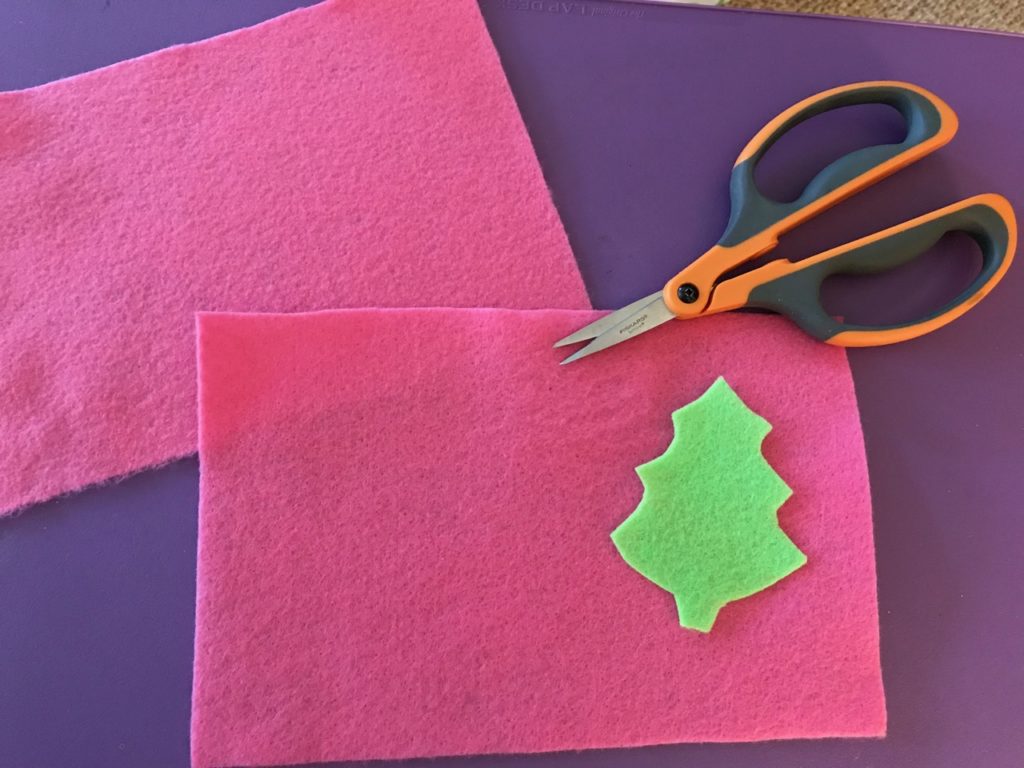
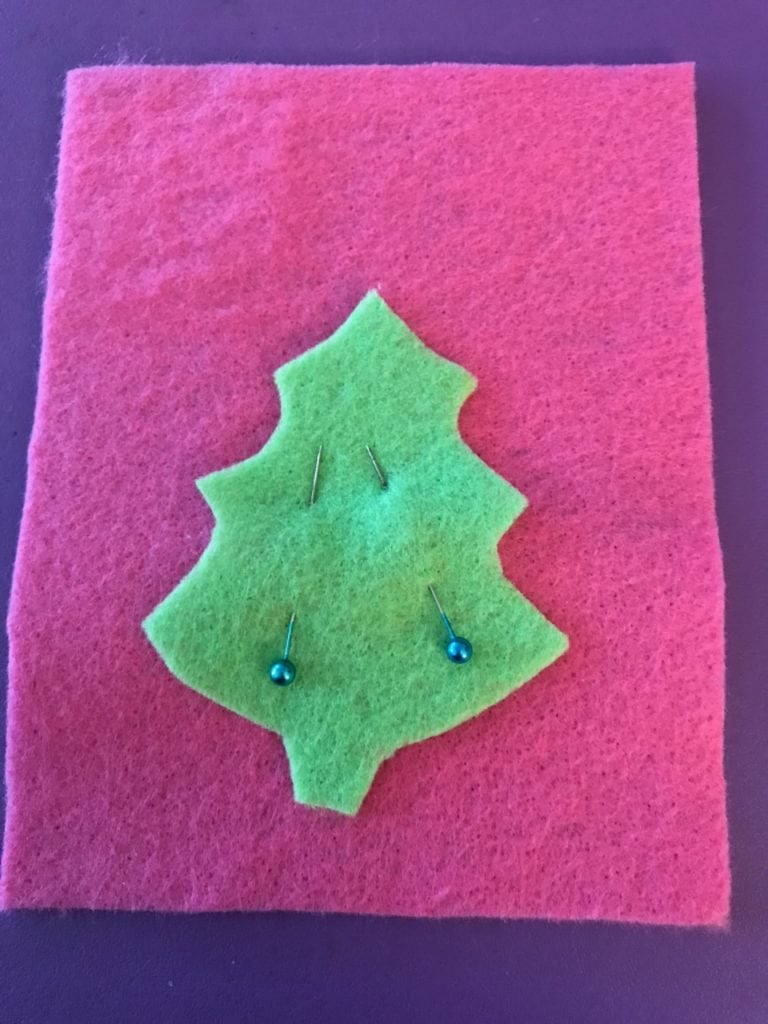
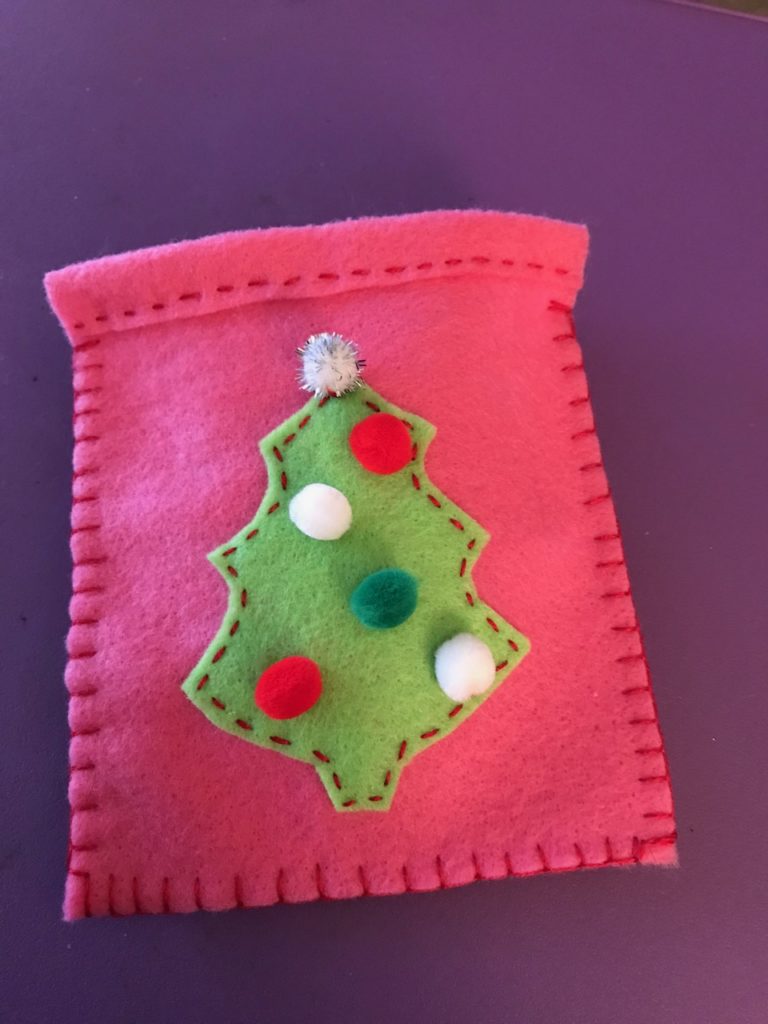
Lay everything aside and start with the green scrap piece of felt. This piece is for the Christmas tree. Use the pattern (download here) and trace the outline of the tree onto the green felt. Then cut it out. The second photo shows you the finished size of the tree.

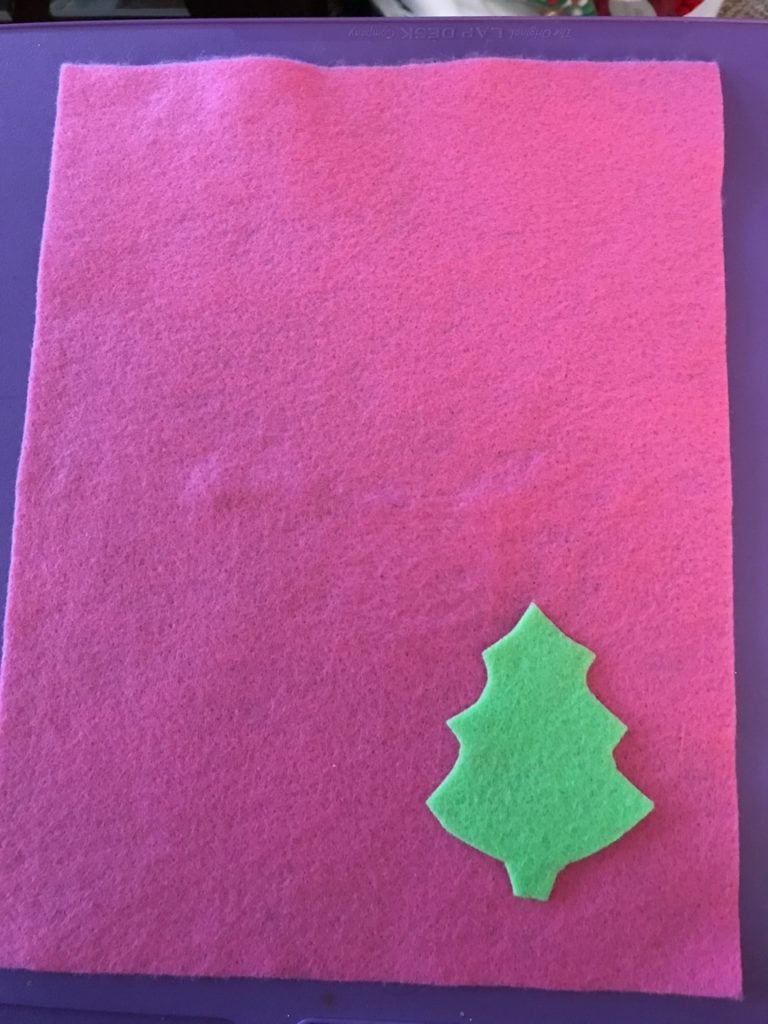
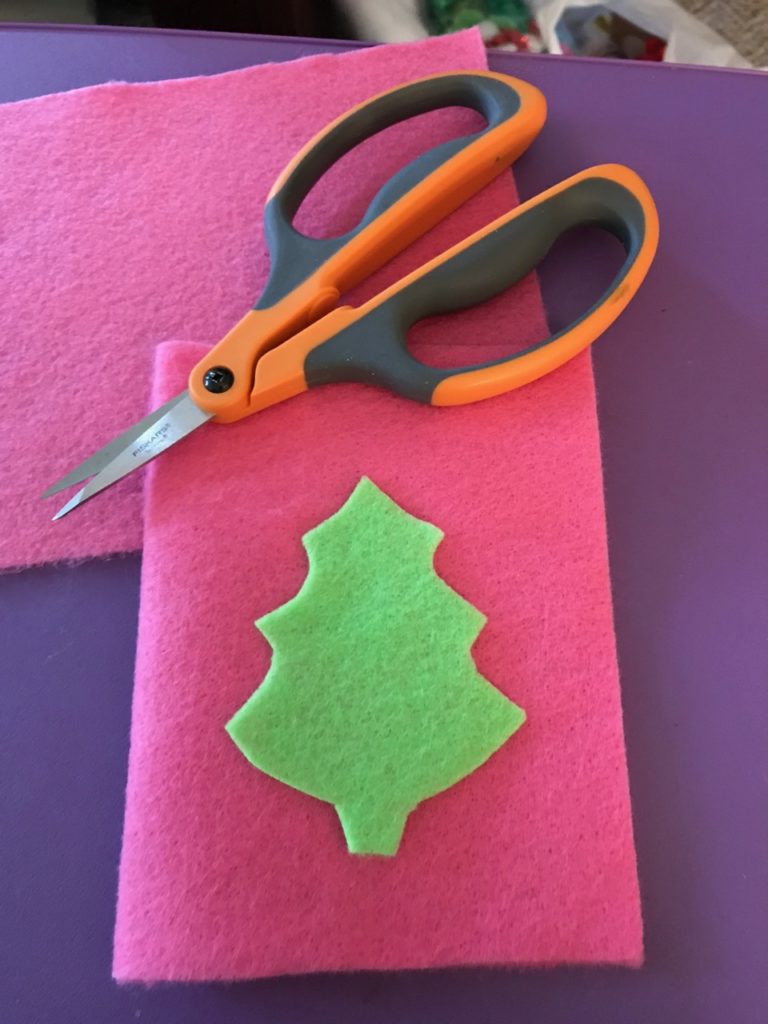
Next, take the full-size piece of felt (pink is shown here). Fold it in half and cut along the fold.

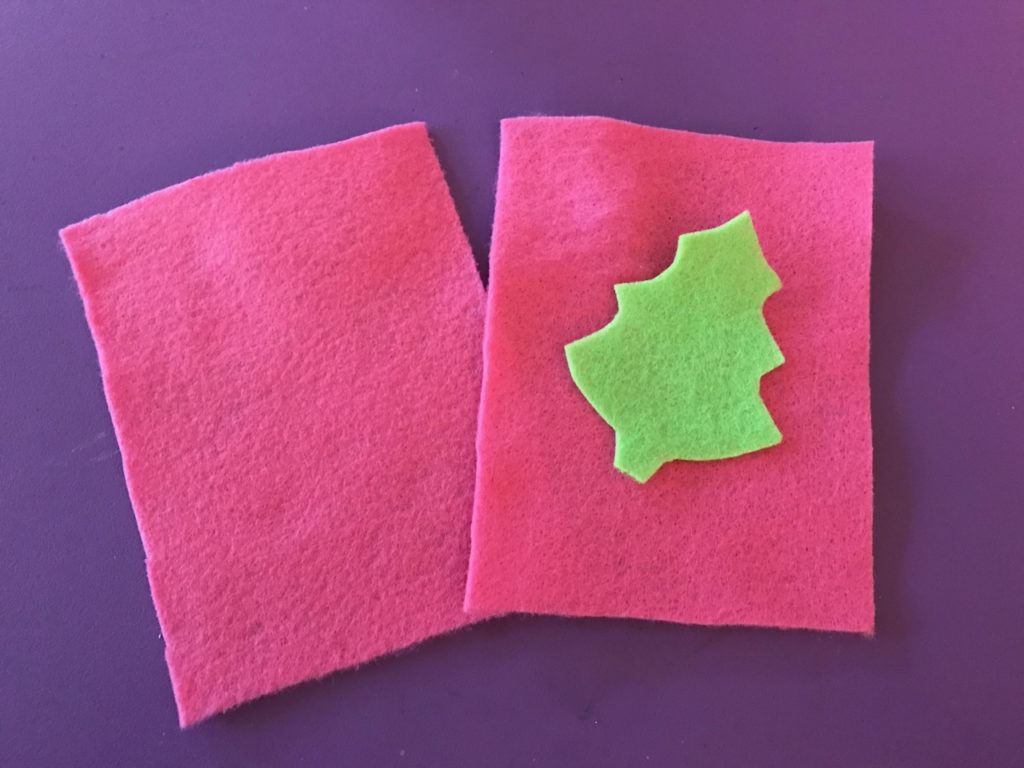
Now you will fold one of these pieces in half and cut along the fold, as shown below.

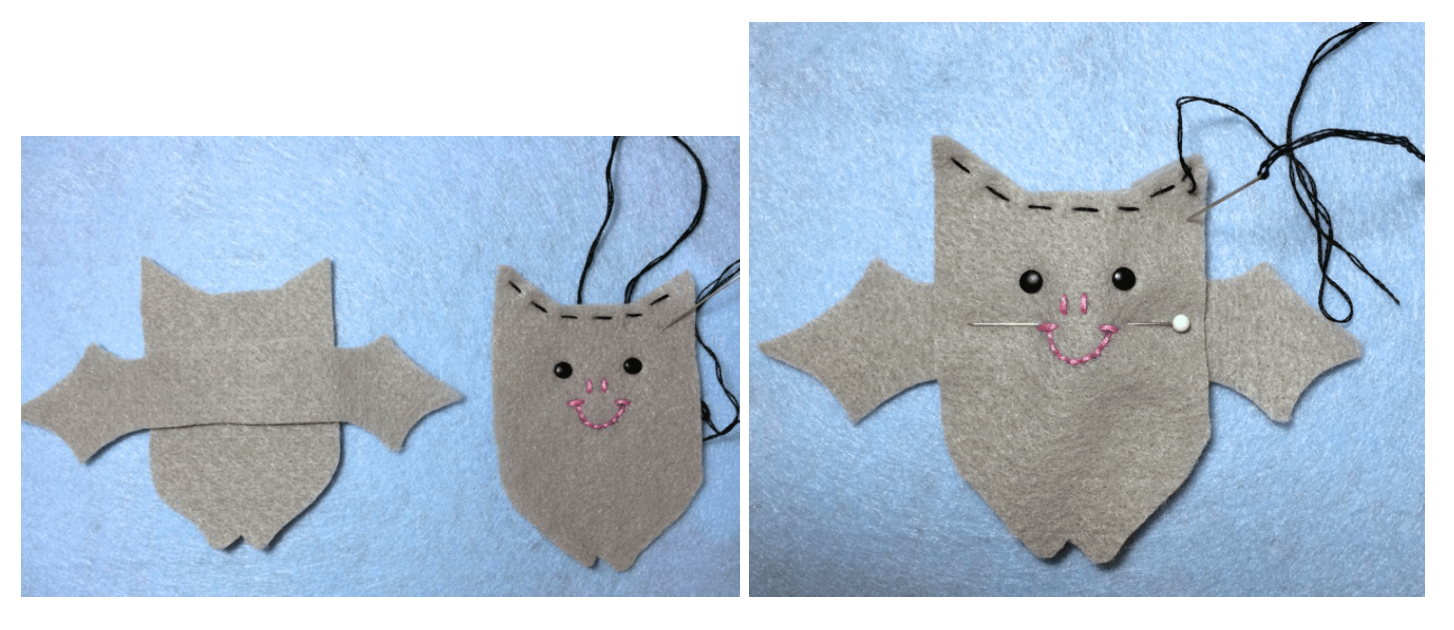
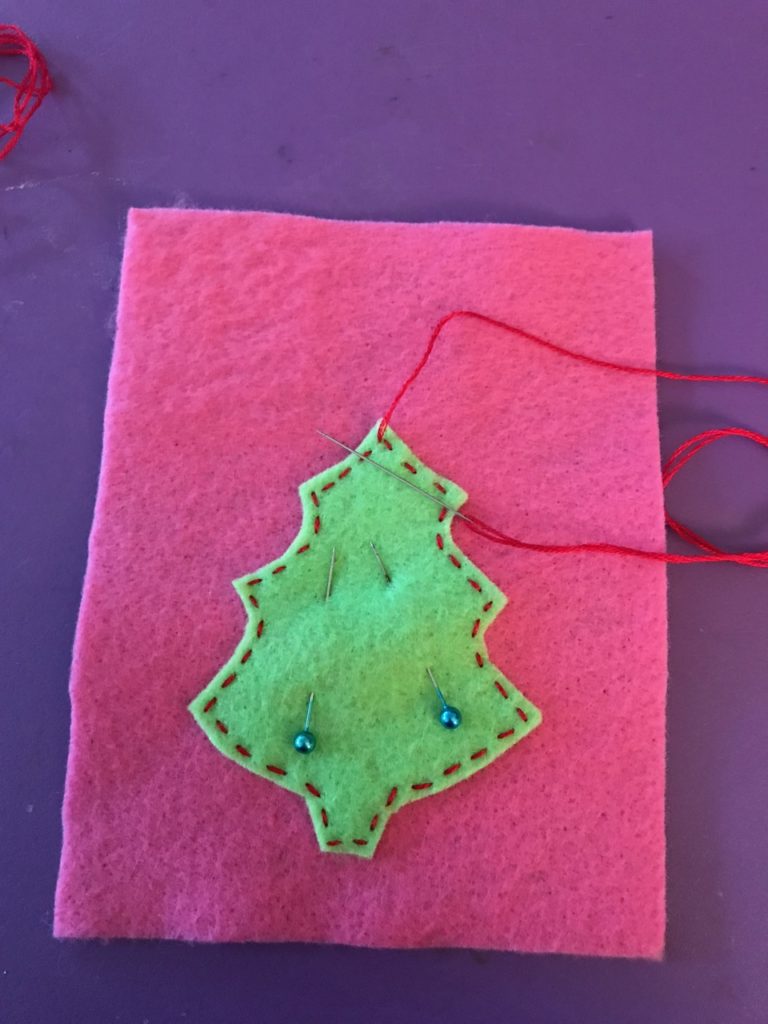
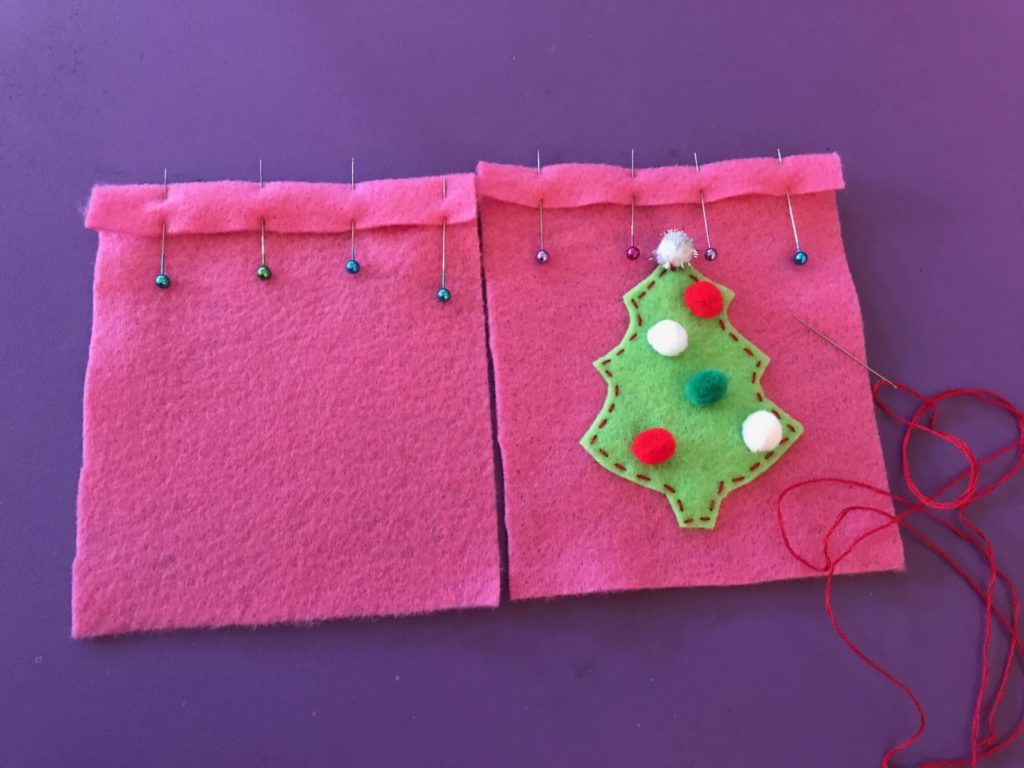
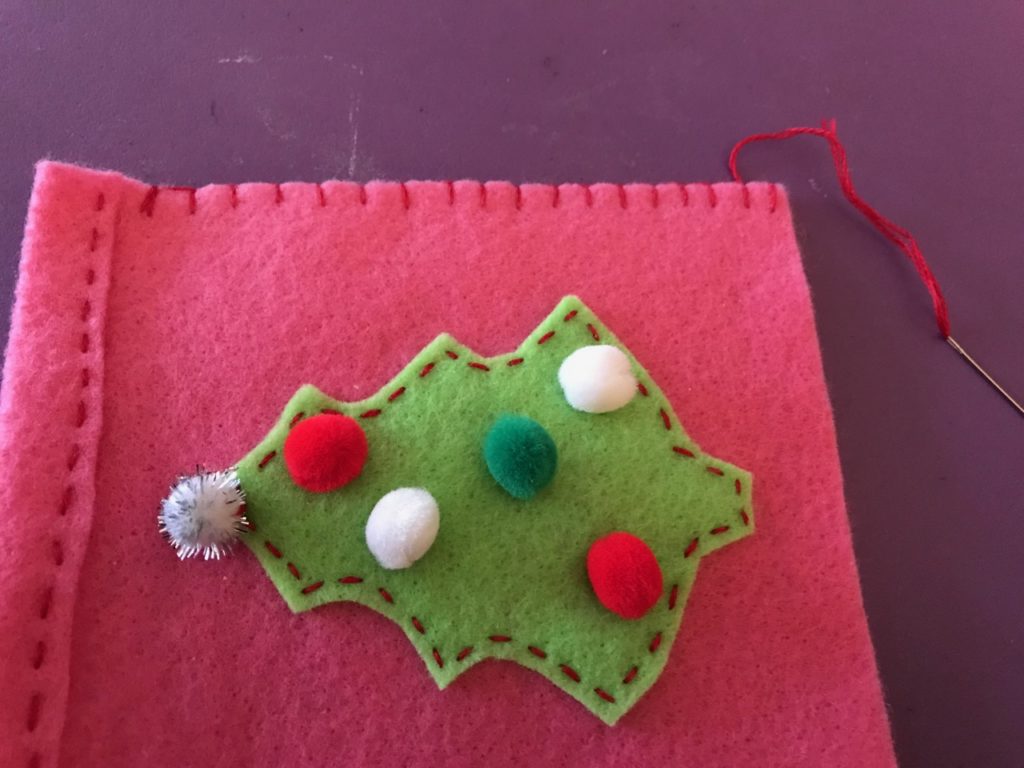
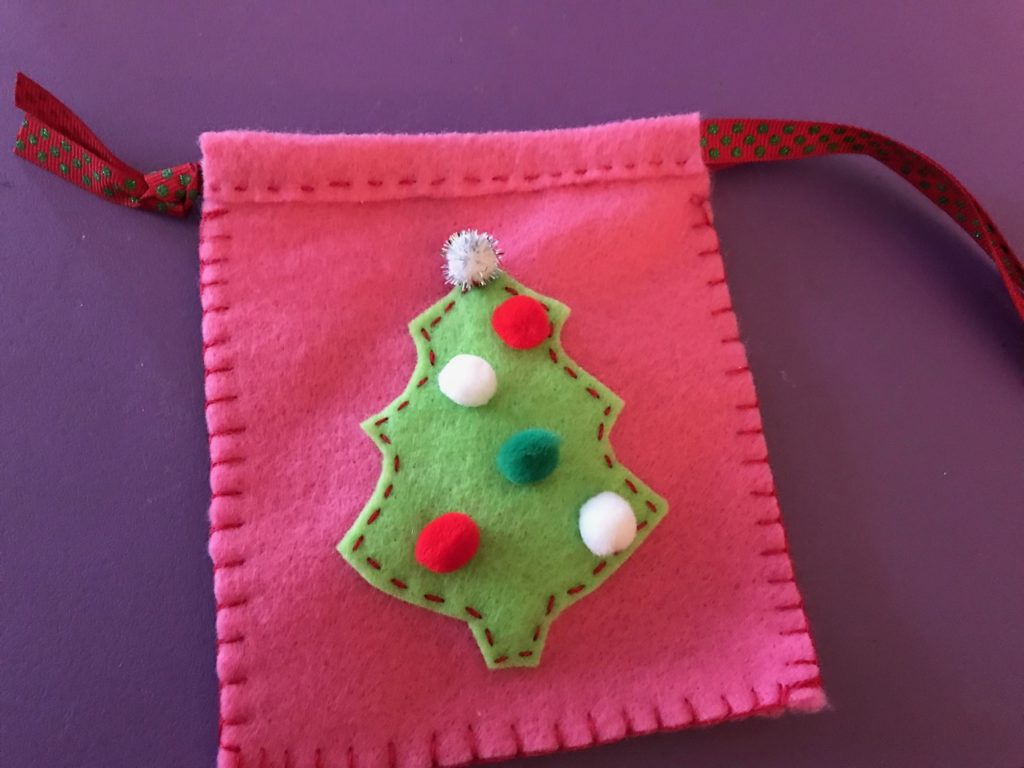
Now you’re going to add the tree, like an appliqué, and stitch around the edges. I like to use a running stitch (basic, basic), but you could use any embroidery stitch you want: blanket stitch, back stitch, French knots, daisy chains, etc. Begin by pinning the tree in the center but slightly lower, as shown below.

Using the contrasting colored embroidery floss (I use three strands), stitch the tree to one piece of the background felt. Do NOT tie off the thread yet.

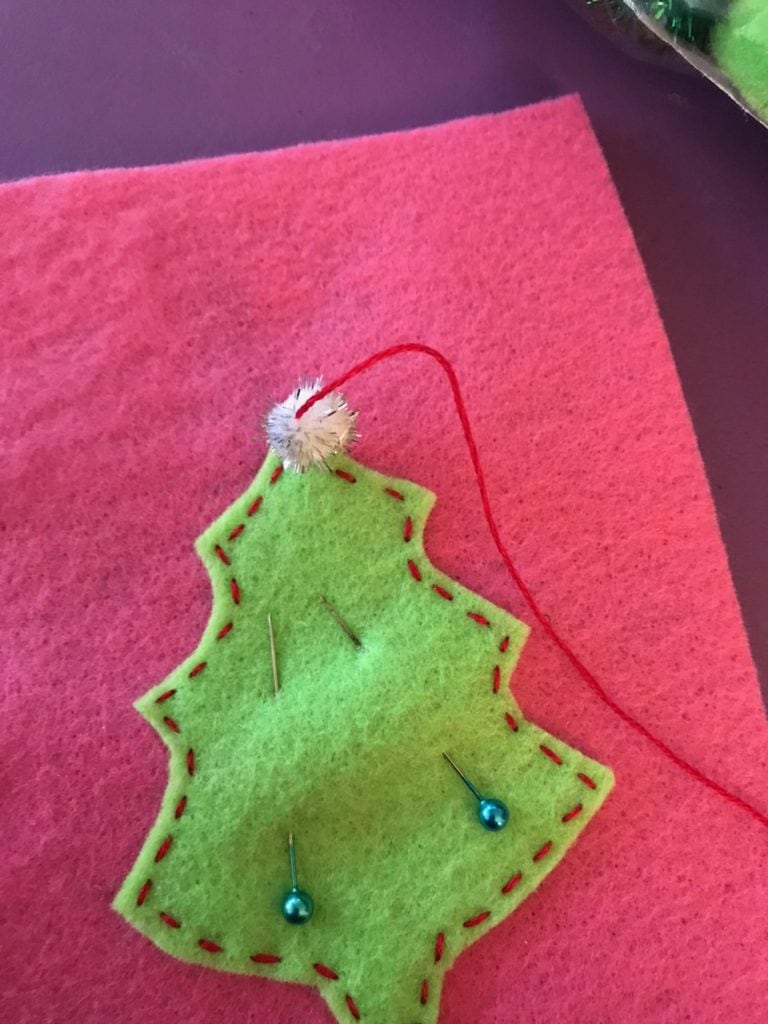
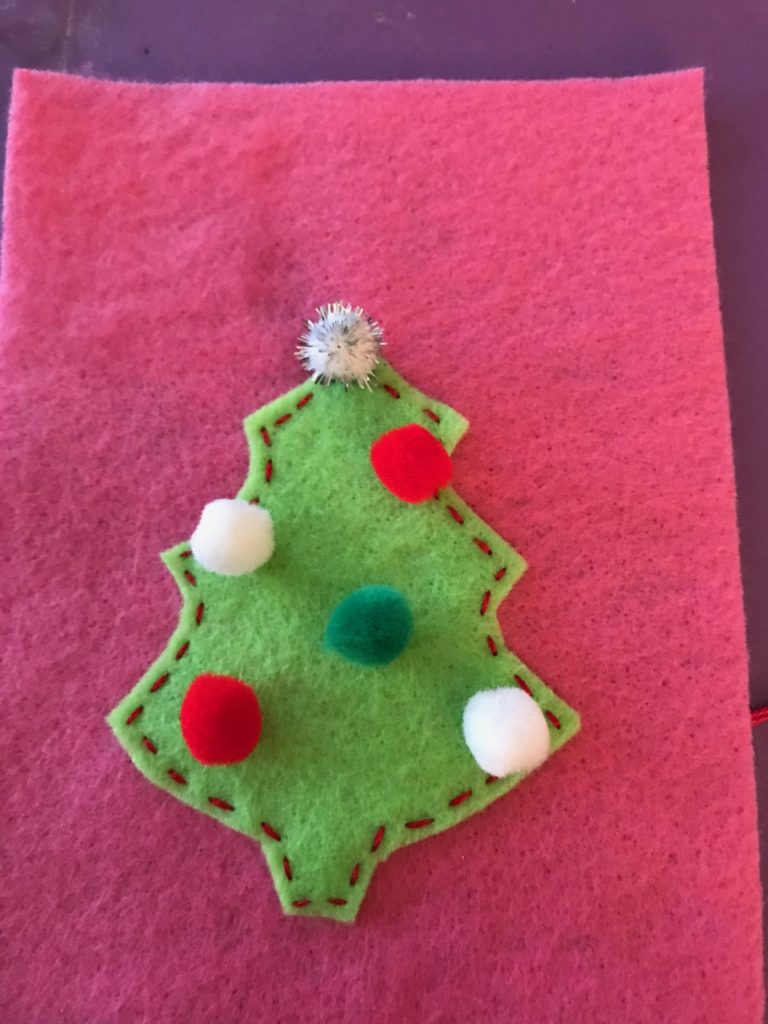
Now it’s time to decorate the tree! The demonstration below uses mini pompoms, but as you’ll see at the end of this post, I also use sequins and beads to decorate. Add each decoration by stitching it securely through both layers, the tree and the background piece. When finished, tie off the thread on the back and cut.

A jolly little tree!

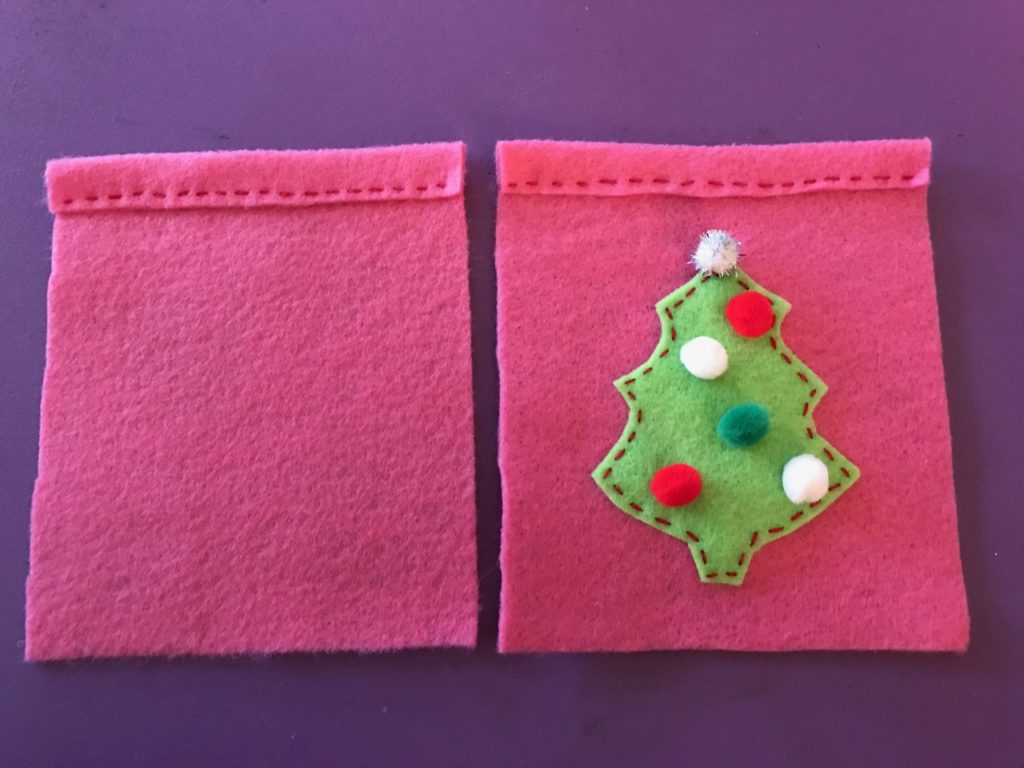
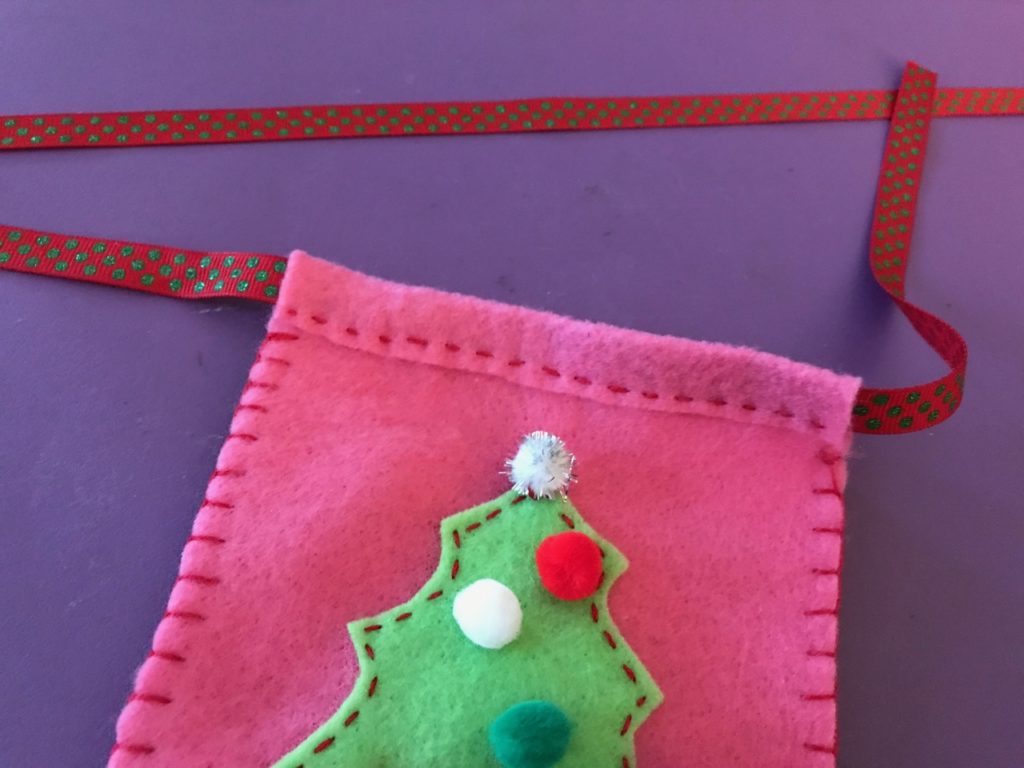
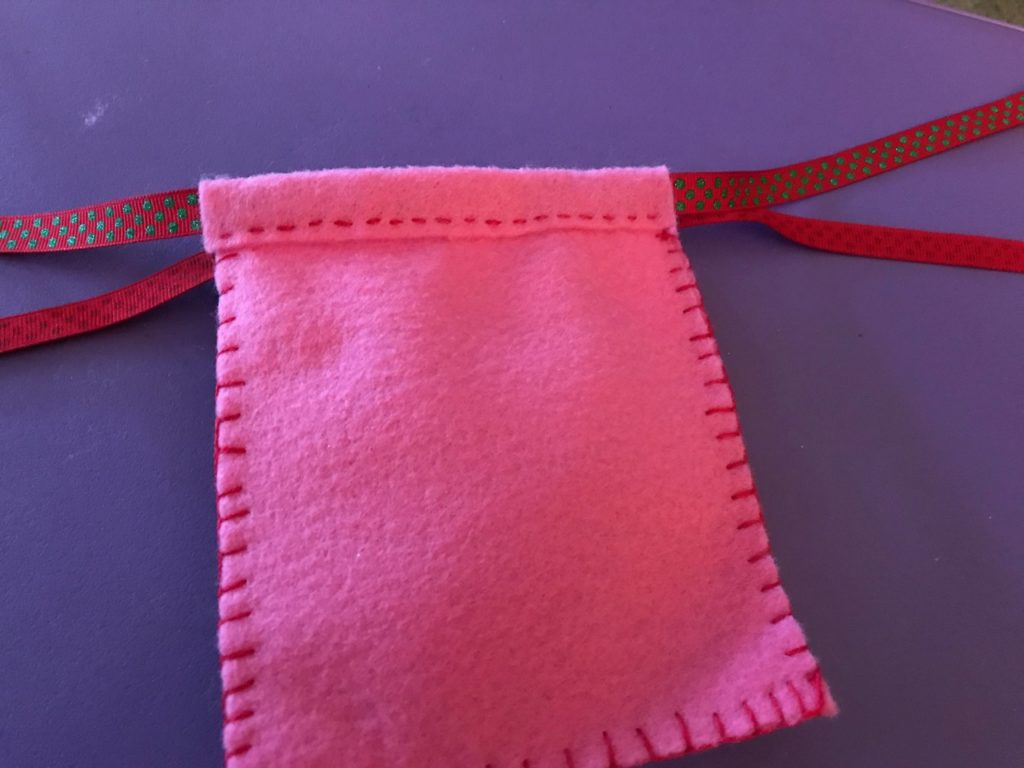
Now you’re going to assemble the bag. Get the second piece of background felt. On both pieces, fold over the top to make a casing for the ribbon. Pin in place to keep the felt from moving around on you.

You can use the same color embroidery floss as before or you can change it up if you like. You are going to using a running stitch to complete the casing on both pieces, slightly wider than the 3/8-inch ribbon, like this:

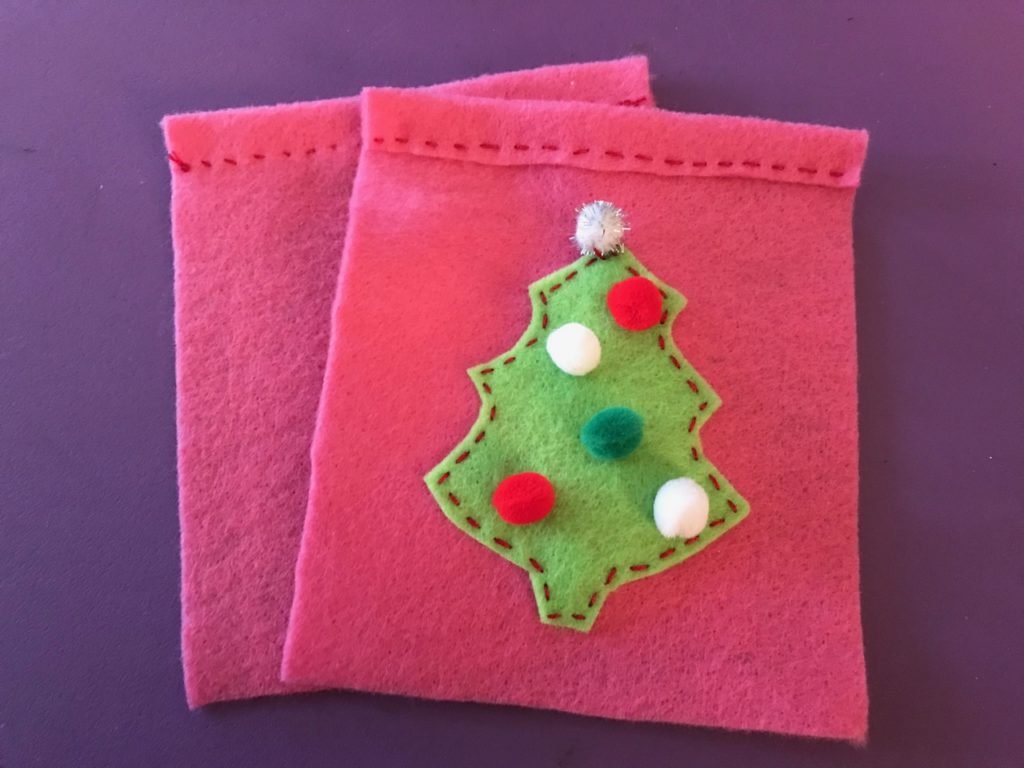
Now it’s time to put the bag together. Place the insides of the bag so they touch, leaving the folded over casing to show on the front and the back, as seen below.

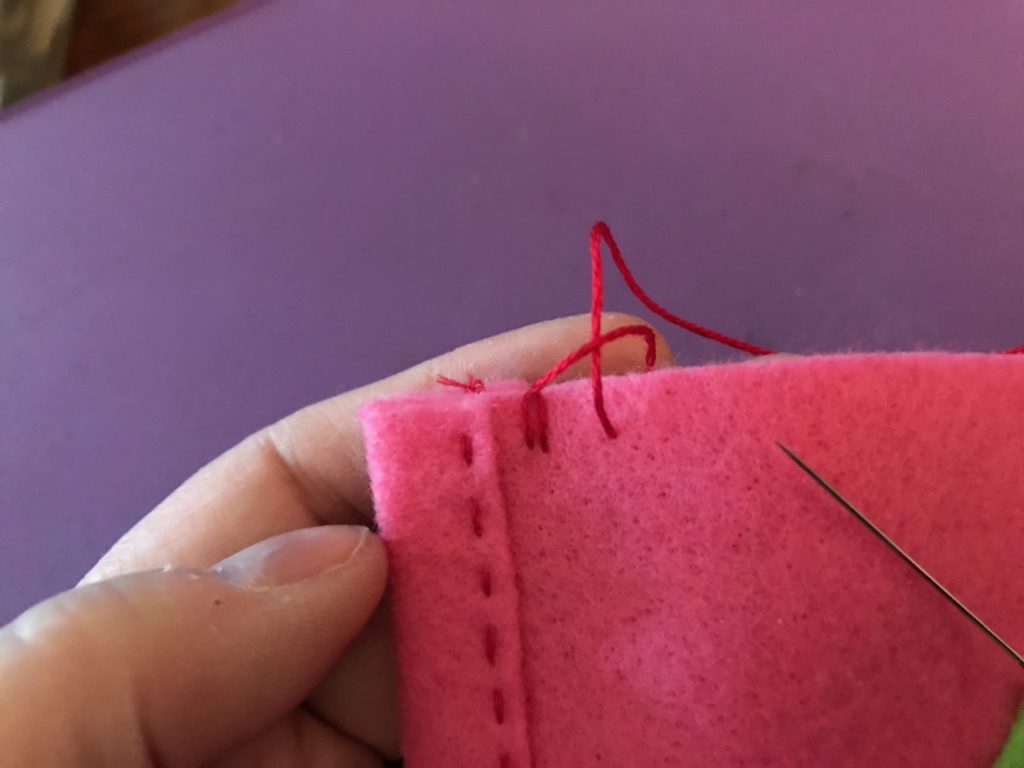
You can either use a blanket stitch (as I did) or a running stitch to sew the sides and bottom of the bag. (There are lots of great YouTube videos on how to do the blanket stitch. It’s easy! You can do it!!! )

Do NOT stitch over the casing openings. Start below the casing and end when you reach the other casing.

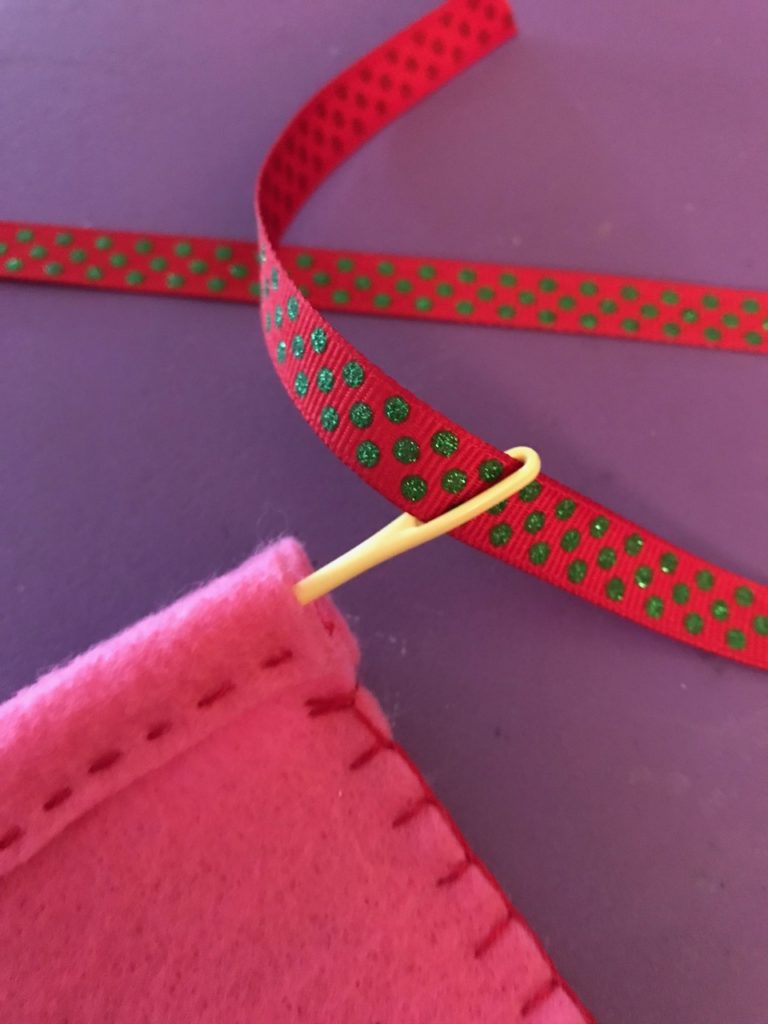
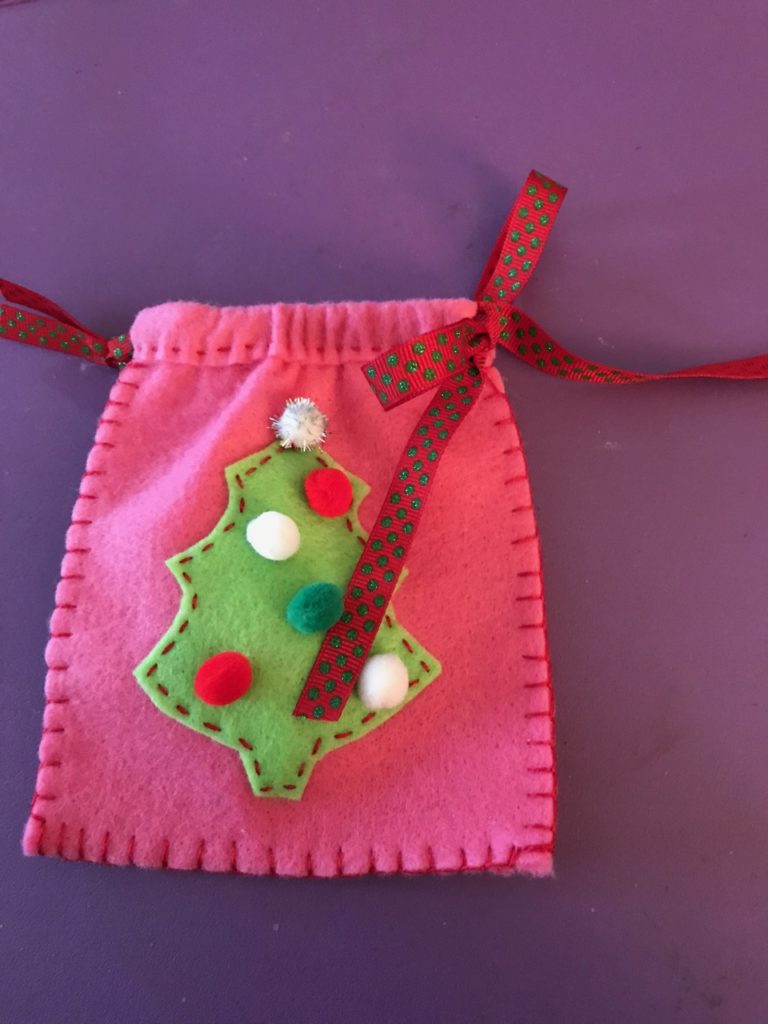
The final step is adding the ribbon. I like to use a plastic yarn needle because it won’t get caught in the felt (usually). Take one of your 18″ ribbons and thread it through the needle’s eye. Then draw it through the FRONT of the bag. Repeat with the second piece of ribbon for the back of the bag.

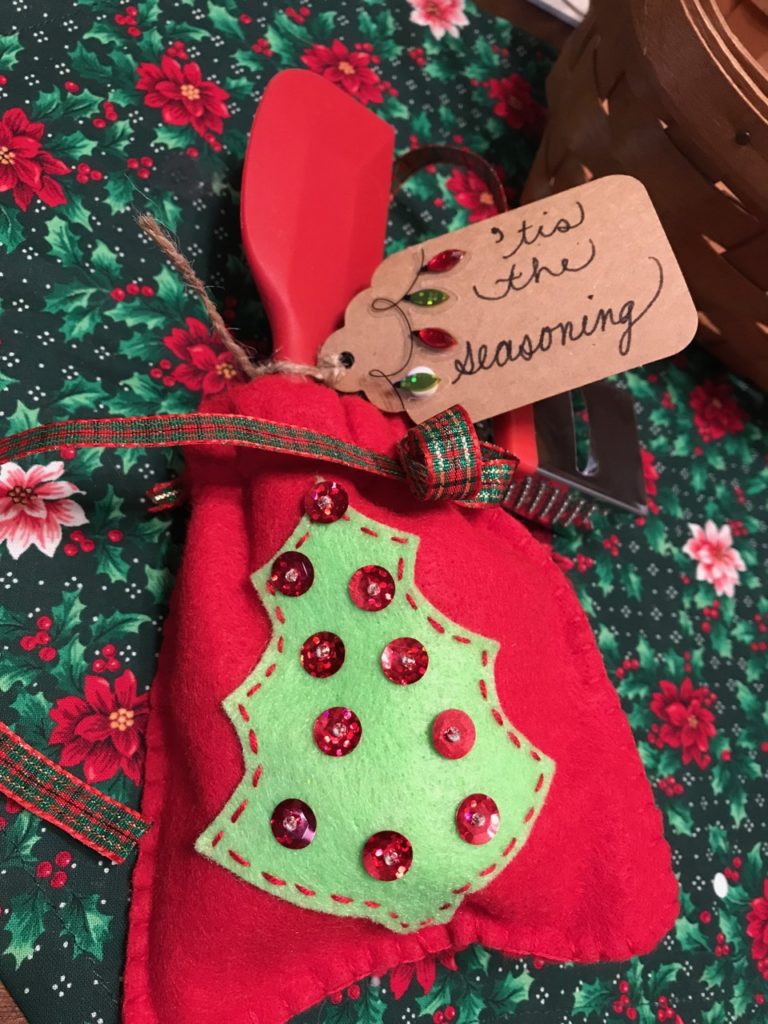
Pull most of the ribbons to one side of the bag. Tie a knot in the shorter side to secure it. Then you’re ready to fill the bag, tie the ribbon in a big bow, and add the gift tag.

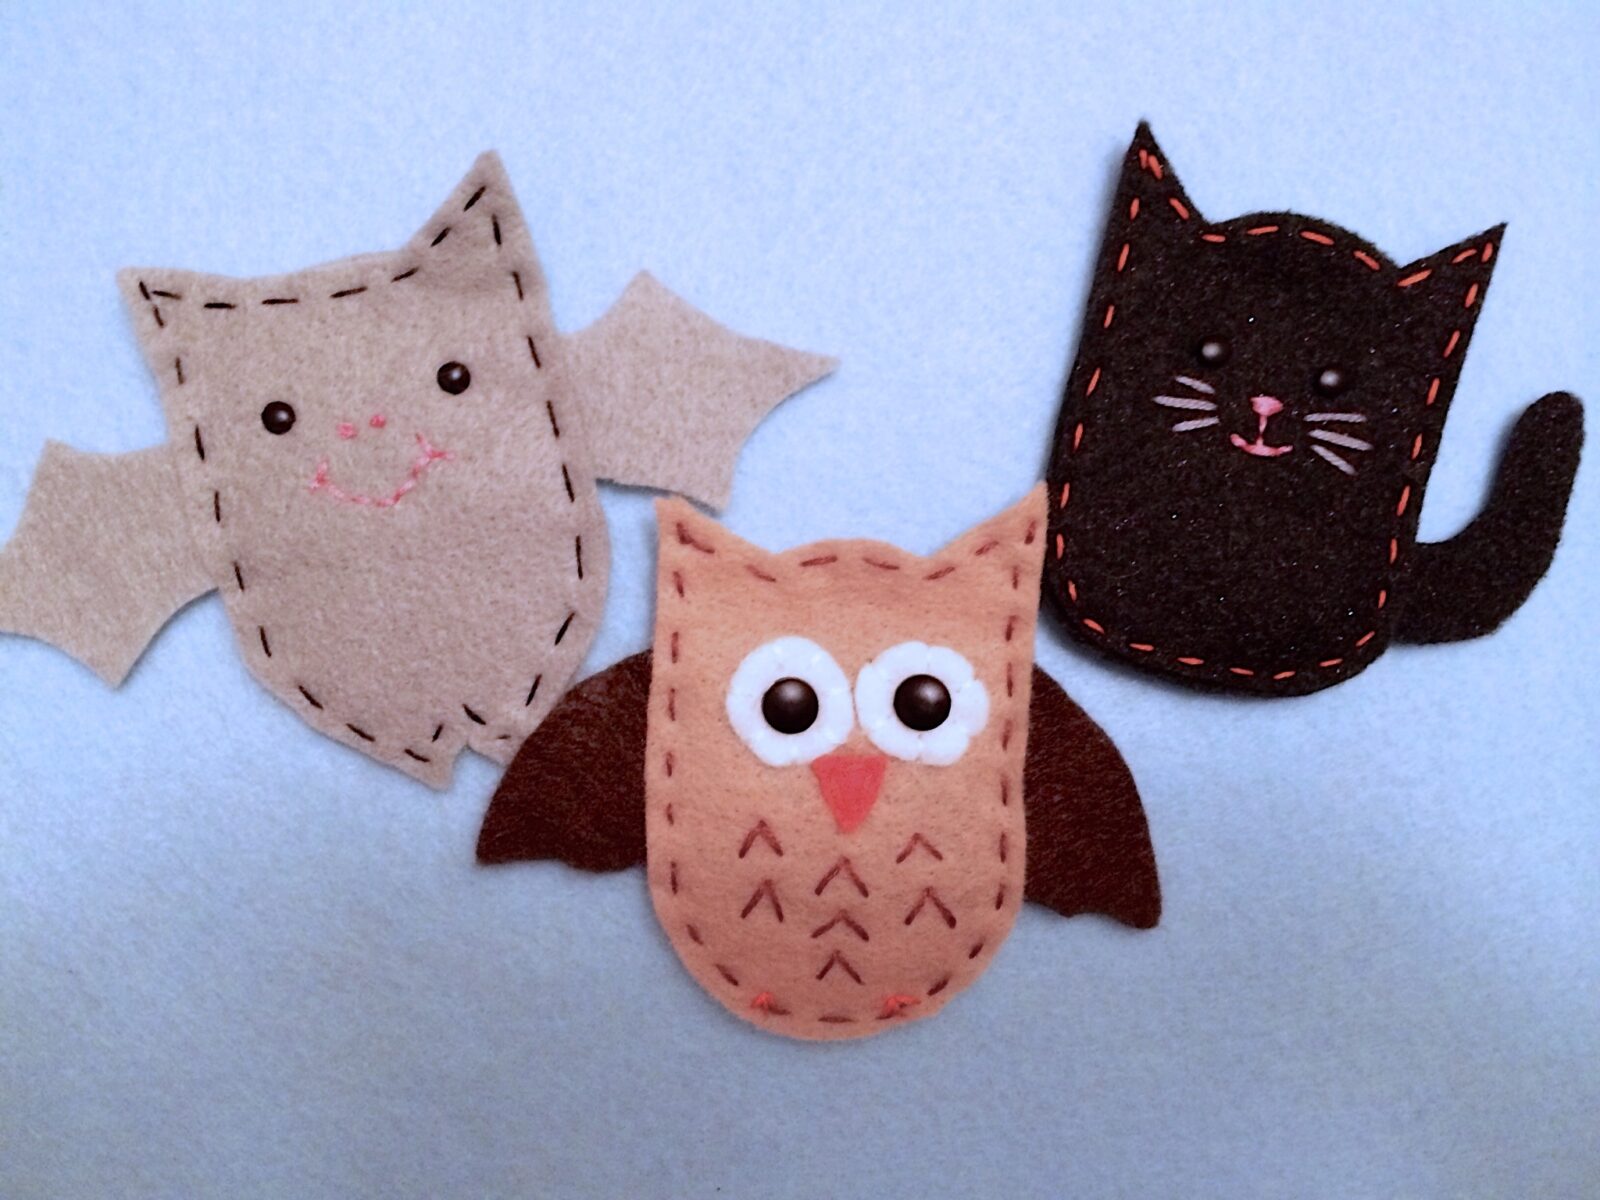
I decided to make my bag a kitchen gift. So I added a small jar of seasoning (Penzey’s is one of my favorite brands!), a mini spatula, and a mini grater (perfect for cinnamon sticks). Then I made two more!

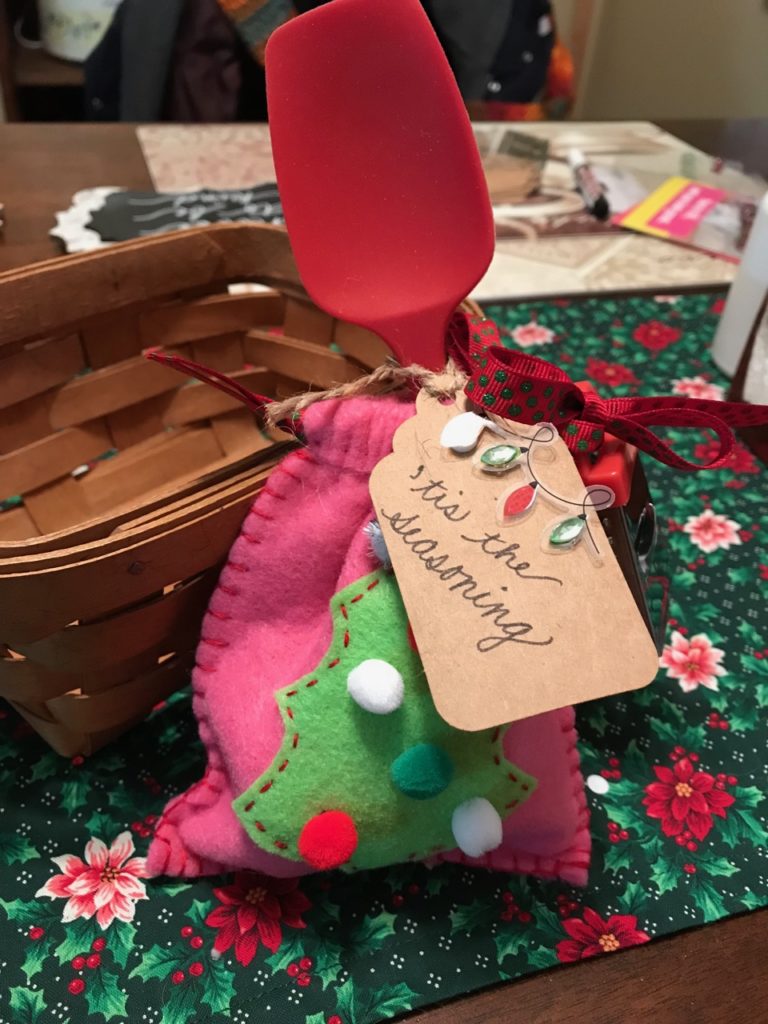
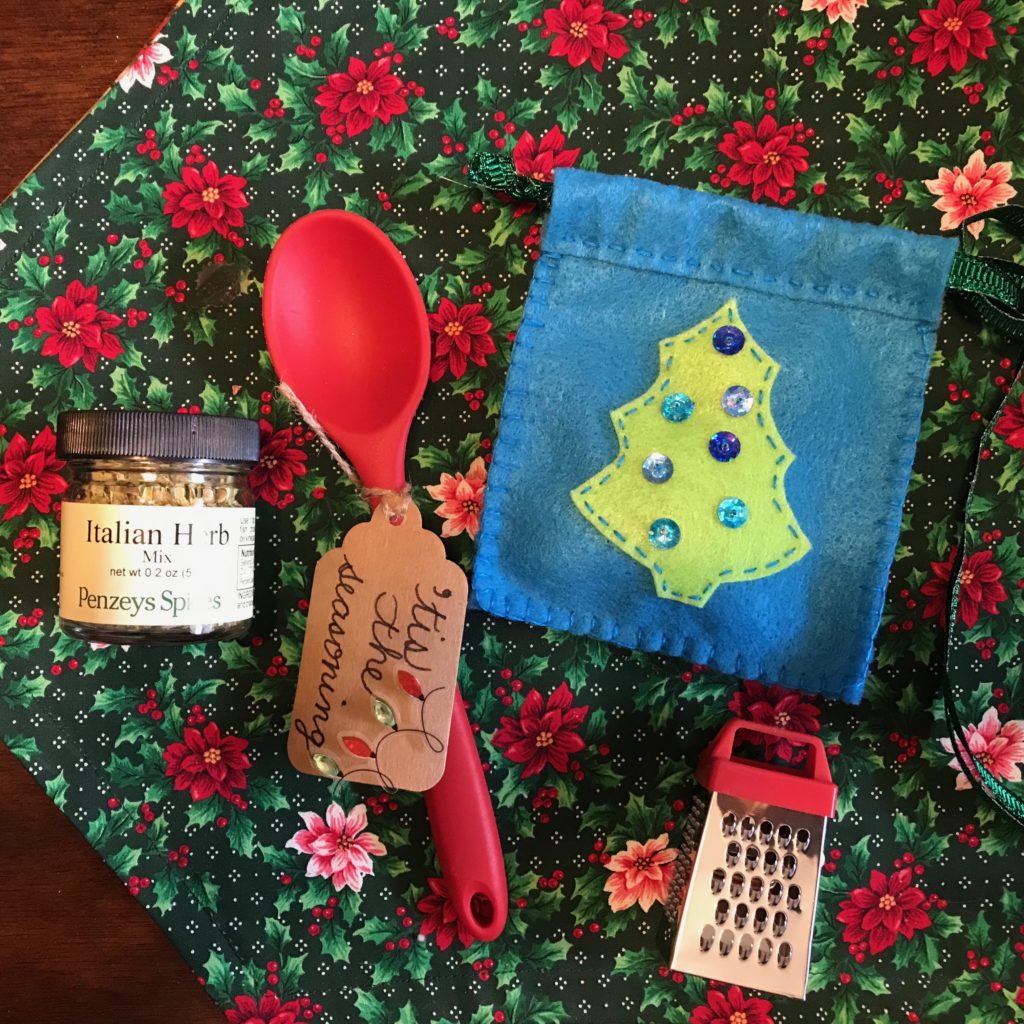
Of course, you can fill your bag with anything you want. Candies. Money $$$$. A gift card. But whoever receives it will be happy to have something handmade by you just for them.

I wish you all a blessed, happy, healthy holiday season! I’ll be back in 2019 with more Heartfelt Crafts for us to share.

Super Simple Fall Ideas #2

I love felt. In fact, that’s why I use the word “heartfelt” for my creative pursuits, both here and on Etsy. In hot weather, I don’t play with felt much, but once the temperatures cool down and the colors start changing, I reach for felt projects to keep my hands busy. In this post, I’m going to show you how to make some felted friends. This project is easy enough to get your kids involved, too!

I’m showing you step-by-step how to make Buffy Bat. At the end of the post, you’ll be able to download the full PDF with the cutout forms and photos that show you how to make all three critters: Buffy Bat, Ollie Owl, and Cassie Cat.

Here’s all you need to get started:

Materials:

  • Colored felt
  • An embroidery needle
  • Embroidery floss (it’s thicker than regular thread, so it shows up better
  • Sharp scissors
  • Tiny brads (4mm) or buttons

Step One: Cut out the felt pieces.

Step Two: On the front body piece, use marking pen to mark eye, nose, and mouth placements.

Step Three: Place brads for eyes. (You may use a pin to stretch a little hole to make it easier to insert

the back of the brad.) Or sew on small black buttons.

Step Four: Make either French knots or straight stitches to make the nose. Use backstitches to form

the mouth.

Step Five: Make running stitches around the top of the head on the front only.

Step Six: Place the wing between the front and back of the body pieces as shown. Pin in place.

Step Seven: Use running stitches to sew the front, back, and wings together as shown. Only stitch

the sides and bottom if you are leaving the top open for a treat. That’s it! You’re finished. 

Now go eat that chocolate bar. You’ve earned it.

Now for that download.

Just click HERE. I’m making it available to my Heartfelt blog followers for FREE.

You can send others to my Etsy shop where they can purchase the download for $2.95.

Crochet Lessons from Pam Muñoz Ryan’s Esperanza Rising

[Esperanza] watched the silver crochet needle dance back and forth in her grandmother’s hand. When a strand of hair fell into her lap, Abuelita picked it up and held it against the yarn and stitched it into the blanket.

“Esperanza, in this way my love and good wishes will be in the blanket forever. Now watch. Ten stitches up to the top of the mountain. Add one stitch. Nine stitches down to the bottom of the valley. Skip one.”

Esperanza picked up her own crochet needle and copied Abuelita’s movements and then looked at her own crocheting. The tops of her mountains were lopsided and the bottoms of the valleys were all bunched up.

Abuelita smiled, reached over, and pulled the yarn, unravelling all of Esperanza’s rows. “Do not be afraid to start over,” she said.

Esperanza Rising by Pam Muñoz Ryan, Scholastic paperback edition, ISBN 978-0-439-12042-5, 2007, pp. 14–15.

A Few Opening Thoughts

If you haven’t read this book yet, let me tell you that it belongs on your TBR list. Go ahead. Write it down. I’ll wait.

The clamor over immigration these days is not as new as we want to believe. It’s been a hotbed issue for decades. This tale of a young Mexican girl who has to flee her home with her mother and a group of family friends for the safety of America is based on the author’s grandmother’s immigration experience. Migrant farm workers form the backbone of Ryan’s family tree. They worked hard to make a home for their children, grandchildren, and great-grandchildren. Even though the story takes place during the Great Depression decade of the 1930s, the obstacles for immigrants are still looming and scary. 

If you have a young person in your life, probably aged 10 or older, do them a favor and buy them this book. Then have a conversation about immigration. Perhaps dig up your own family history and share it. Many of us can trace our roots to an immigrant who dared to risk everything to start over in America. Now, more than ever, this conversation needs to happen. 

Crochet Lesson #1 (Lección de Ganchillo Número Uno)

Imperfections create personalization.

Those of us who work with yarn—usually as knitters or crocheters—find ourselves pick, pick, picking things out of the yarn as we stitch. It might be a piece of lint, a cat hair, or one of our own single tresses that clings to the fiber. We see that as an imperfection, an intrusion into the project that we’re working so hard to make. Pick, pick, pick.

From now on, I want to think like Abuelita. I want my strands to embrace the yarn if they fall into my work. I want to make every stitch a prayer for the person who will receive the gift I’m creating. I’ll be less worried about perfection so I can enjoy the stitches, the rows, the mountains and the valleys. Will you?

Crochet Lesson #2 (Lección de Ganchillo Número Dos)

Ah, those mountains and valleys. I’ve spent time in both places—and so many years in between. I’ll bet you have, too. Those valleys are tough. They feel dark, lonely, and long. If you can envision the crochet pattern Abuelita uses (it looks exactly like the photo above), you will see that the deepest part of the valley is only one stitch away from heading up toward the mountain top. Just one stitch. Maybe that’s all you can manage some days. That one thing that moves you slightly up, changes the angle oh-so-little, but oh-so-not-in-the-deepest-part-of-the-valley. Maybe it’s taking a walk. Calling a friend. Starting a new book (read or write). Steeping a cup of tea and watching a favorite old movie. Just one little stitch. Crochet hook in, yarn over, pull through. Pull through.

Crochet Lesson #3 (Lección de Ganchillo Número Tres)

Abuelita smiled, reached over, and pulled the yarn, unravelling all of Esperanza’s rows. “Do not be afraid to start over,” she said.

I wish we could undo our mistakes as simply as pulling on a string. We can’t. However, we can try again, over and over if necessary. Here are some ways to do that:

  • Apologize sincerely when wrong.
  • Admit when we’ve made a mistake.
  • Make atonement when possible. (AA’s Twelve-Steps followers depend on this to maintain sanity and sobriety. We all would do well to practice this step, too.)
  • Not take failure to heart. 
  • Remember that everyone fails, and probably a lot more often than we realize.
  • Forgive yourself.
  • Give yourself permission to mess up, especially if it means you can take risks doing something you’ve always wanted to do.
  • Swear. Punch a pillow. Take a break. Doodle. Journal. Mow the lawn. Clean the kitchen. Do something to get the negative feelings out (don’t stuff and deny them—that will only make you depressed and even sick) and then start again when you’re ready.

Do you know someone who might be encouraged by this post? Send it to them. They don’t have to join the blog, make a comment, or do anything at all. Just receive some encouragement—especially if they’re deep in a valley right now.

Those who want to follow my blog can do so by adding your information here: