Sometimes you just have to combine two crafts that you love—and come up with a new one to love, as well. This week’s project is easy, Zen-like, and oh-so-pretty!
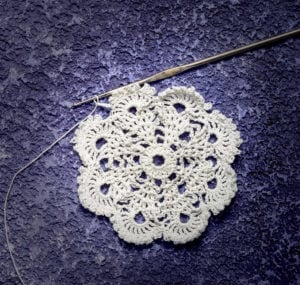
Those of us of a certain age grew up in homes decorated with doilies. Think of them as lacy coasters, if you will, underneath everything from lamps to candlesticks to the make-me-beautiful objects found on a bedroom vanity.
Before you panic, don’t! I’m not going to entice you to learn the needlecraft of thread crochet or tatting. (My grandmother knew how to do both to perfection.) No, we’re going to do something that will take much less time, fewer materials, and no stress. (Unless you stress about everything, in which case, I can’t promise much. tee hee)
Remember some of my previous posts about learning to Zentangle®? I’m going to show you how to apply some of the basics of calming, creative, mindful doodling to make a lovely circle of sweetness. Let’s begin with what you’ll need:
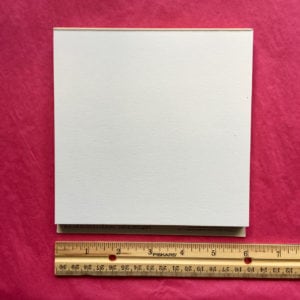 Plain paper—a square size of your choice—that doesn’t bleed when using markers. Any color is fine, as long as your marker will show up on it. You could even use black paper if you have a white marker. (I’ll show you how that looks at the end.) I use 6″ x 6″ cardstock paper:
 - A ruler
- Anything you can find to make concentric circles: a compass, circle stencils, circle templates, or a variety of round objects from small (about the size of a dime) to large (for this purpose, about the size of a small saucer).
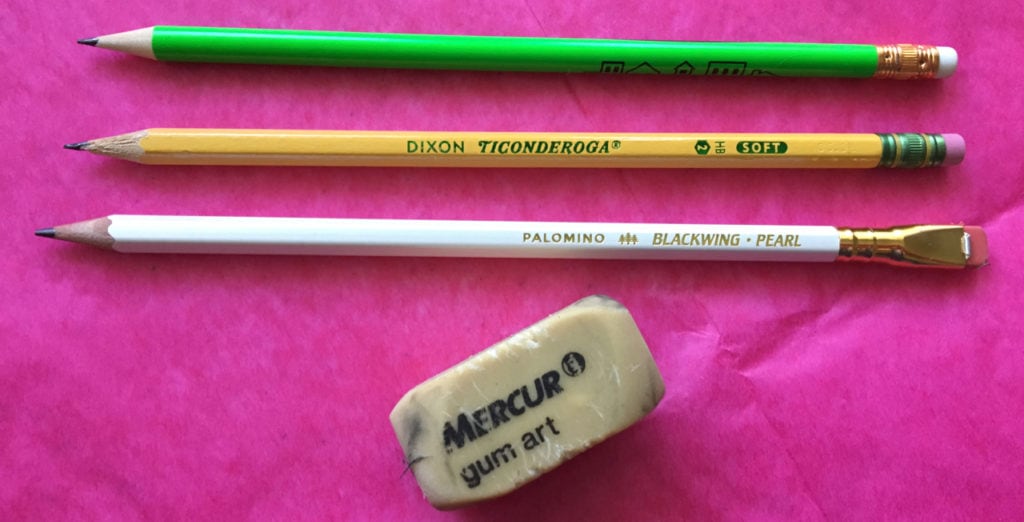 A good pencil and eraser. My favorite pencils for things like this (because they erase completely) are Ticonderoga No. 2 and Palomino Blackwing Pearl. Any good pencil will do if you find you can create soft lines and erase without leaving any graphite behind. My favorite erase is not on the end of the pencil. I prefer the old-fashioned, bouncy, chunky art gum erasers. They are unbeatable for erasing pencil marks and not taking away any ink from your work.
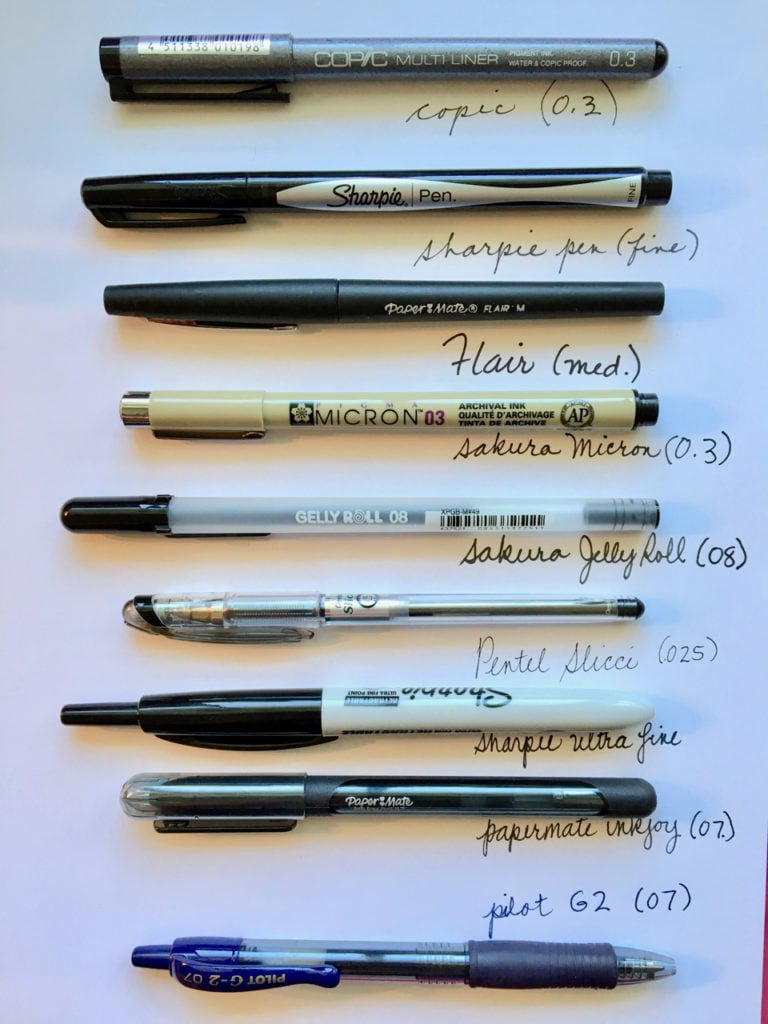
- Fine-tipped colorfast markers or gel pens such as Sharpie, Copic, Sakura Micron, Sakura Jelly Roll, Pilot G2, Stablio, etc. Here’s a photo to show a few of these and a writing sample of each. For the project you’ll see here, I used the fourth one down, the Sakura Micron 0.3 marker.
That’s it. Now we can start. Find a place where you can work comfortably and where the light is good. You’ll be making faint pencil marks, so it’s good to be able to see them easily.
First, using your pencil, start by drawing straight lines from corner to corner so you can find your center.
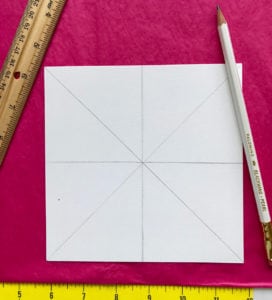
2. Draw a small circle in the center. Use a compass or template or just freehand it.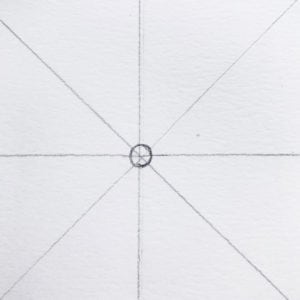
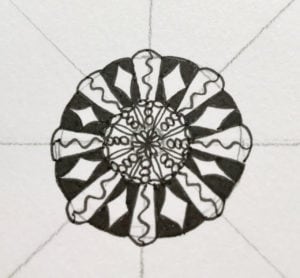
3. Make a design around the circle. I’m using long ovals that look like petals. You don’t have to do exactly what I’m doing on these steps. Whatever design you want, go for it!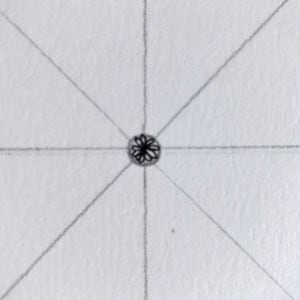
4. Draw another circle around the first one to keep your designs equidistant from the center. Remember, all of the pencil marks will go away at the end.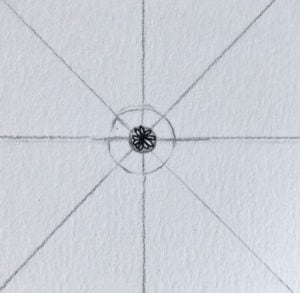
5. Doodle a different design around this circle. Make sure it touches the first circle’s design so it seems to hold together, like a doily!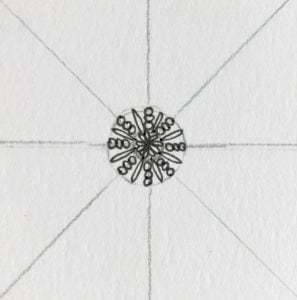 6. Sketch in another circle around that one.
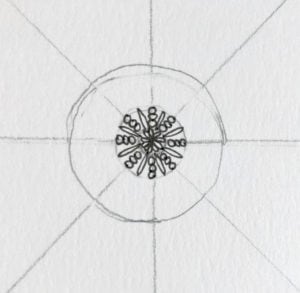
7. I decided to border the entire second circle with a chain effect. You could use dots, scallops, lines, or nothing!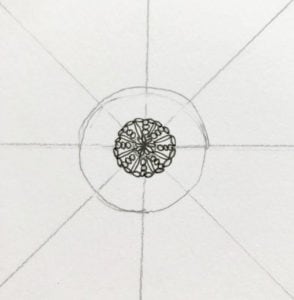
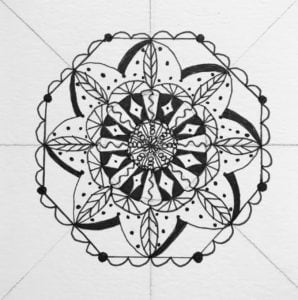
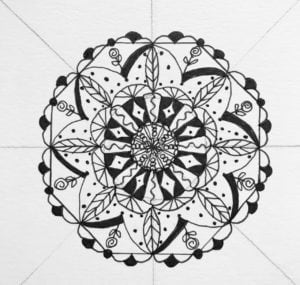
8. Using the lines you drew at the beginning, begin to pull your design outward. As you do this, you won’t have to keep drawing circles to keep your distance from the center. However, you may draw circles if you feel better about that. The goal here (as you can clearly see from my example) is NOT perfection. It’s about play, imagination, design, and feeling calm as you discover what wants to appear.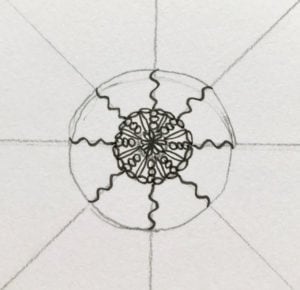
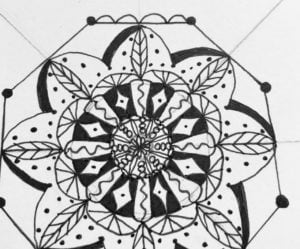
9. Just keep adding designs as you wish. Here’s a progression of mine for this round. (When crocheting a doily, each time you start on a new circle, it is called a “round.”)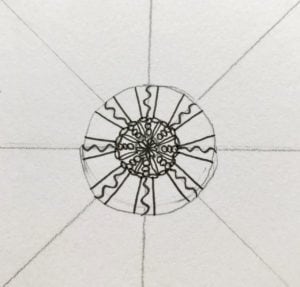
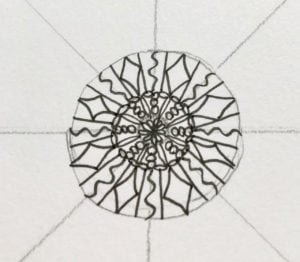
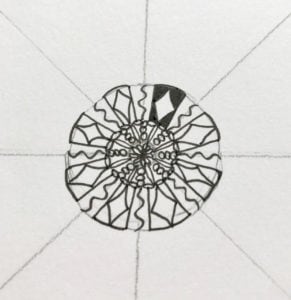
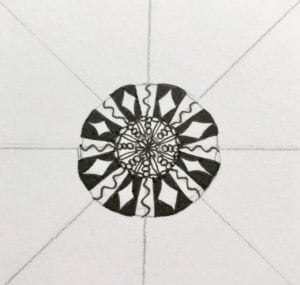
10. Now I’m using the rays (lines) to pull the design again. These leaf/feather pieces also add something recognizable. 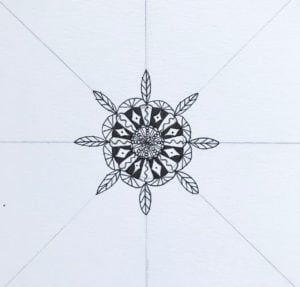
11. After I put the dots in, I pull a “wing” down to the center dot of each section.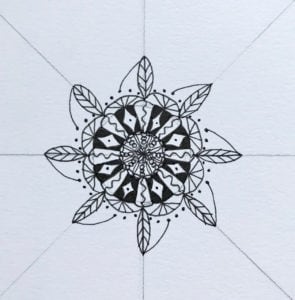
12. Then I do the same to the other side.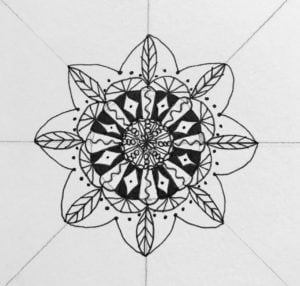
13. I add some dots as fillers and draw a lefthand line that I’ll be using to shade the design. 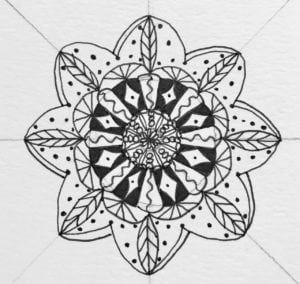
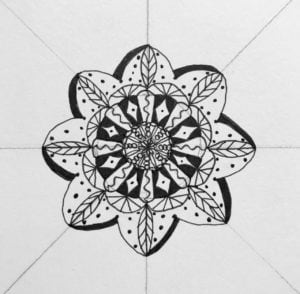
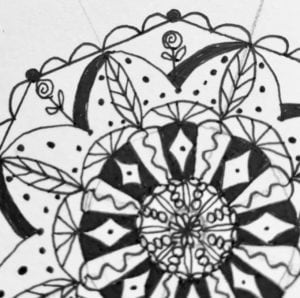
14. Again, I’m pulling the design outward by placing these small circles in the center of each section. (See how you don’t have to keep drawing circles now?)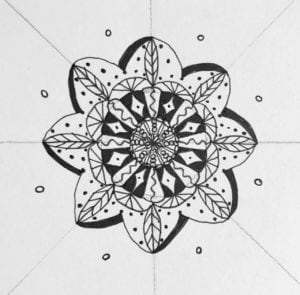
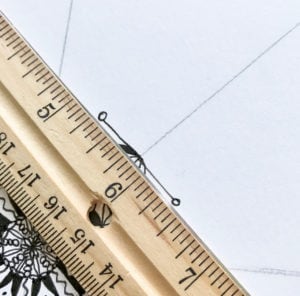
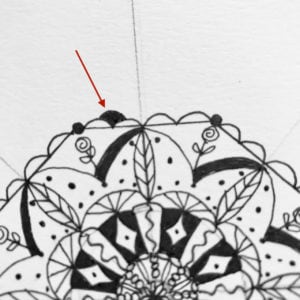
15. Use your ruler to draw a straight line from tiny circle to tiny circle, making sure you touch the top of each arc (petal).
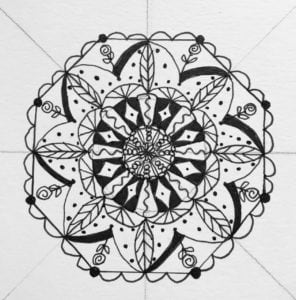
16. Progress by adding elements to this round. We’re almost done!
17. You can keep adding rounds as long as you want. The project can be as large or small as you want. When you’re happy with your final round, it’s time to erase—but wait! Let your ink completely dry before you start rubbing the paper with an eraser. The time varies, but I try to wait at least 15 minutes. Some inks take longer. I prefer to use a gum eraser. It takes out everything the pencil has done, but doesn’t interfere with the ink at all.
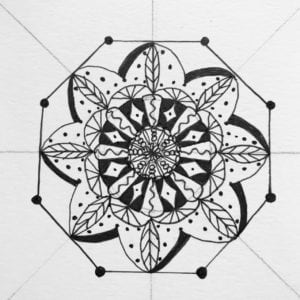
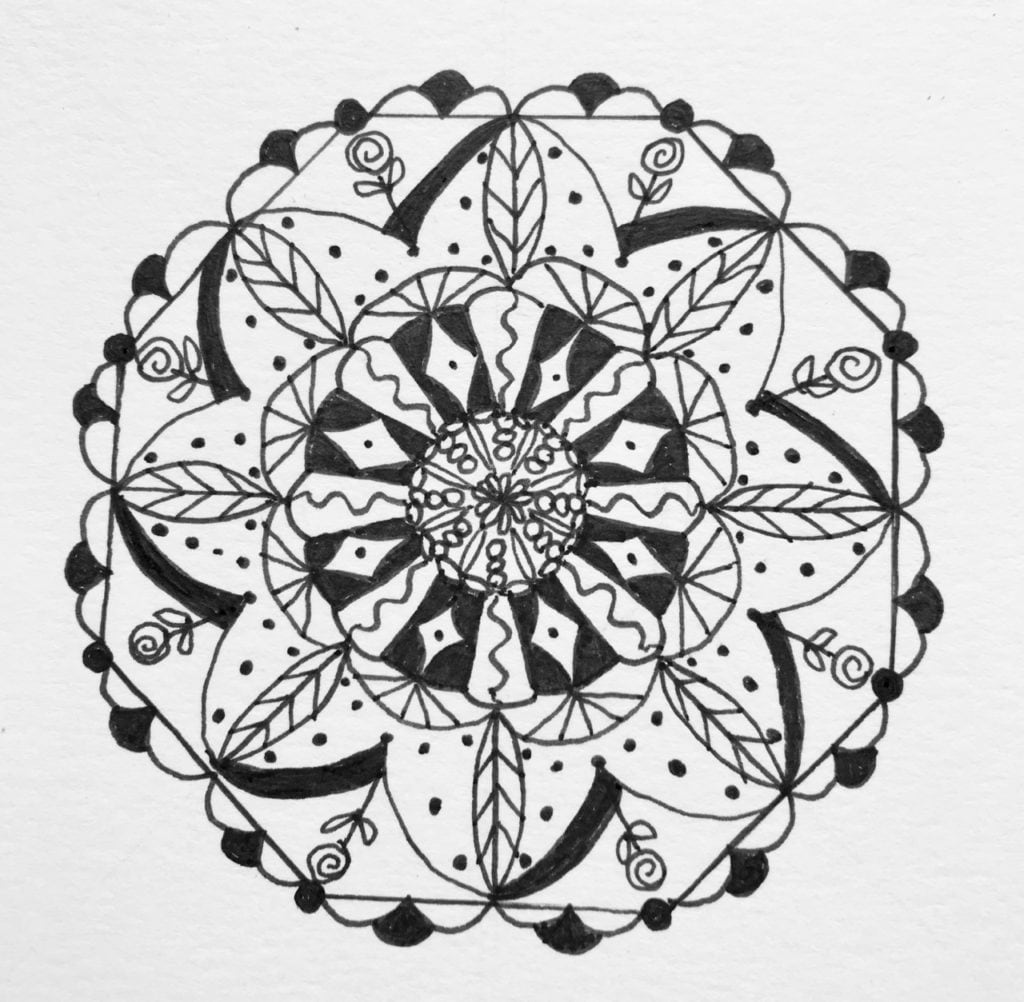
Here’s the final product! No, it’s not perfect. But it’s nice and pretty and ready for a little frame. Unless…I decide to color some areas. That’s entirely up to you! Use gold or silver metallic pens to put some elegance on it. Or use colored markers or colored pencils to make it pop.
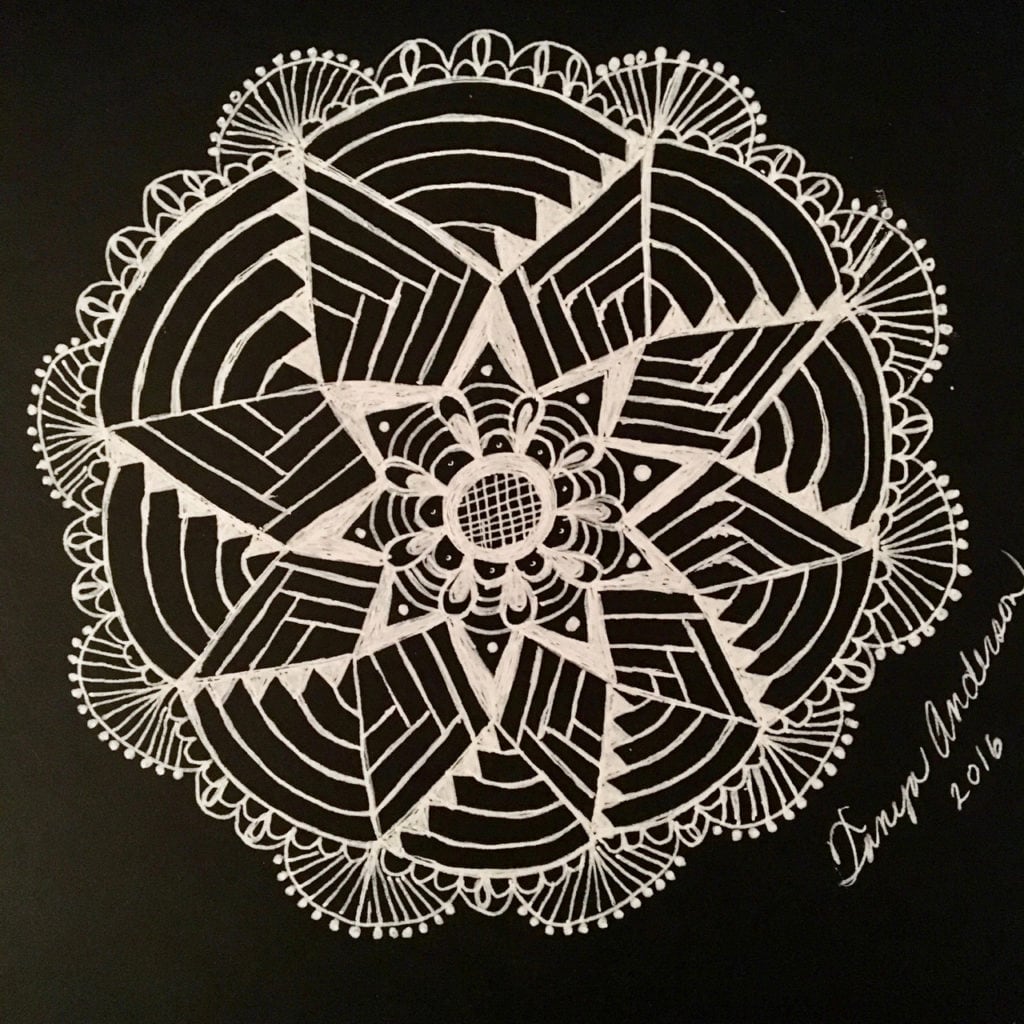
I hope you had fun doing this project with me. As promised, here’s an example of one I did on black paper with a white gel pen—again, NOT perfect.
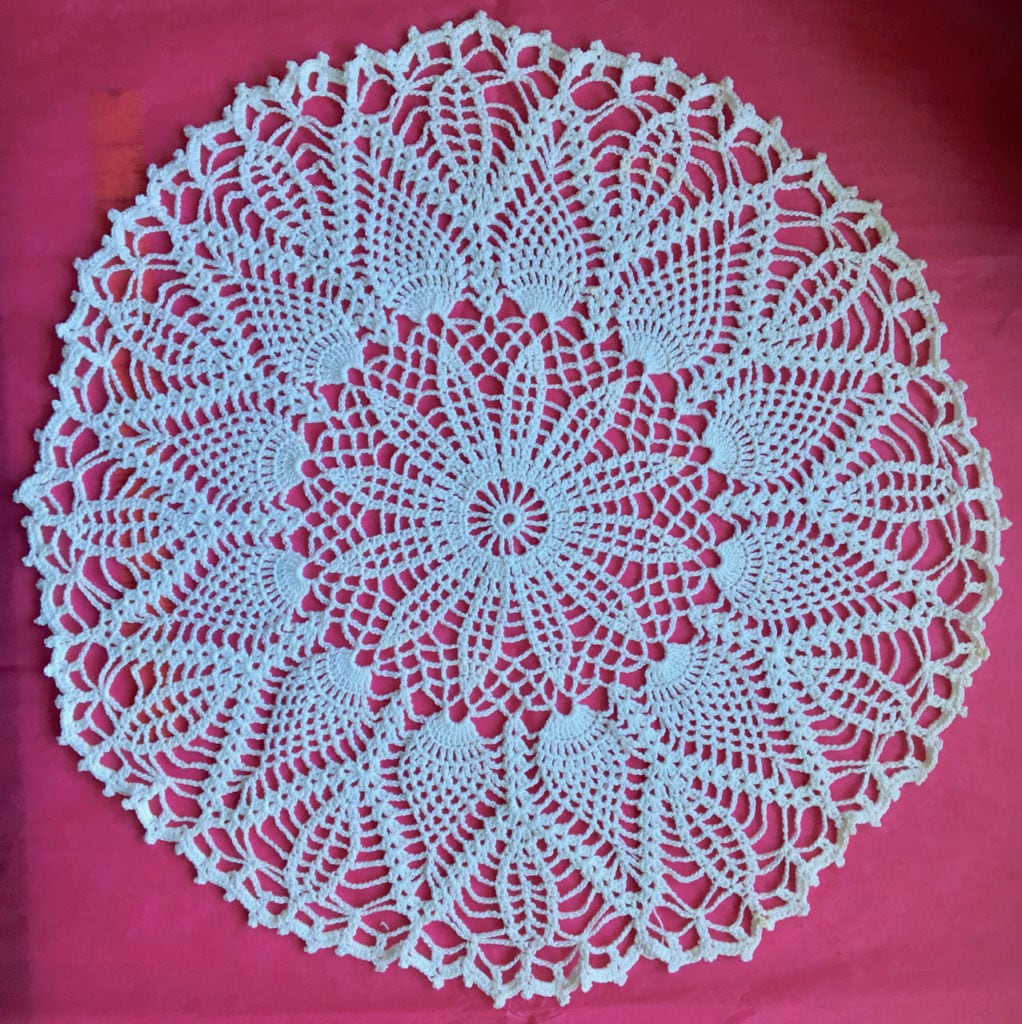
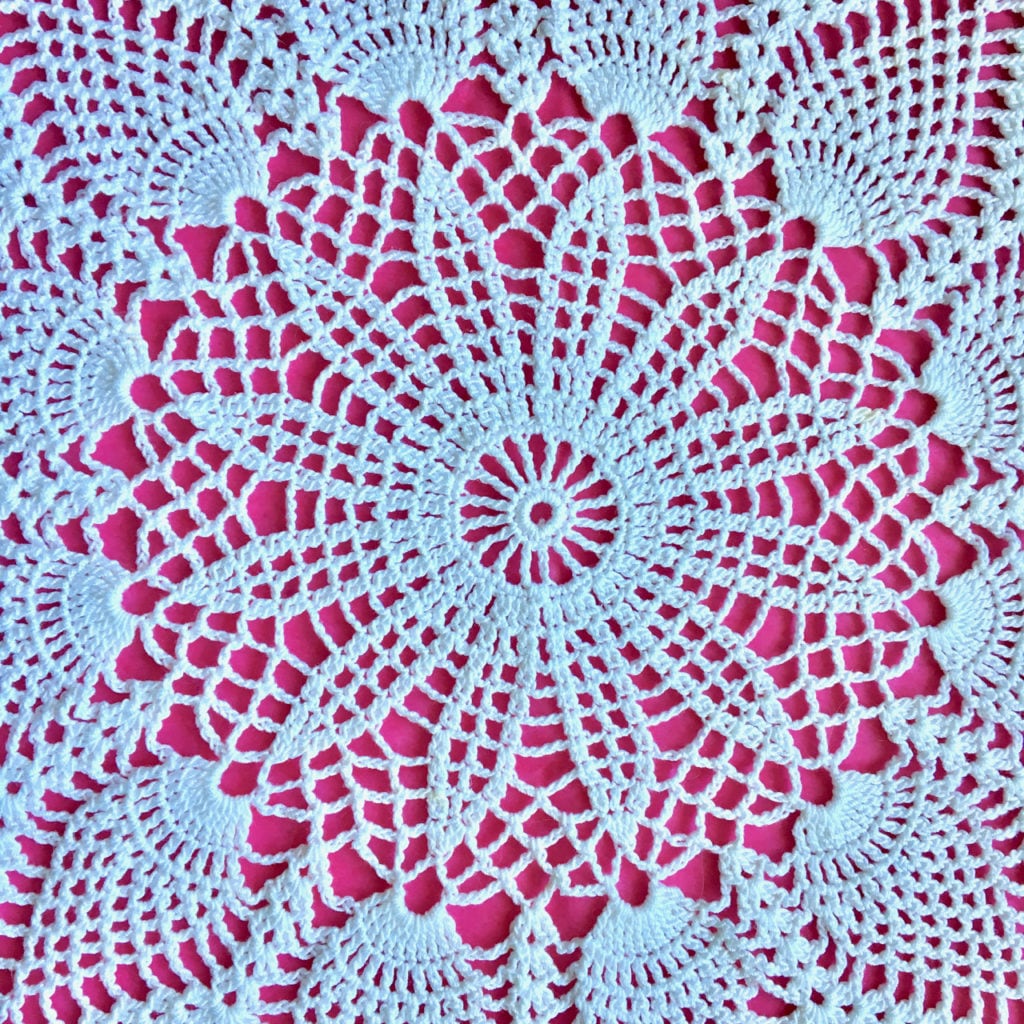
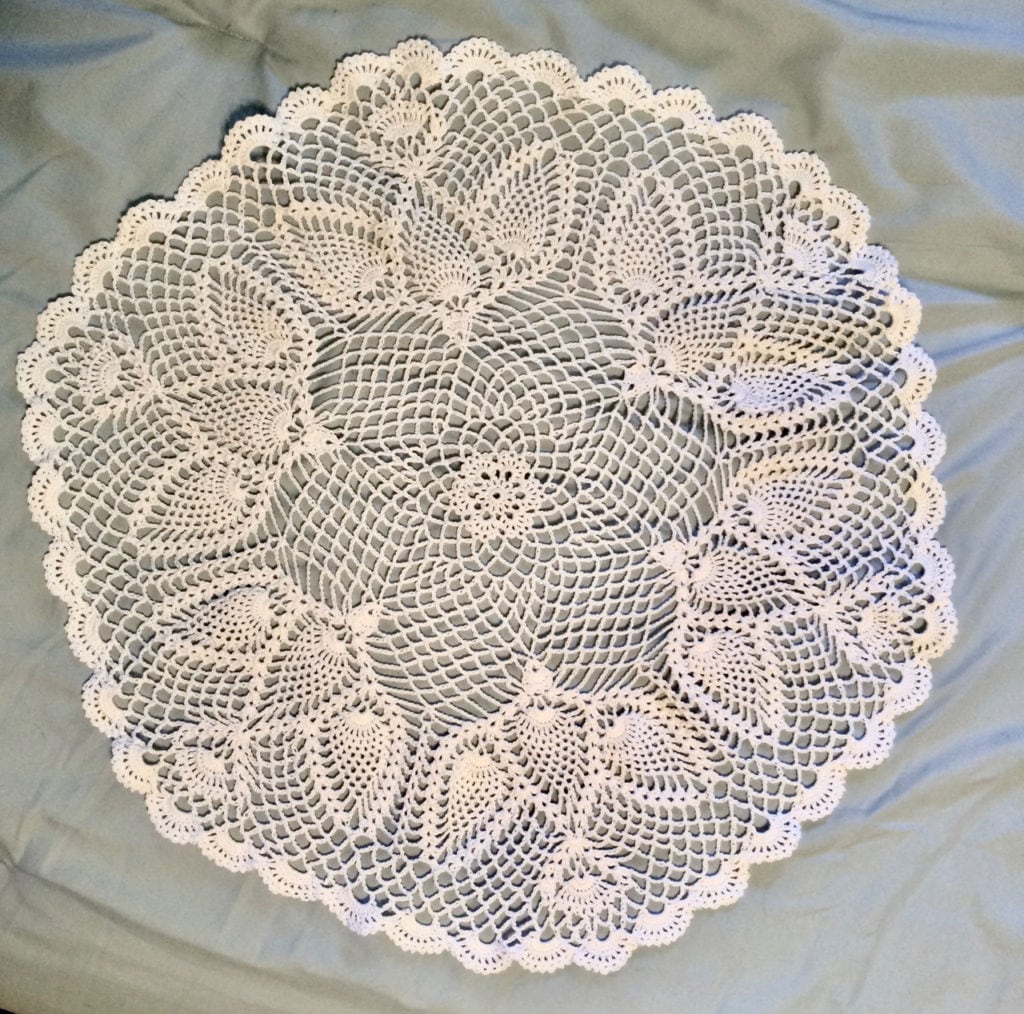
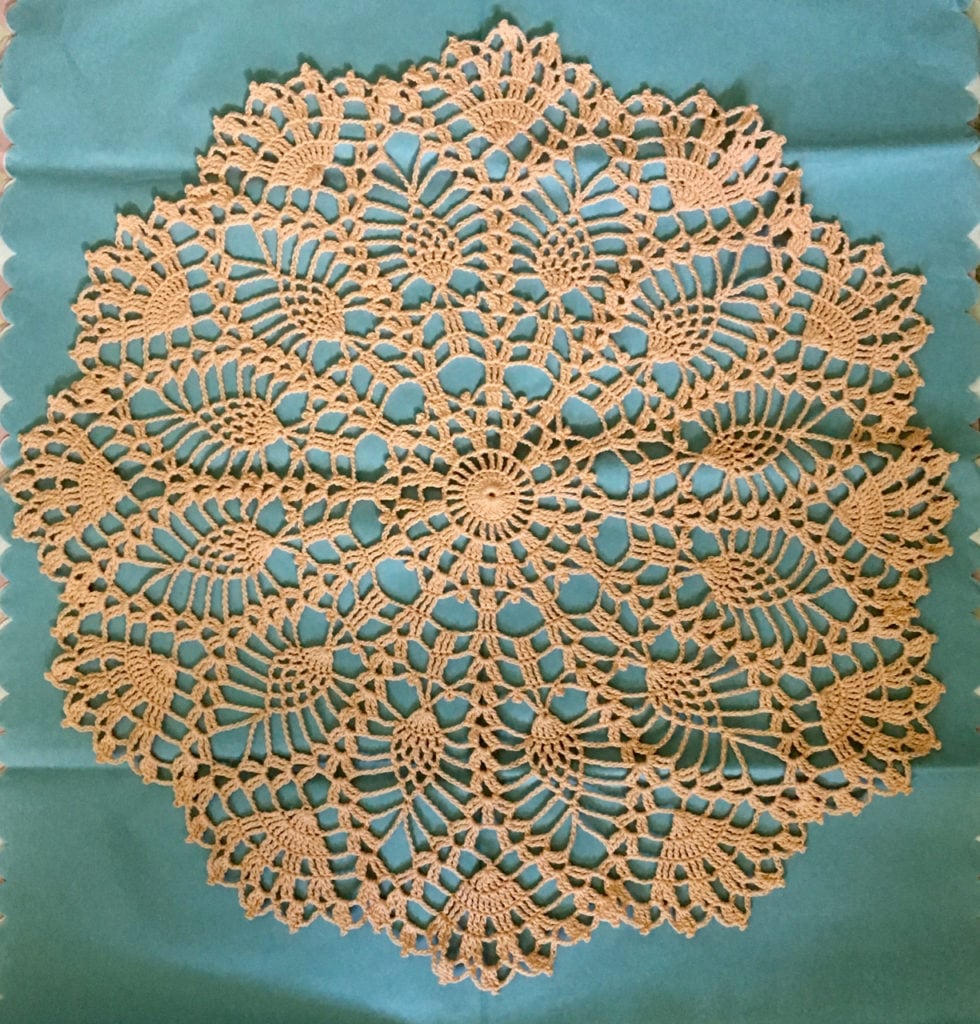
Here are some crocheted doilies I’ve made. Most were given as gifts. And now I can draw them (which is SO much faster!)
Send me pics of your paper doilies when they’re done. I love to see what you create!

