‘Tis the Season…ings

Sugar and spice and everything nice, that’s what the grown-up girls on your list are made of. Let’s make something special just for them. A bag of seasoning with some mini accessories!

This easy felt project can be completed in about one hour.

But first you need to gather all the ingredients.
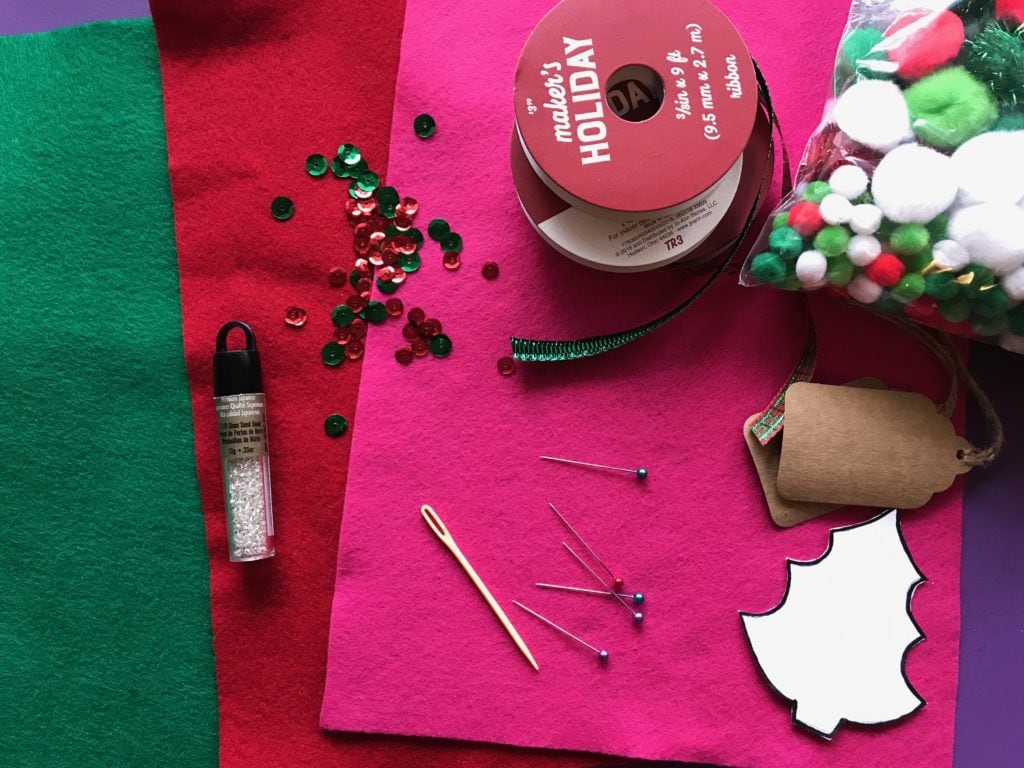
Ingredients:

  • 8 1/2 x 11″ felt piece in main color
  • felt scrap in green
  • scissors
  • pins
  • sewing needle
  • embroidery floss in matching or contrasting color
  • plastic yarn needle
  • two (2) 18″ pieces of ribbon 3/8″ wide
  • pompoms (optional)
  • sequins (optional)
  • glass beads for sewing on sequins (optional)
  • gift tag

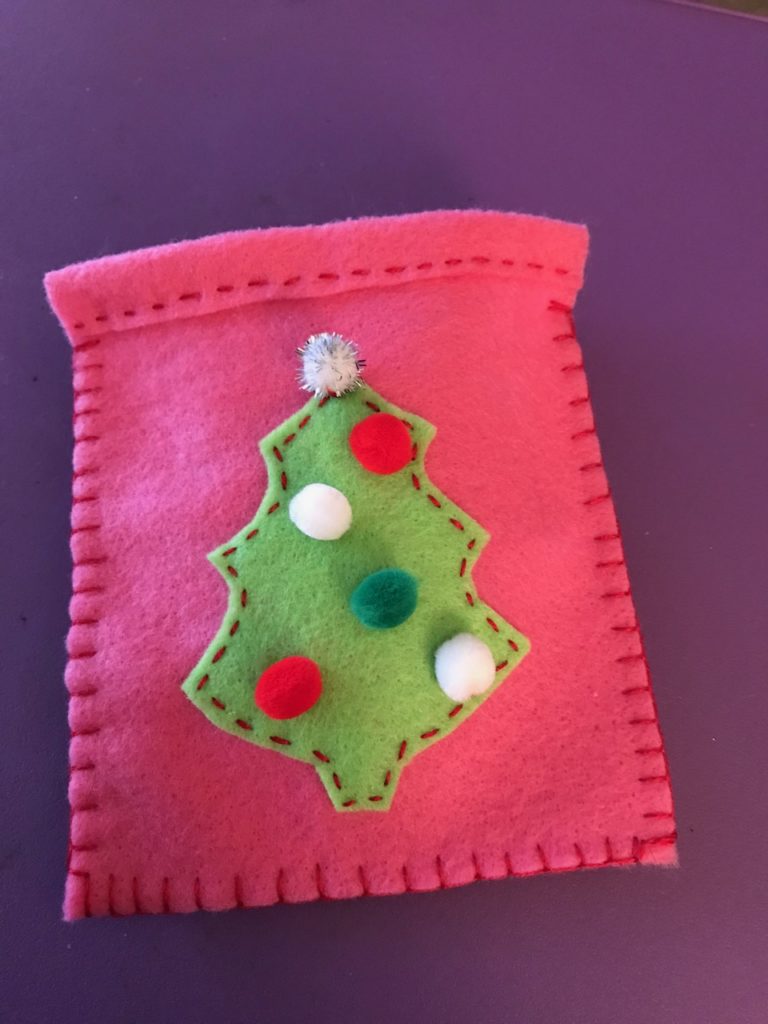
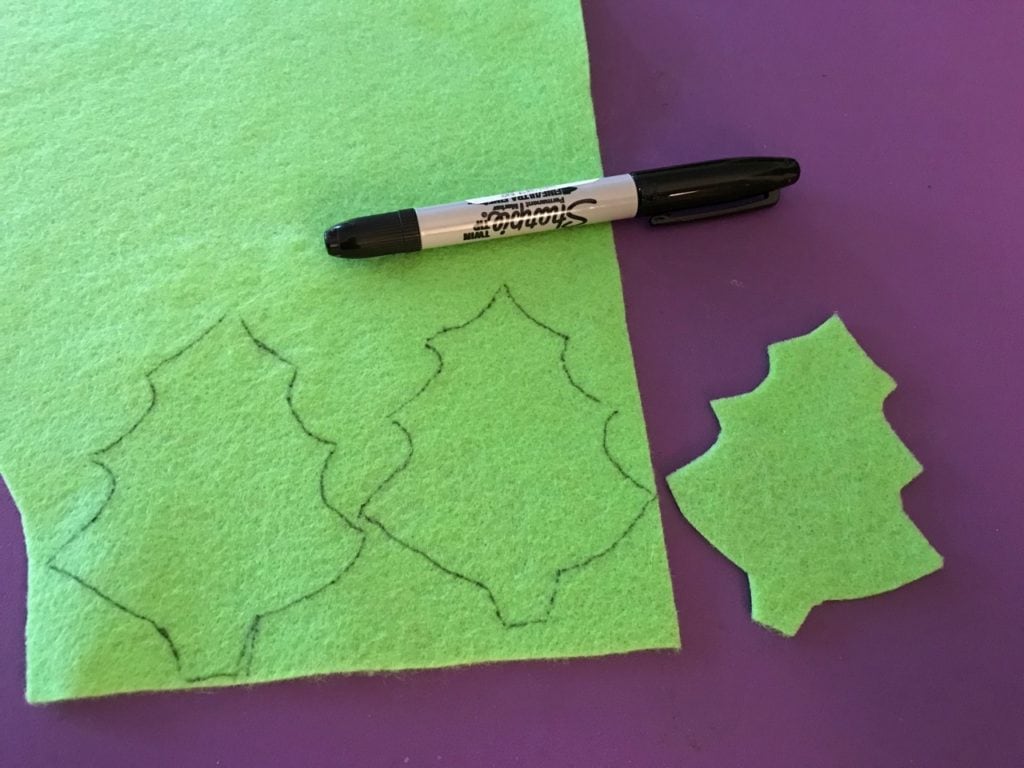
Lay everything aside and start with the green scrap piece of felt. This piece is for the Christmas tree. Use the pattern (download here) and trace the outline of the tree onto the green felt. Then cut it out. The second photo shows you the finished size of the tree.
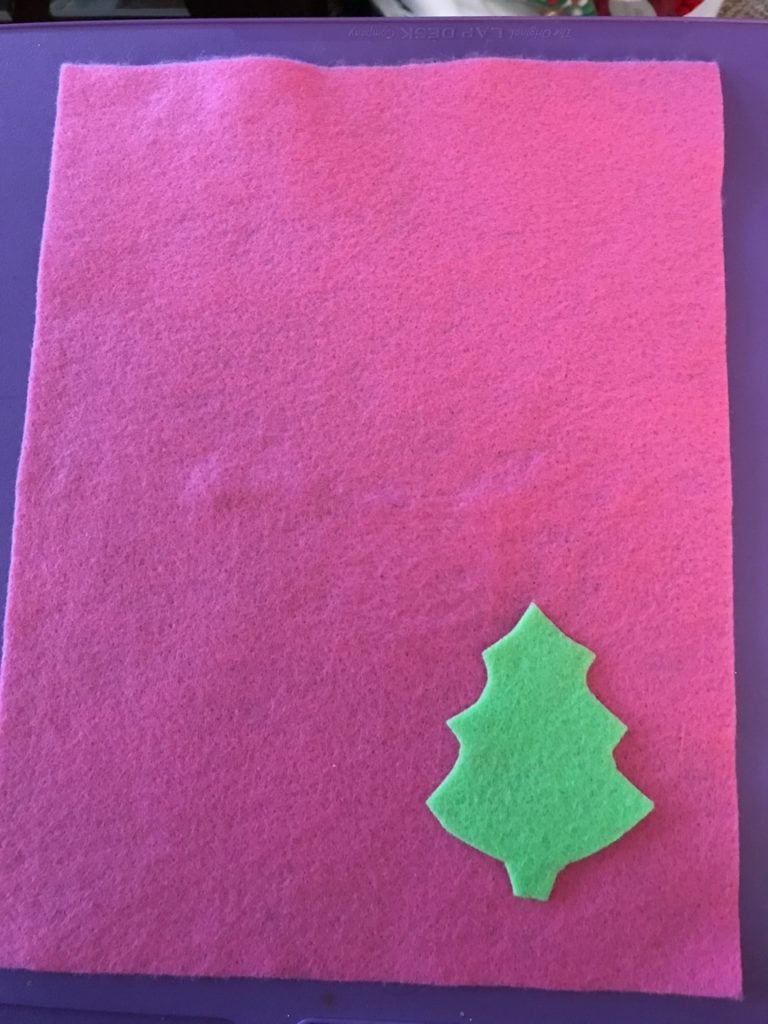
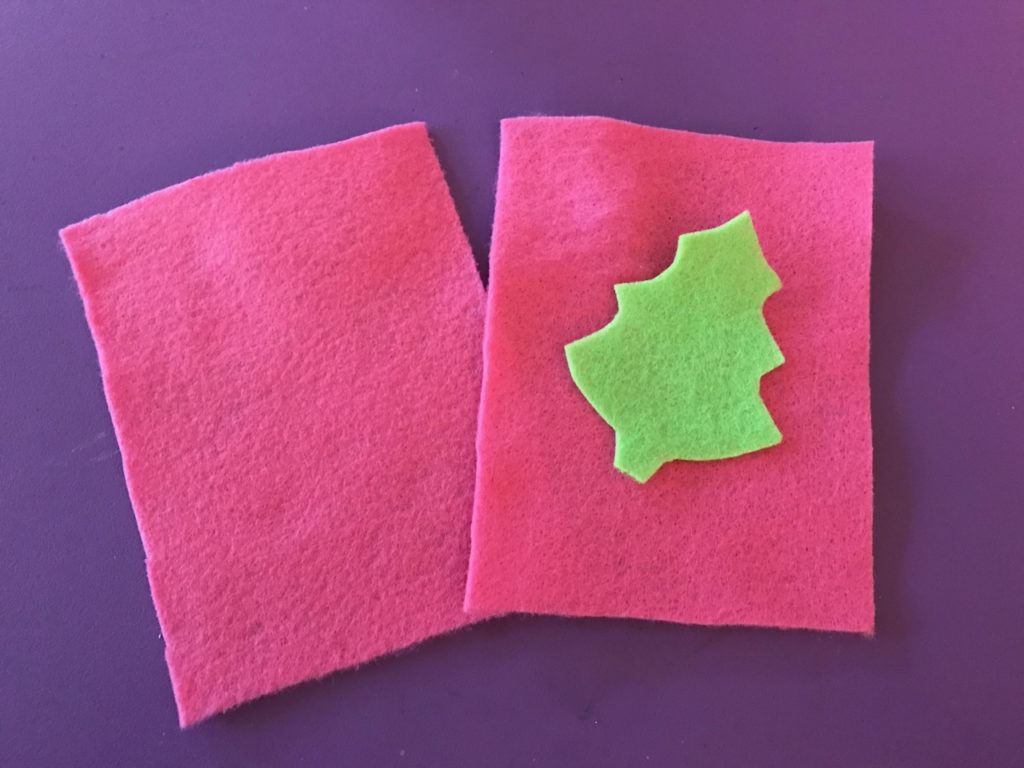
Next, take the full-size piece of felt (pink is shown here). Fold it in half and cut along the fold.
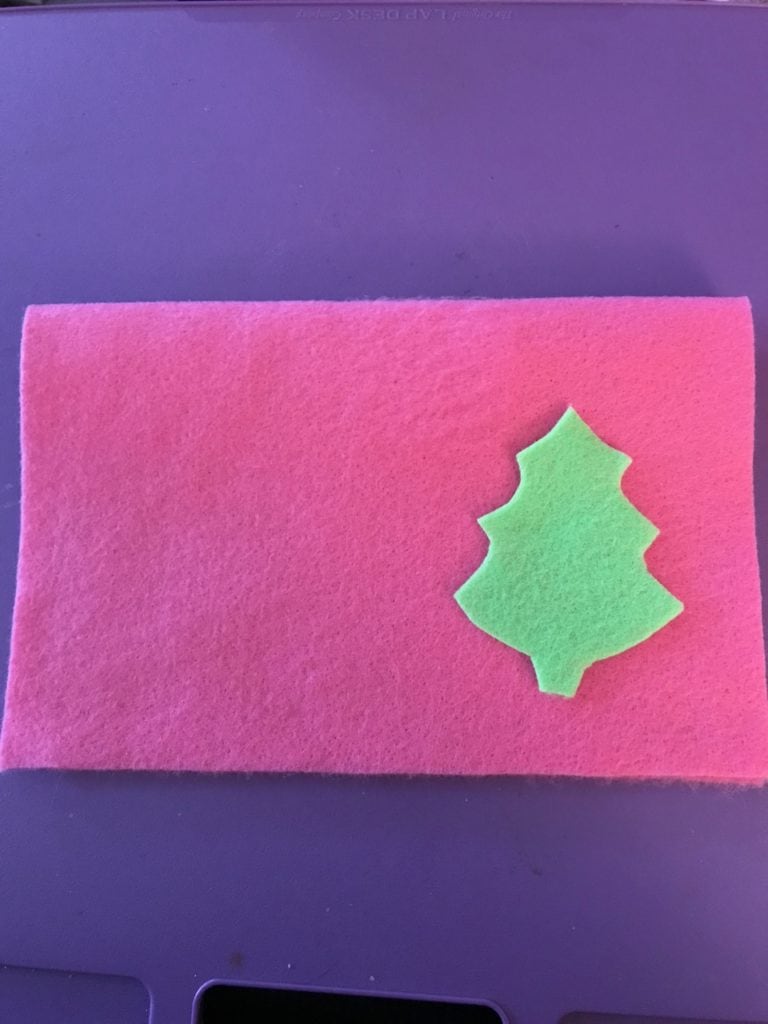
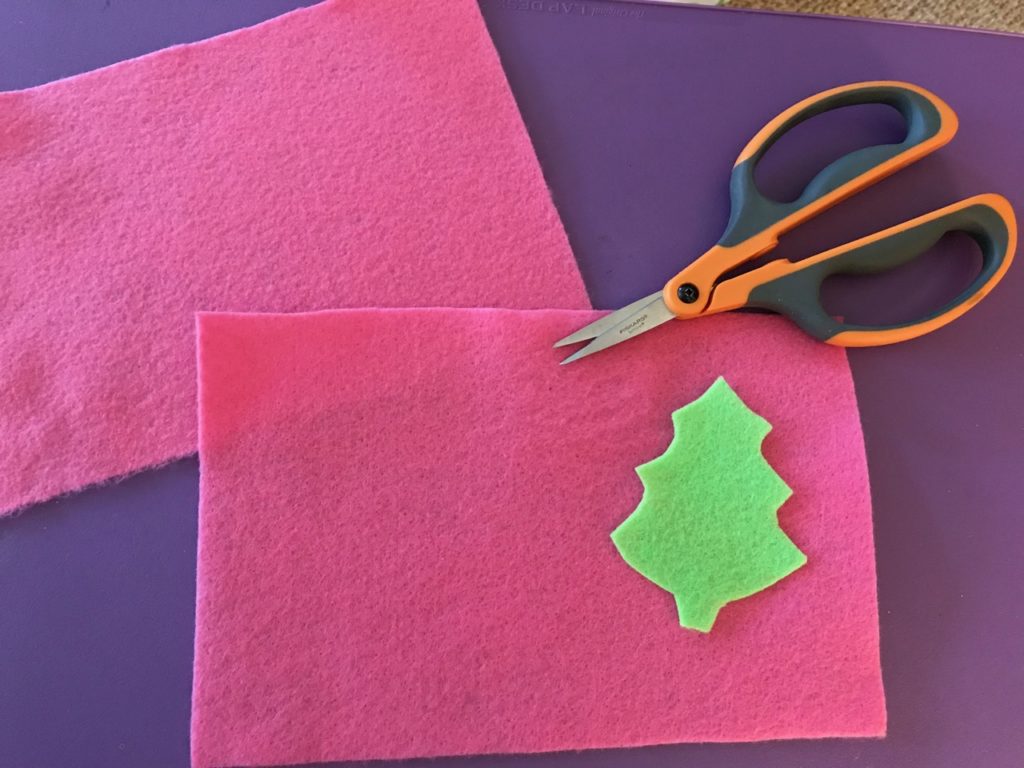
Now you will fold one of these pieces in half and cut along the fold, as shown below.
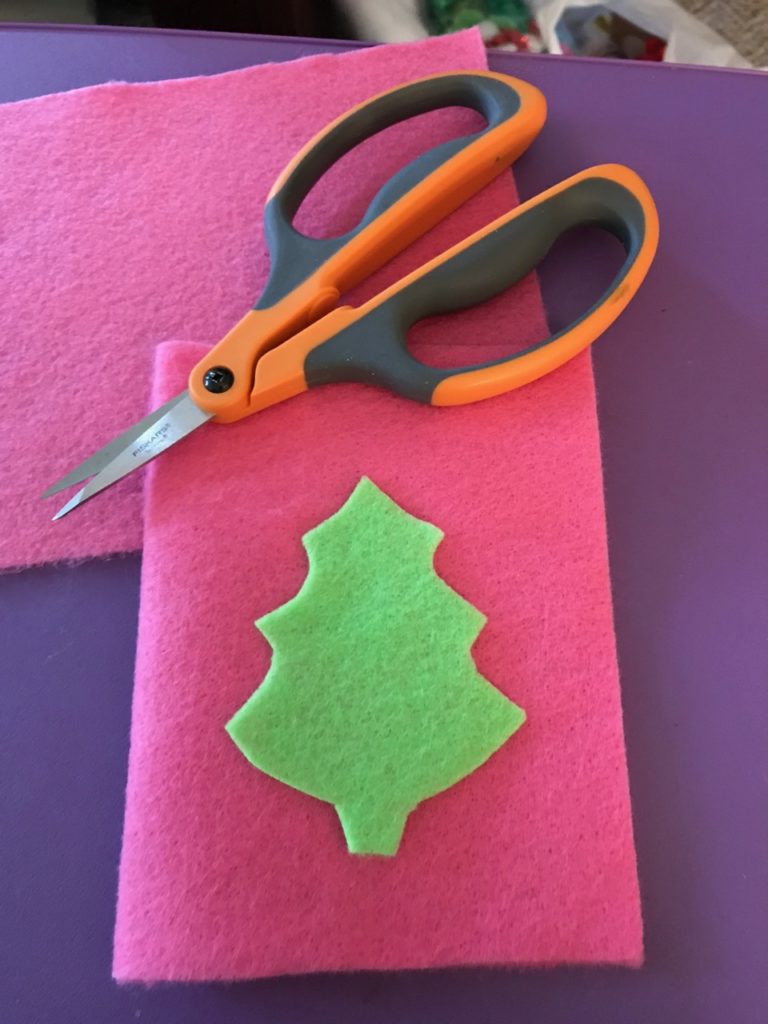
Now you’re going to add the tree, like an appliqué, and stitch around the edges. I like to use a running stitch (basic, basic), but you could use any embroidery stitch you want: blanket stitch, back stitch, French knots, daisy chains, etc. Begin by pinning the tree in the center but slightly lower, as shown below.
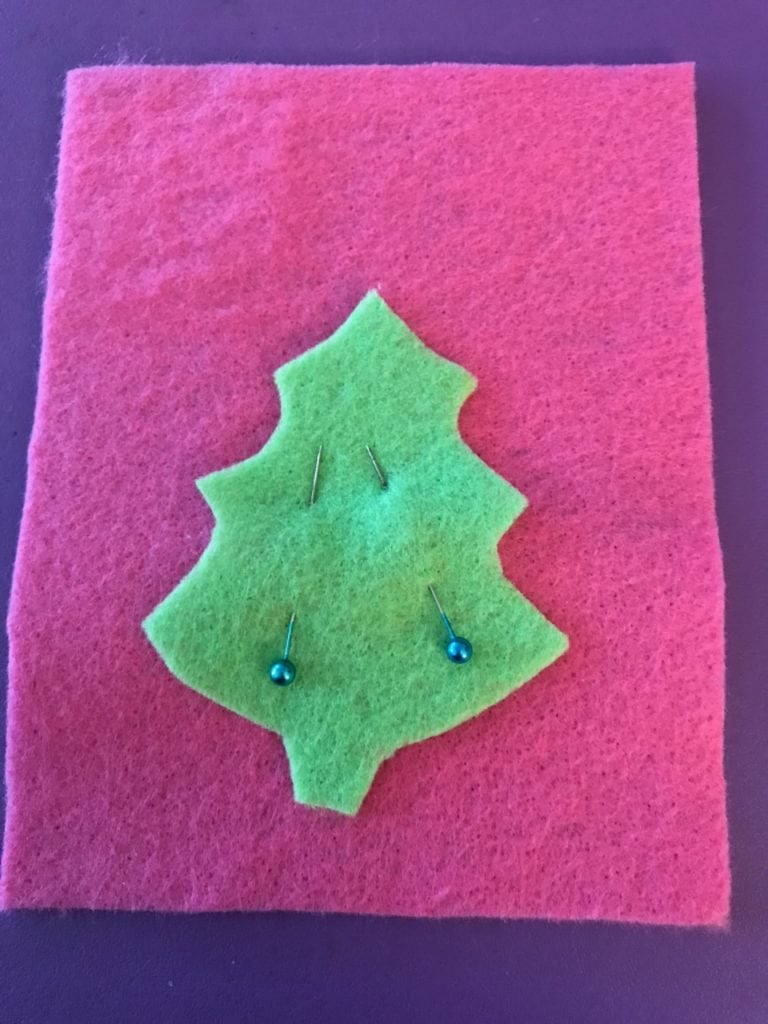
Using the contrasting colored embroidery floss (I use three strands), stitch the tree to one piece of the background felt. Do NOT tie off the thread yet.
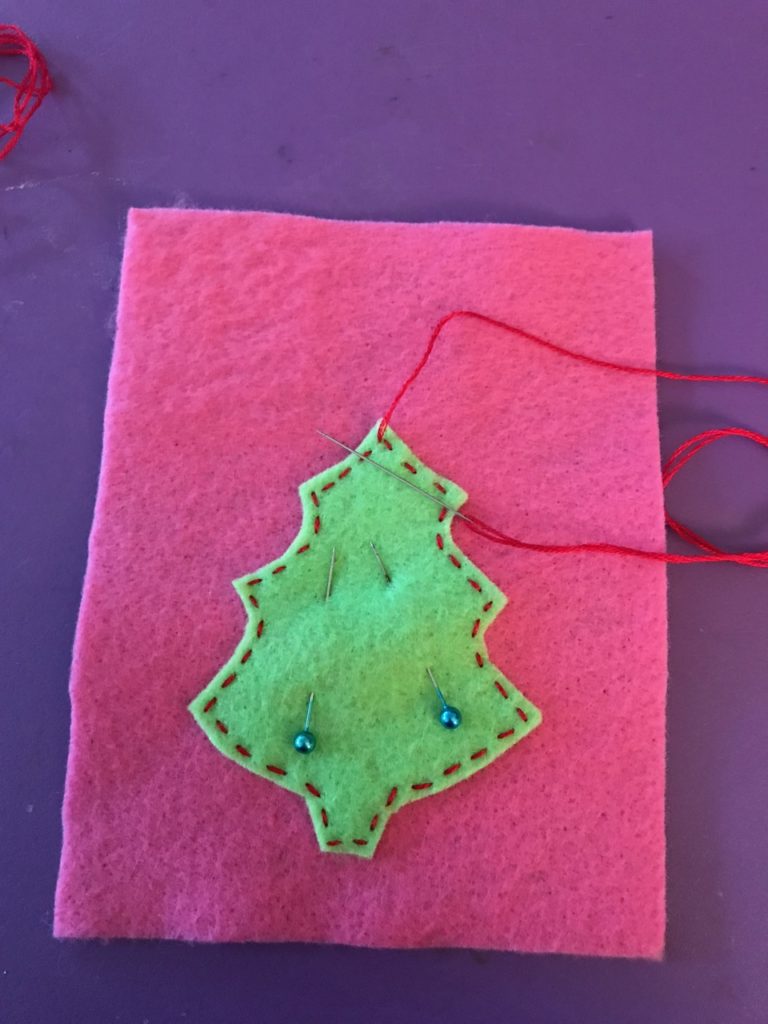
Now it’s time to decorate the tree! The demonstration below uses mini pompoms, but as you’ll see at the end of this post, I also use sequins and beads to decorate. Add each decoration by stitching it securely through both layers, the tree and the background piece. When finished, tie off the thread on the back and cut.
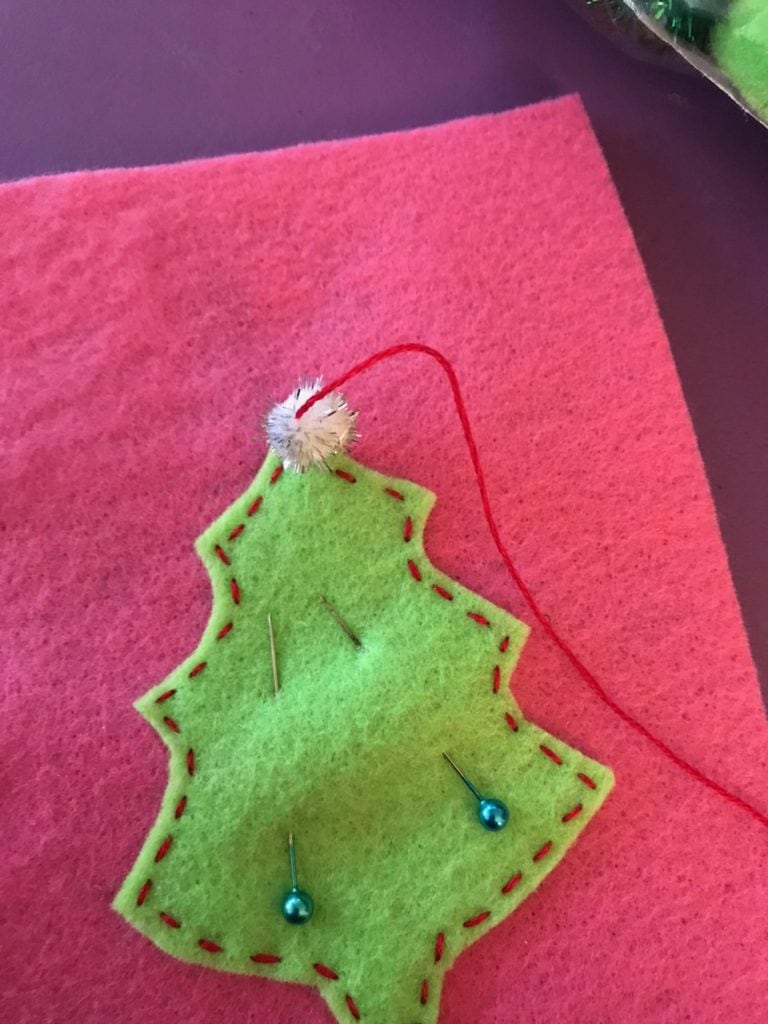
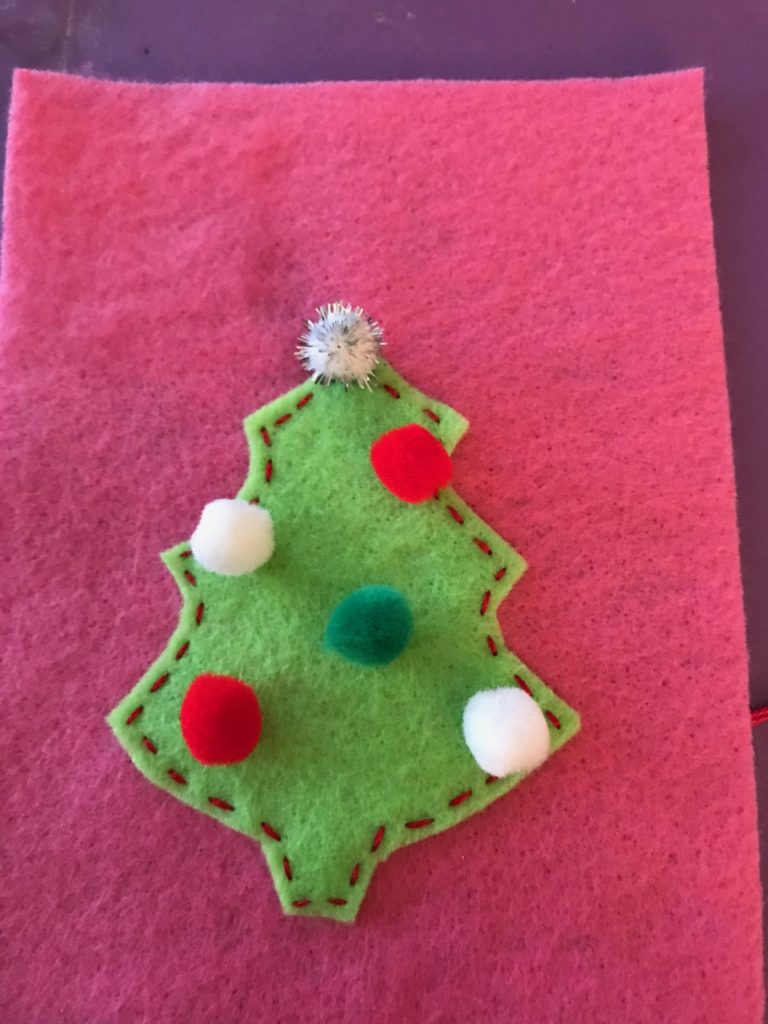
A jolly little tree!

Now you’re going to assemble the bag. Get the second piece of background felt. On both pieces, fold over the top to make a casing for the ribbon. Pin in place to keep the felt from moving around on you.
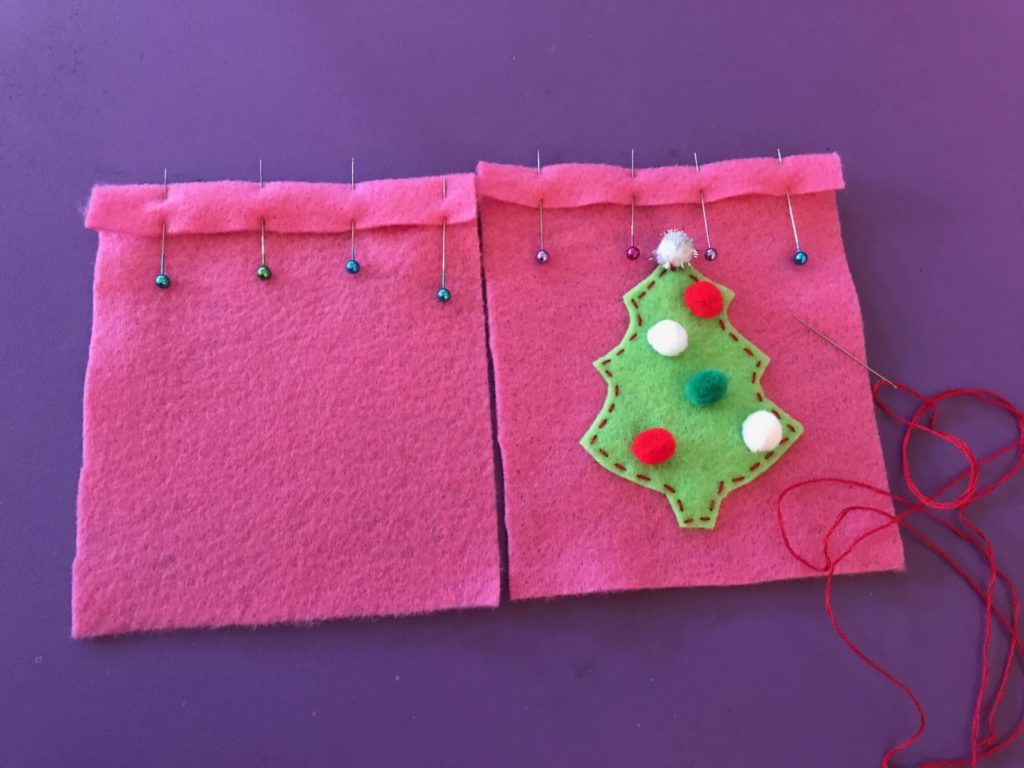
You can use the same color embroidery floss as before or you can change it up if you like. You are going to using a running stitch to complete the casing on both pieces, slightly wider than the 3/8-inch ribbon, like this:
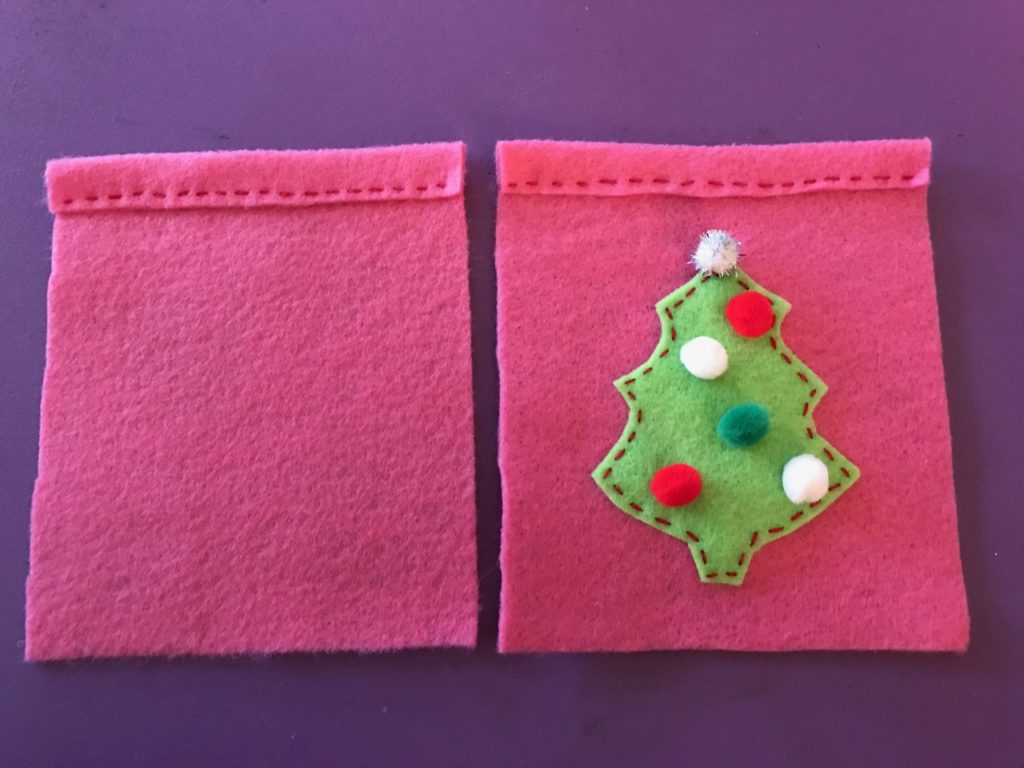
Now it’s time to put the bag together. Place the insides of the bag so they touch, leaving the folded over casing to show on the front and the back, as seen below.
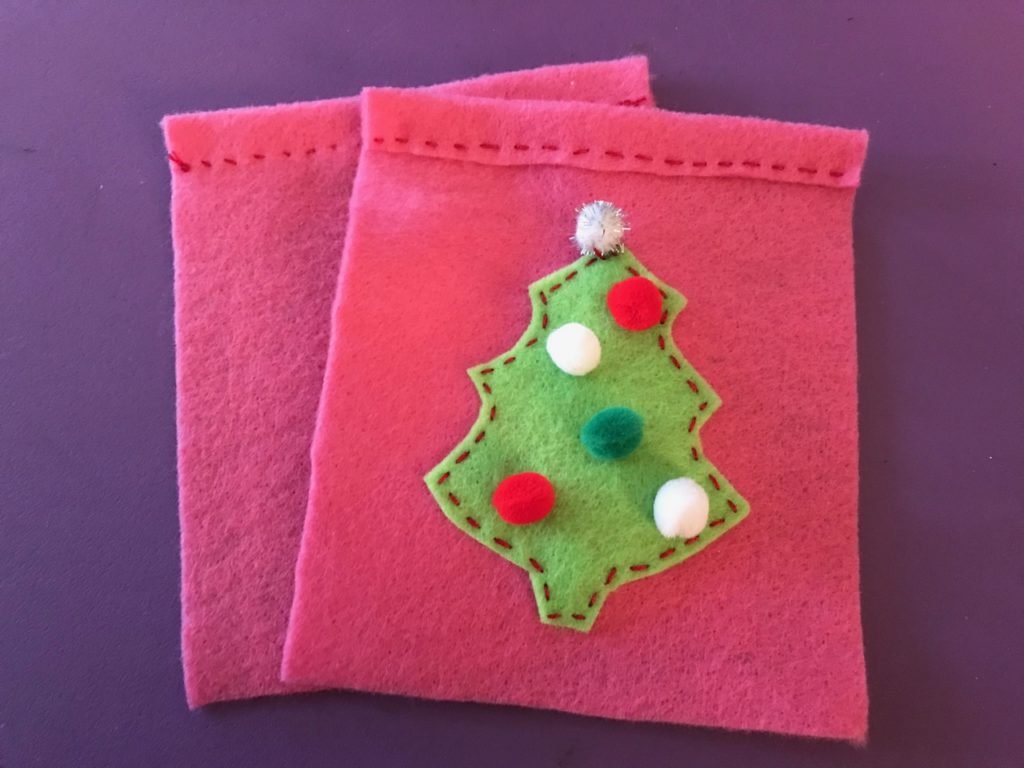
You can either use a blanket stitch (as I did) or a running stitch to sew the sides and bottom of the bag. (There are lots of great YouTube videos on how to do the blanket stitch. It’s easy! You can do it!!! )

Do NOT stitch over the casing openings. Start below the casing and end when you reach the other casing.
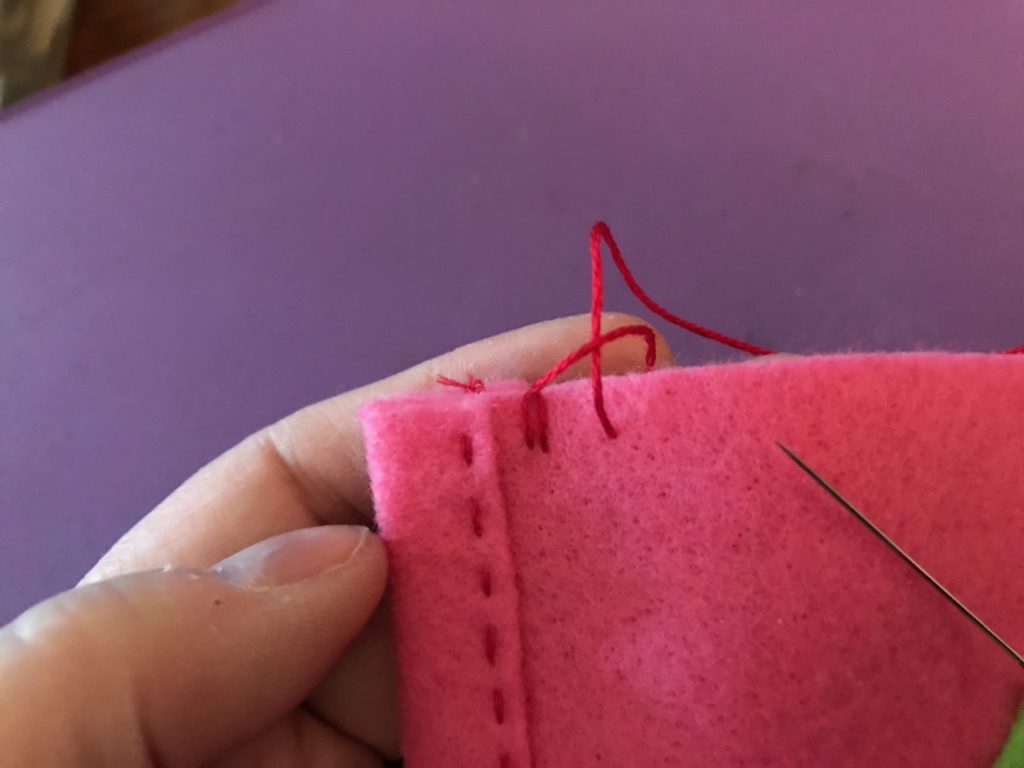
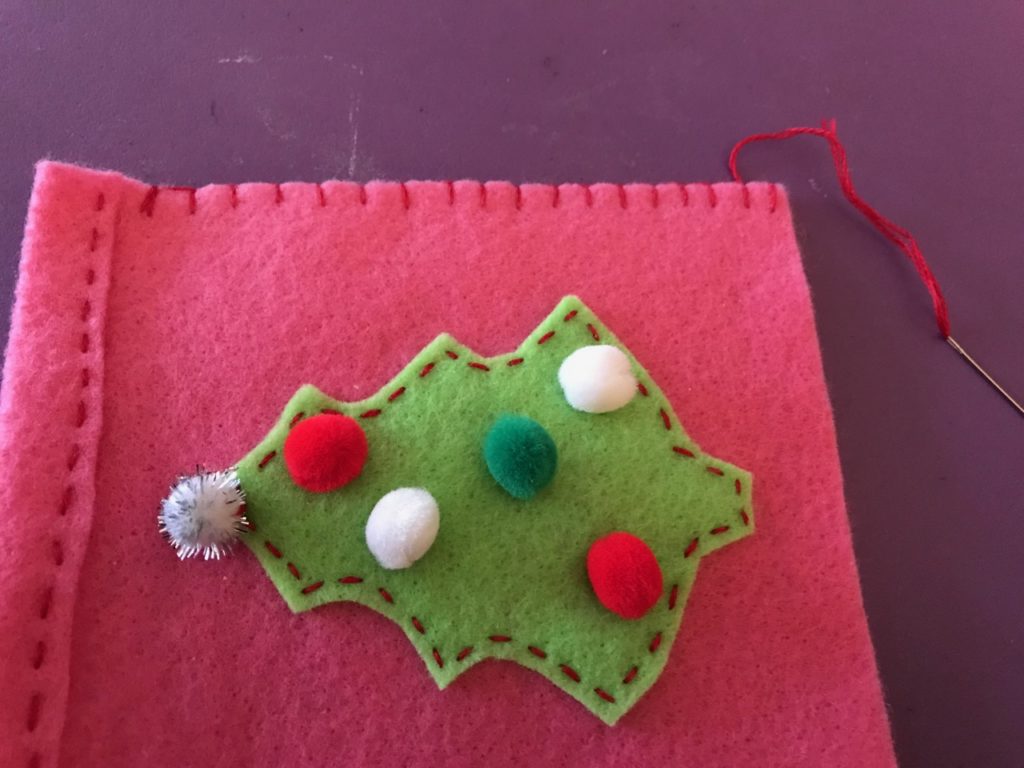
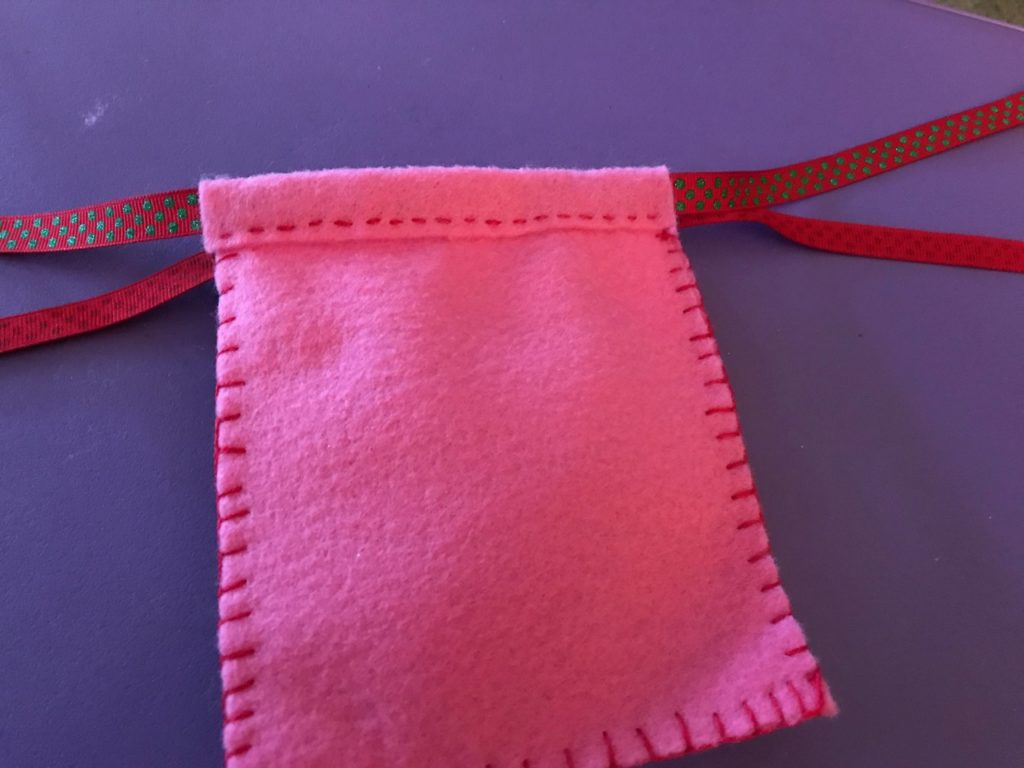
The final step is adding the ribbon. I like to use a plastic yarn needle because it won’t get caught in the felt (usually). Take one of your 18″ ribbons and thread it through the needle’s eye. Then draw it through the FRONT of the bag. Repeat with the second piece of ribbon for the back of the bag.
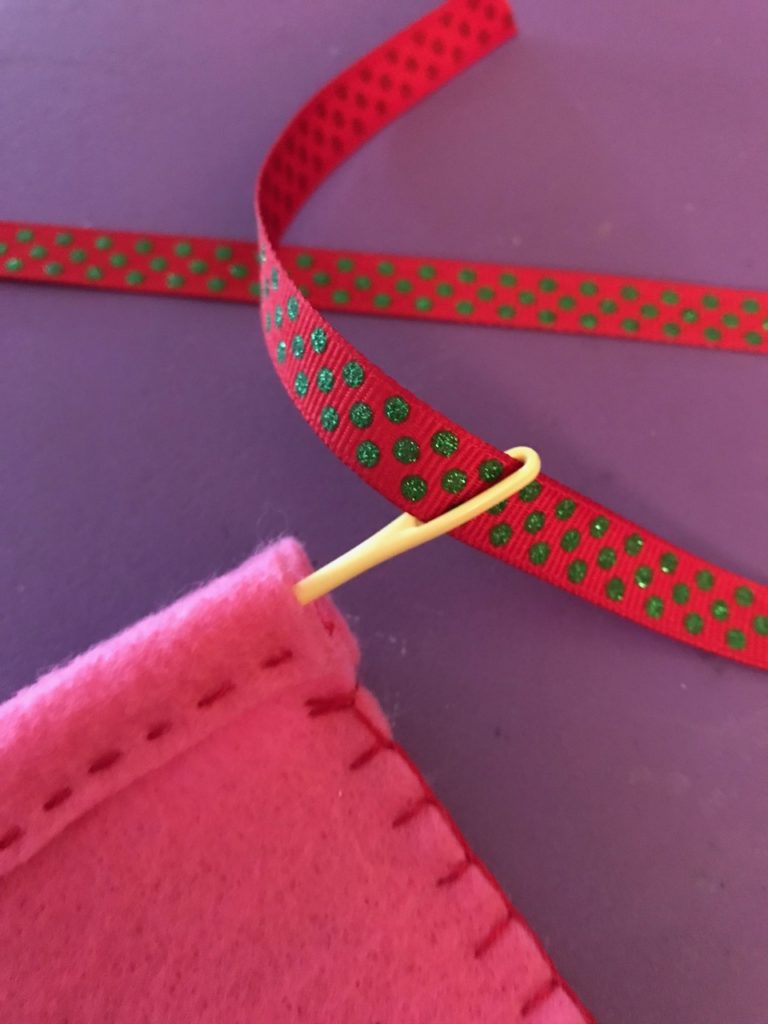
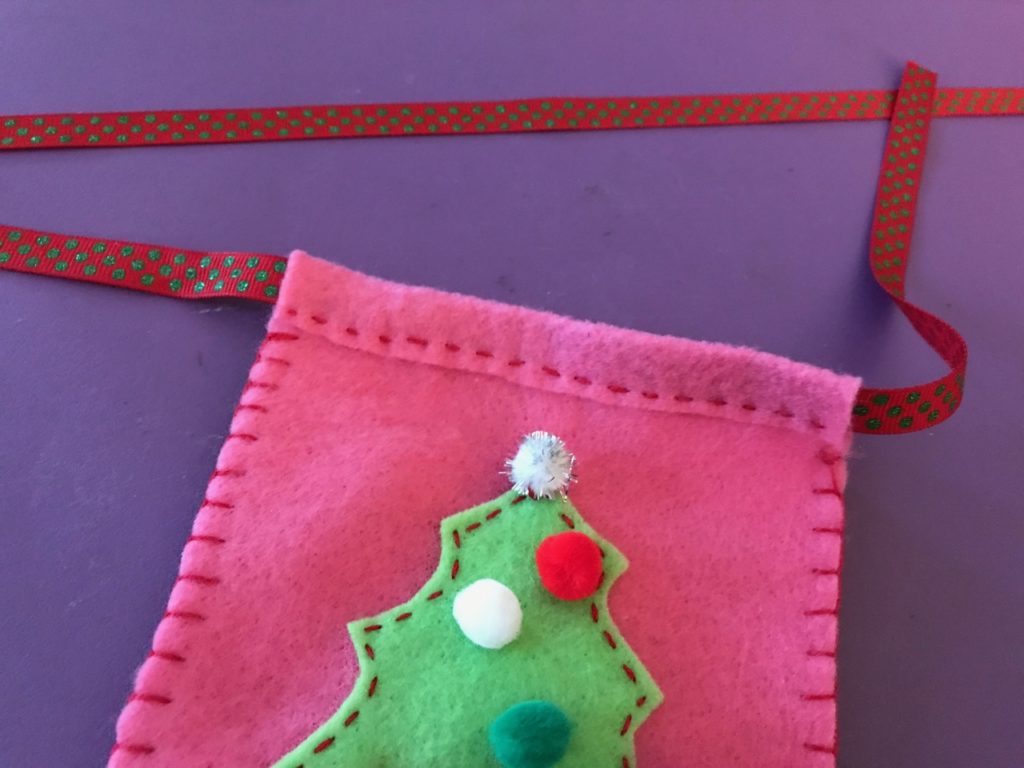
Pull most of the ribbons to one side of the bag. Tie a knot in the shorter side to secure it. Then you’re ready to fill the bag, tie the ribbon in a big bow, and add the gift tag.
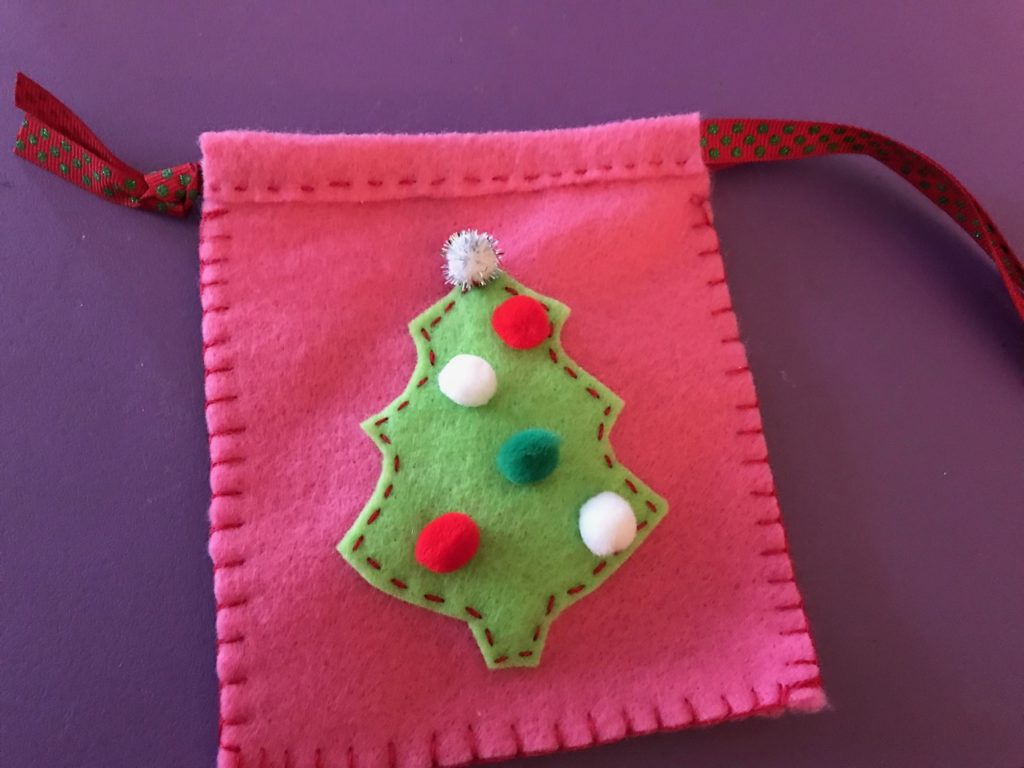
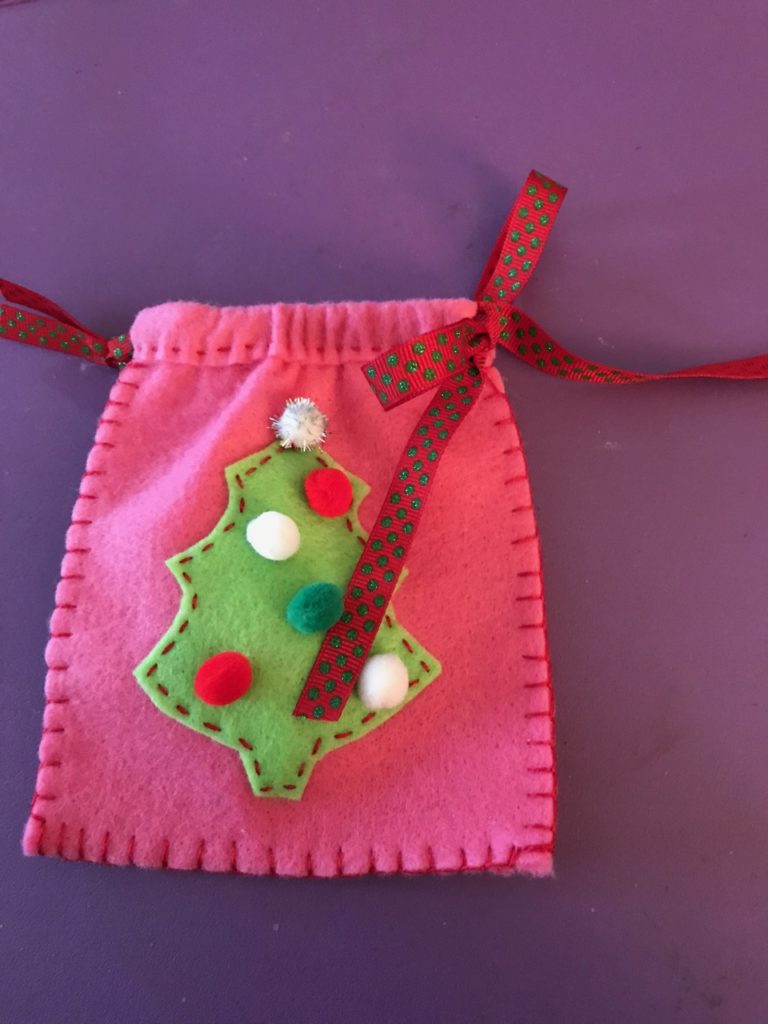
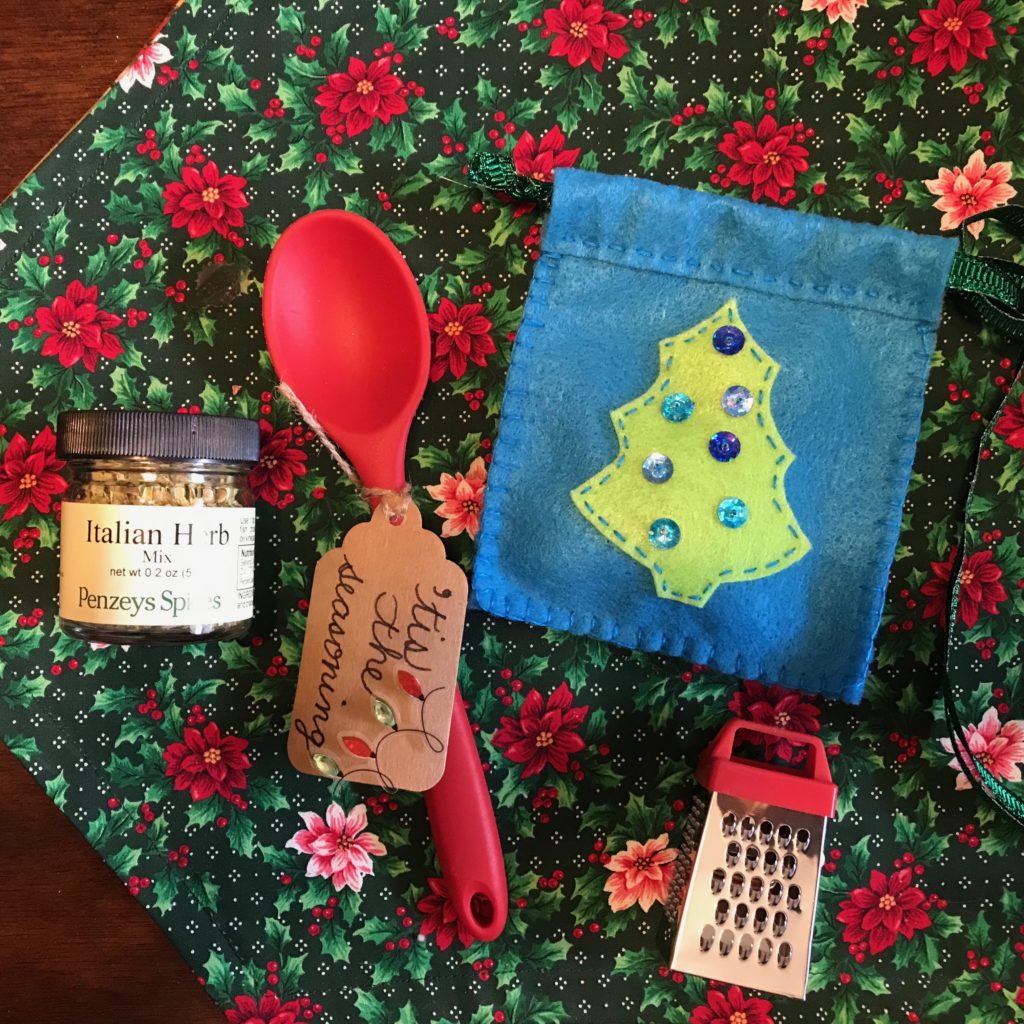
I decided to make my bag a kitchen gift. So I added a small jar of seasoning (Penzey’s is one of my favorite brands!), a mini spatula, and a mini grater (perfect for cinnamon sticks). Then I made two more!
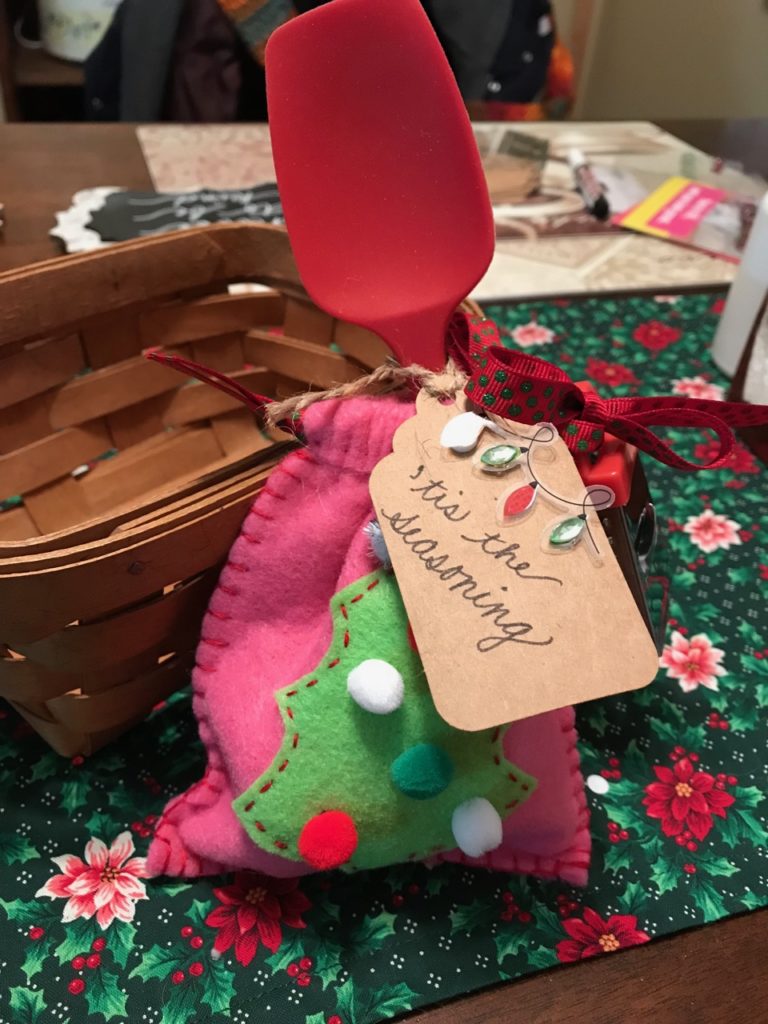
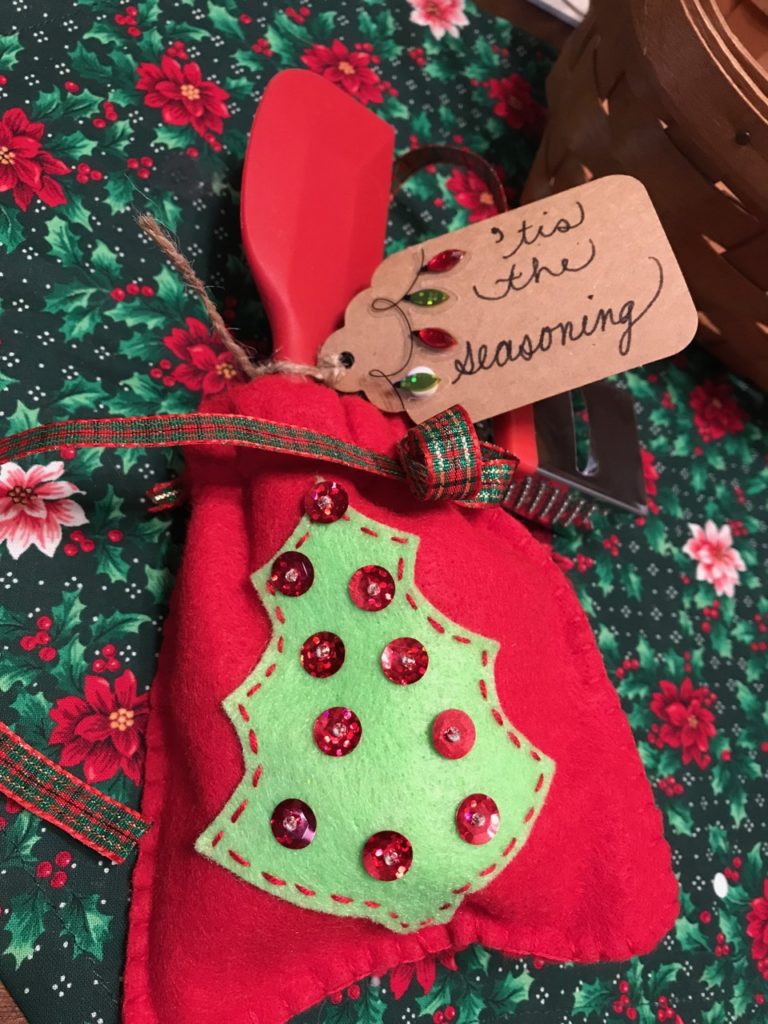
Of course, you can fill your bag with anything you want. Candies. Money $$$$. A gift card. But whoever receives it will be happy to have something handmade by you just for them.

I wish you all a blessed, happy, healthy holiday season! I’ll be back in 2019 with more Heartfelt Crafts for us to share.
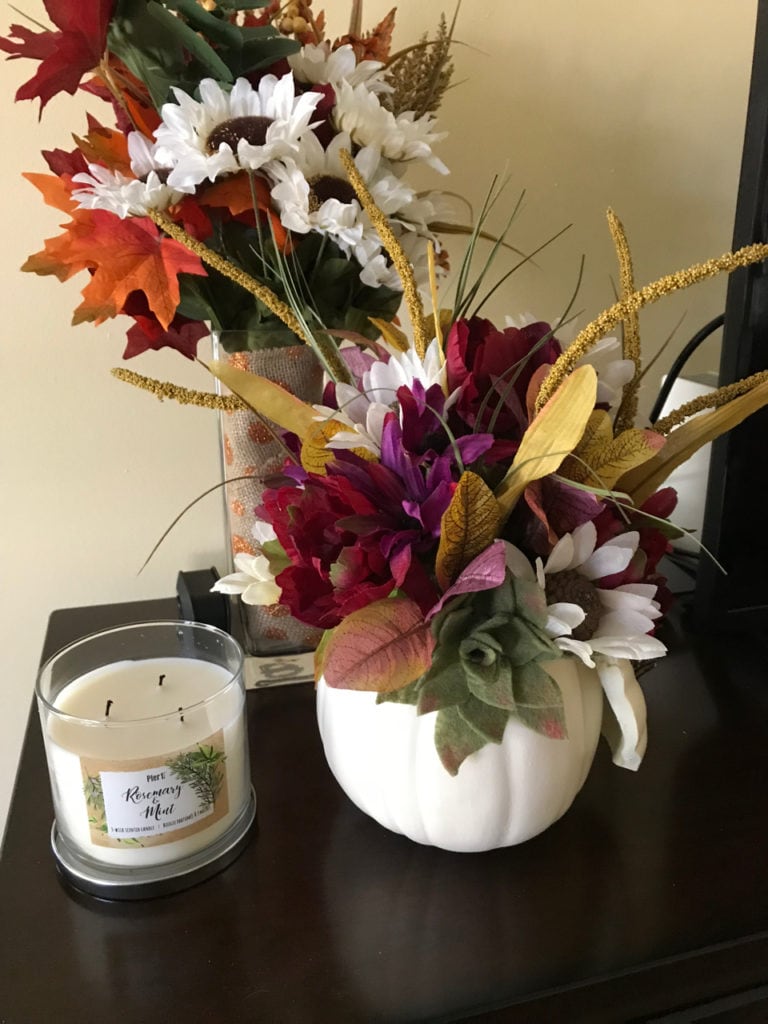
White Pumpkin Floral with Succulent


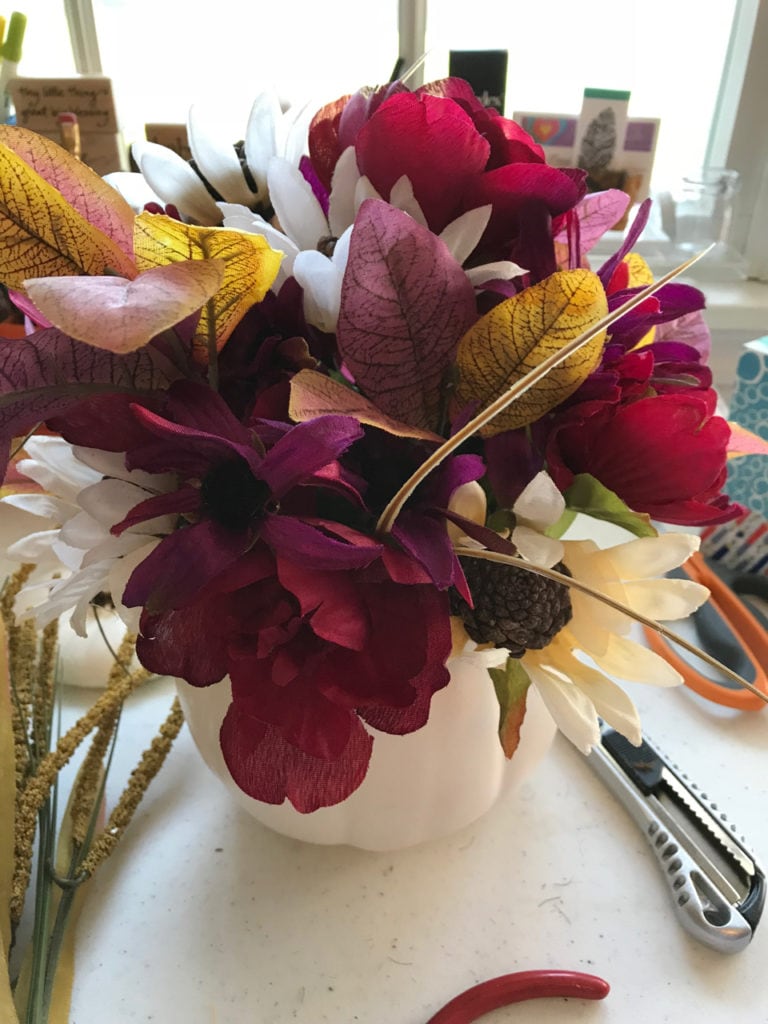
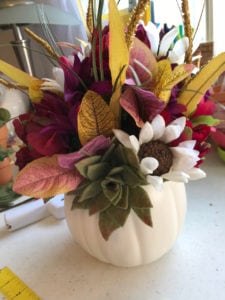
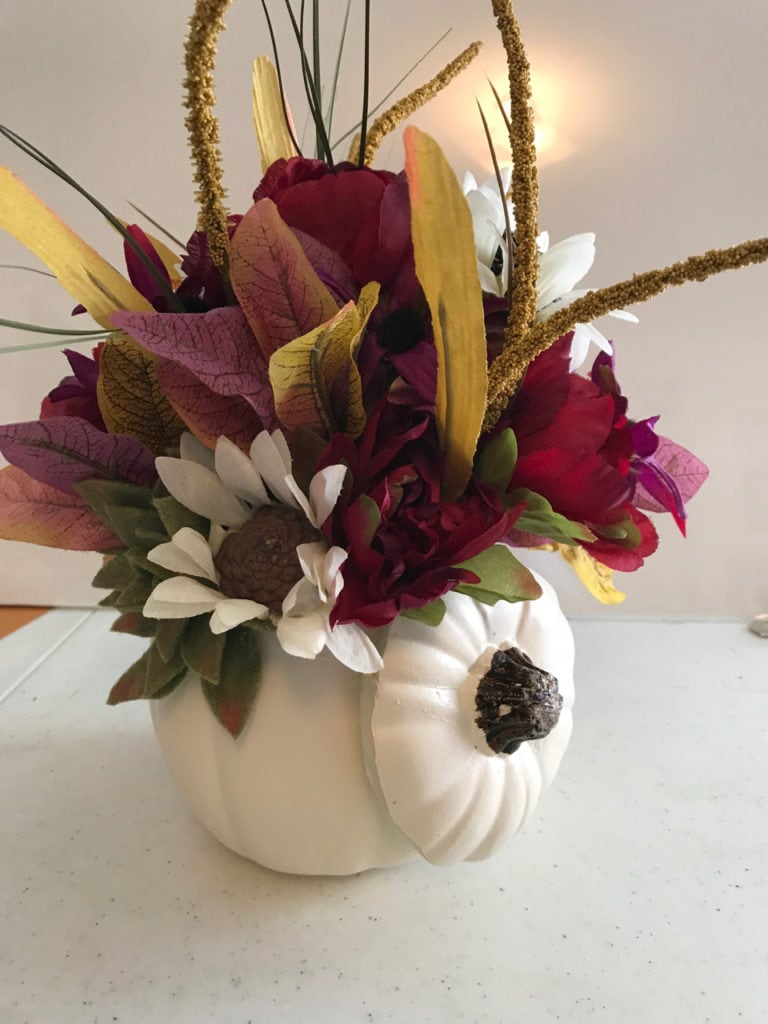
The little succulent we made several days ago has been so lonely. It’s time to make it a home, where it can live with other pretty things and be enjoyed by others. Thus, I introduce you to our newest project: the white pumpkin floral arrangement.
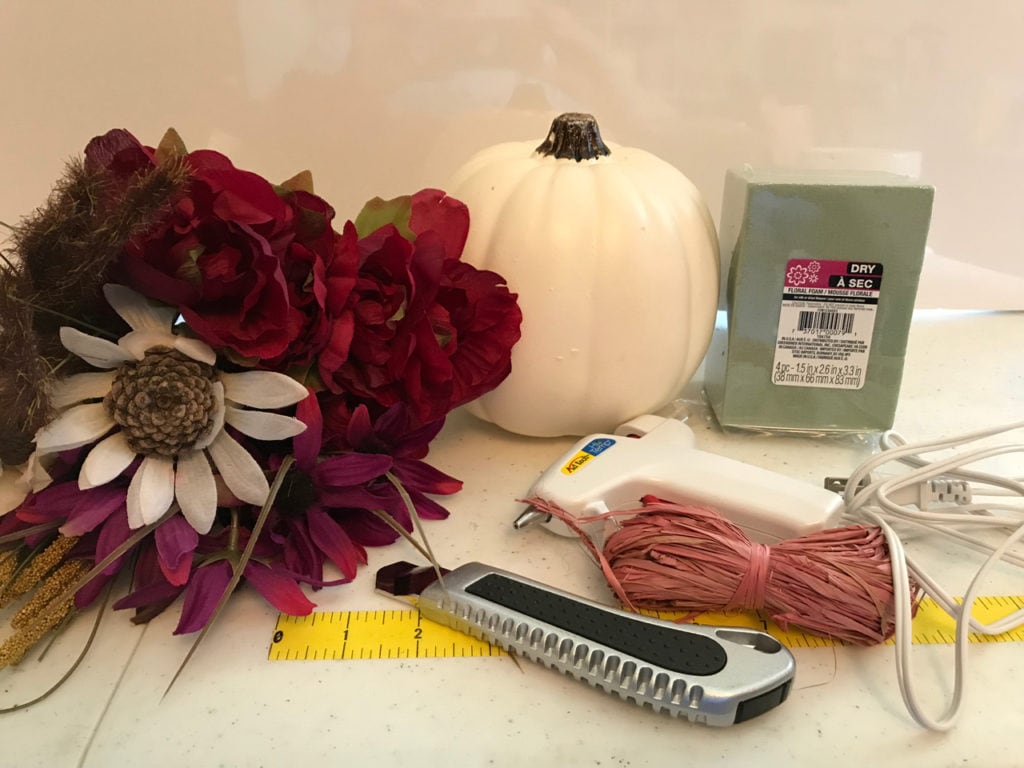
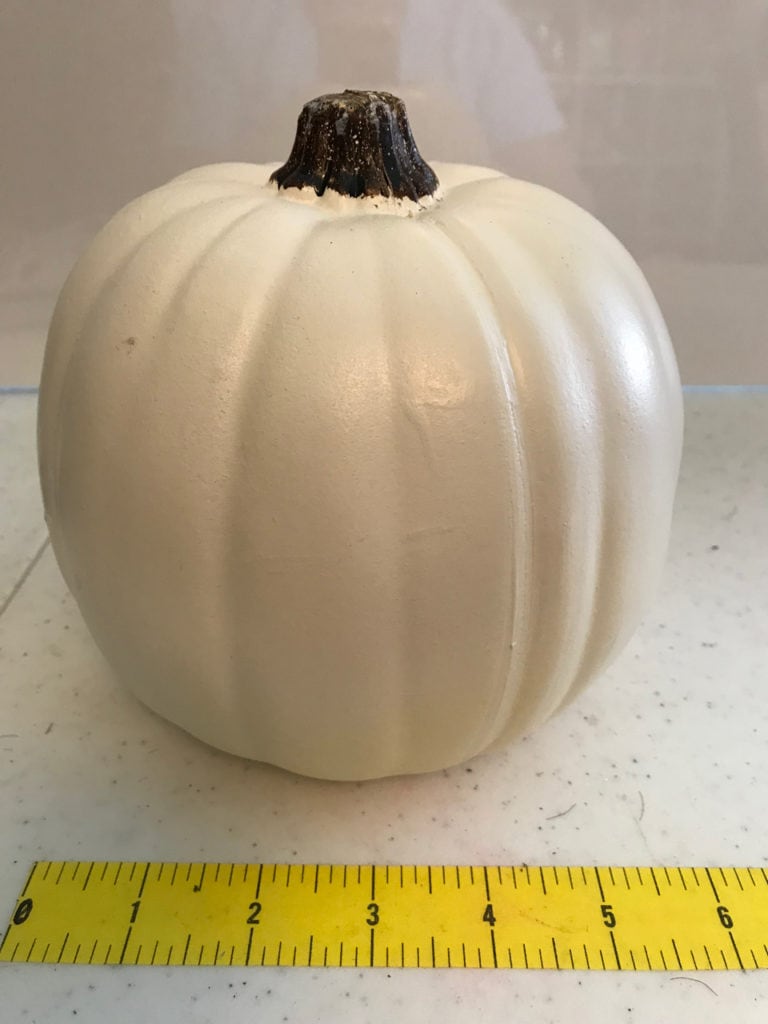
Orange pumpkins are bright and cheery and oh-so-autumny, but white pumpkins are classy, elegant, and much more versatile. You can use any colors you want! Let’s move past the rusts, yellows, browns, and oranges and embrace purple, burgundy, green, and gold!

This project takes more time to shop for than it does to put together. In my mind, that a win-win! (wink, wink)

Let’s start with our list of supplies:

  1. a small (or large if you prefer) white foam pumpkin
  2. a large wedge of floral foam
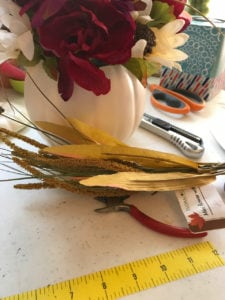
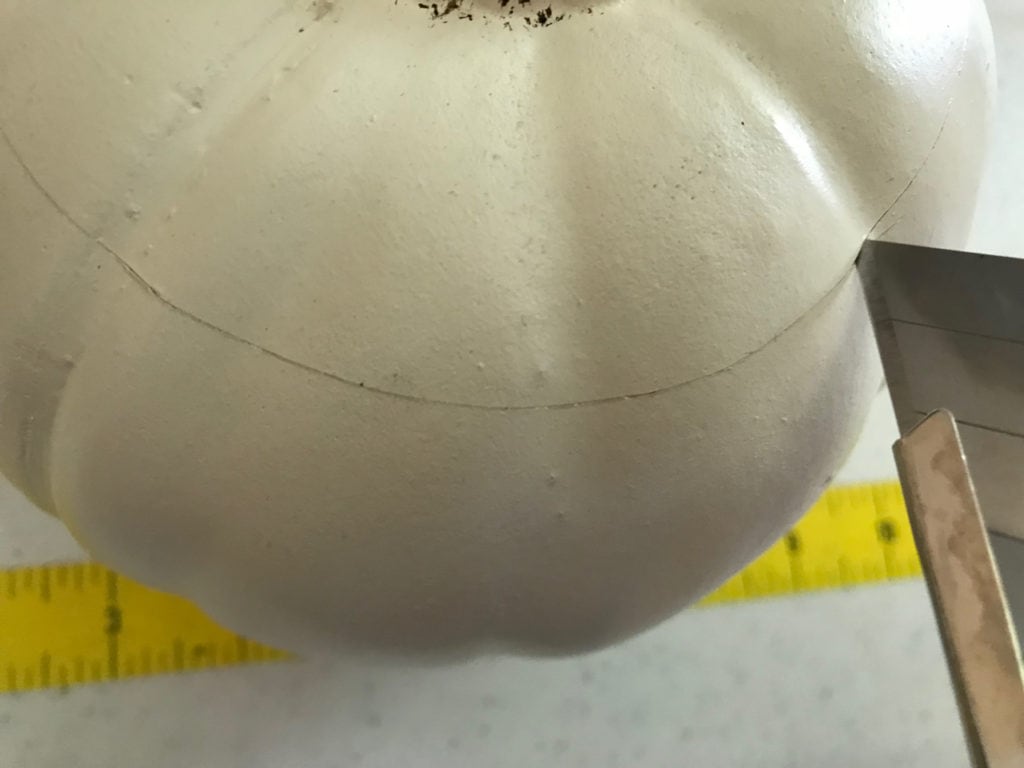
  3. an Exacto knife or similar one that can be extended (see photo)
  4. hot glue gun and glue sticks
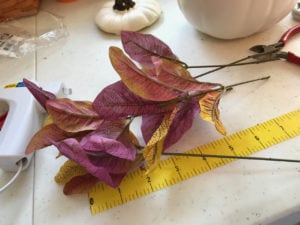
  5. 12–15 individual stems of silk flowers, leaves, accents, etc.
  6. wire cutter
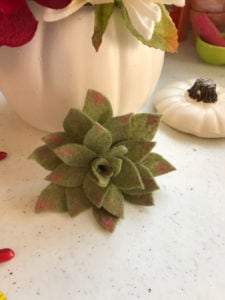
  7. your succulent from the last project

Step-by-step instructions

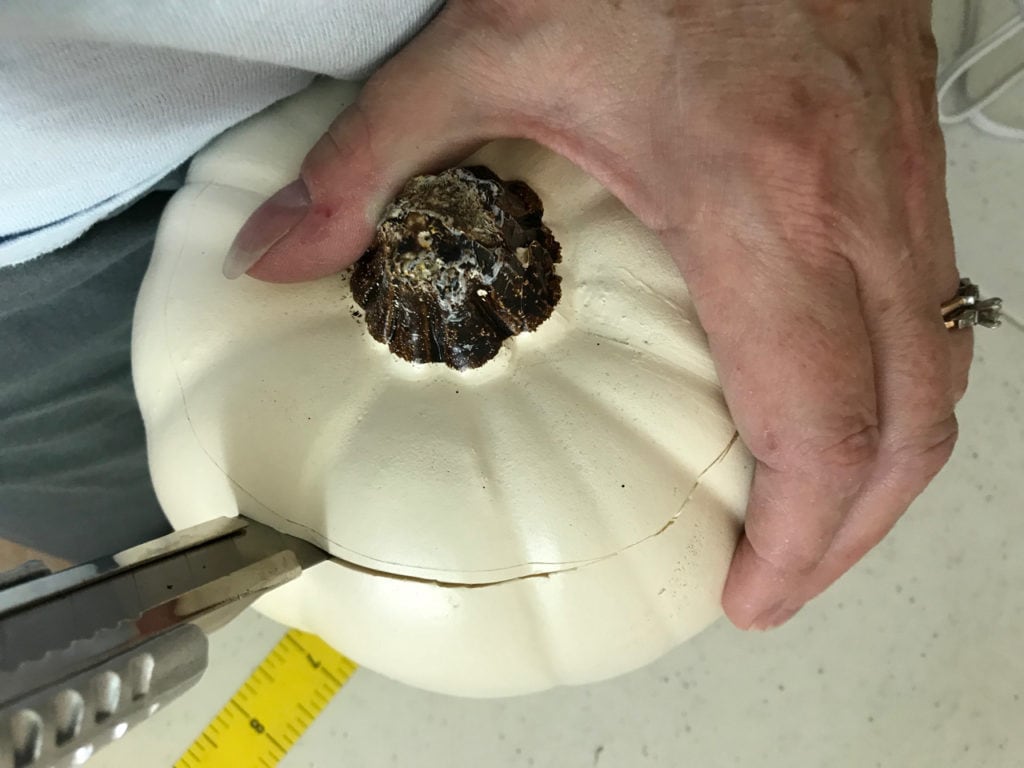
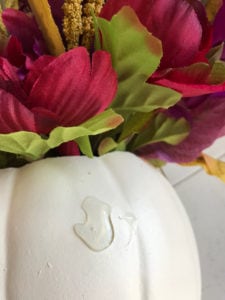
Step #1: Draw or score a line around the top of the pumpkin where you will be cutting the top off. I like to use the razor to score the line. Then I just have to push the blade through on my second trip around.


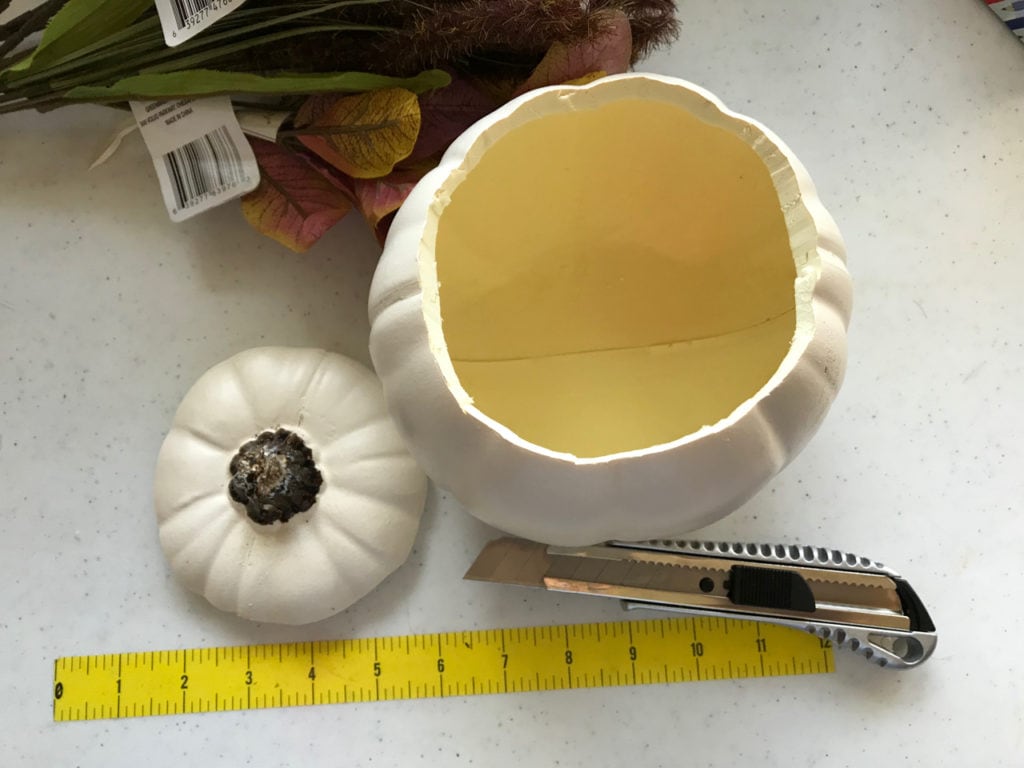
Step #2: Use the cutter to cut through until your have a lid you can pull off the top of the pumpkin. Be careful! This doesn’t have to be perfect. The opening will not show under the flowers and you can later trim the edges of the lid to look neater.

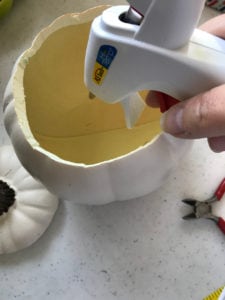
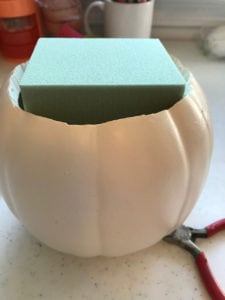
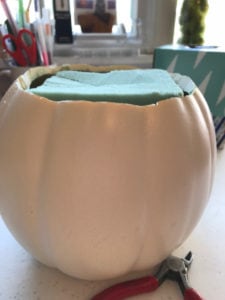
Step #3: Plug in your hot glue gun. (Put the lid aside for now.) Unwrap the floral foam and set aside. Drizzle a puddle of hot glue into the bottom of the open pumpkin. Insert the floral foam while the glue is hot and press down. (You might need to trim the edges to get it to fit inside.) Once it’s set, shave off the top so it’s more or less even with the top of the opening.


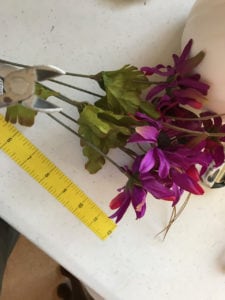
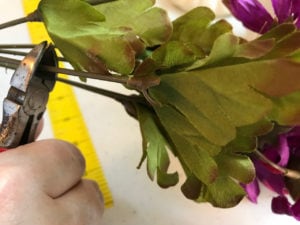
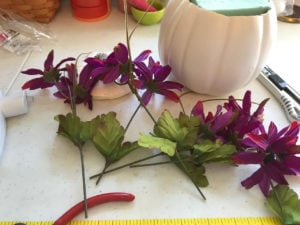
Step #4: Gather your silk flowers and use a wire cutter to cut the stems so you have a dozen or more individual pieces.


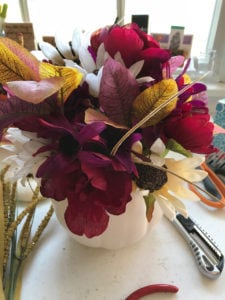
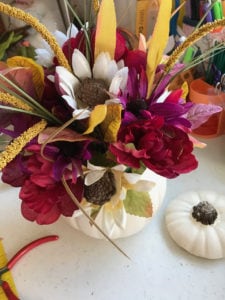
Step #5: Arrange your flowers! I like to start in the center with one and then move outward until I’ve filled the opening. Add various tall, short, full, textured pieces to make it interesting and beautiful.

Leave a space somewhere toward the edge of the pumpkin for your succulent. Here’s a look at my progress.


Step #6: Use the pin on the bottom of your succulent to stick it in place.


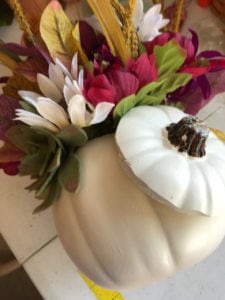
Step #7: This step is optional. Some people like to have the lid show, making it clear that this arrangement is actually a pumpkin. Others don’t care for the look. 

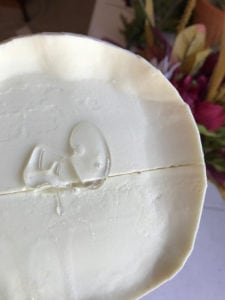
To add the lid, you will need to put hot glue on BOTH the inside of the lid and on the outer area of the pumpkin where you are going to place it. Press the glue areas together and hold for about a minute, or until you cannot move the lid. I carefully laid the pumpkin on its side while I was holding it down. 


Step #8: Admire your handiwork and find a perfect place to display it. Be sure to tell everyone, “I made this! Why, yes, I’ll take orders if you want one.” 

Thank you for spending time with me as I make and play and create projects. I hope you will share them with others and find yourself feeling happier, more creative, and surprised at your power to make stuff.

As always, comments are welcome.


Succulent Felt Fun

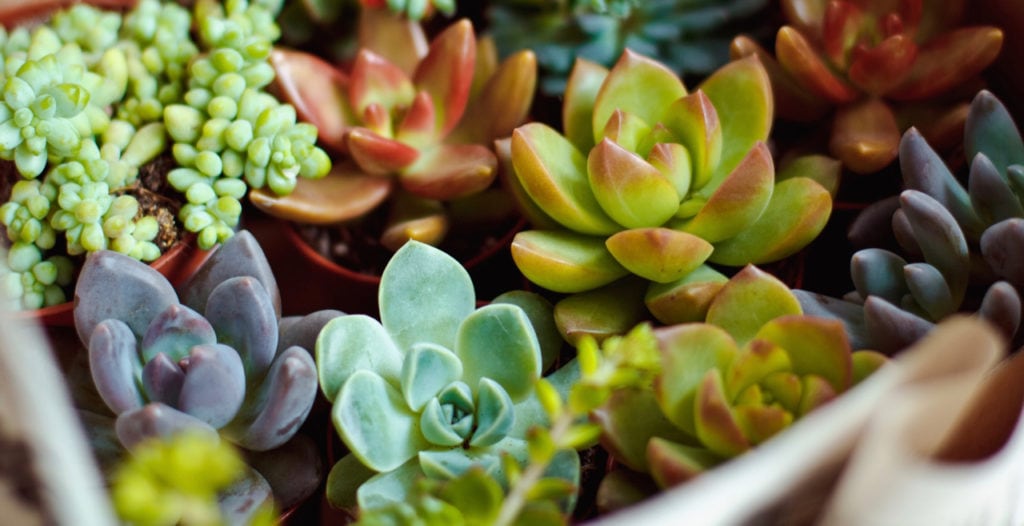
One of the hottest trends these days comes in small sizes: the wide world of the cactus family known as SUCCULENTS. Who knew there were so many varieties, colors, and shapes? No wonder artists and crafters are finding ways to include these perfect, low-maintenance plants into their projects. And that includes me.

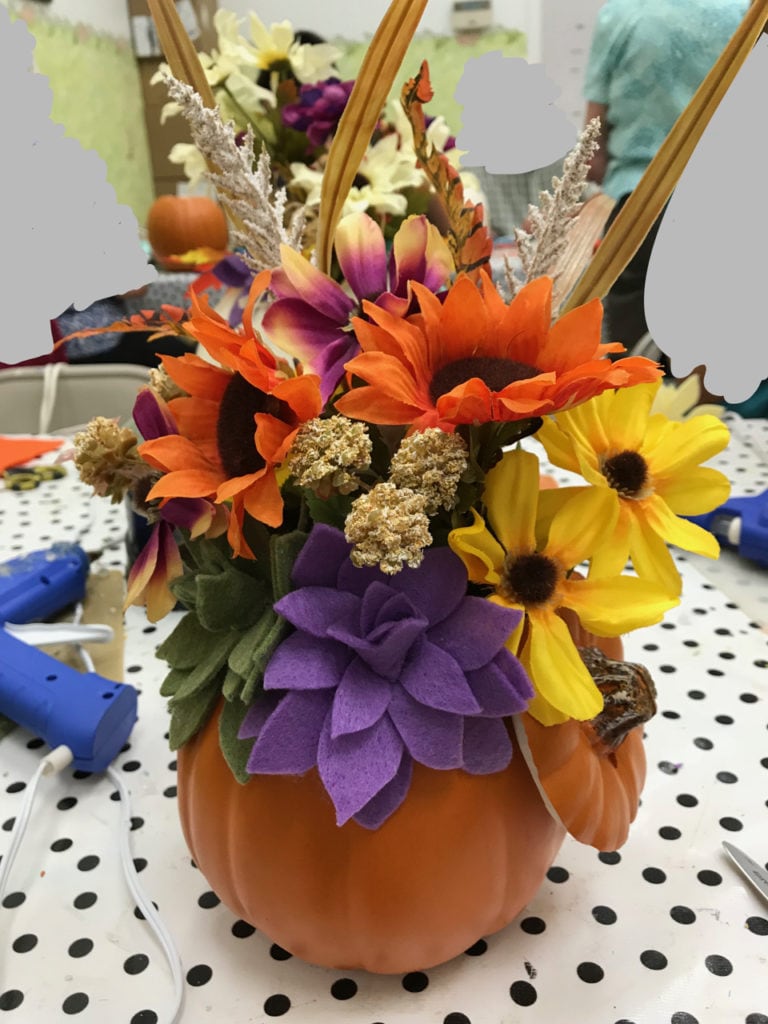
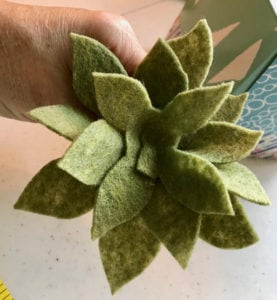
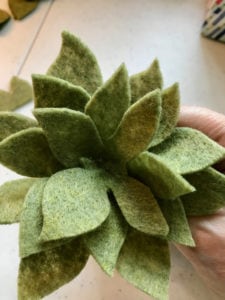
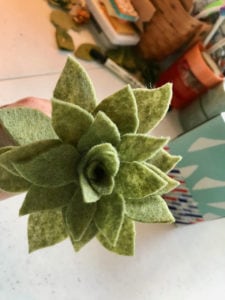
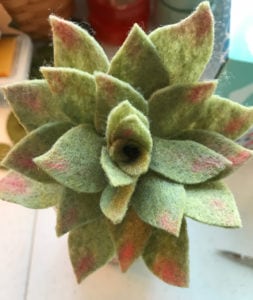
I recently took a class at a local craft store, Pat Catan’s, where we made a lovely fall floral arrangement using a foam pumpkin, some silk flowers, and felt succulents. The teacher showed how to make the succulents, so this wasn’t just a “stick it and take it” kind of floral class. I’m going to share with you the basic succulent she taught us that day. Here’s the finished product:

There are two succulents in the arrangement: purple and olive green. Succulents come in so many lovely colors that you can make them fit into any motif and color scheme in your home. Now let’s start making YOUR own succulents!

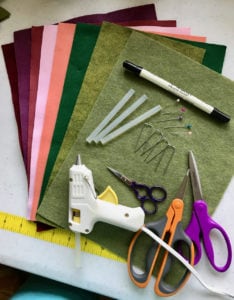
Materials

Pattern for succulent layers (PDF link here)

Felt sheet (one for each succulent)
  • You can use the recycled material felt (the cheapest and thinnest—fine for this project—or the heavier wool felt sheets)
  • Recommended colors include olive green, light green, dark green, any shades of purple or maroon, soft pinks or peach, light yellow or yellow-green, orange-red, the list goes on!

Scissors (sharp with points—I like using embroidery scissors so I can make tiny cuts)

Hot glue gun and glue sticks

Dark ink pen or marker OR sewing pins

Floral pins

Colored chalk or pastels and small paintbrush (optional)

Steps

ONE: Print out the PDF.

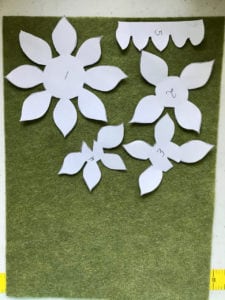
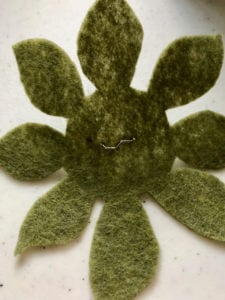
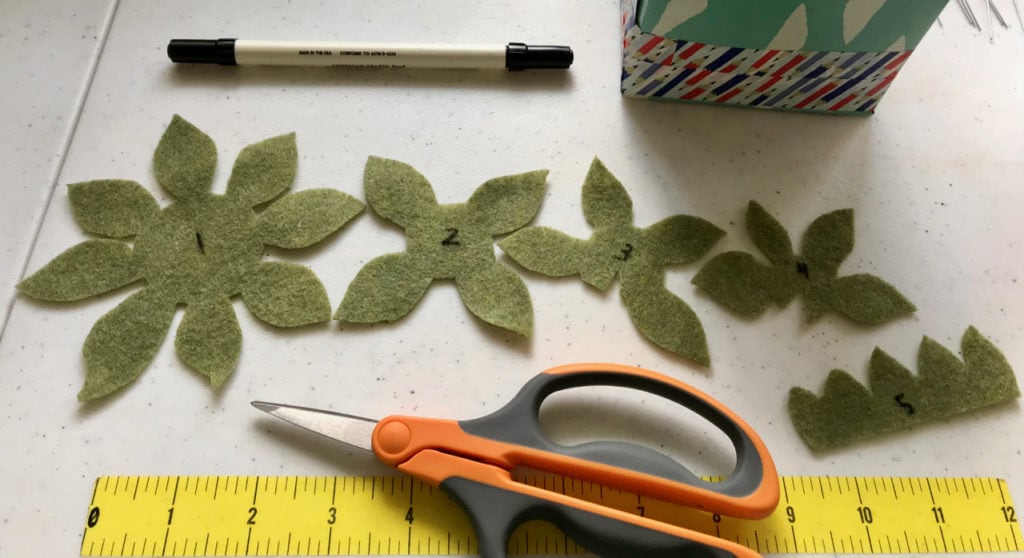
TWO: Cut apart each of the five (5) pieces.

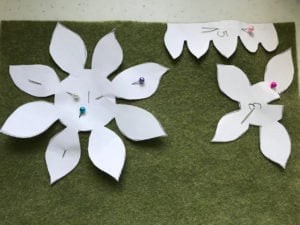
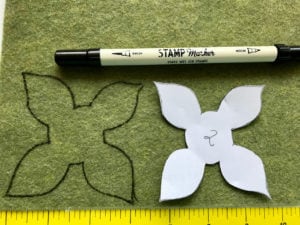
THREE: Choose your felt sheet and lay out all five pieces. Either pin in place, or use a marker to draw each piece.


FOUR: Plug in your glue gun. Cut out all five pieces. It helps to label the felt pieces so you don’t lose track of which is which. (If you used a marker to draw around the pieces, be sure to cut INSIDE the lines so none of the marker shows.)

FIVE: Place each felt piece in order, from 1 to 5, left to right. We will start with #1. Make sure the numbers are on the DOWN side so they don’t show.

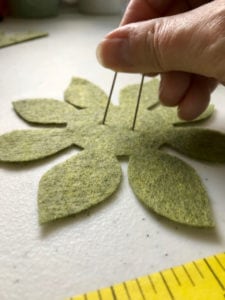
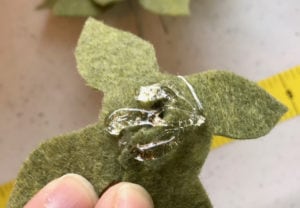
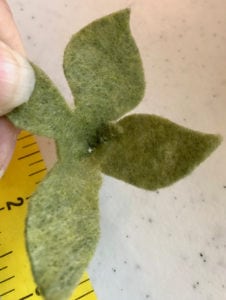
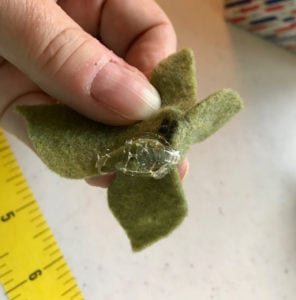
SIX: Stick both tines of a floral pin straight into the center of #1 so it lies flat as shown:

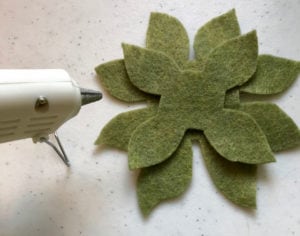
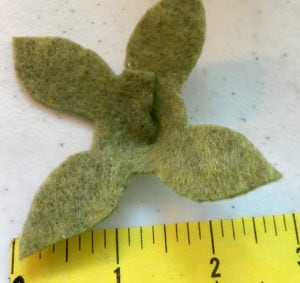
SEVEN: Apply some hot glue to the center, over the top of the pin. Pinch up a bit to make the piece not quite so flat. While the glue is hot, take the #2 piece and carefully center it in place on top of #1. Make sure the leaves don’t cover the ones on #1, but instead fill in the gaps between some of the bottom leaves.

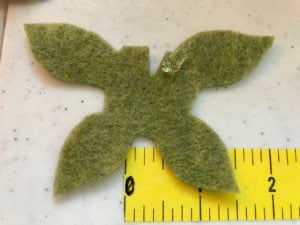
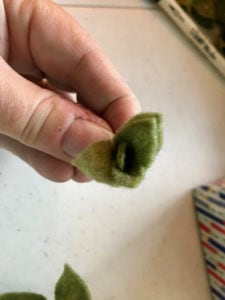
EIGHT: Pieces #3 and #4 both have notches on them. You will need to glue the notches shut, forming a little indent inside the center and the leaves will point more UP instead of flat. Glue as shown below:

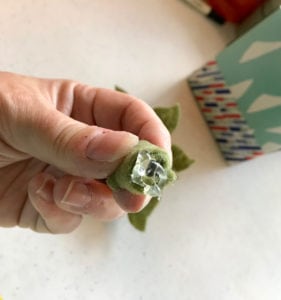
NINE: Take #3 and place hot glue on it’s underside center as shown. Then stick in into the center of #2, continuing to bunch up the pieces as you add new layers.


TEN: Do the same with #4.

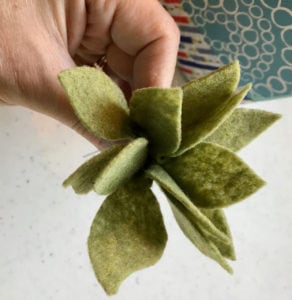
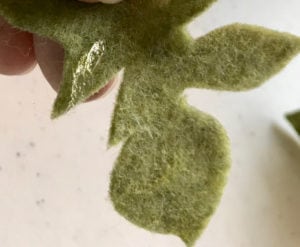
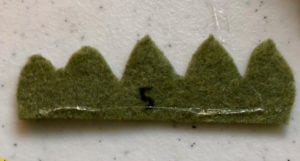
ELEVEN: Notice that #5 is different from the others. This one will be rolled up into a small bunch. I like to place a thin line of hot glue along its bottom edge. Do this on the marked side. When you roll it up, the number marking will be inside, not showing. Roll it so the leaves are not all lined up, but rather intermittent, like rose petals.

TWELVE: Place hot glue on the bottom of the roll and place it in the center of #4. Scrunch up the leaves around the rolled piece and hold until the glue is set.

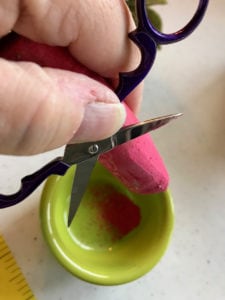
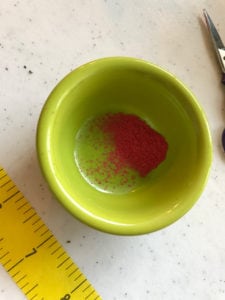
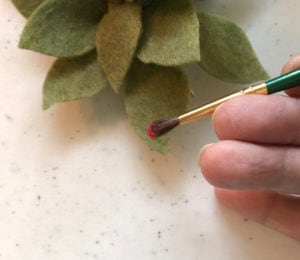
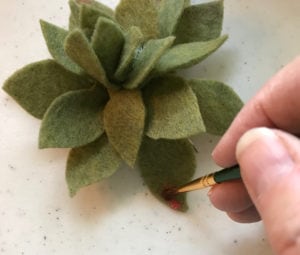
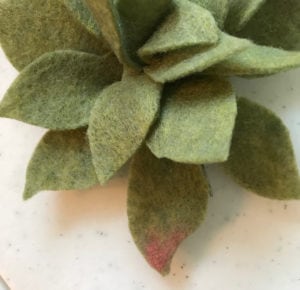
OPTIONAL STEP: Use some crushed chalk or pastel chalk (powdery fine) to brush a bit of color on the leaves. I didn’t have anything but sidewalk chalk (I’ll get more, Matthew!) and it worked great. Brush as little or much as you want.

Display your creation!

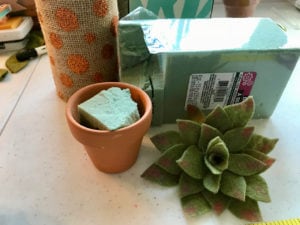
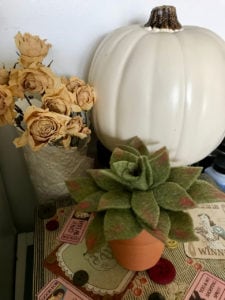
This is so simple. Just get a small pot (like this 5-cent terra cotta one I had) and put a bit of floral styrofoam inside. Push the floral pin in the center of your succulent into the foam. If you want it to be more permanent, you can use hot glue under the succulent before you pin it in place.

Add some decorative flair to the pot or add a few small felt plants or leaves if you want.

What’s next?

See that pumpkin floral arrangement up top where we began? Yes! That’s our next project. Come back, bring others, and share the heartfelt love.


Super Simple Fall Ideas #2

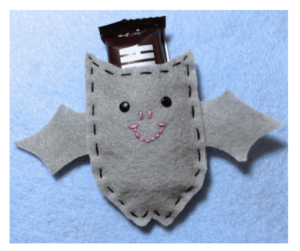
I love felt. In fact, that’s why I use the word “heartfelt” for my creative pursuits, both here and on Etsy. In hot weather, I don’t play with felt much, but once the temperatures cool down and the colors start changing, I reach for felt projects to keep my hands busy. In this post, I’m going to show you how to make some felted friends. This project is easy enough to get your kids involved, too!

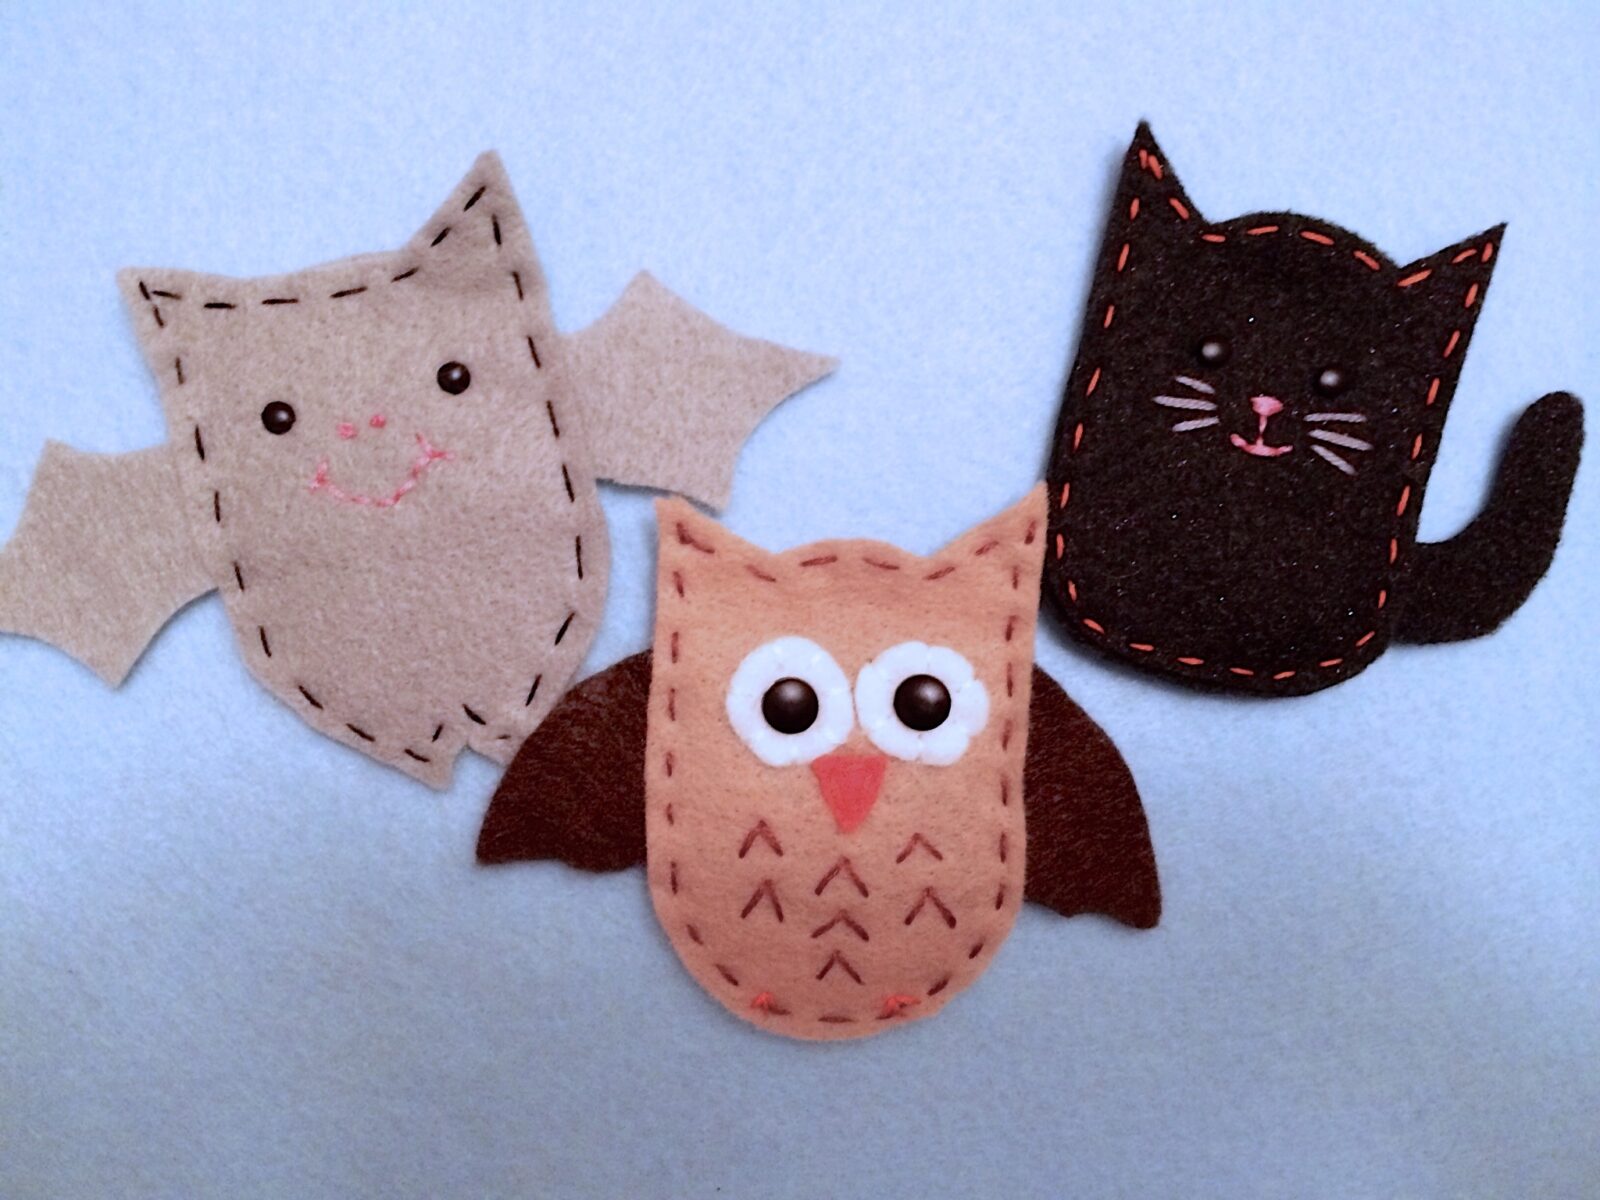
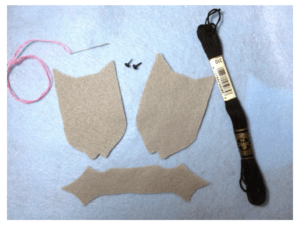
I’m showing you step-by-step how to make Buffy Bat. At the end of the post, you’ll be able to download the full PDF with the cutout forms and photos that show you how to make all three critters: Buffy Bat, Ollie Owl, and Cassie Cat.

Here’s all you need to get started:

Materials:

  • Colored felt
  • An embroidery needle
  • Embroidery floss (it’s thicker than regular thread, so it shows up better
  • Sharp scissors
  • Tiny brads (4mm) or buttons

Step One: Cut out the felt pieces.

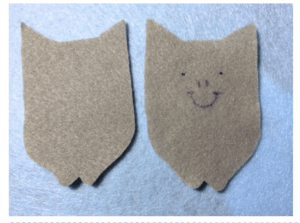
Step Two: On the front body piece, use marking pen to mark eye, nose, and mouth placements.

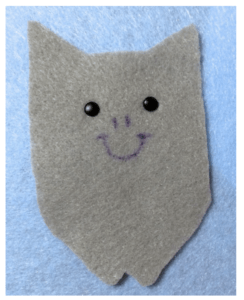
Step Three: Place brads for eyes. (You may use a pin to stretch a little hole to make it easier to insert

the back of the brad.) Or sew on small black buttons.

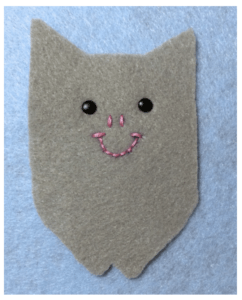
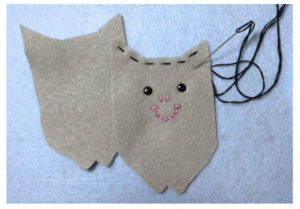
Step Four: Make either French knots or straight stitches to make the nose. Use backstitches to form

the mouth.

Step Five: Make running stitches around the top of the head on the front only.

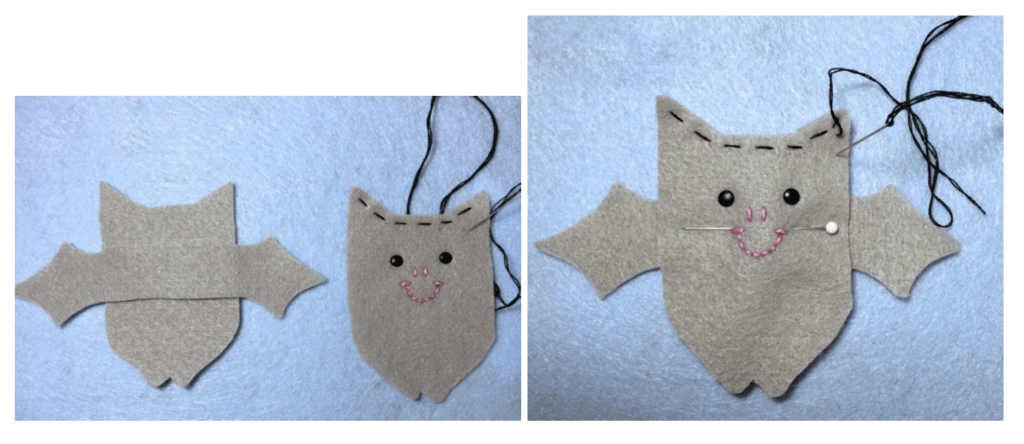
Step Six: Place the wing between the front and back of the body pieces as shown. Pin in place.

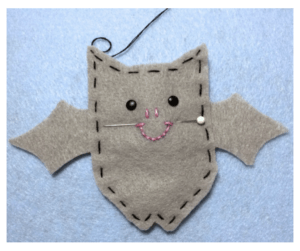
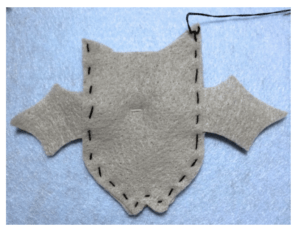
Step Seven: Use running stitches to sew the front, back, and wings together as shown. Only stitch

the sides and bottom if you are leaving the top open for a treat. That’s it! You’re finished. 

Now go eat that chocolate bar. You’ve earned it.

Now for that download.

Just click HERE. I’m making it available to my Heartfelt blog followers for FREE.

You can send others to my Etsy shop where they can purchase the download for $2.95.

Buckets o’ fun

In my quest to get organized, I had to go beyond the hanging organizer (see previous post). Yes, it’s finished! I think it turned out pretty-kitty well and it also got filled up pretty-kitty fast. I think it looks pretty-kitty pretty. Don’t you just love themes?

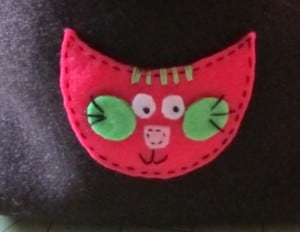
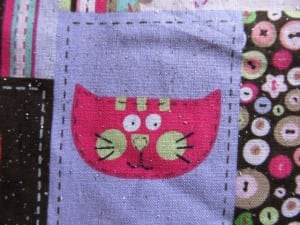
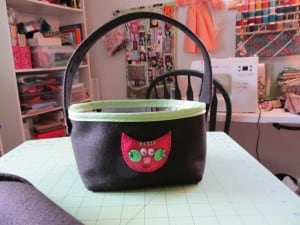
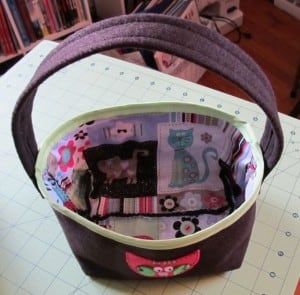
What could I do with the other stuff that didn’t fit into one of those pockets? Put it in bags? Bins? Boxes? Baskets? Buckets! But buckets are ugly and bulky, right? Well, not anymore. Introducing my “buckets o’ fun”! The first one I made is sans handle, but I think I’ll add it later. It continues the kitty theme, but not quite as directly as the new brown bucket. See that kitty on the front? I just imitated one of the kitties in the fabric used for the liner (same fabric used on the hanging organizer).

Now I’m using my buckets to hold things like rick-rack packs, patterns, notions, and little remnants that I might used for other things. Instead of a pile of mess, I now have some cute, coordinated organizers to help me be less cluttered.

In the next couple of days, I’ll be posting a pattern and instructions on how to make your own lined buckets. I hope you have buckets o’ fun, too!