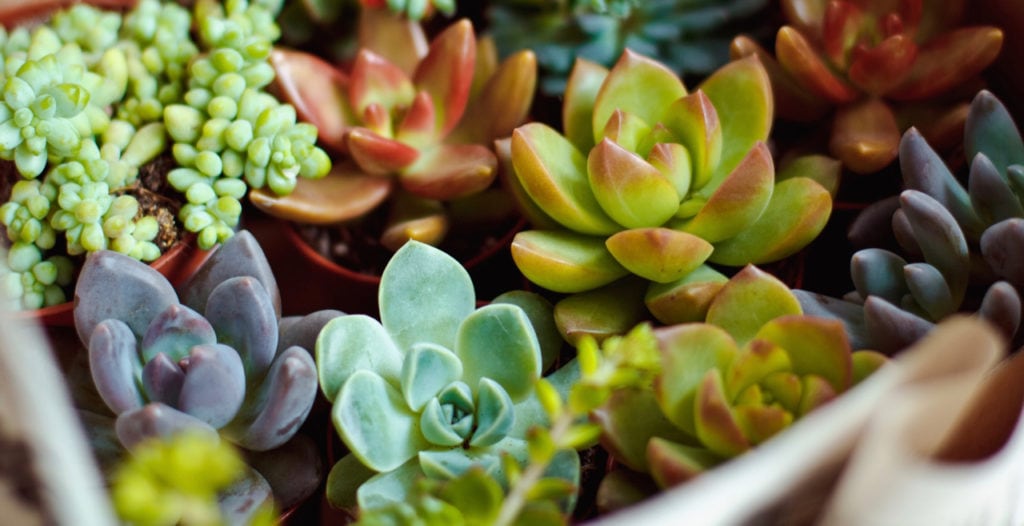
One of the hottest trends these days comes in small sizes: the wide world of the cactus family known as SUCCULENTS. Who knew there were so many varieties, colors, and shapes? No wonder artists and crafters are finding ways to include these perfect, low-maintenance plants into their projects. And that includes me.
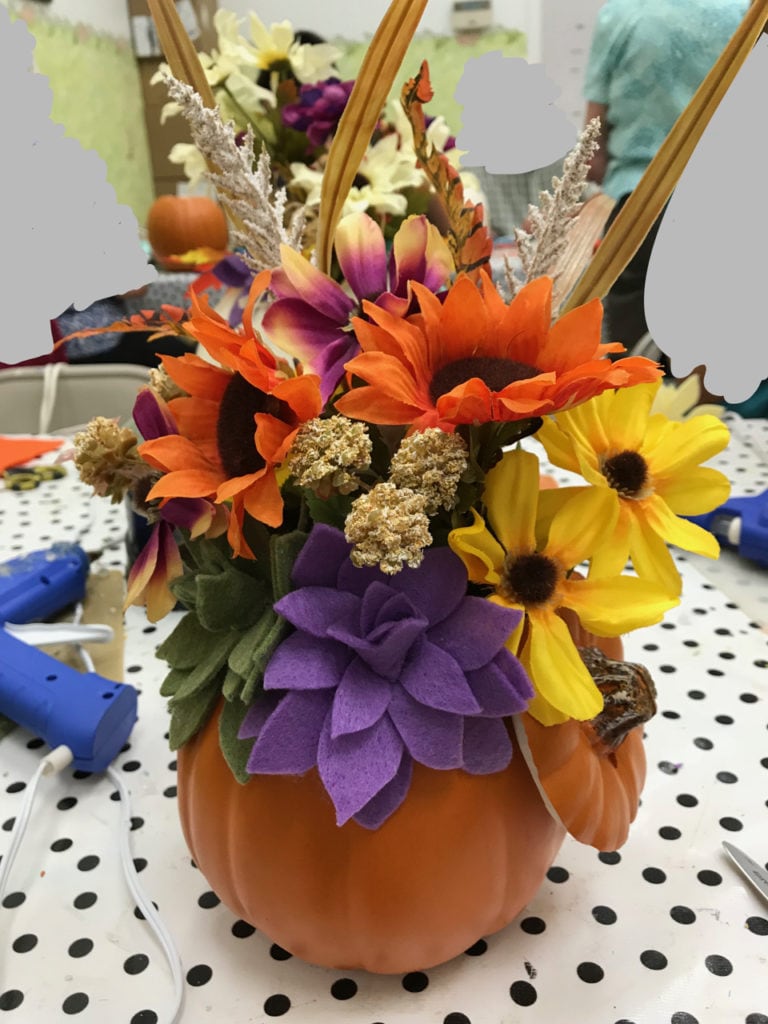
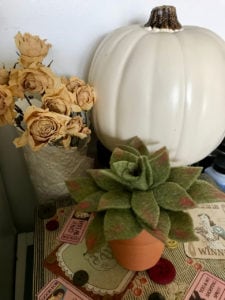
I recently took a class at a local craft store, Pat Catan’s, where we made a lovely fall floral arrangement using a foam pumpkin, some silk flowers, and felt succulents. The teacher showed how to make the succulents, so this wasn’t just a “stick it and take it” kind of floral class. I’m going to share with you the basic succulent she taught us that day. Here’s the finished product:
There are two succulents in the arrangement: purple and olive green. Succulents come in so many lovely colors that you can make them fit into any motif and color scheme in your home. Now let’s start making YOUR own succulents!
Materials
Pattern for succulent layers (PDF link here)
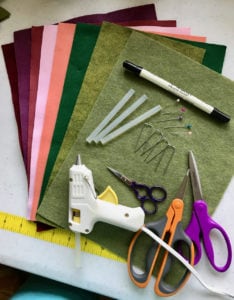 Felt sheet (one for each succulent)
- You can use the recycled material felt (the cheapest and thinnest—fine for this project—or the heavier wool felt sheets)
- Recommended colors include olive green, light green, dark green, any shades of purple or maroon, soft pinks or peach, light yellow or yellow-green, orange-red, the list goes on!
Scissors (sharp with points—I like using embroidery scissors so I can make tiny cuts)
Hot glue gun and glue sticks
Dark ink pen or marker OR sewing pins
Floral pins
Colored chalk or pastels and small paintbrush (optional)
Steps
ONE: Print out the PDF.
TWO: Cut apart each of the five (5) pieces.
THREE: Choose your felt sheet and lay out all five pieces. Either pin in place, or use a marker to draw each piece.
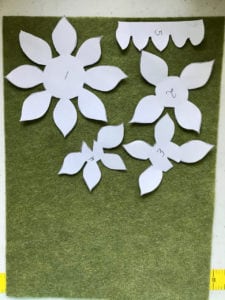
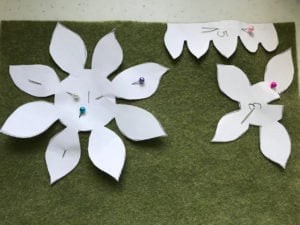
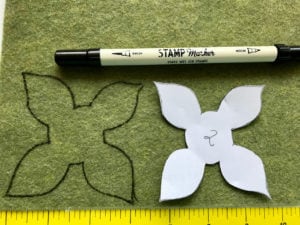
FOUR: Plug in your glue gun. Cut out all five pieces. It helps to label the felt pieces so you don’t lose track of which is which. (If you used a marker to draw around the pieces, be sure to cut INSIDE the lines so none of the marker shows.)
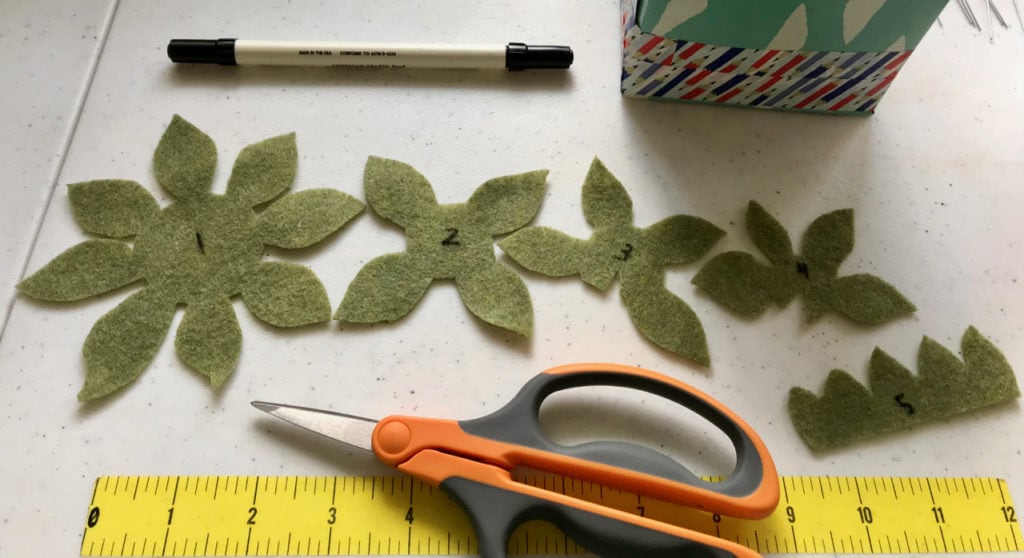
FIVE: Place each felt piece in order, from 1 to 5, left to right. We will start with #1. Make sure the numbers are on the DOWN side so they don’t show.
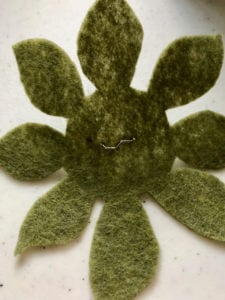
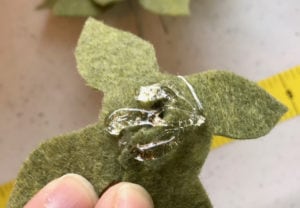
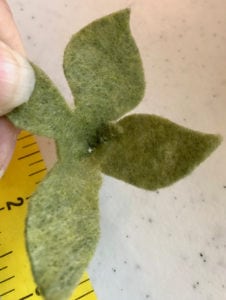
SIX: Stick both tines of a floral pin straight into the center of #1 so it lies flat as shown:
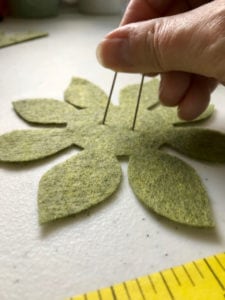
SEVEN: Apply some hot glue to the center, over the top of the pin. Pinch up a bit to make the piece not quite so flat. While the glue is hot, take the #2 piece and carefully center it in place on top of #1. Make sure the leaves don’t cover the ones on #1, but instead fill in the gaps between some of the bottom leaves.
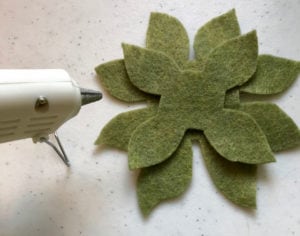
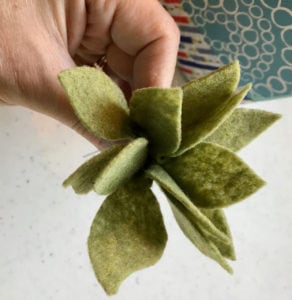
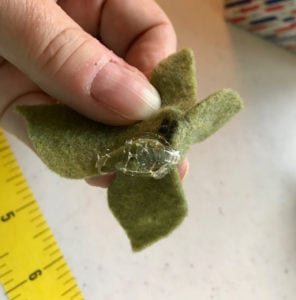
EIGHT: Pieces #3 and #4 both have notches on them. You will need to glue the notches shut, forming a little indent inside the center and the leaves will point more UP instead of flat. Glue as shown below:
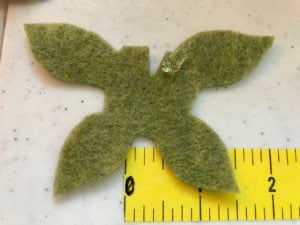
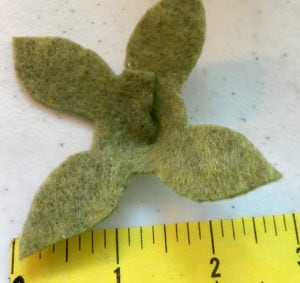
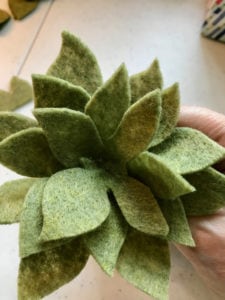
NINE: Take #3 and place hot glue on it’s underside center as shown. Then stick in into the center of #2, continuing to bunch up the pieces as you add new layers.
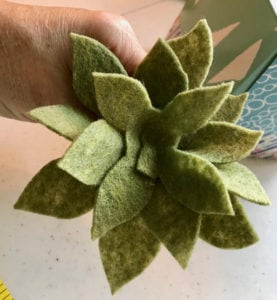
TEN: Do the same with #4.
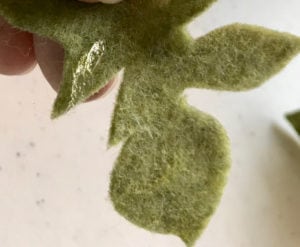
ELEVEN: Notice that #5 is different from the others. This one will be rolled up into a small bunch. I like to place a thin line of hot glue along its bottom edge. Do this on the marked side. When you roll it up, the number marking will be inside, not showing. Roll it so the leaves are not all lined up, but rather intermittent, like rose petals.
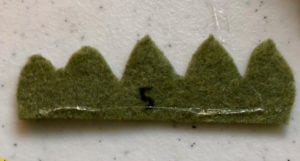
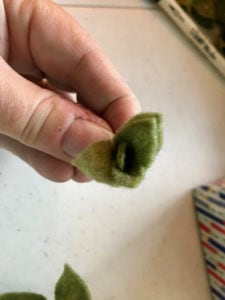
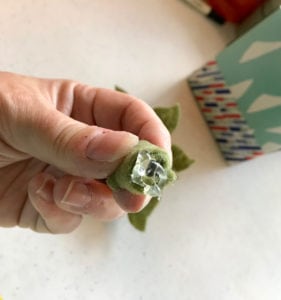
TWELVE: Place hot glue on the bottom of the roll and place it in the center of #4. Scrunch up the leaves around the rolled piece and hold until the glue is set.
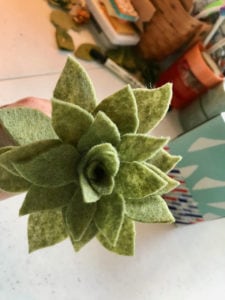
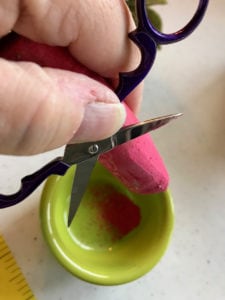
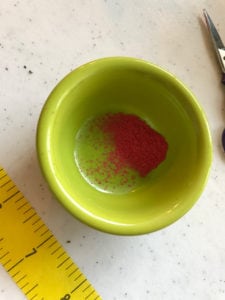
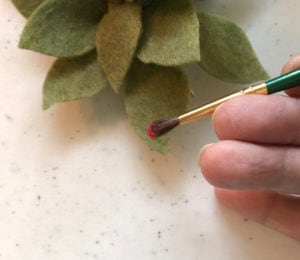
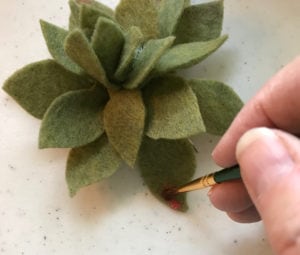
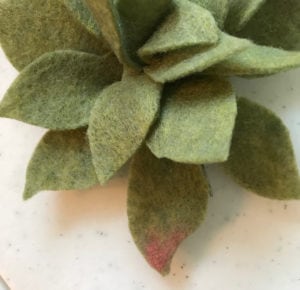
OPTIONAL STEP: Use some crushed chalk or pastel chalk (powdery fine) to brush a bit of color on the leaves. I didn’t have anything but sidewalk chalk (I’ll get more, Matthew!) and it worked great. Brush as little or much as you want.
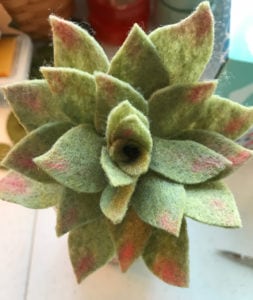
Display your creation!
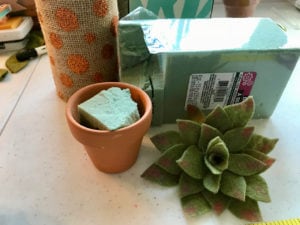
This is so simple. Just get a small pot (like this 5-cent terra cotta one I had) and put a bit of floral styrofoam inside. Push the floral pin in the center of your succulent into the foam. If you want it to be more permanent, you can use hot glue under the succulent before you pin it in place.
Add some decorative flair to the pot or add a few small felt plants or leaves if you want.
What’s next?
See that pumpkin floral arrangement up top where we began? Yes! That’s our next project. Come back, bring others, and share the heartfelt love.

