White Pumpkin Floral with Succulent


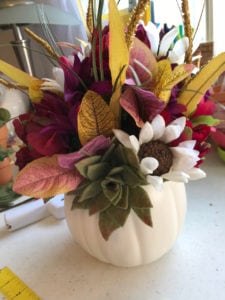
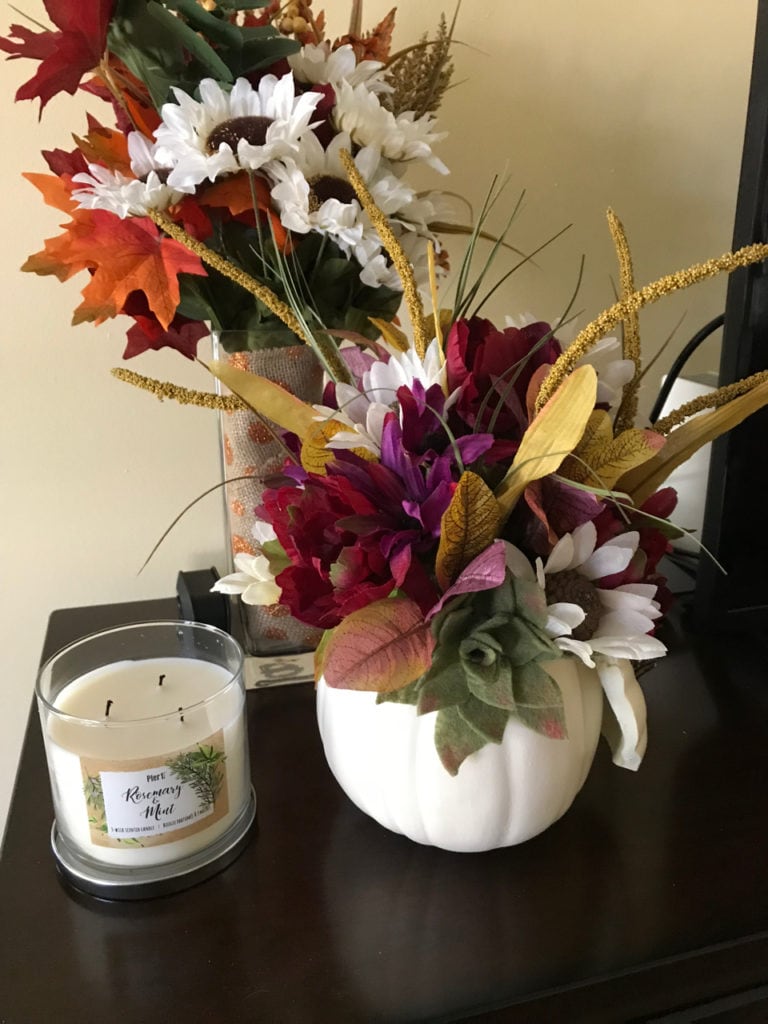
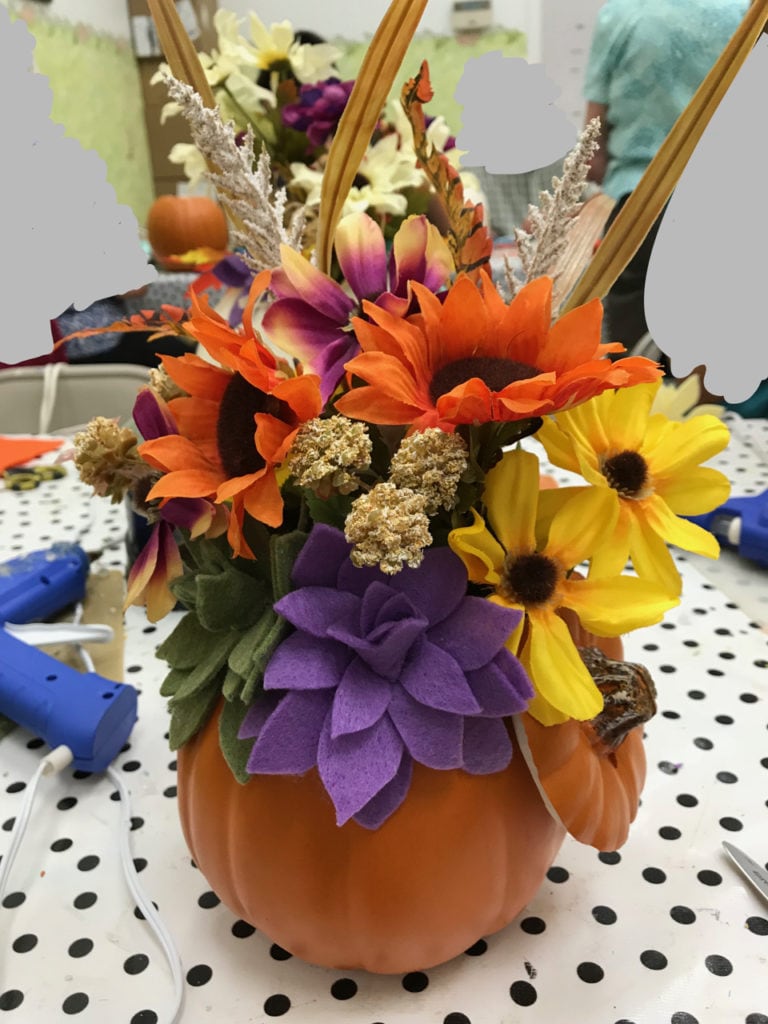
The little succulent we made several days ago has been so lonely. It’s time to make it a home, where it can live with other pretty things and be enjoyed by others. Thus, I introduce you to our newest project: the white pumpkin floral arrangement.

Orange pumpkins are bright and cheery and oh-so-autumny, but white pumpkins are classy, elegant, and much more versatile. You can use any colors you want! Let’s move past the rusts, yellows, browns, and oranges and embrace purple, burgundy, green, and gold!

This project takes more time to shop for than it does to put together. In my mind, that a win-win! (wink, wink)

Let’s start with our list of supplies:

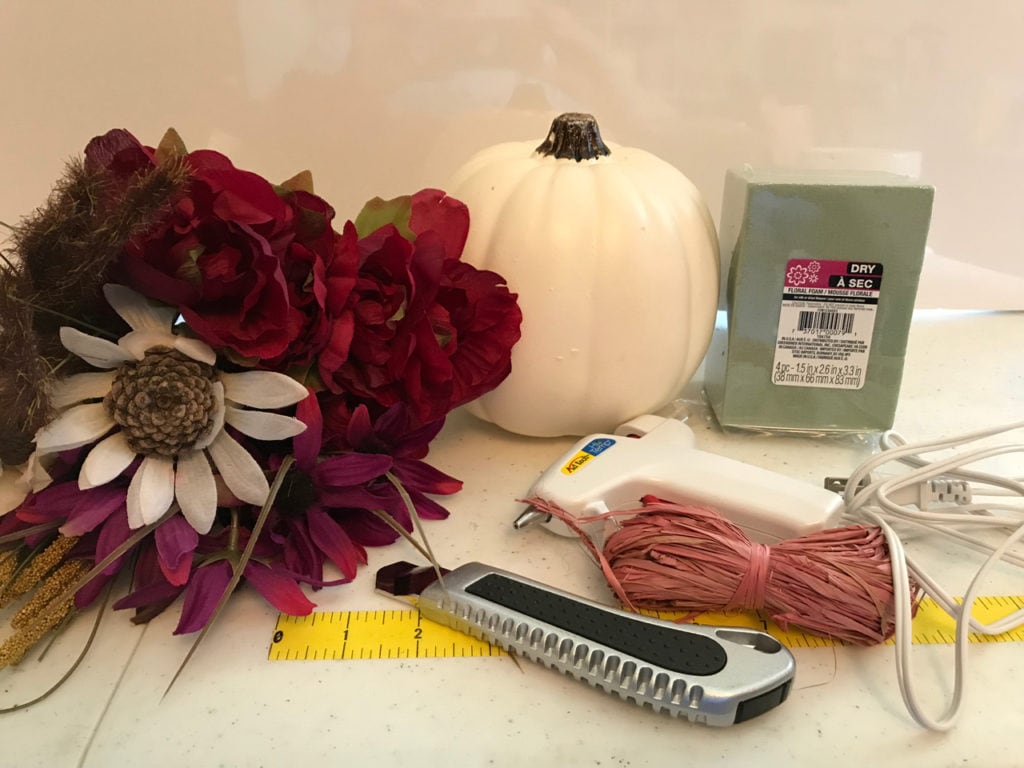
  1. a small (or large if you prefer) white foam pumpkin
  2. a large wedge of floral foam
  3. an Exacto knife or similar one that can be extended (see photo)
  4. hot glue gun and glue sticks
  5. 12–15 individual stems of silk flowers, leaves, accents, etc.
  6. wire cutter
  7. your succulent from the last project

Step-by-step instructions

Step #1: Draw or score a line around the top of the pumpkin where you will be cutting the top off. I like to use the razor to score the line. Then I just have to push the blade through on my second trip around.
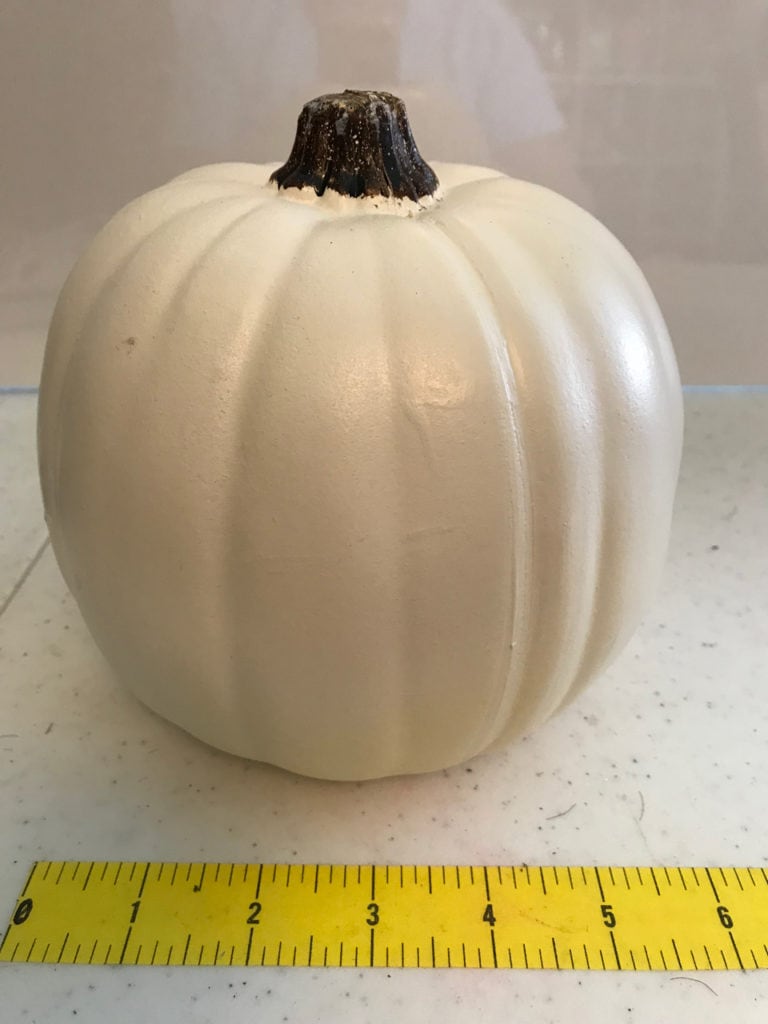
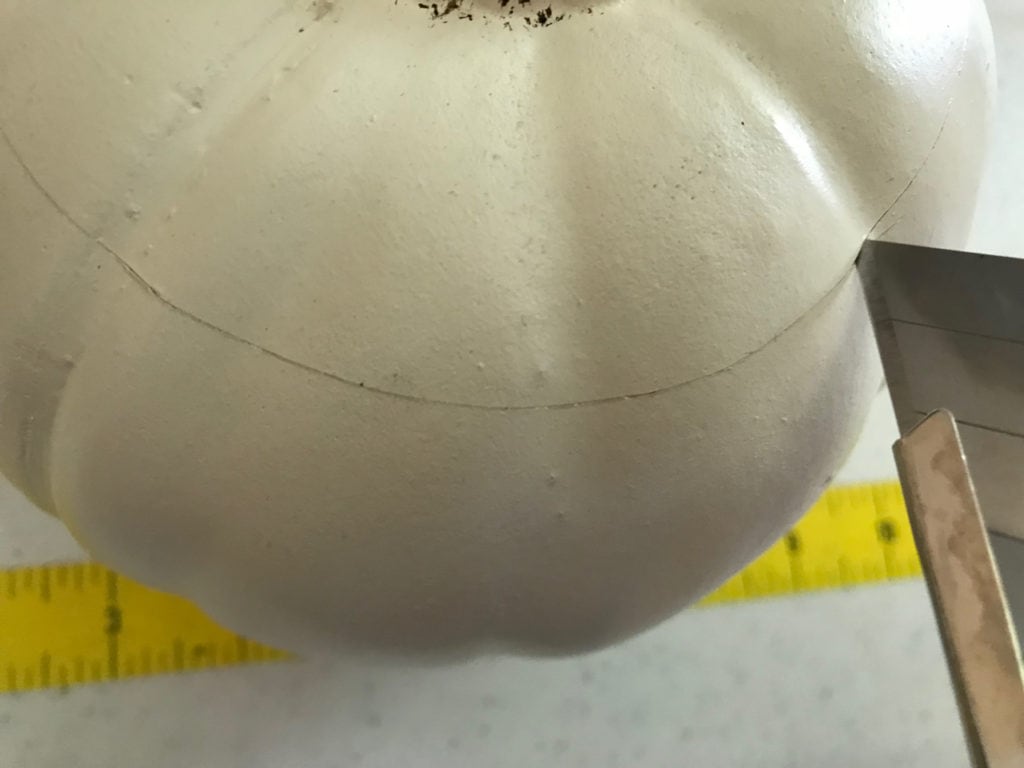
      

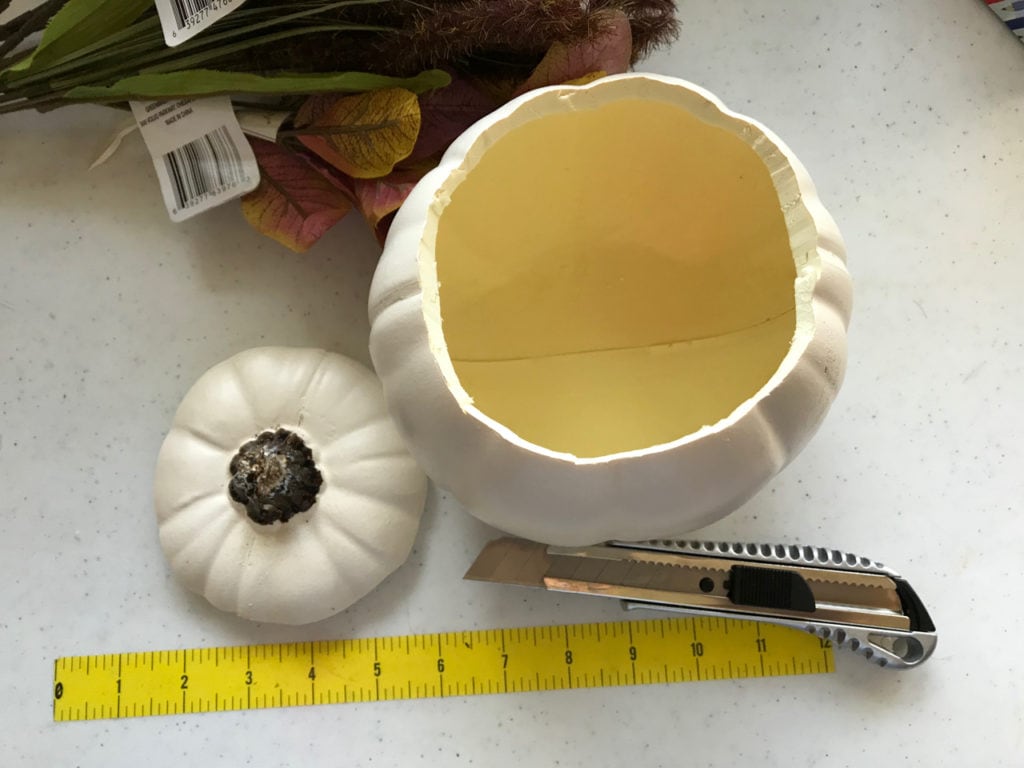
Step #2: Use the cutter to cut through until your have a lid you can pull off the top of the pumpkin. Be careful! This doesn’t have to be perfect. The opening will not show under the flowers and you can later trim the edges of the lid to look neater.
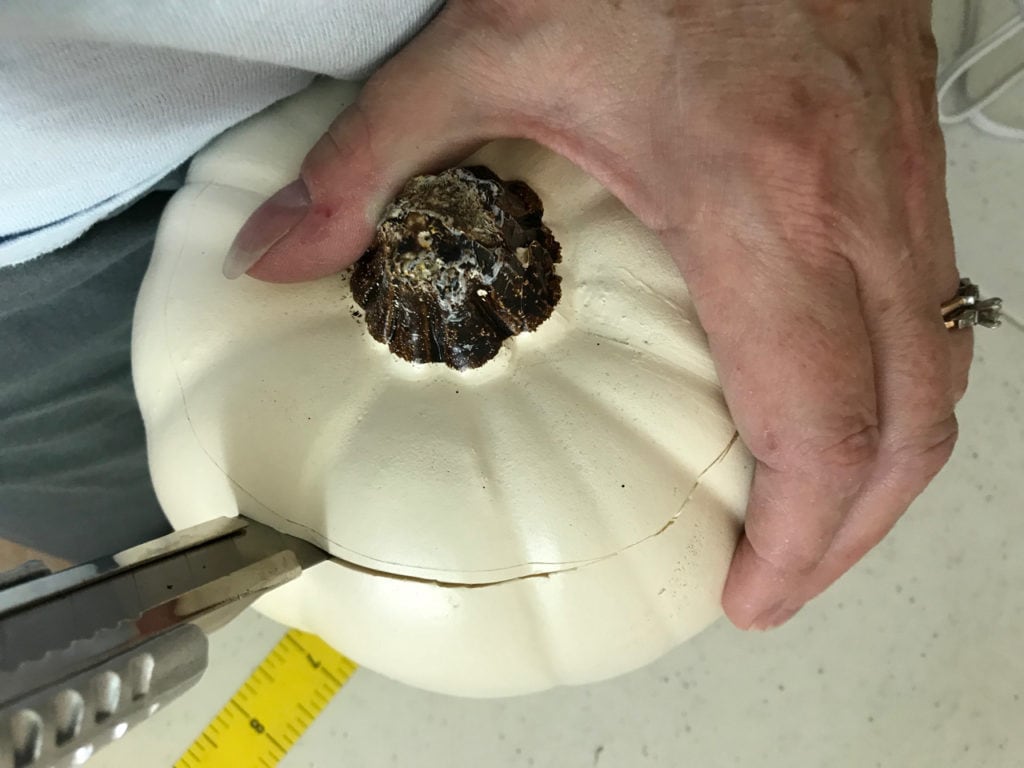
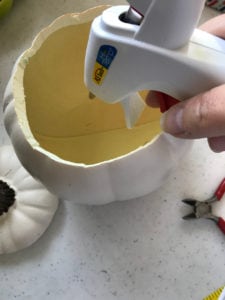
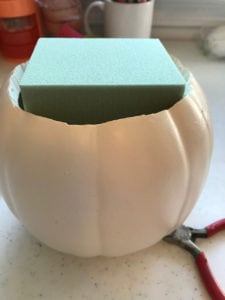
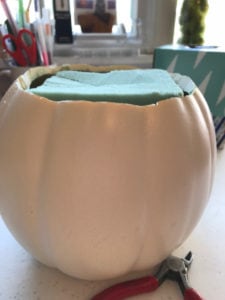
Step #3: Plug in your hot glue gun. (Put the lid aside for now.) Unwrap the floral foam and set aside. Drizzle a puddle of hot glue into the bottom of the open pumpkin. Insert the floral foam while the glue is hot and press down. (You might need to trim the edges to get it to fit inside.) Once it’s set, shave off the top so it’s more or less even with the top of the opening.
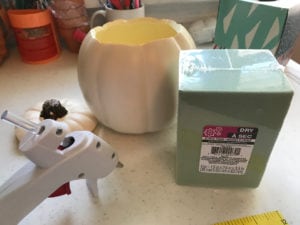


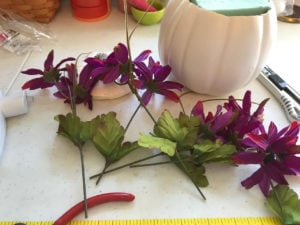
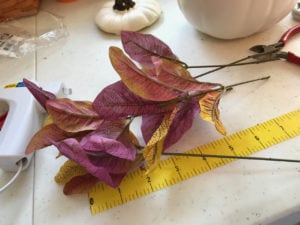
Step #4: Gather your silk flowers and use a wire cutter to cut the stems so you have a dozen or more individual pieces.
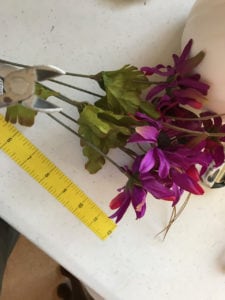
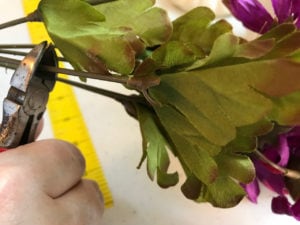
        

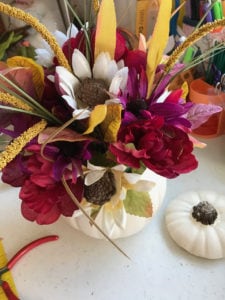
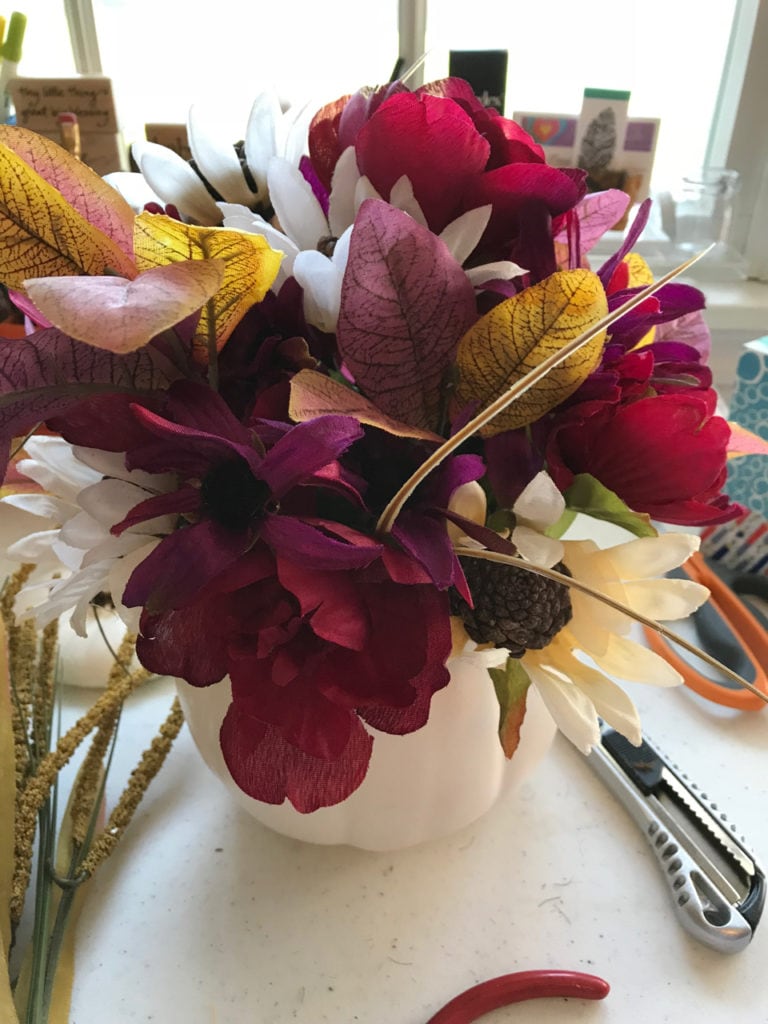
Step #5: Arrange your flowers! I like to start in the center with one and then move outward until I’ve filled the opening. Add various tall, short, full, textured pieces to make it interesting and beautiful.

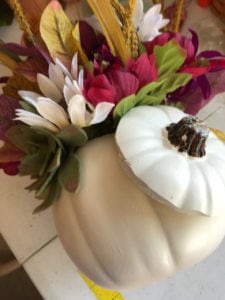
Leave a space somewhere toward the edge of the pumpkin for your succulent. Here’s a look at my progress.
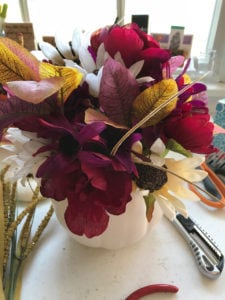
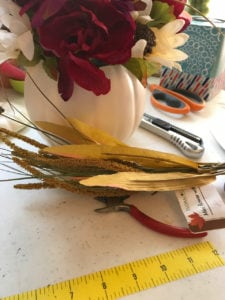
        

Step #6: Use the pin on the bottom of your succulent to stick it in place.
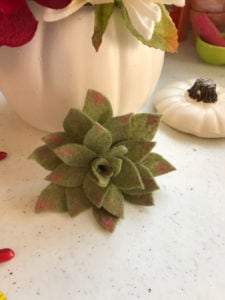
    

Step #7: This step is optional. Some people like to have the lid show, making it clear that this arrangement is actually a pumpkin. Others don’t care for the look. 

To add the lid, you will need to put hot glue on BOTH the inside of the lid and on the outer area of the pumpkin where you are going to place it. Press the glue areas together and hold for about a minute, or until you cannot move the lid. I carefully laid the pumpkin on its side while I was holding it down. 
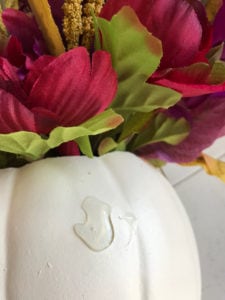
         

Step #8: Admire your handiwork and find a perfect place to display it. Be sure to tell everyone, “I made this! Why, yes, I’ll take orders if you want one.” 
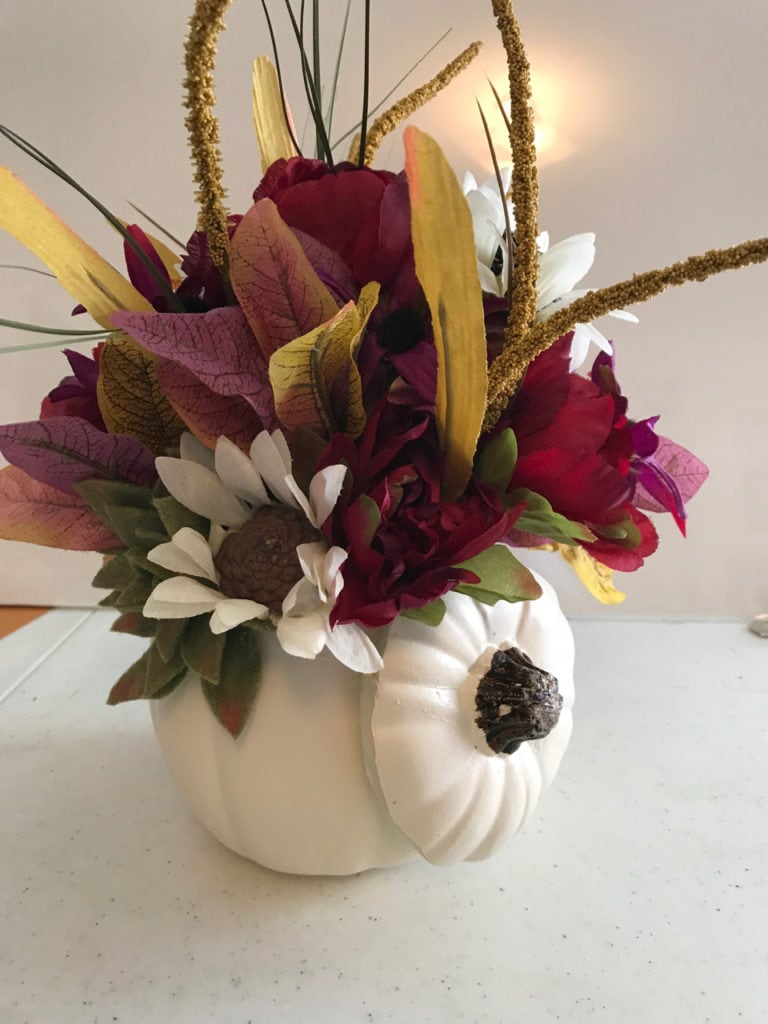
Thank you for spending time with me as I make and play and create projects. I hope you will share them with others and find yourself feeling happier, more creative, and surprised at your power to make stuff.

As always, comments are welcome.


Succulent Felt Fun

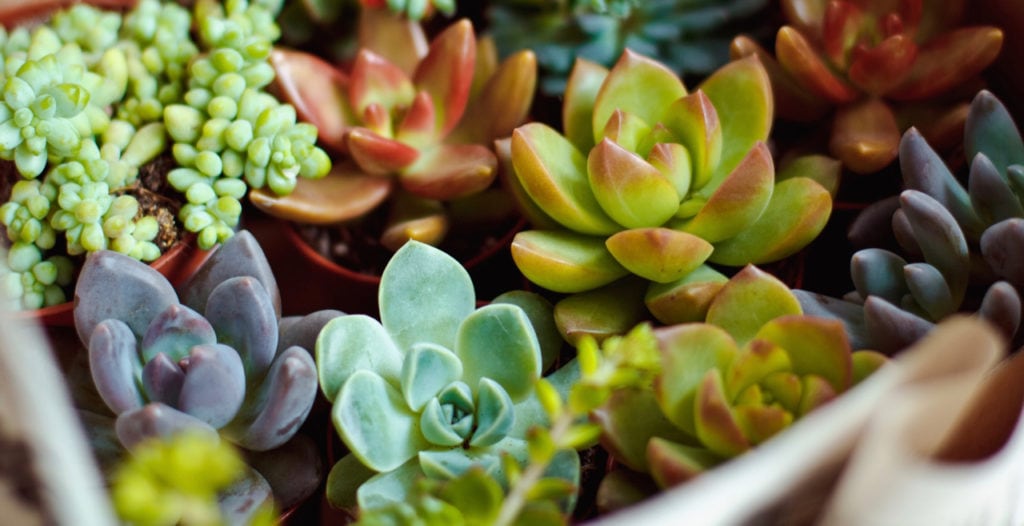
One of the hottest trends these days comes in small sizes: the wide world of the cactus family known as SUCCULENTS. Who knew there were so many varieties, colors, and shapes? No wonder artists and crafters are finding ways to include these perfect, low-maintenance plants into their projects. And that includes me.

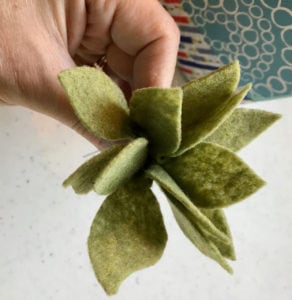
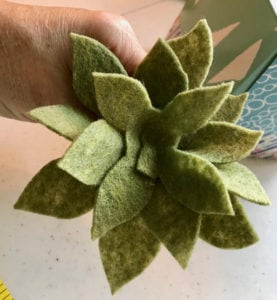
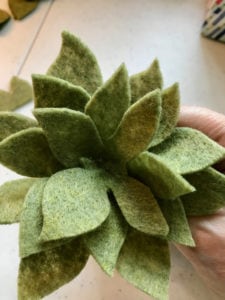
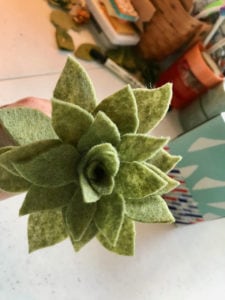
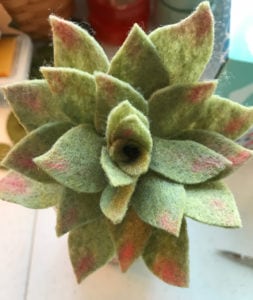
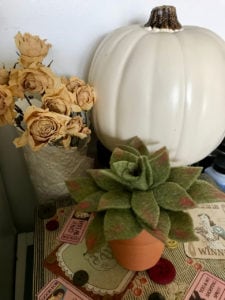
I recently took a class at a local craft store, Pat Catan’s, where we made a lovely fall floral arrangement using a foam pumpkin, some silk flowers, and felt succulents. The teacher showed how to make the succulents, so this wasn’t just a “stick it and take it” kind of floral class. I’m going to share with you the basic succulent she taught us that day. Here’s the finished product:

There are two succulents in the arrangement: purple and olive green. Succulents come in so many lovely colors that you can make them fit into any motif and color scheme in your home. Now let’s start making YOUR own succulents!

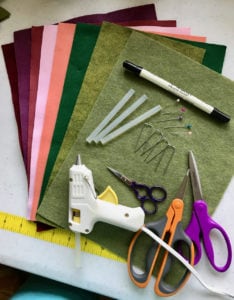
Materials

Pattern for succulent layers (PDF link here)

Felt sheet (one for each succulent)
  • You can use the recycled material felt (the cheapest and thinnest—fine for this project—or the heavier wool felt sheets)
  • Recommended colors include olive green, light green, dark green, any shades of purple or maroon, soft pinks or peach, light yellow or yellow-green, orange-red, the list goes on!

Scissors (sharp with points—I like using embroidery scissors so I can make tiny cuts)

Hot glue gun and glue sticks

Dark ink pen or marker OR sewing pins

Floral pins

Colored chalk or pastels and small paintbrush (optional)

Steps

ONE: Print out the PDF.

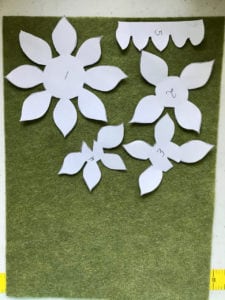
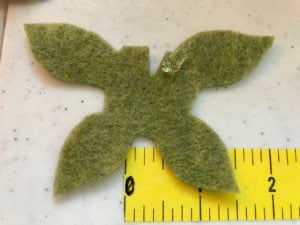
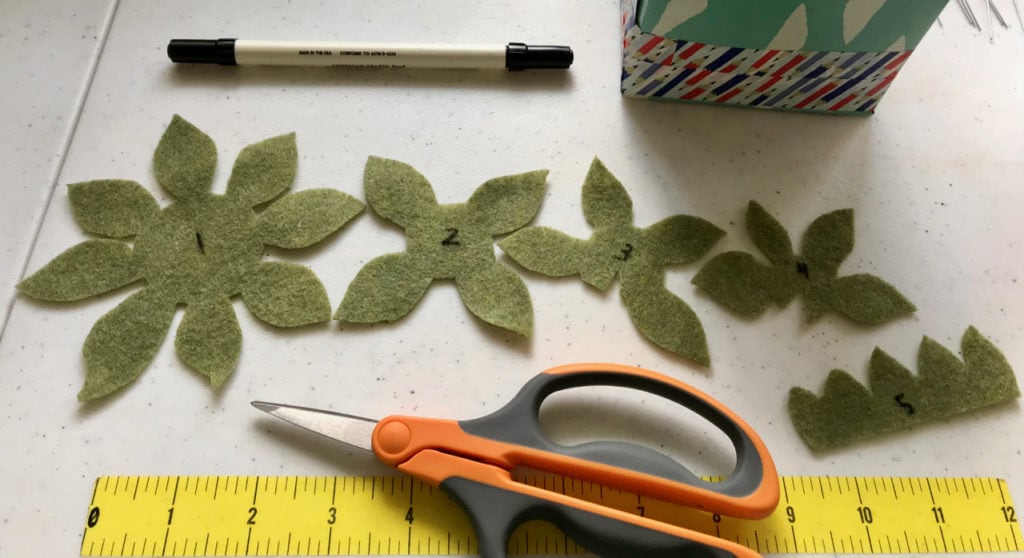
TWO: Cut apart each of the five (5) pieces.

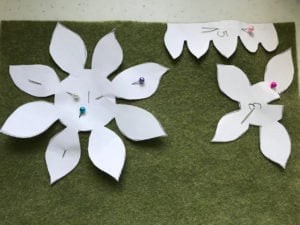
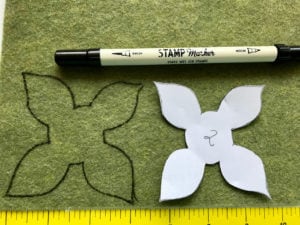
THREE: Choose your felt sheet and lay out all five pieces. Either pin in place, or use a marker to draw each piece.


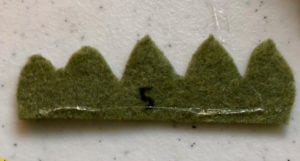
FOUR: Plug in your glue gun. Cut out all five pieces. It helps to label the felt pieces so you don’t lose track of which is which. (If you used a marker to draw around the pieces, be sure to cut INSIDE the lines so none of the marker shows.)

FIVE: Place each felt piece in order, from 1 to 5, left to right. We will start with #1. Make sure the numbers are on the DOWN side so they don’t show.

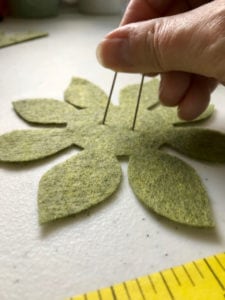
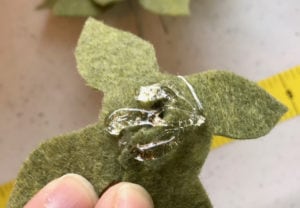
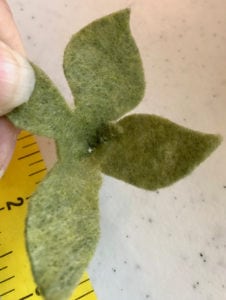
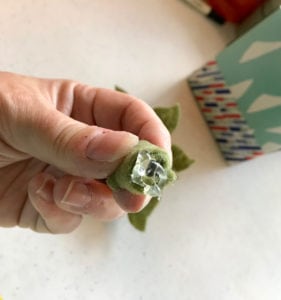
SIX: Stick both tines of a floral pin straight into the center of #1 so it lies flat as shown:

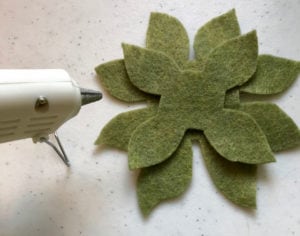
SEVEN: Apply some hot glue to the center, over the top of the pin. Pinch up a bit to make the piece not quite so flat. While the glue is hot, take the #2 piece and carefully center it in place on top of #1. Make sure the leaves don’t cover the ones on #1, but instead fill in the gaps between some of the bottom leaves.

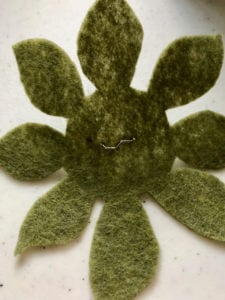
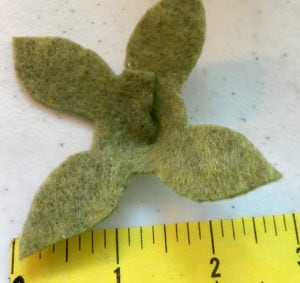
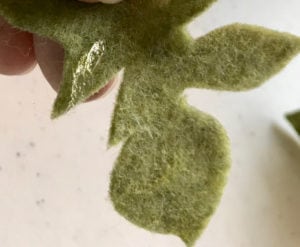
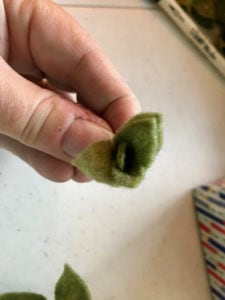
EIGHT: Pieces #3 and #4 both have notches on them. You will need to glue the notches shut, forming a little indent inside the center and the leaves will point more UP instead of flat. Glue as shown below:

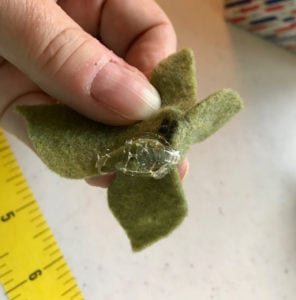
NINE: Take #3 and place hot glue on it’s underside center as shown. Then stick in into the center of #2, continuing to bunch up the pieces as you add new layers.


TEN: Do the same with #4.

ELEVEN: Notice that #5 is different from the others. This one will be rolled up into a small bunch. I like to place a thin line of hot glue along its bottom edge. Do this on the marked side. When you roll it up, the number marking will be inside, not showing. Roll it so the leaves are not all lined up, but rather intermittent, like rose petals.

TWELVE: Place hot glue on the bottom of the roll and place it in the center of #4. Scrunch up the leaves around the rolled piece and hold until the glue is set.

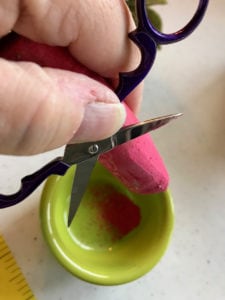
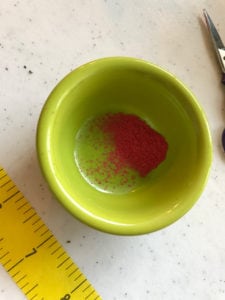
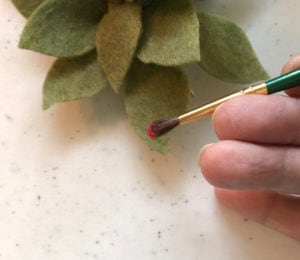
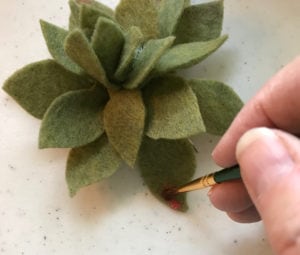
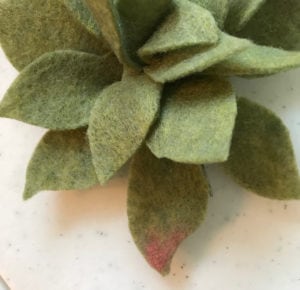
OPTIONAL STEP: Use some crushed chalk or pastel chalk (powdery fine) to brush a bit of color on the leaves. I didn’t have anything but sidewalk chalk (I’ll get more, Matthew!) and it worked great. Brush as little or much as you want.

Display your creation!

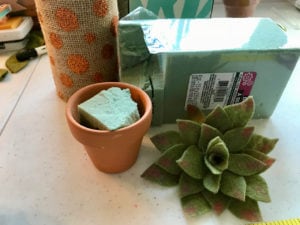
This is so simple. Just get a small pot (like this 5-cent terra cotta one I had) and put a bit of floral styrofoam inside. Push the floral pin in the center of your succulent into the foam. If you want it to be more permanent, you can use hot glue under the succulent before you pin it in place.

Add some decorative flair to the pot or add a few small felt plants or leaves if you want.

What’s next?

See that pumpkin floral arrangement up top where we began? Yes! That’s our next project. Come back, bring others, and share the heartfelt love.


Hello, Doily!

Sometimes you just have to combine two crafts that you love—and come up with a new one to love, as well. This week’s project is easy, Zen-like, and oh-so-pretty!

Those of us of a certain age grew up in homes decorated with doilies. Think of them as lacy coasters, if you will, underneath everything from lamps to candlesticks to the make-me-beautiful objects found on a bedroom vanity.

Before you panic, don’t! I’m not going to entice you to learn the needlecraft of thread crochet or tatting. (My grandmother knew how to do both to perfection.) No, we’re going to do something that will take much less time, fewer materials, and no stress. (Unless you stress about everything, in which case, I can’t promise much. tee hee

Remember some of my previous posts about learning to Zentangle®? I’m going to show you how to apply some of the basics of calming, creative, mindful doodling to make a lovely circle of sweetness. Let’s begin with what you’ll need:

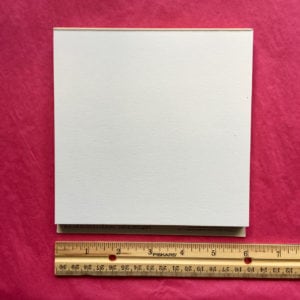
  1. Plain paper—a square size of your choice—that doesn’t bleed when using markers. Any color is fine, as long as your marker will show up on it. You could even use black paper if you have a white marker. (I’ll show you how that looks at the end.) I use 6″ x 6″ cardstock paper: 
  2. A ruler
  3. Anything you can find to make concentric circles: a compass, circle stencils, circle templates, or a variety of round objects from small (about the size of a dime) to large (for this purpose, about the size of a small saucer).
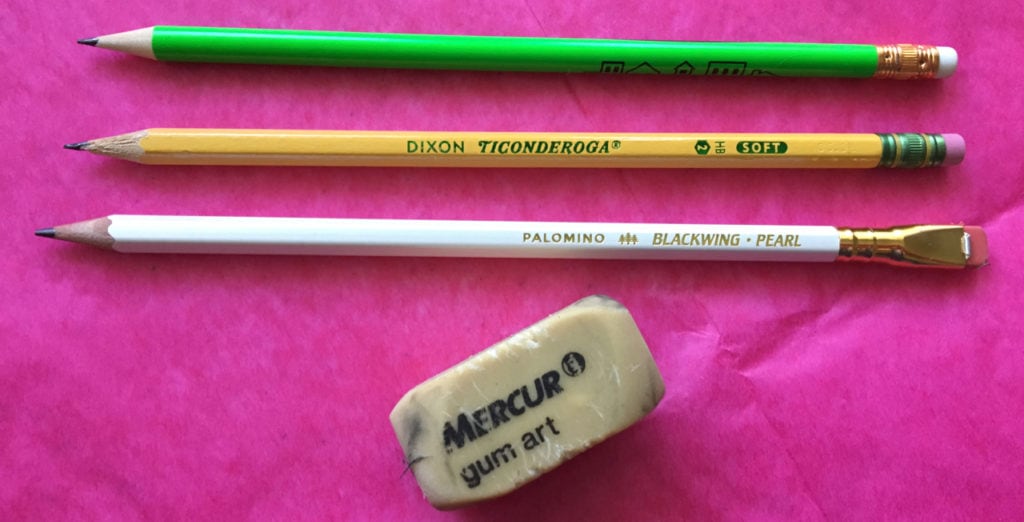
  4. A good pencil and eraser. My favorite pencils for things like this (because they erase completely) are Ticonderoga No. 2 and Palomino Blackwing Pearl. Any good pencil will do if you find you can create soft lines and erase without leaving any graphite behind. My favorite erase is not on the end of the pencil. I prefer the old-fashioned, bouncy, chunky art gum erasers. They are unbeatable for erasing pencil marks and not taking away any ink from your work.
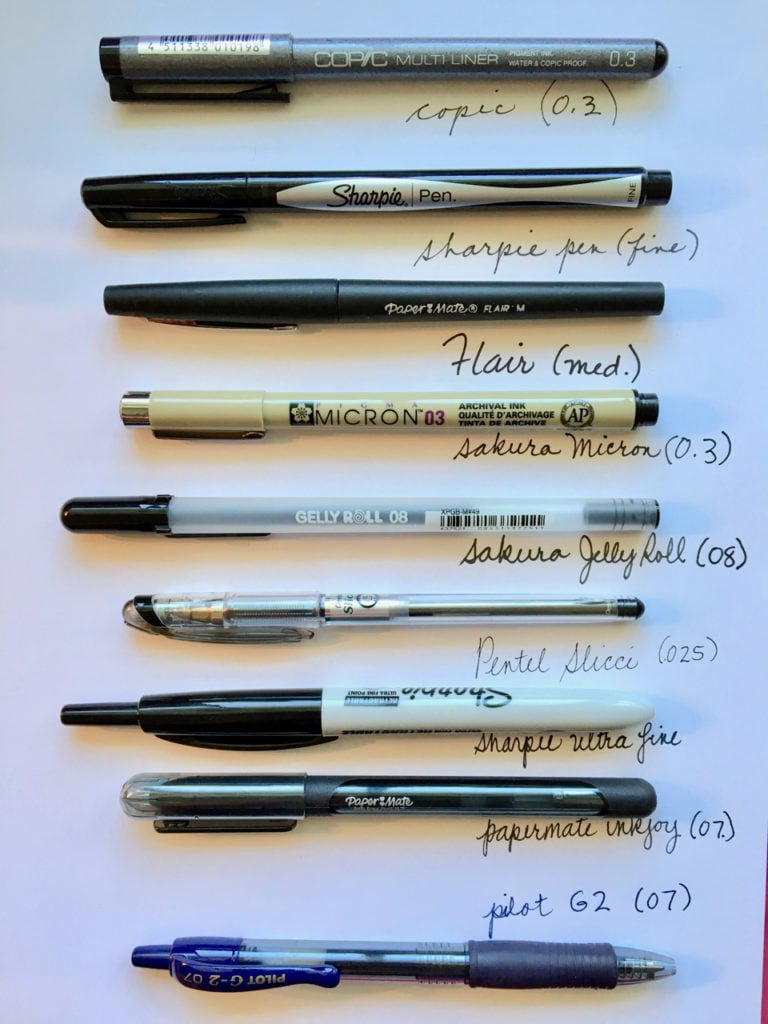
  5. Fine-tipped colorfast markers or gel pens such as Sharpie, Copic, Sakura Micron, Sakura Jelly Roll, Pilot G2, Stablio, etc. Here’s a photo to show a few of these and a writing sample of each. For the project you’ll see here, I used the fourth one down, the Sakura Micron 0.3 marker.

That’s it. Now we can start. Find a place where you can work comfortably and where the light is good. You’ll be making faint pencil marks, so it’s good to be able to see them easily.

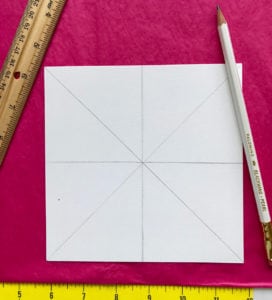
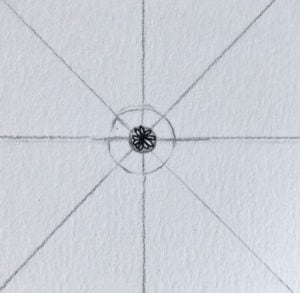
First, using your pencil, start by drawing straight lines from corner to corner so you can find your center.


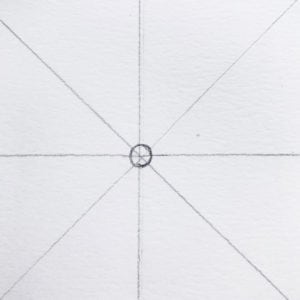
2. Draw a small circle in the center. Use a compass or template or just freehand it.

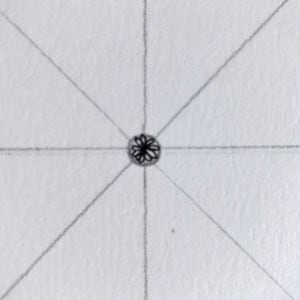
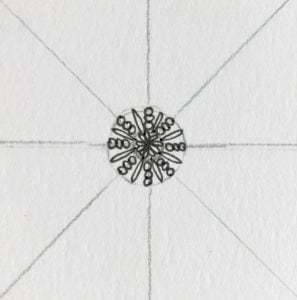
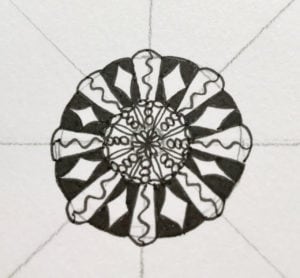
3. Make a design around the circle. I’m using long ovals that look like petals. You don’t have to do exactly what I’m doing on these steps. Whatever design you want, go for it!

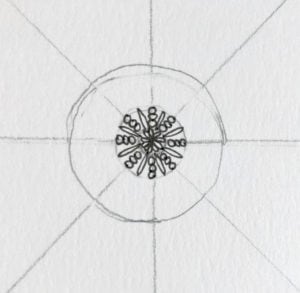
4. Draw another circle around the first one to keep your designs equidistant from the center. Remember, all of the pencil marks will go away at the end.

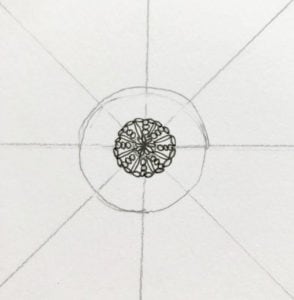
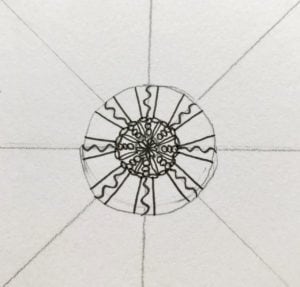
5. Doodle a different design around this circle. Make sure it touches the first circle’s design so it seems to hold together, like a doily!6. Sketch in another circle around that one.

7. I decided to border the entire second circle with a chain effect. You could use dots, scallops, lines, or nothing!

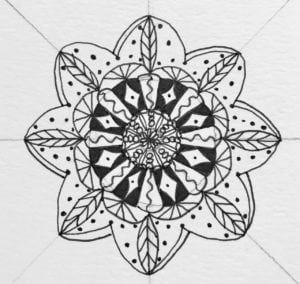
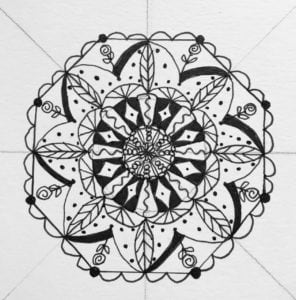
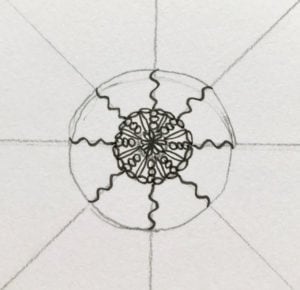
8. Using the lines you drew at the beginning, begin to pull your design outward. As you do this, you won’t have to keep drawing circles to keep your distance from the center. However, you may draw circles if you feel better about that. The goal here (as you can clearly see from my example) is NOT perfection. It’s about play, imagination, design, and feeling calm as you discover what wants to appear.

9. Just keep adding designs as you wish. Here’s a progression of mine for this round. (When crocheting a doily, each time you start on a new circle, it is called a “round.”)      

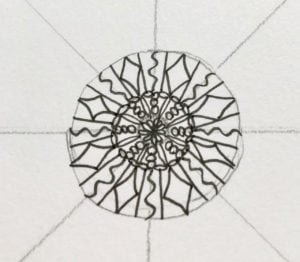
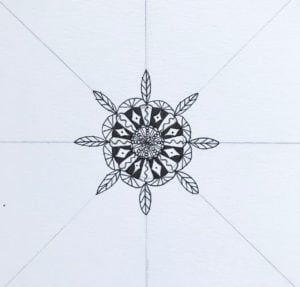
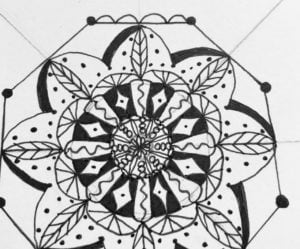
10. Now I’m using the rays (lines) to pull the design again. These leaf/feather pieces also add something recognizable. 

11. After I put the dots in, I pull a “wing” down to the center dot of each section.

12. Then I do the same to the other side.

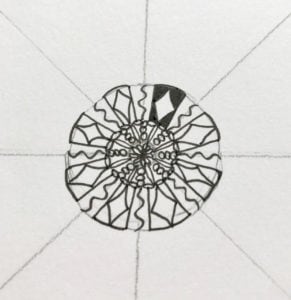
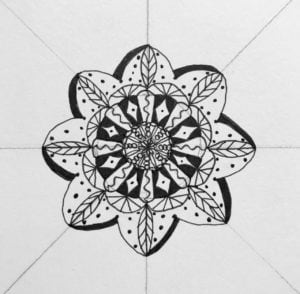
13. I add some dots as fillers and draw a lefthand line that I’ll be using to shade the design.   

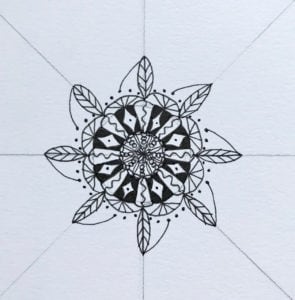
14. Again, I’m pulling the design outward by placing these small circles in the center of each section. (See how you don’t have to keep drawing circles now?)

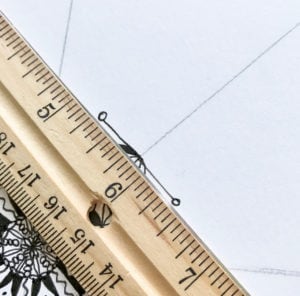
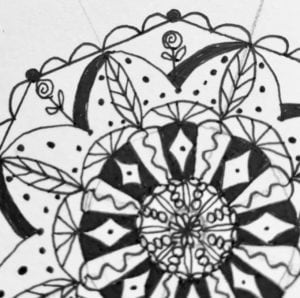
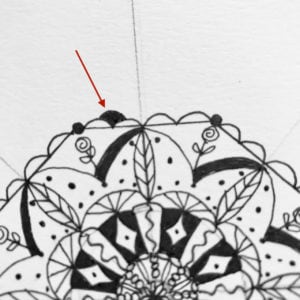
15. Use your ruler to draw a straight line from tiny circle to tiny circle, making sure you touch the top of each arc (petal).


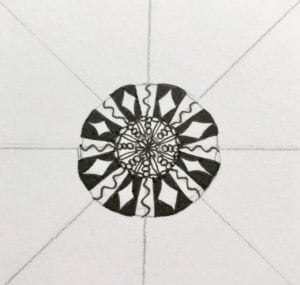
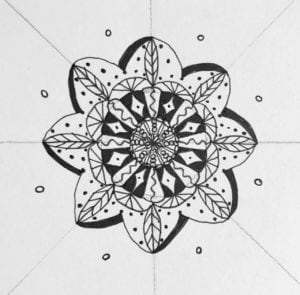
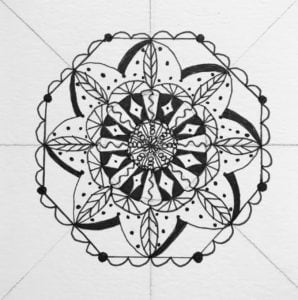
16. Progress by adding elements to this round. We’re almost done!


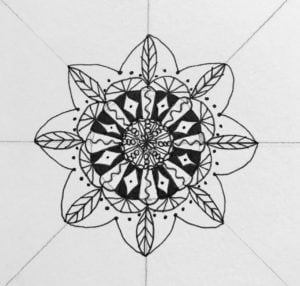
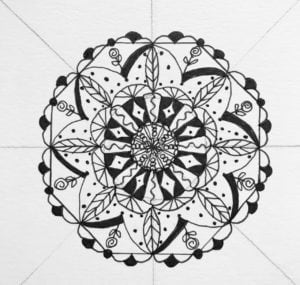
17. You can keep adding rounds as long as you want. The project can be as large or small as you want. When you’re happy with your final round, it’s time to erase—but wait! Let your ink completely dry before you start rubbing the paper with an eraser. The time varies, but I try to wait at least 15 minutes. Some inks take longer. I prefer to use a gum eraser. It takes out everything the pencil has done, but doesn’t interfere with the ink at all. 

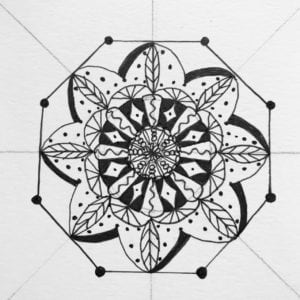
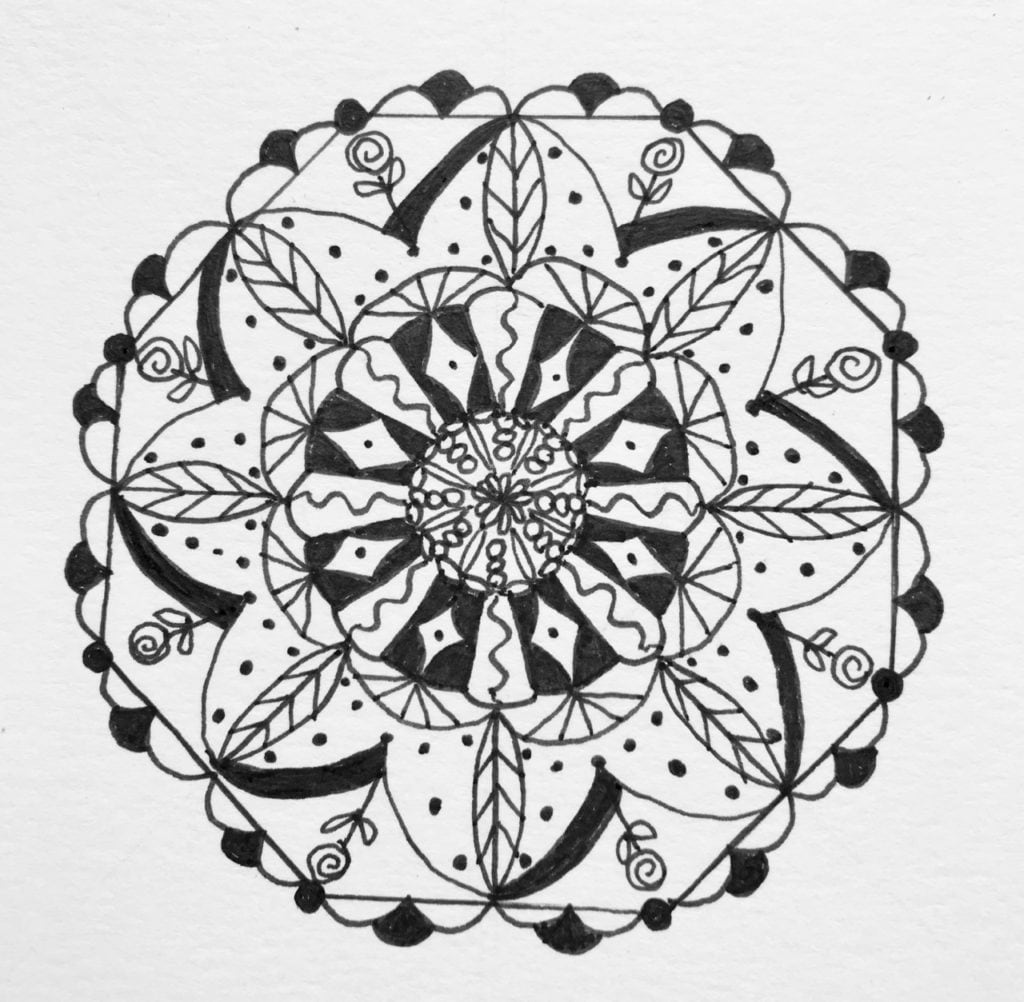
Here’s the final product! No, it’s not perfect. But it’s nice and pretty and ready for a little frame. Unless…I decide to color some areas. That’s entirely up to you! Use gold or silver metallic pens to put some elegance on it. Or use colored markers or colored pencils to make it pop. 

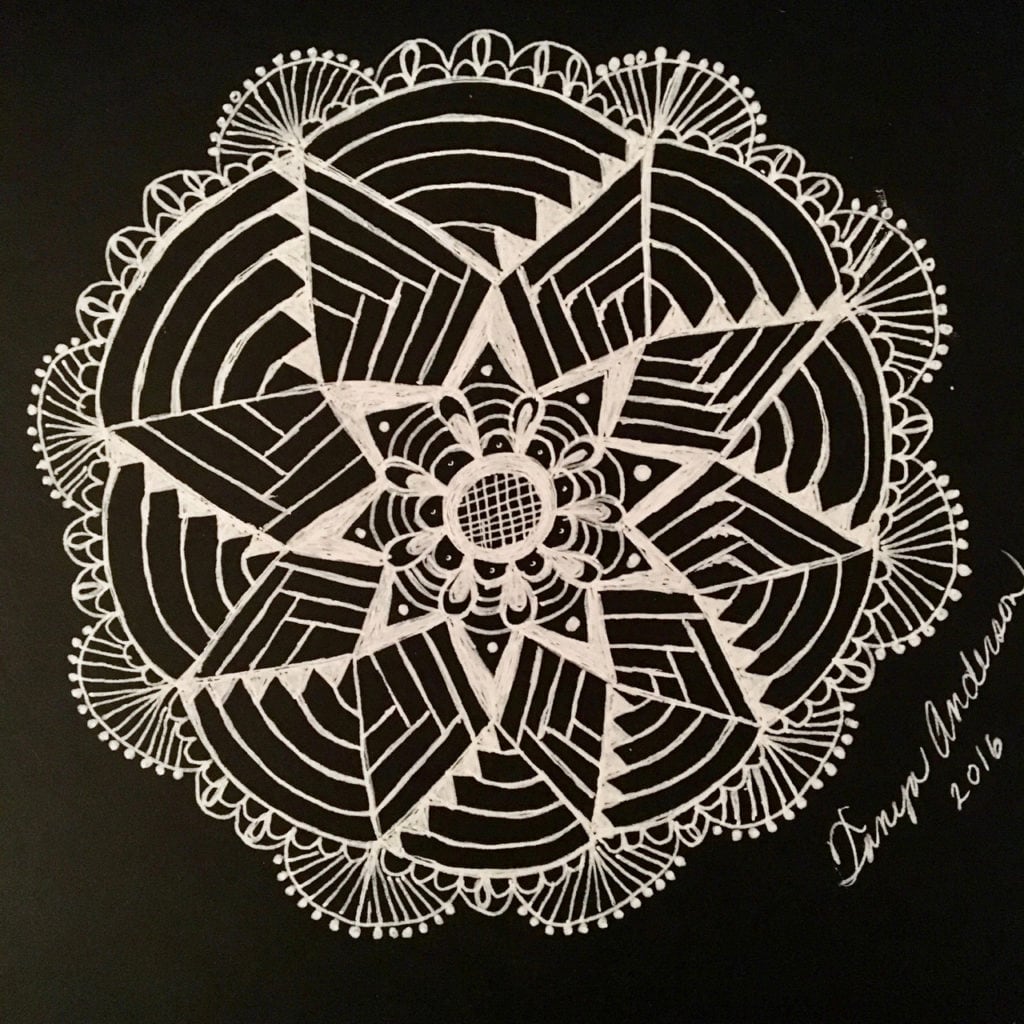
I hope you had fun doing this project with me. As promised, here’s an example of one I did on black paper with a white gel pen—again, NOT perfect.

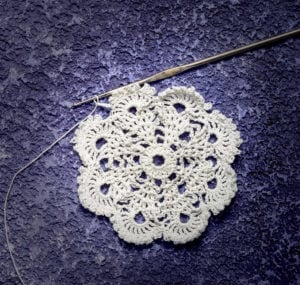
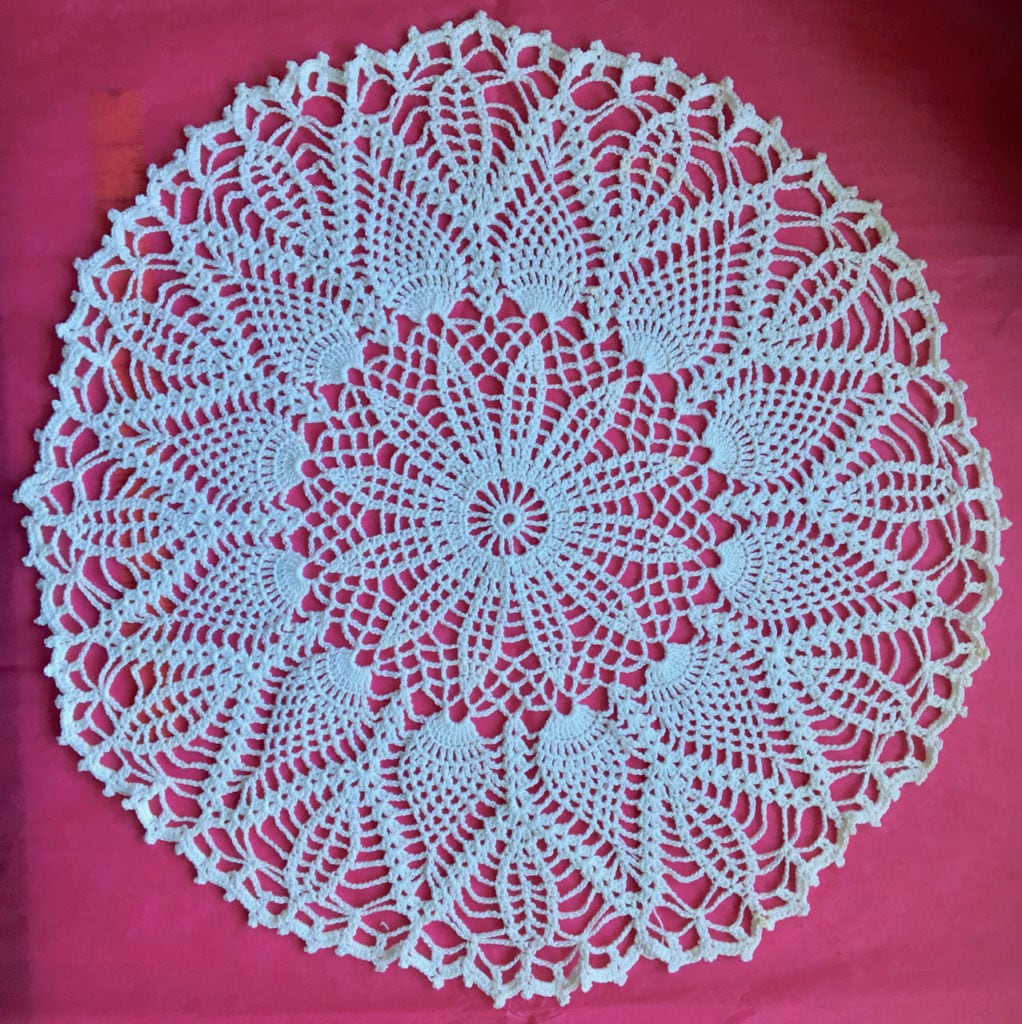
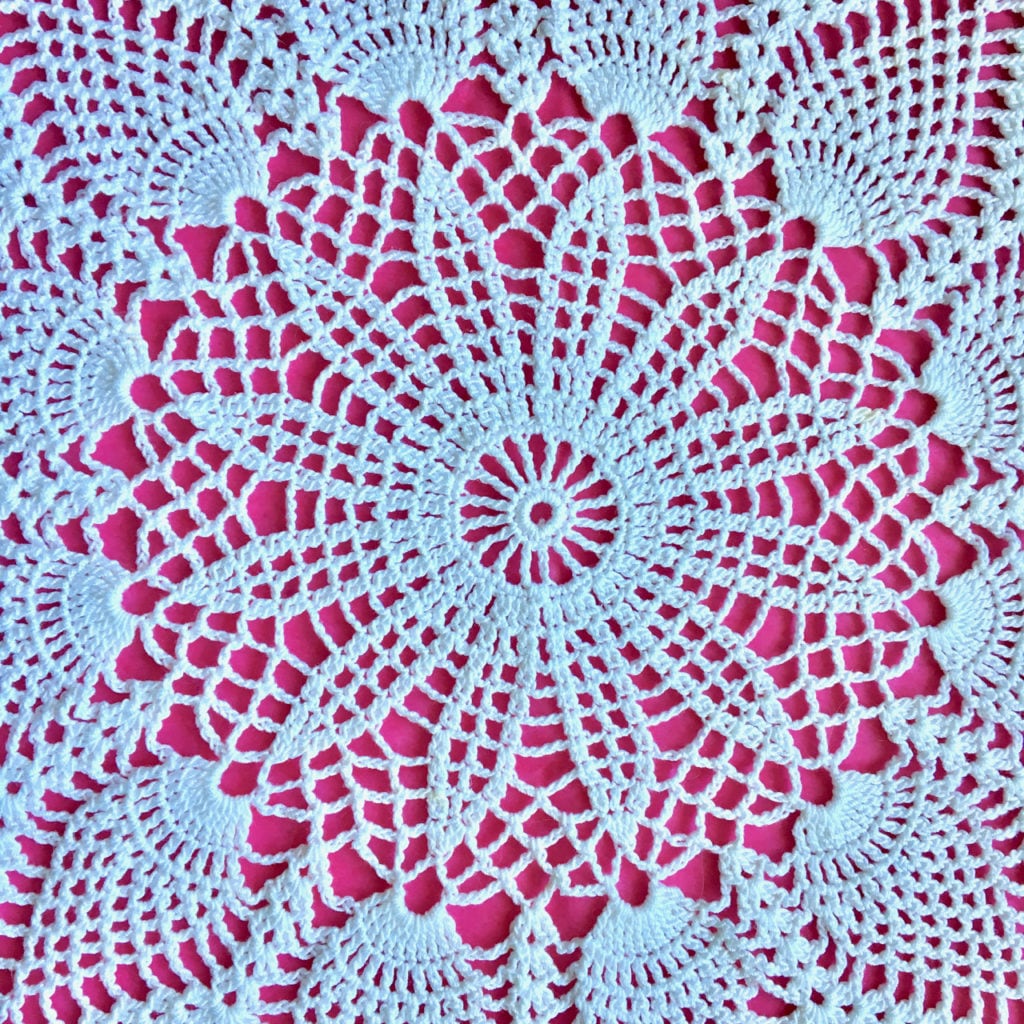
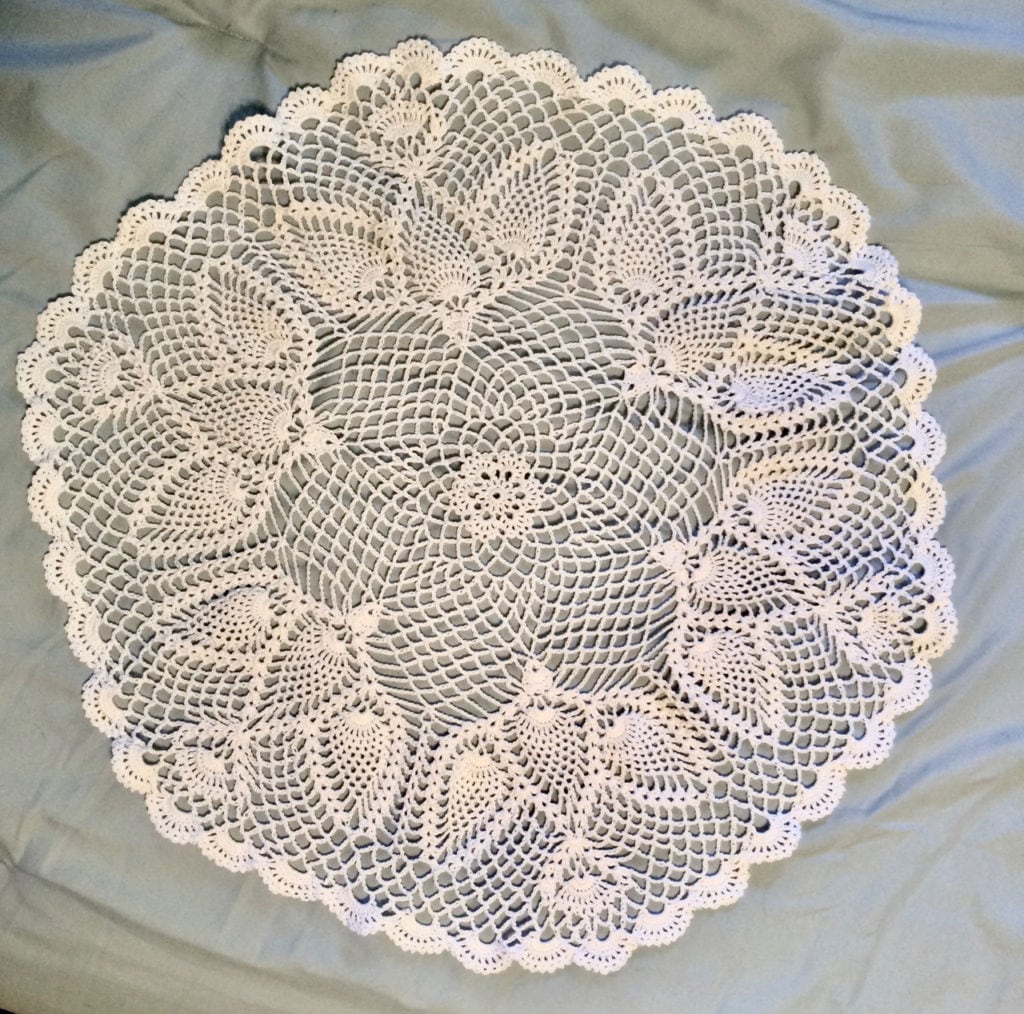
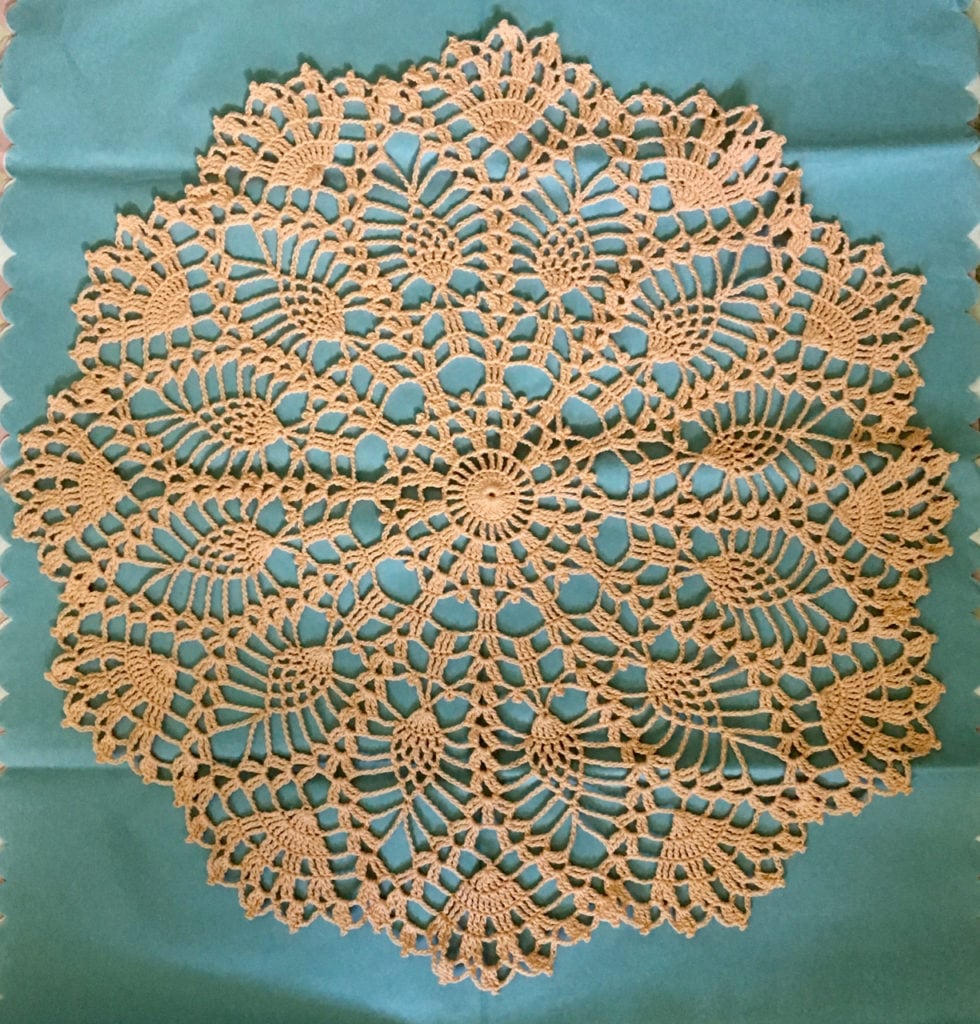
Here are some crocheted doilies I’ve made. Most were given as gifts. And now I can draw them (which is SO much faster!) 

Send me pics of your paper doilies when they’re done. I love to see what you create! 


Keep a pocket in your heart

Heart Pocket Project

Here’s a little project you can finish in about half an hour. It’s dedicated to Nikki Grimes, author of The Road to Paris (one of many of her award-winning children’s books), because of a wonderful concept she shared in that book. She introduces the idea of carrying God in your pocket, giving you access to him whenever you need to know he’s close by. Just the simple act of reaching into your pocket then becomes a visceral reminder that you are not alone. In homage to that idea, I’ve made this Heart Pocket, a simple project that allows you to place something in your heart’s pocket—something tangible or something symbolic, such as a prayer, a photo, or a reminder of some kind.

Here’s the excerpt, but I hope you’ll go find the book and read it all! (Project directions follow.)

Paris and Malcolm locked eyes. She was relieved to see a bit of the old Malcolm shining through. She reached across the table and took her brother’s hand.

“You’ve got to keep God in your pocket, and everything will be all right,” said Paris.

“What?”

Paris pursed her lips, trying to figure out how to explain what she meant. “Put your hands in your pockets,” she said.

“Paris—”

“Go on.”

“Okay. Now what?”

“Pretend that God is there. See? You stick your hand in your pocket, and remind yourself that God’s always close by, and you can talk to him whenever you need to,” said Paris.

Malcolm nodded. “I get it. Keep God in your pocket. Cool,” he said. “I’ll give that a try. Thanks, little sister.”

(from pages 110–111 of The Road to Paris by Nikki Grimes, G. P. Putnam’s Sons, Copyright © 2006)

Making the project:

Materials: 1 sheet of pink or red felt; scraps of blue, yellow, and green felt; matching thread or floss for all 4 colors; scissors; needle

Directions: (Note: full photo-based directions can be found in the Projects Photo Gallery; or you may purchase a 3-page instructional PDF with photos and cut-out patterns for $0.99 by going to the Downloadable Patterns page.)

  1. Cut out 2 hearts (about 4″x4″).
  2. Cut out 1 flower and 1 circle (for center).
  3. Cut out 2 leaves.
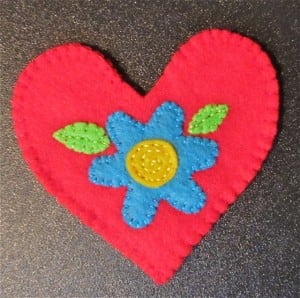
  4. Applique the flower in the center of one of the hearts.
  5. Applique the circle in the center of the flower.
  6. Applique the leaves as shown in the photo above.
  7. Place the appliqued front heart on top of the other blank heart (wrong sides together).
  8. Use a blanket stitch to sew hearts together around outer edge. Leave an opening in the “cleavage” of the heart for the pocket.
  9. Place something in the pocket: small scissors, a note, money, a prayer, photo, dried or silk flower(s), or any other item you’d like.