I love felt. In fact, that’s why I use the word “heartfelt” for my creative pursuits, both here and on Etsy. In hot weather, I don’t play with felt much, but once the temperatures cool down and the colors start changing, I reach for felt projects to keep my hands busy. In this post, I’m going to show you how to make some felted friends. This project is easy enough to get your kids involved, too!
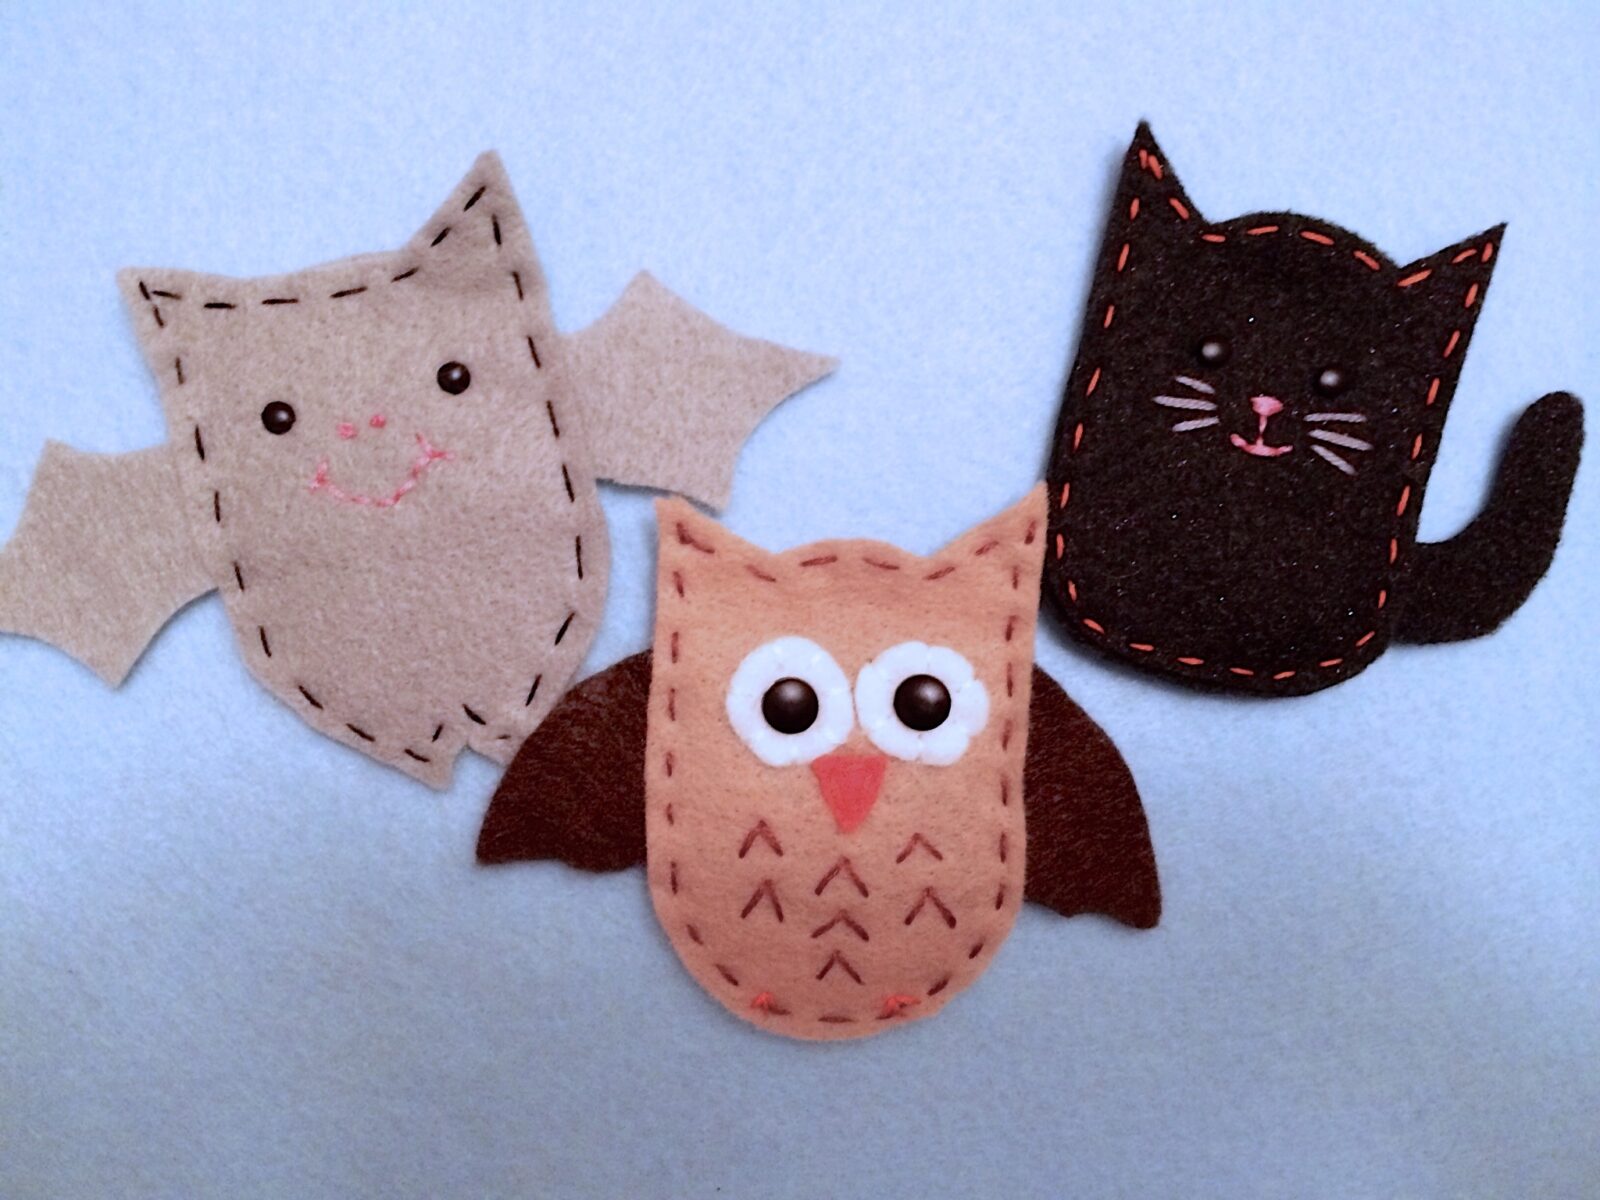
I’m showing you step-by-step how to make Buffy Bat. At the end of the post, you’ll be able to download the full PDF with the cutout forms and photos that show you how to make all three critters: Buffy Bat, Ollie Owl, and Cassie Cat.
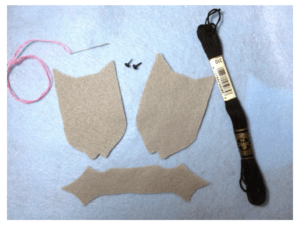
Here’s all you need to get started:
Materials:
Colored felt
An embroidery needle
Embroidery floss (it’s thicker than regular thread, so it shows up better
Sharp scissors
Tiny brads (4mm) or buttons
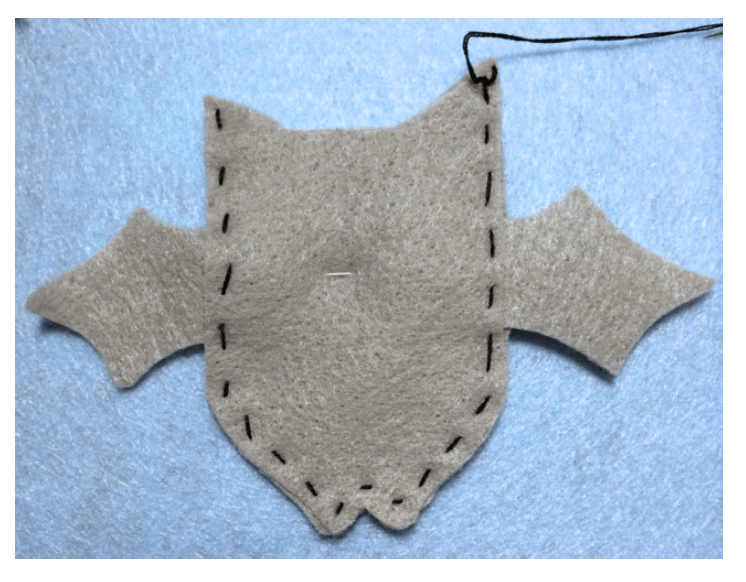
Step One: Cut out the felt pieces.
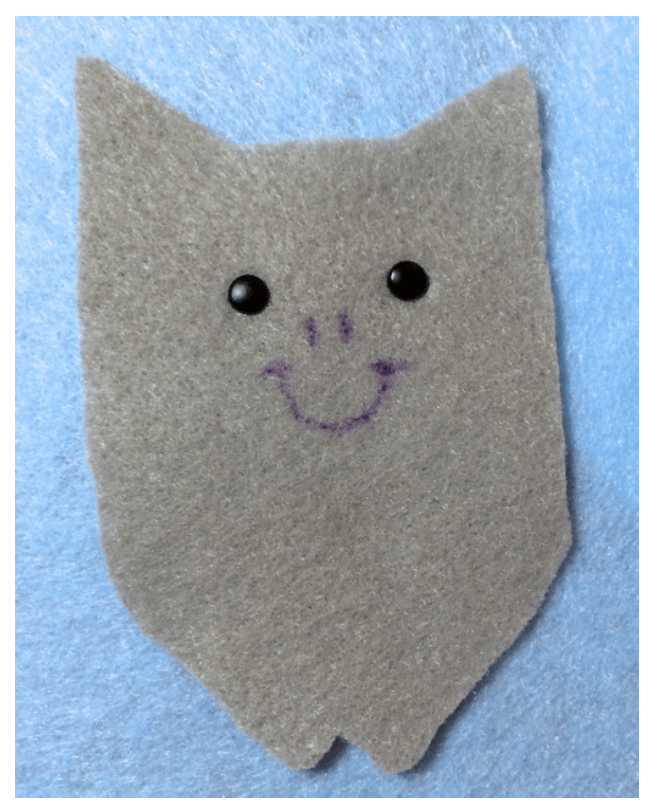
Step Two: On the front body piece, use marking pen to mark eye, nose, and mouth placements.
Step Three: Place brads for eyes. (You may use a pin to stretch a little hole to make it easier to insert
the back of the brad.) Or sew on small black buttons.
Step Four: Make either French knots or straight stitches to make the nose. Use backstitches to form
the mouth.
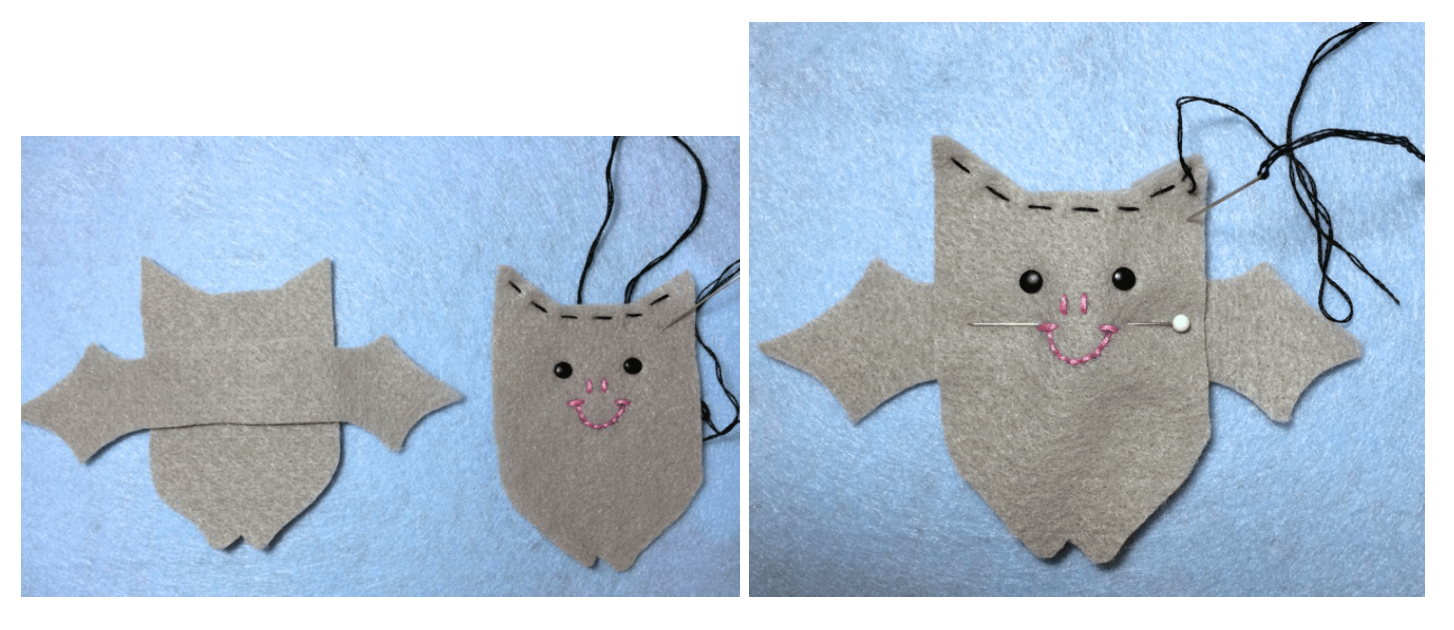
Step Five: Make running stitches around the top of the head on the front only.
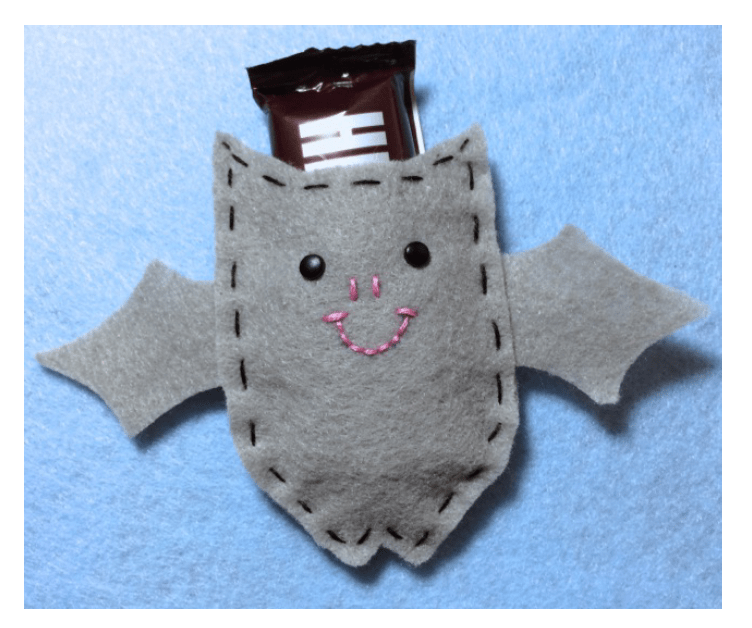
Step Six: Place the wing between the front and back of the body pieces as shown. Pin in place.
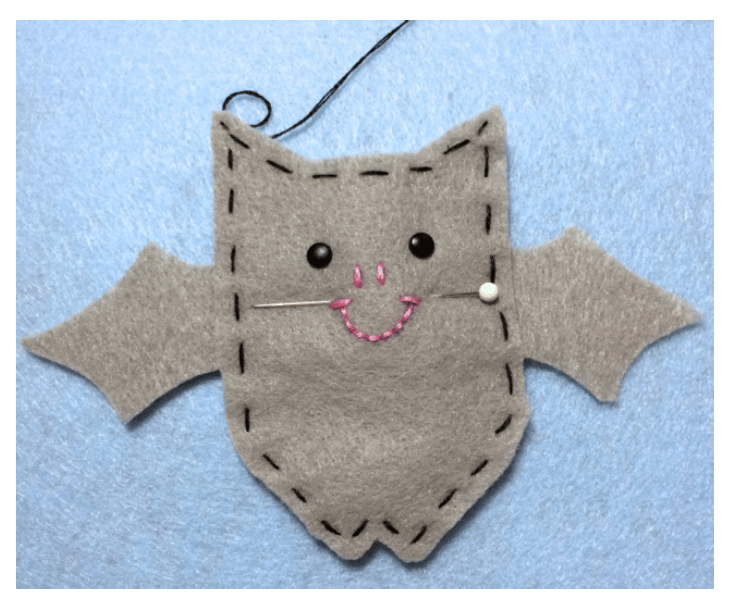
Step Seven: Use running stitches to sew the front, back, and wings together as shown. Only stitch
the sides and bottom if you are leaving the top open for a treat. That’s it! You’re finished.
Now go eat that chocolate bar. You’ve earned it.
Now for that download.
Just click HERE. I’m making it available to my Heartfelt blog followers for FREE.
You can send others to my Etsy shop where they can purchase the download for $2.95.
A crafter named Janet Lane takes credit for inventing the concept and the name “pocket letter.” She has a terrific website (www.pocketletters.com), and, for a fee, you can join a pen-pal service that lets you share your PLs with other PL creators. Check out her videos (free) to get all kinds of ideas. It’s almost as entertaining as watching videos of kittens doing silly stuff.
But wait…there’s more!
After the whole pocket letter phenomenon took off, crafters were finding a lot of other ways to use the trading card protectors to feature their work. The basics are all the same: nine compartments, each 2 ½” x 3 ½”, that hold all manner of creative expression.
Some call this pocket scrapbooking—use photos in some of the pockets and scrapbook papers and embellishments in the others. Many scrapbookers use a different pocket filler that is 12″ x 12″ to fit in their scrapbooks. For our purposes, however, we’ll focus on the 8½” x 11″ version.
Others use the pockets to hold artists’ trading cards (ATCs). Crafters who like to dabble in various art forms create a pieces of art on 2 ½” x 3 ½” cards made of different kinds of paper. This YouTube video from art supply store Dick Blick® explains ATCs and the papers available:
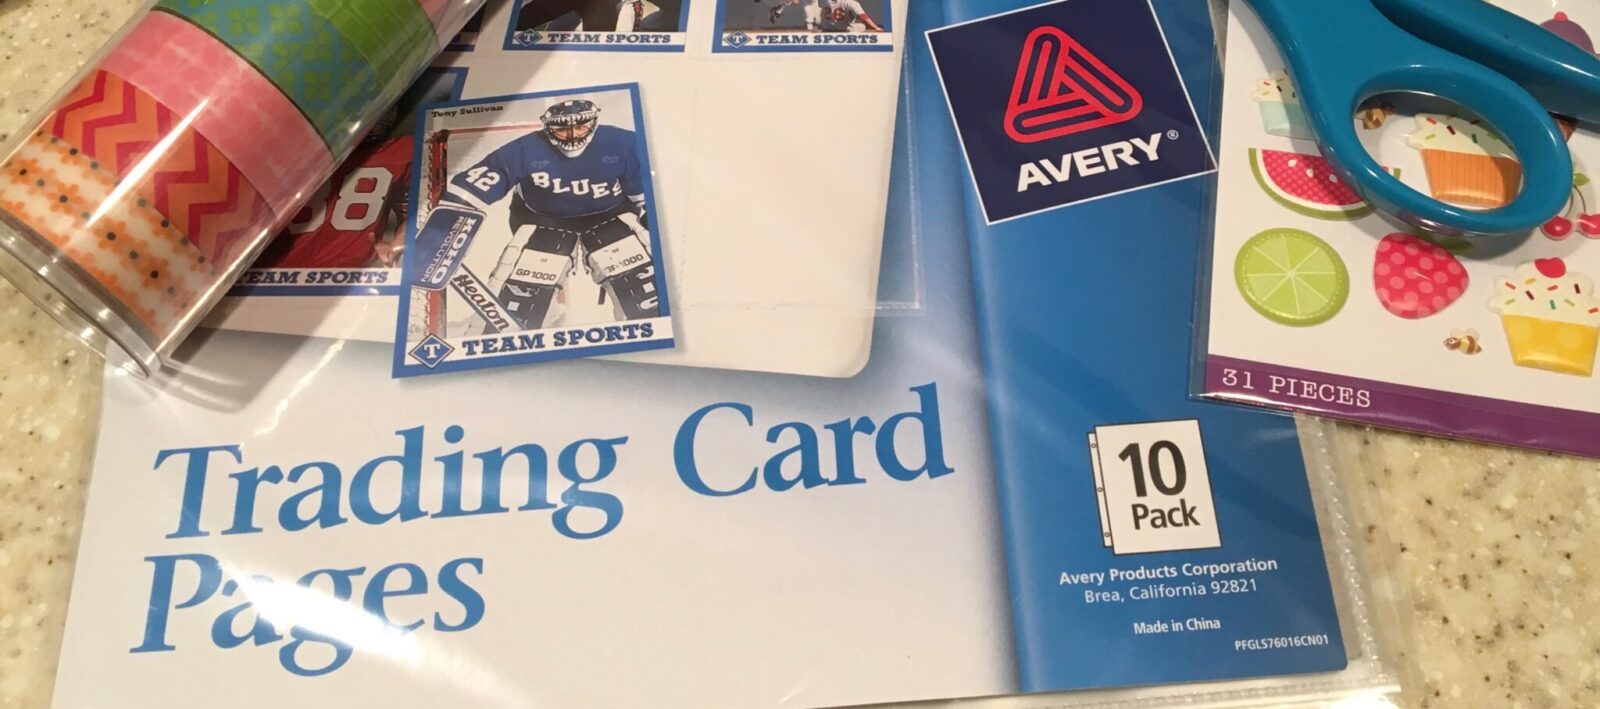
Basic Supplies
My favorite part of any craft is going shopping for the supplies—or looking around my office, kitchen, garage, bathroom (oops, maybe not) for ideas and objects.
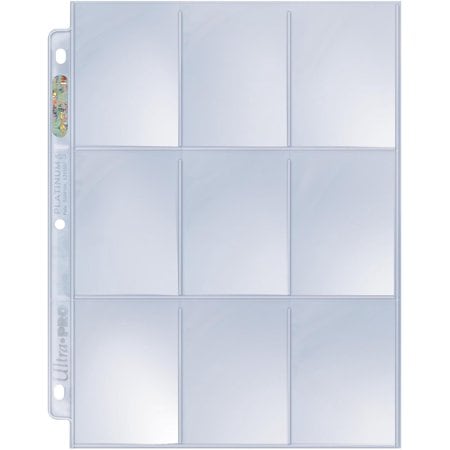
Trading Card Pages: These vinyl pages hold nine trading cards, 2 ½” x 3 ½”. Now they will be holding your beautiful, quirky, wonderful pocket letters!!! I have found several brands (Avery, Ultra Pro, Office Depot), and they come in packs of 10 to 100 for between $3.50 to $15.00, respectively. Super reasonable!
Cutting tools: You can just use scissors if you want. However, I found that using a cutting ruler thingie saved me a lot of time and was more precise. I like the 12″ paper trimmer by Fiskars. You can find them at any craft store—and even at my favorite place to spend too much money, Target.
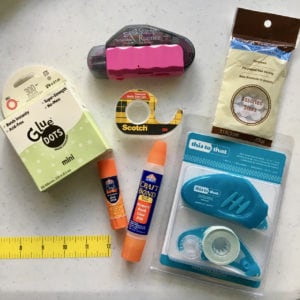
Adhesives: Glue stick, glue dots, Elmer’s glue, double-sided tape, basically anything that you can use to get paper to stick to stuff and stuff to stick to paper. To get a 3-D effect for some designs, I like to use Glue Dots and Foam Adhesive pieces.
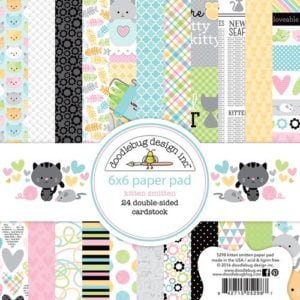
Paper: Now we can get creative! It helps to start with a theme or color palette. You can use construction paper, notebook paper, gift wrap, scrapbook paper—basically anything you can cut into the card shape and glue stuff onto. (It helps if the paper is stiff enough to be able to slide into the pocket. For that reason, I don’t recommend using toilet paper. For this.) The easiest way to get a good theme going is to find a pad of printed paper that paper crafters use for scrapbooking, cardmaking, and general paper wizardry. Each pad has its own theme or color scheme and costs from about $5.00 a pad to $6.99 and more for specialty papers.
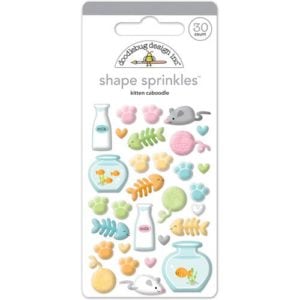
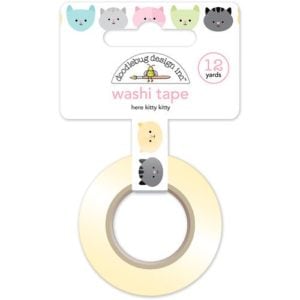
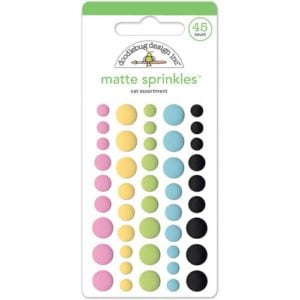
Extras: The craft stores are filled with all kinds of embellishments. You can use buttons, stickers, washi tape, sequins, adhesive jewels and dots, lace, ribbon, etc. You are only limited by your imagination (and budget and possibly federal laws that prohibit the mailing of certain substances).
Some of the themed pads also have matching add-ons. The easiest, fastest, but not the least expensive, way to make PLs is to get a group of that kind of stuff. This can be fun—and expensively addictive. Here’s a set I used recently. (All items purchased online at www.scrapbook.com.)
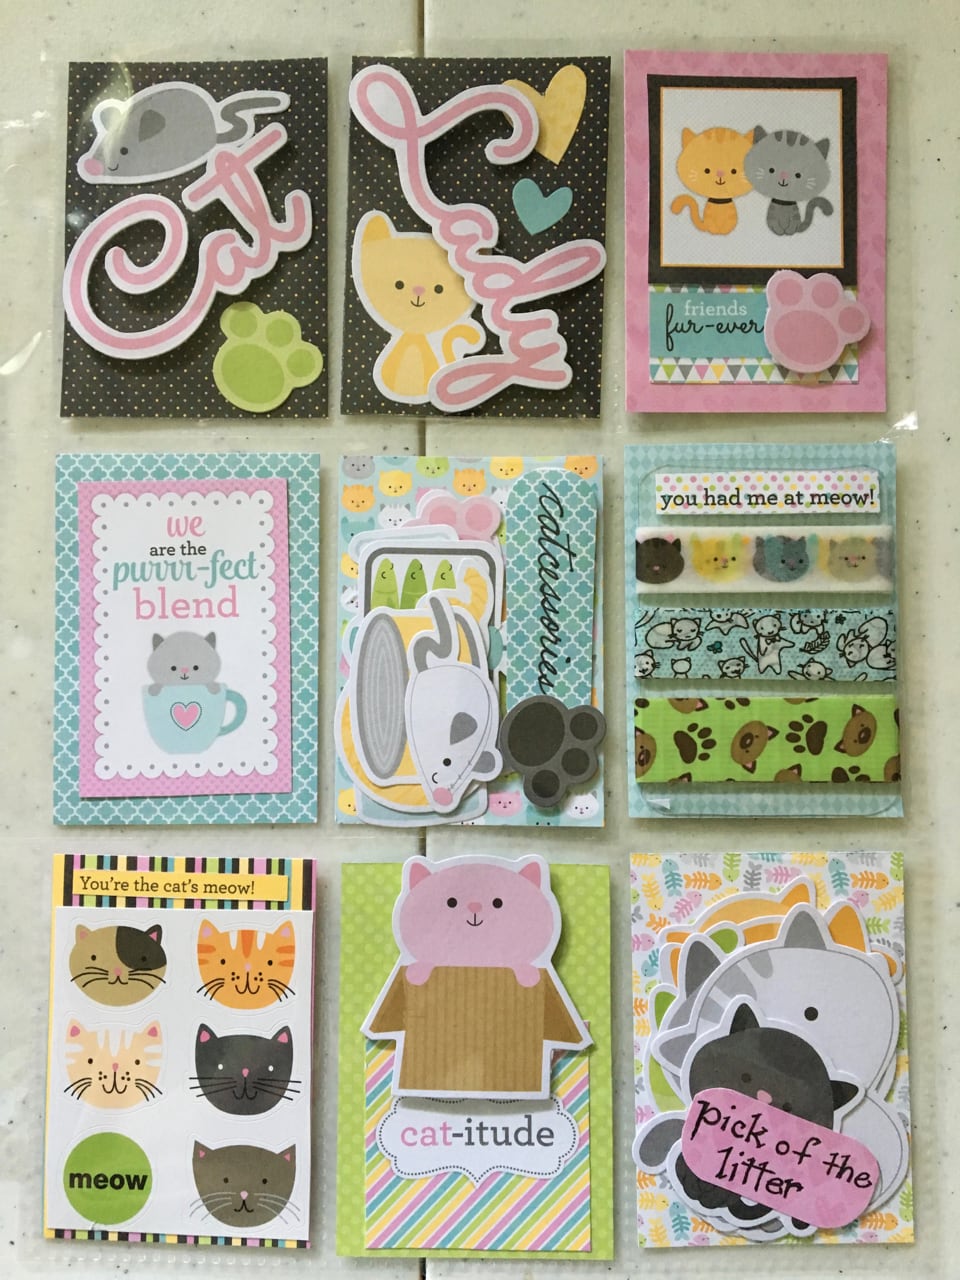
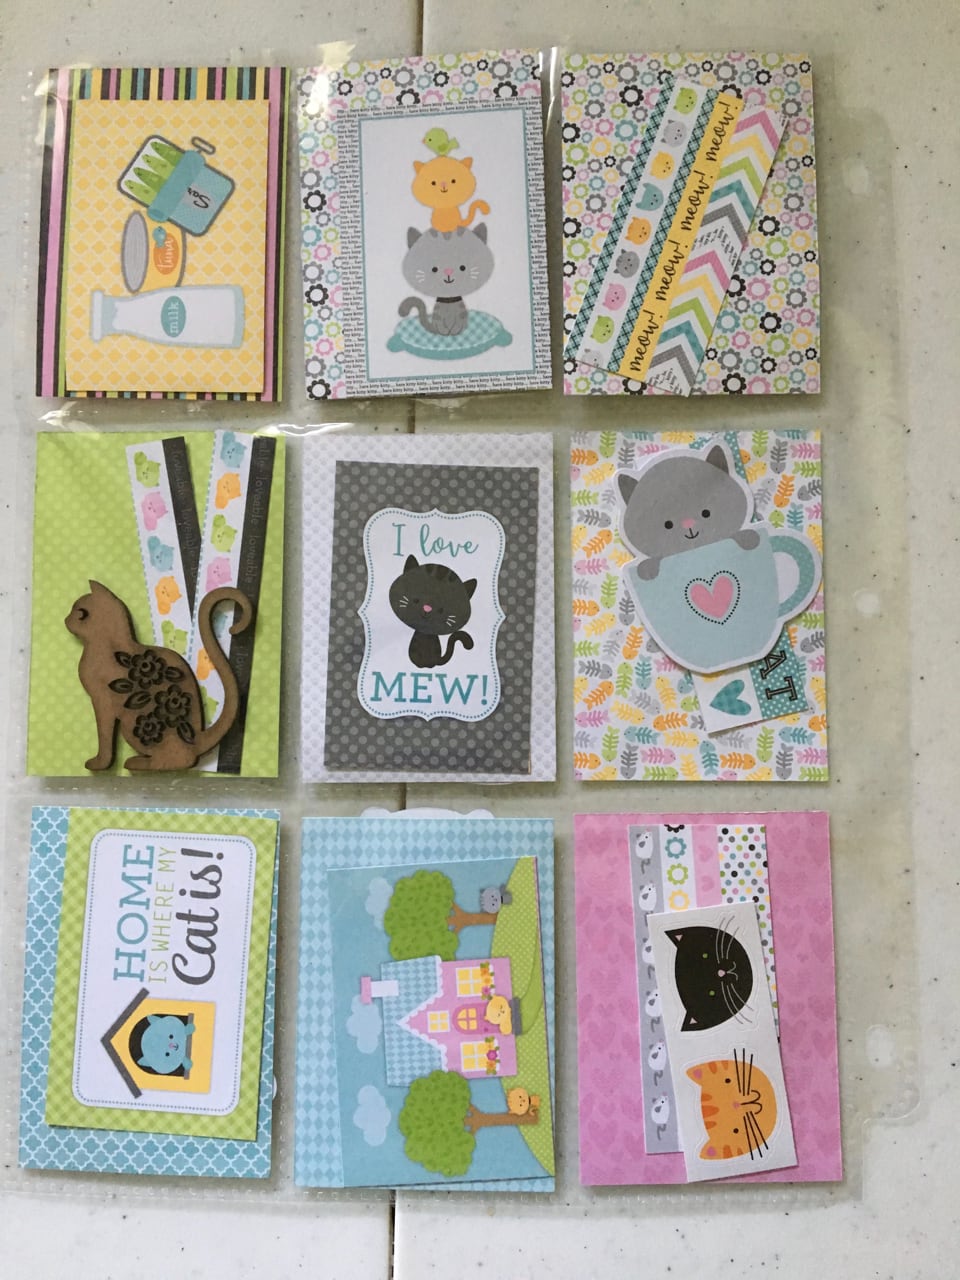
And here’s the PL I made using some of these kinds of items (plus some other kitty items I had around):
So, that’s all you need to get started. Gather your papers, adhesives, cutters, stickers, tapes, and card pocket holders—we’re going to put one together in our next post! Join me, won’t you?
Spoiler alert: There’s going to be a giveaway offered in the next post. You could be a winner! Of course, you’re already a winner in so many ways, but why not add this to your list? (Oh, and be thinking of someone with whom you’d like to exchange PLs. It’s a team sport.)
When I first heard the term “pocket letter,” I thought it might be something simple like a letter in a pocket.
Or could it be . . . a letter ON a pocket?
I’m not seeing the craft possibilities yet. Oh, I know! It’s a letter that USED to be a pocket! I feel so smart.
Wait. What? That’s not it either? So what in the heck is this newfangled fun craft thing that so many scrapbookers are crazy about—and that has the unofficial endorsement of the United States Postal Service?*
My friend Jennifer sent me a link to a Pinterest folder: Pocket Letters. She suggested we try to make some and send them to each other. I was in Ohio and she was in Florida, so it was kind of a nice way to do a craft together—but apart—you get it.
So we did. And we agreed to photograph our PLs (we quickly created an abbreviation to keep from having to write or type the words over and over again) and to post them on Pinterest for others to share and adore. That was almost a year ago! We have had a blast. Let me show you some and give you some ideas for how to start your own #PLPenPalProject.
A Few of Our PLs
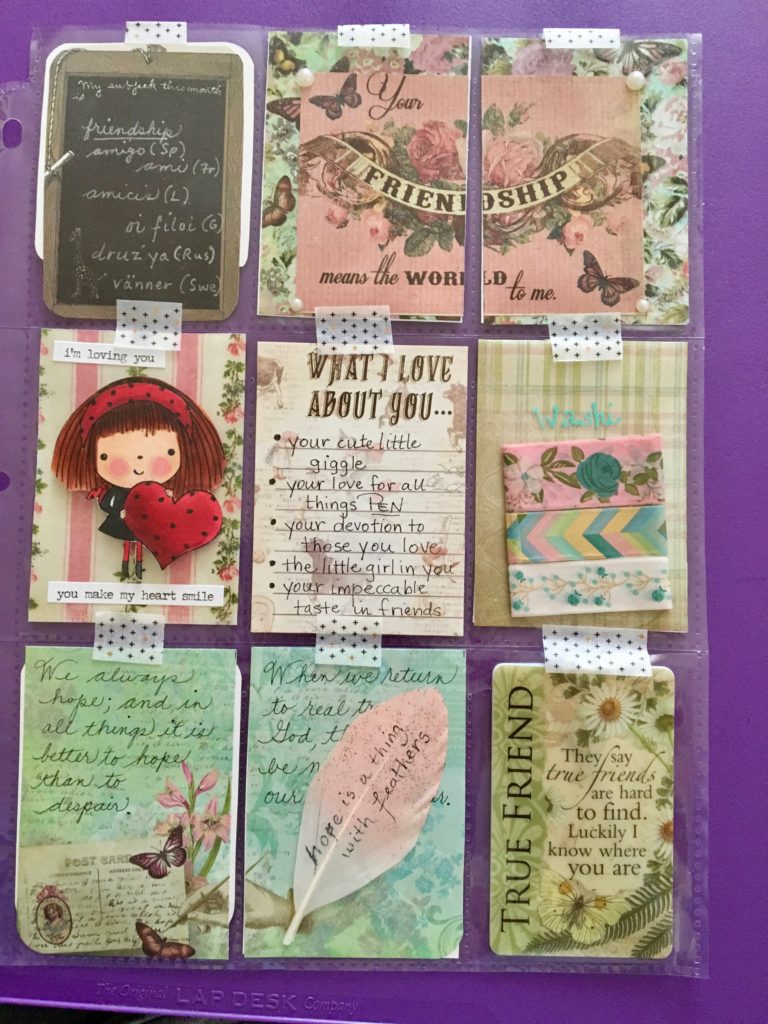
This one has a friendship theme. I made it very personal for Jennifer, the recipient. The middle row, far right pocket has samples of some washi tape I wanted to share with her. I wrapped 3-ft lengths around a piece of mylar I cut from some packaging. Good use for that mylar stuff instead of throwing it in the trash!
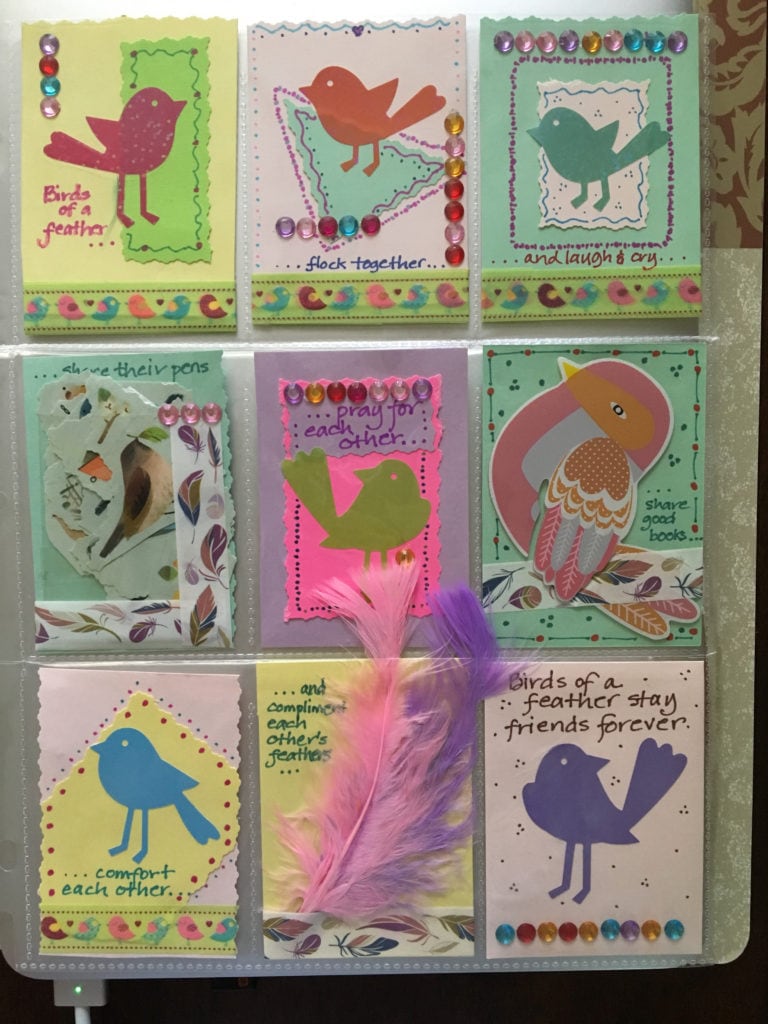
Jennifer sent me this one with a birds-of-a-feather theme. She included stickers for me to use (middle row, left) and some adorable feathers!
As you can see, coming up with a theme is half of the idea. Then you can have fun finding all kinds of things to add. Some themes we’ve used or seen others use include:
back to school
our home state (Ohio/Buckeyes for me!)
by the seashore
quotes about pennies, with a penny in each pocket
owls (whoooo doesn’t love owls???)
kitties (see above, but kitties)
fall/autumn
Christmas
patriotism–4th of July
summer fun
coffee and tea
sweet stuff (cupcakes, candy, etc.)
I could go on all day, but you get the idea. Check out the Pinterest link for tons of ideas!
Now that you can tell what PLs are, I’ll walk you through making one of your own in our next post.
P.S. Go get some baseball card protector sleeves:
*I made that up. But I’m sure they appreciate the increase in actual snail mail that’s hitting their inboxes—I mean, mailboxes—lately. Maybe they don’t like the lumpiness or the fancy, schmancy hand lettering on the envelopes. Hey, for 50¢ (so far, but who knows what with tariffs and such—just kidding!!!), it’s a heck of a deal to send these things. Maybe they’ll even get where they’re supposed to go–and in one piece!
I love to read cat—and dog and horse and all kinds of animal—stories. Just so you don’t think I’m purely a cat person, I’d like to report that my favorite dog book so far this year is A Dog’s Way Home by Bobbie Pyron. Like the dog character did, this book is finding its way home the long way around: from one friend to another until I get it back sometime in the future. Please do read this book or recommend it to middle-graders and adults who love a good dog story.
But this post is really about the love of cats. Last night I finished Homer’s Odyssey—not the ancient tale of a hero and his quest, but the recent best-selling story of a blind cat named Homer, written by Homer’s “mom,” Gwen Cooper. The subtitle of the book distinguishes it from the classic: A Fearless Feline Tale, or How I Learned about Love and Life with a Blind Wonder Cat. Gwen recounts the joys, heartaches, discoveries, and personal growth she experienced since adopting a tiny black kitten who had no eyes. (Both eyes had to be removed when he was four weeks old, matted shut by infection, in order to save his itty bitty kitty life. He never even had a chance to open his baby eyes before having them removed.) Sensing that there was something heroic about this bundle of felinity, she named him Homer, after the blind poet. I can’t recall ever being so drawn in to a book about an animal as I was by Homer’s Odyssey. I smiled, nodded, cried, swooned, and cheered chapter after chapter. I think you will, too.
I have two cats of my own, Edie and Emma (see About Me page for photos). Not only do I feel a deeper appreciation for having them in my life, but I also feel that Homer is one of “my” cats, too. I know him now. And not ever seeing him in person doesn’t change that fact. If I learned anything from reading this book, it is that you don’t have to see things for them to make sense. Homer makes perfect sense of his life every single day, having never seen a single ray of light. I love the irony that this blind cat is opening the eyes of readers to the wonder, courage, and soul-rooted love of our beloved pets.
So, here’s the craft project I made—my own tribute to the cats in my life: an eco-friendly, folding shopping bag that I made in a jiffy using a Butterick See & Sew pattern (#B5635):
Kitty shopping bag (open)
Kitty shopping bad (folded)
In case you think I’m really a great seamstress, I have to admit that it was a total accident that the cat matched up like that when the bag is folded. Happy accident! Now the trick is to try to keep the cat hair off it! Or…as a friend of ours says: “Cat hair: It’s a condiment and an accessory!” Hmmmm…I think that might make a great bag, too. Stay tuned!
You can go to the Projects Photo Gallery page to see how this 20″ x 12″ bag folds down into a 3″ x 5″ easy-storage clutch.


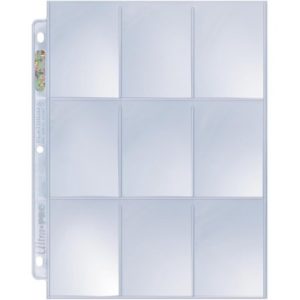 These vinyl pages hold nine trading cards, 2 ½” x 3 ½”. Now they will be holding your beautiful, quirky, wonderful pocket letters!!! I have found several brands (Avery, Ultra Pro, Office Depot), and they come in packs of 10 to 100 for between $3.50 to $15.00, respectively. Super reasonable!
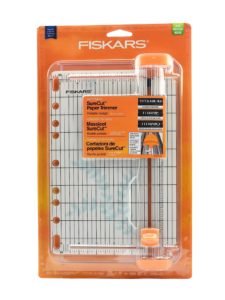
 Adhesives: Glue stick, glue dots, Elmer’s glue, double-sided tape, basically anything that you can use to get paper to stick to stuff and stuff to stick to paper. To get a 3-D effect for some designs, I like to use Glue Dots and Foam Adhesive pieces.
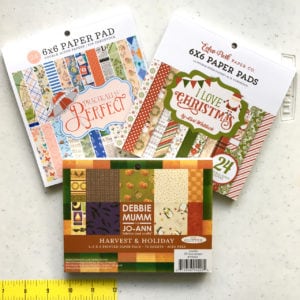 Paper: Now we can get creative! It helps to start with a theme or color palette. You can use construction paper, notebook paper, gift wrap, scrapbook paper—basically anything you can cut into the card shape and glue stuff onto. (It helps if the paper is stiff enough to be able to slide into the pocket. For that reason, I don’t recommend using toilet paper. For this.) The easiest way to get a good theme going is to find a pad of printed paper that paper crafters use for scrapbooking, cardmaking, and general paper wizardry. Each pad has its own theme or color scheme and costs from about $5.00 a pad to $6.99 and more for specialty papers.