‘Tis the Season…ings

Sugar and spice and everything nice, that’s what the grown-up girls on your list are made of. Let’s make something special just for them. A bag of seasoning with some mini accessories!

This easy felt project can be completed in about one hour.

But first you need to gather all the ingredients.
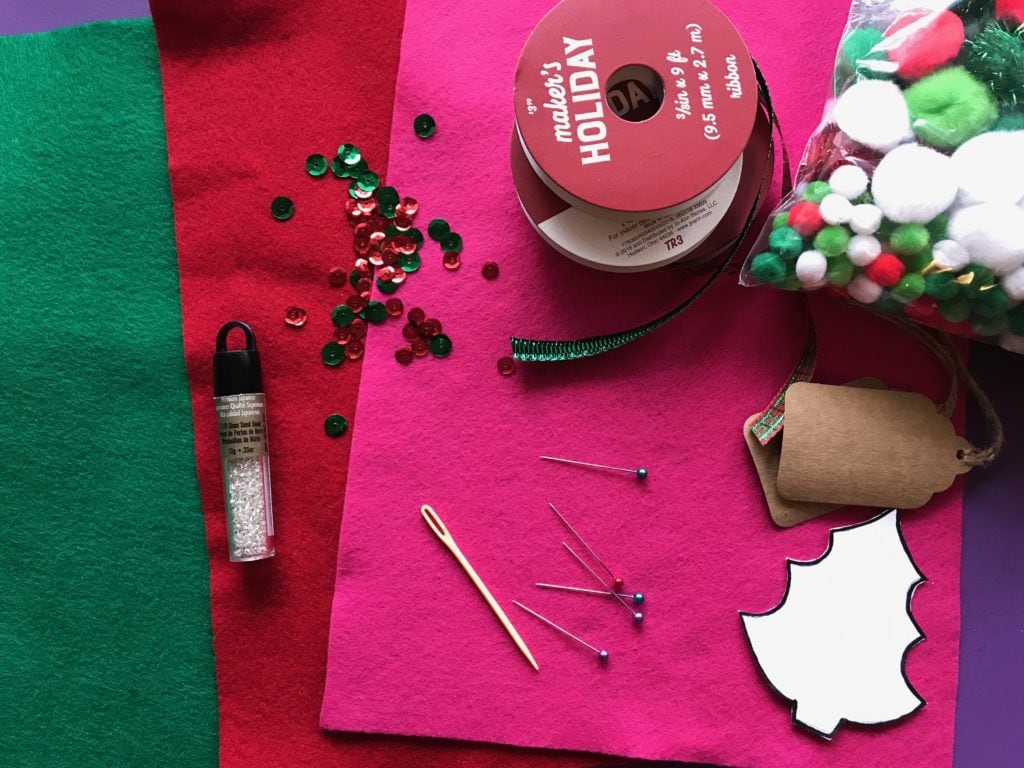
Ingredients:

  • 8 1/2 x 11″ felt piece in main color
  • felt scrap in green
  • scissors
  • pins
  • sewing needle
  • embroidery floss in matching or contrasting color
  • plastic yarn needle
  • two (2) 18″ pieces of ribbon 3/8″ wide
  • pompoms (optional)
  • sequins (optional)
  • glass beads for sewing on sequins (optional)
  • gift tag

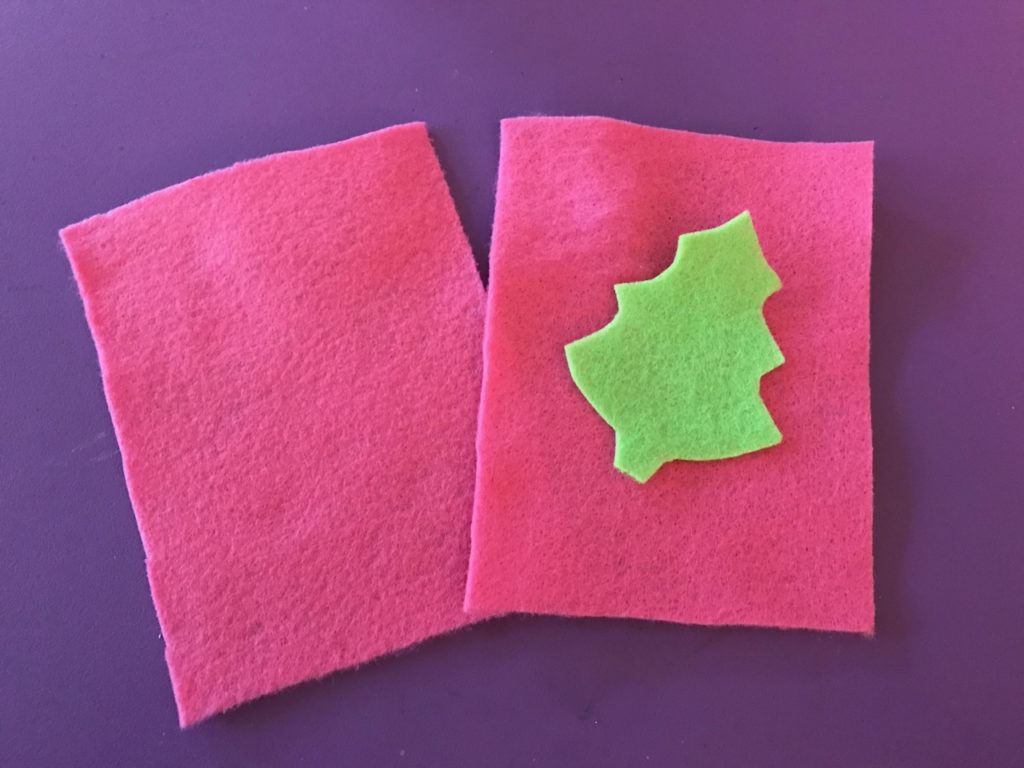
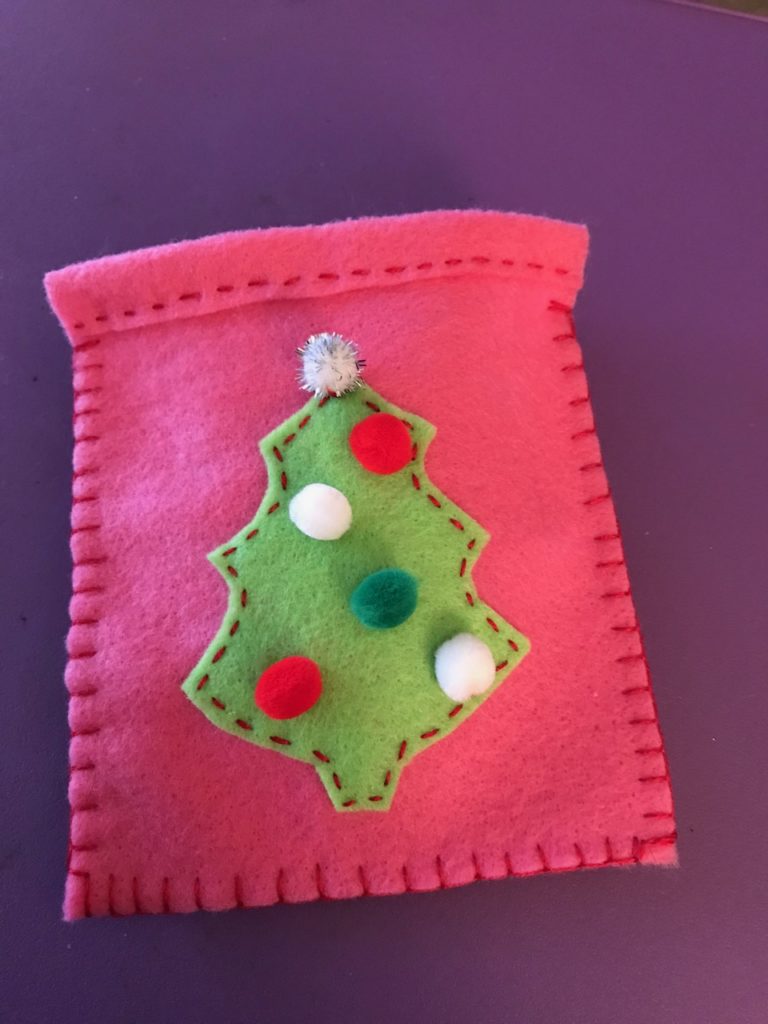
Lay everything aside and start with the green scrap piece of felt. This piece is for the Christmas tree. Use the pattern (download here) and trace the outline of the tree onto the green felt. Then cut it out. The second photo shows you the finished size of the tree.
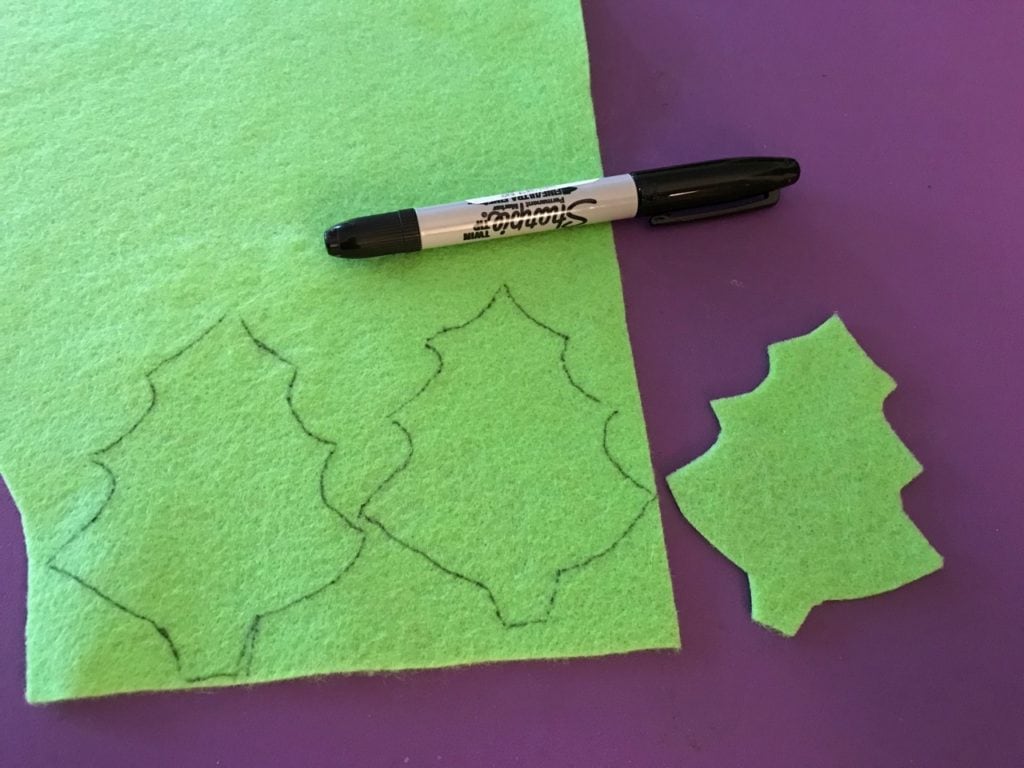
Next, take the full-size piece of felt (pink is shown here). Fold it in half and cut along the fold.
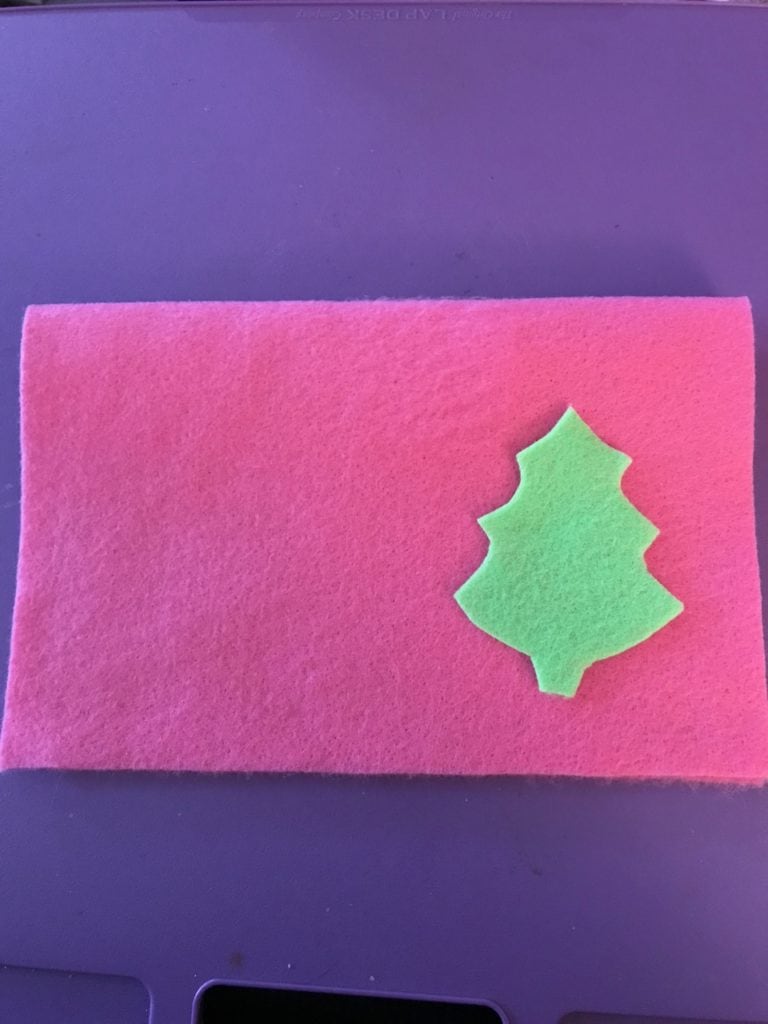
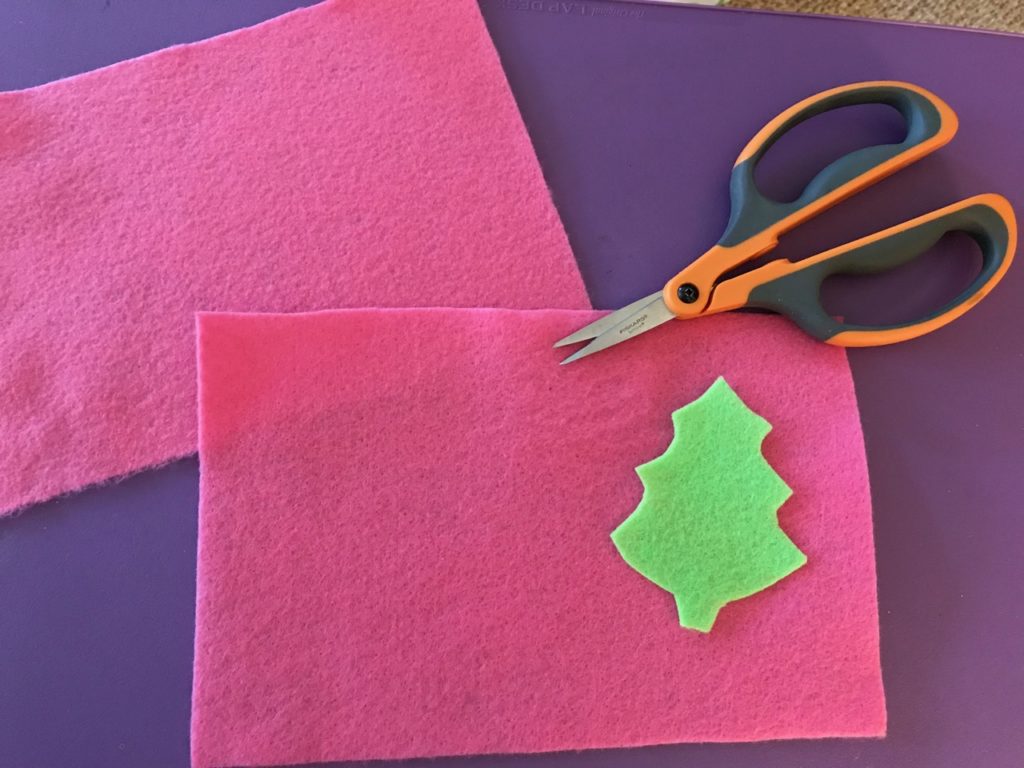
Now you will fold one of these pieces in half and cut along the fold, as shown below.
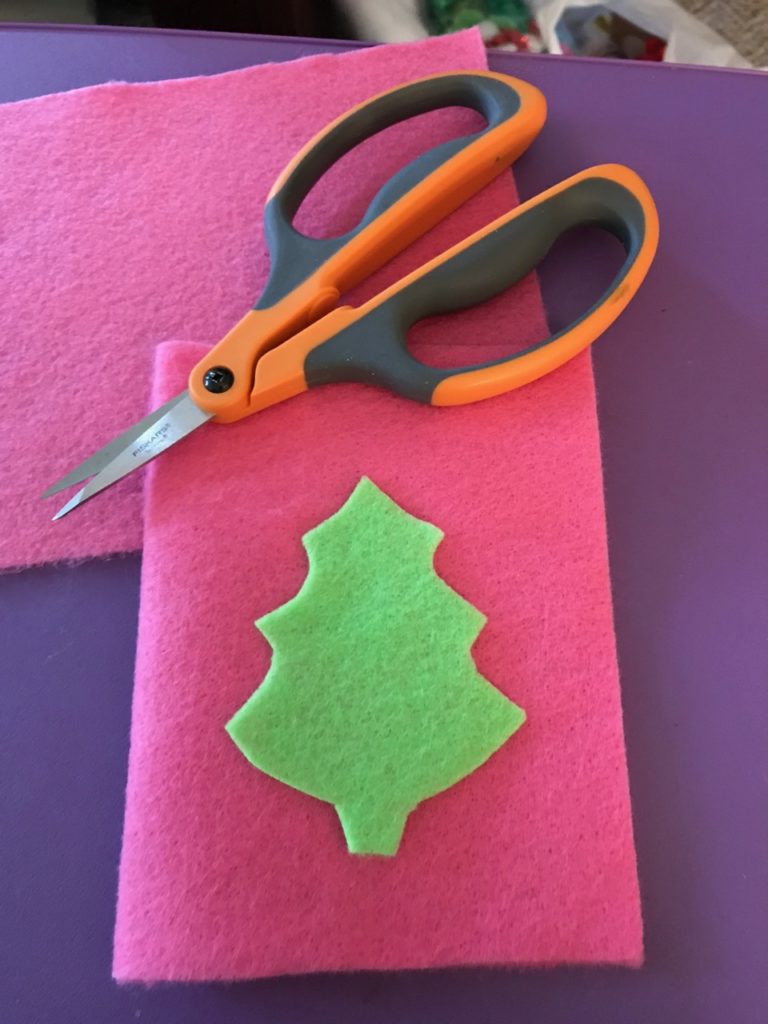
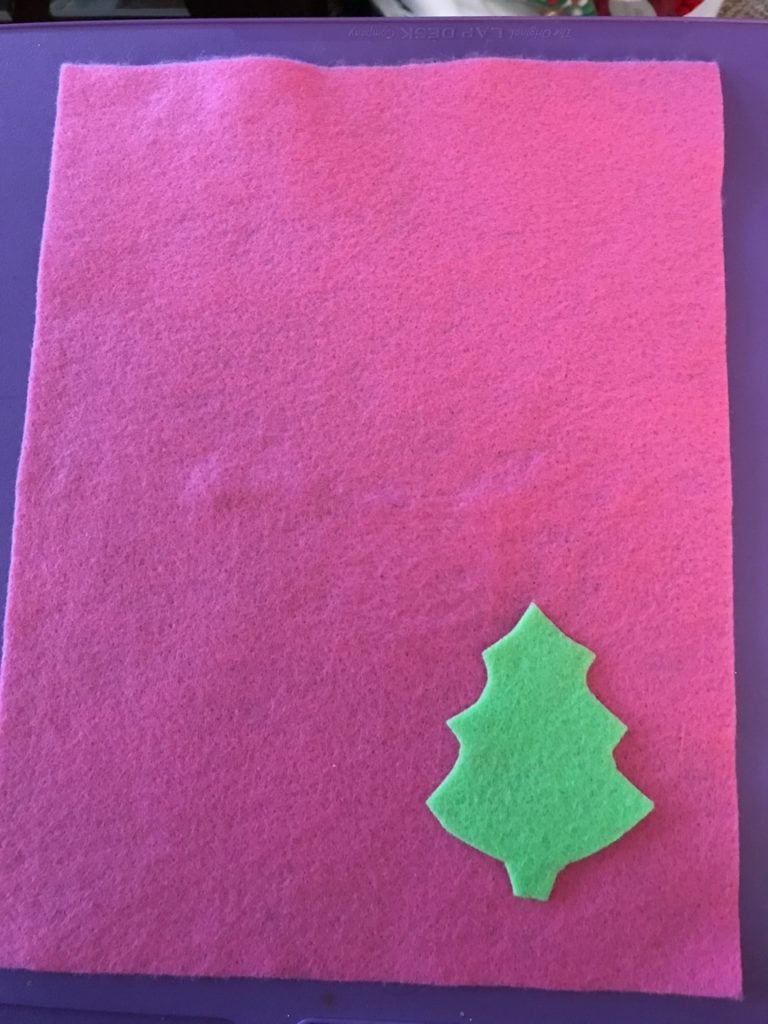
Now you’re going to add the tree, like an appliqué, and stitch around the edges. I like to use a running stitch (basic, basic), but you could use any embroidery stitch you want: blanket stitch, back stitch, French knots, daisy chains, etc. Begin by pinning the tree in the center but slightly lower, as shown below.
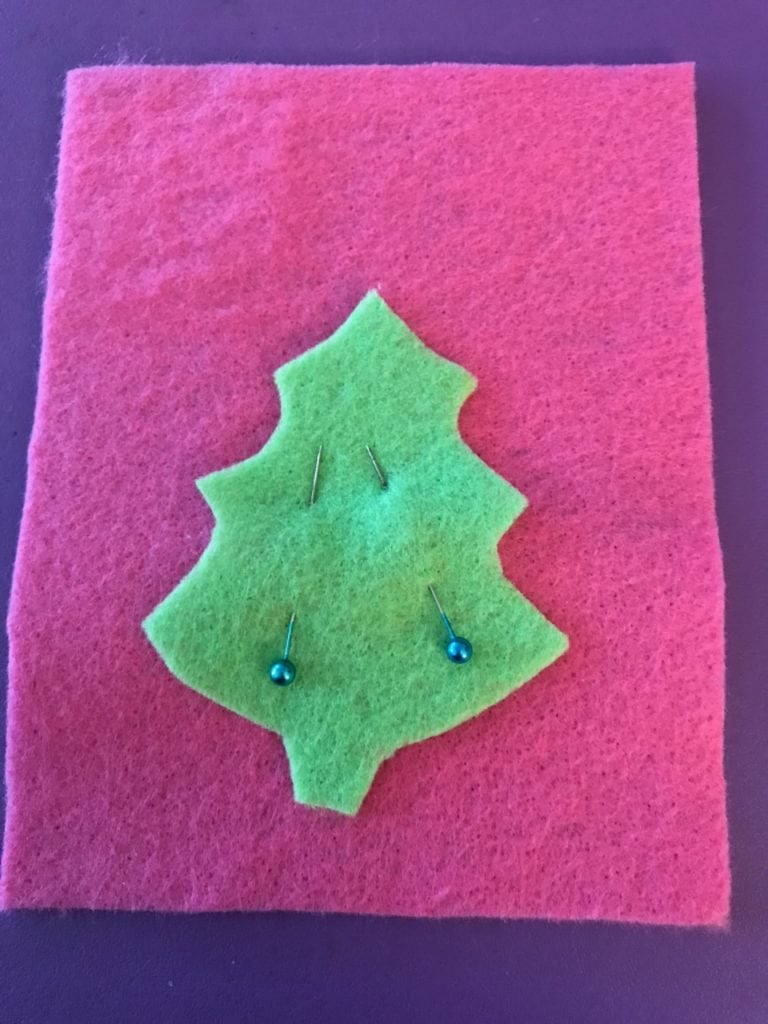
Using the contrasting colored embroidery floss (I use three strands), stitch the tree to one piece of the background felt. Do NOT tie off the thread yet.
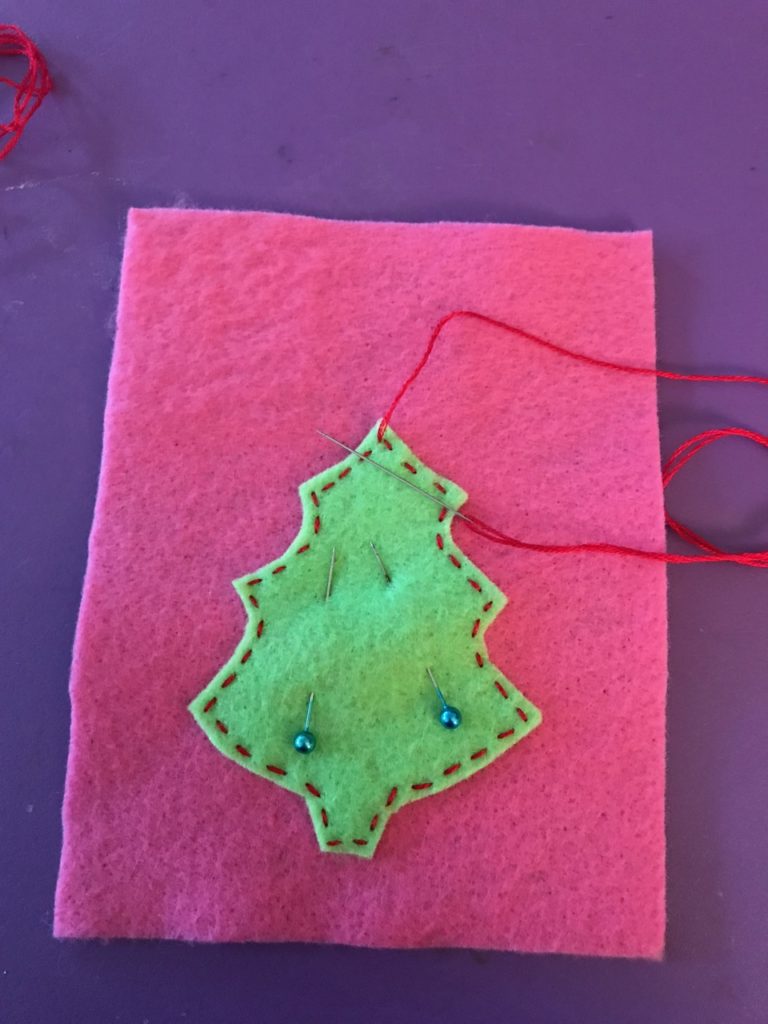
Now it’s time to decorate the tree! The demonstration below uses mini pompoms, but as you’ll see at the end of this post, I also use sequins and beads to decorate. Add each decoration by stitching it securely through both layers, the tree and the background piece. When finished, tie off the thread on the back and cut.
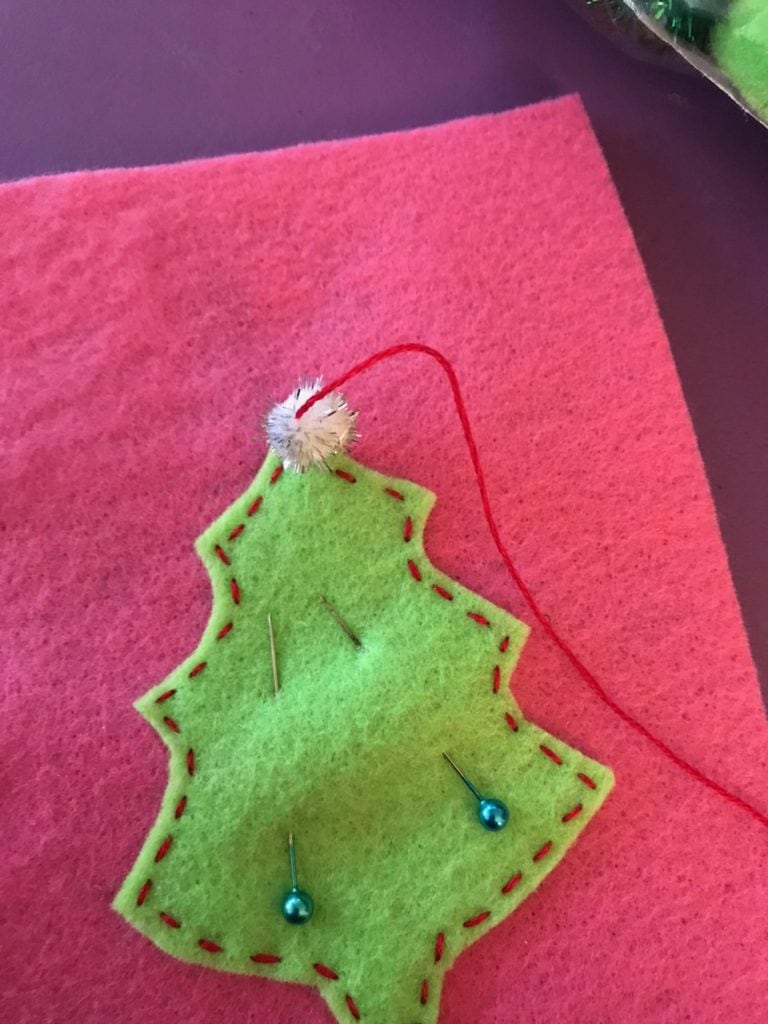
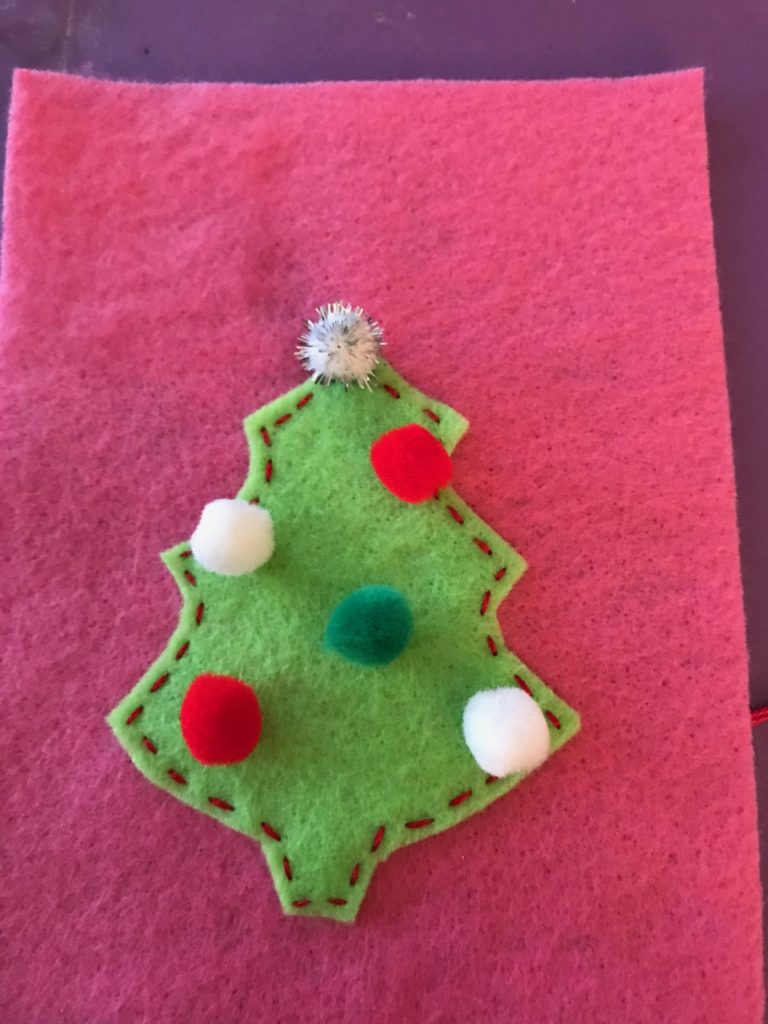
A jolly little tree!

Now you’re going to assemble the bag. Get the second piece of background felt. On both pieces, fold over the top to make a casing for the ribbon. Pin in place to keep the felt from moving around on you.
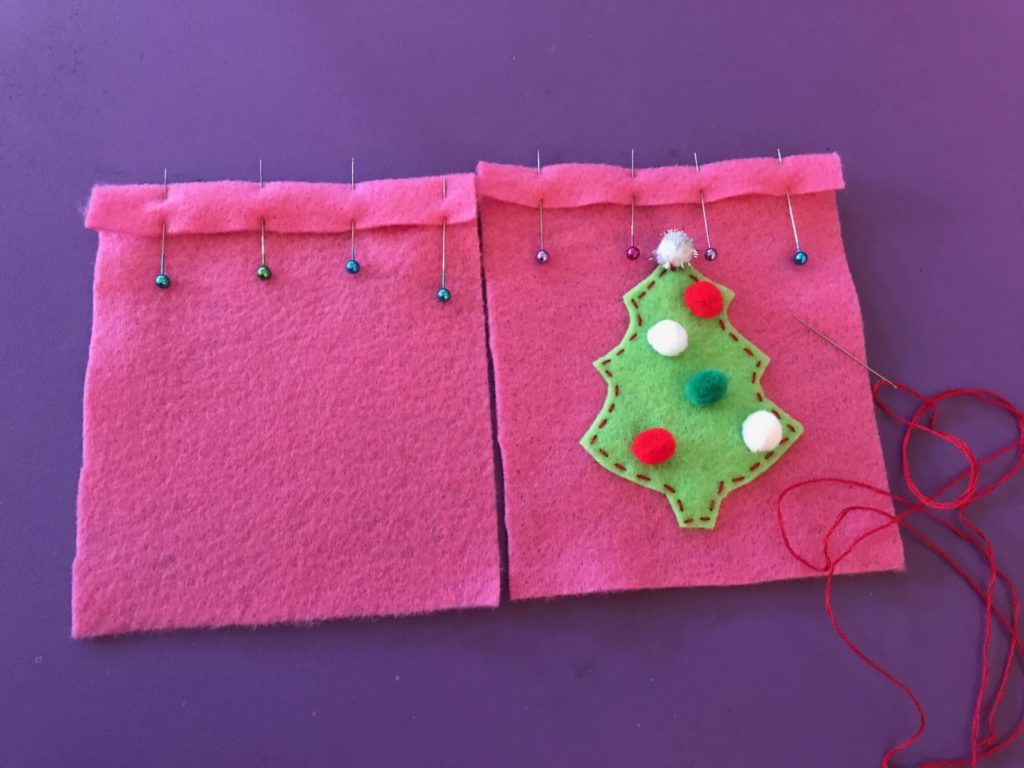
You can use the same color embroidery floss as before or you can change it up if you like. You are going to using a running stitch to complete the casing on both pieces, slightly wider than the 3/8-inch ribbon, like this:
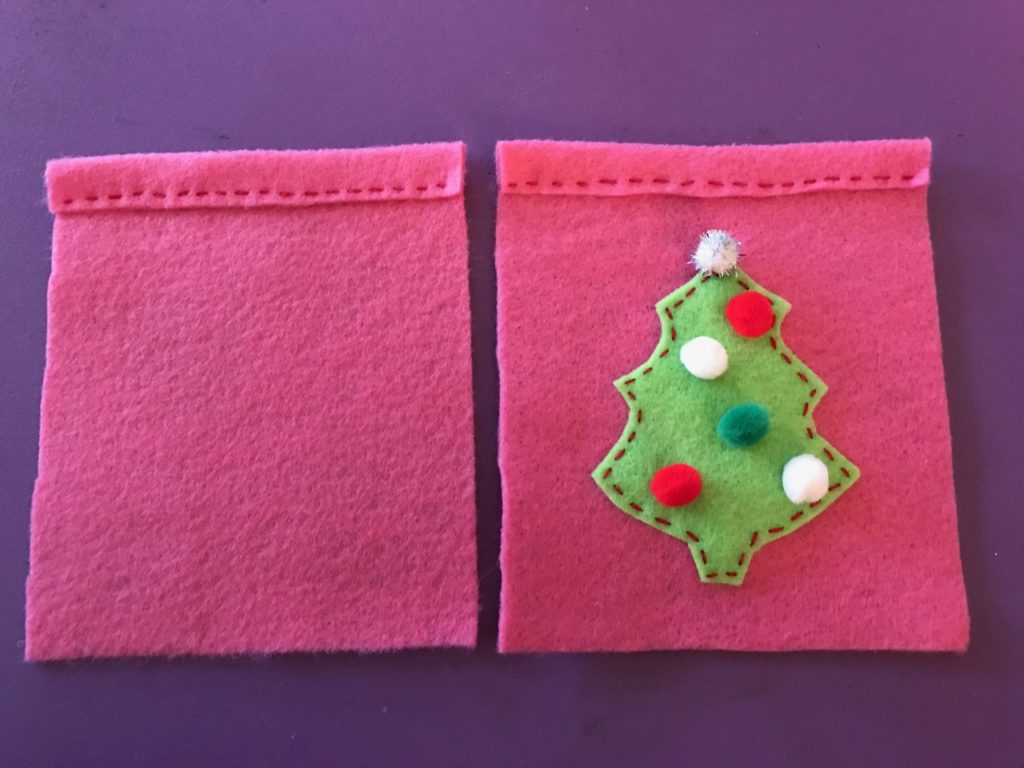
Now it’s time to put the bag together. Place the insides of the bag so they touch, leaving the folded over casing to show on the front and the back, as seen below.
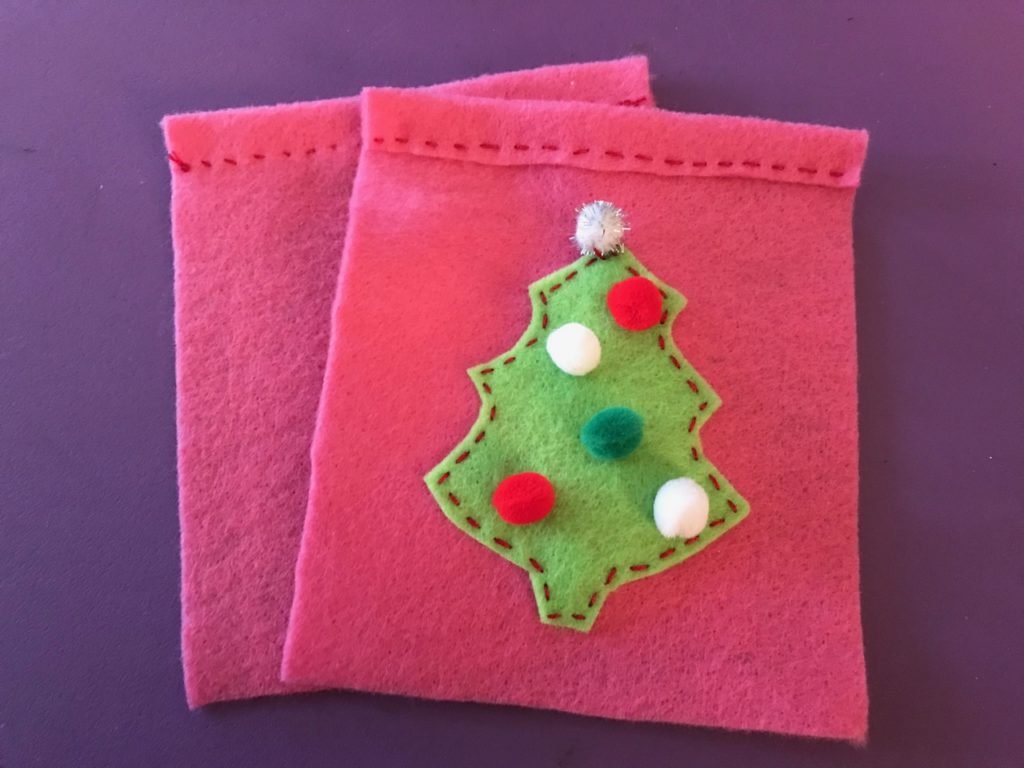
You can either use a blanket stitch (as I did) or a running stitch to sew the sides and bottom of the bag. (There are lots of great YouTube videos on how to do the blanket stitch. It’s easy! You can do it!!! )

Do NOT stitch over the casing openings. Start below the casing and end when you reach the other casing.
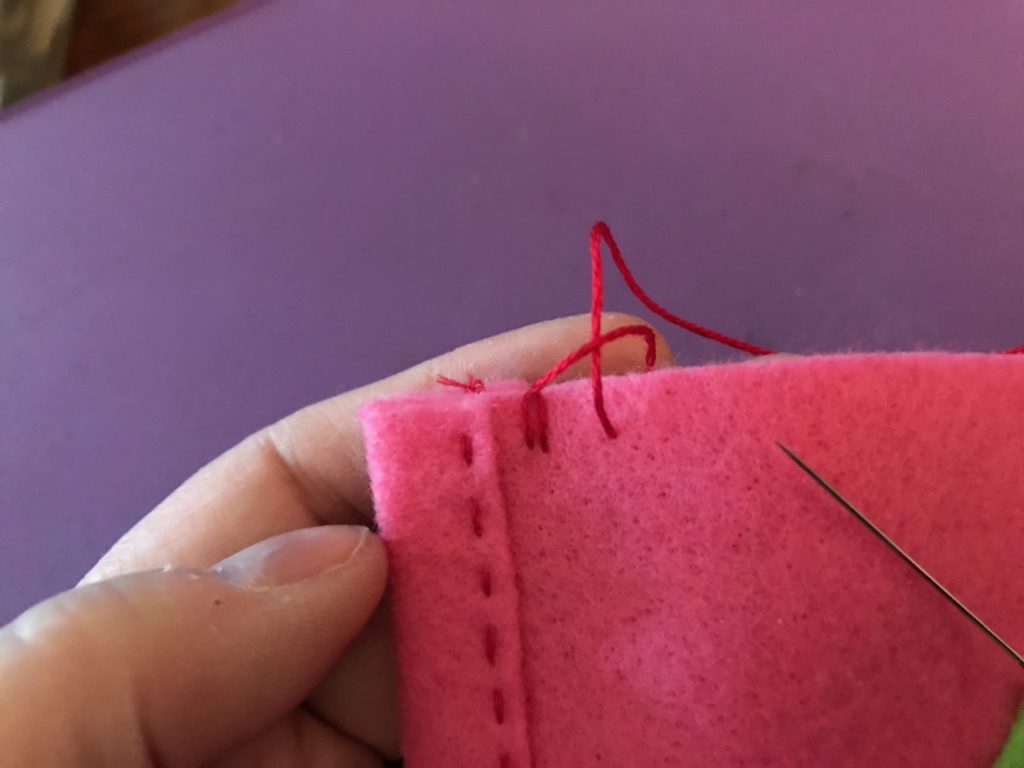
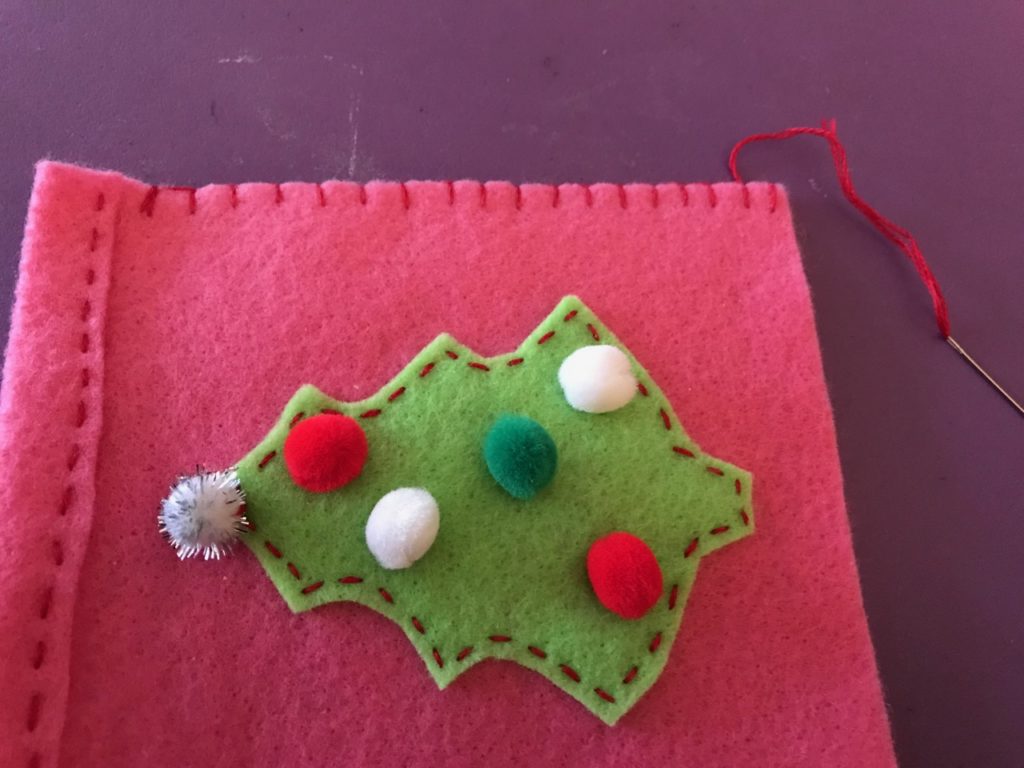
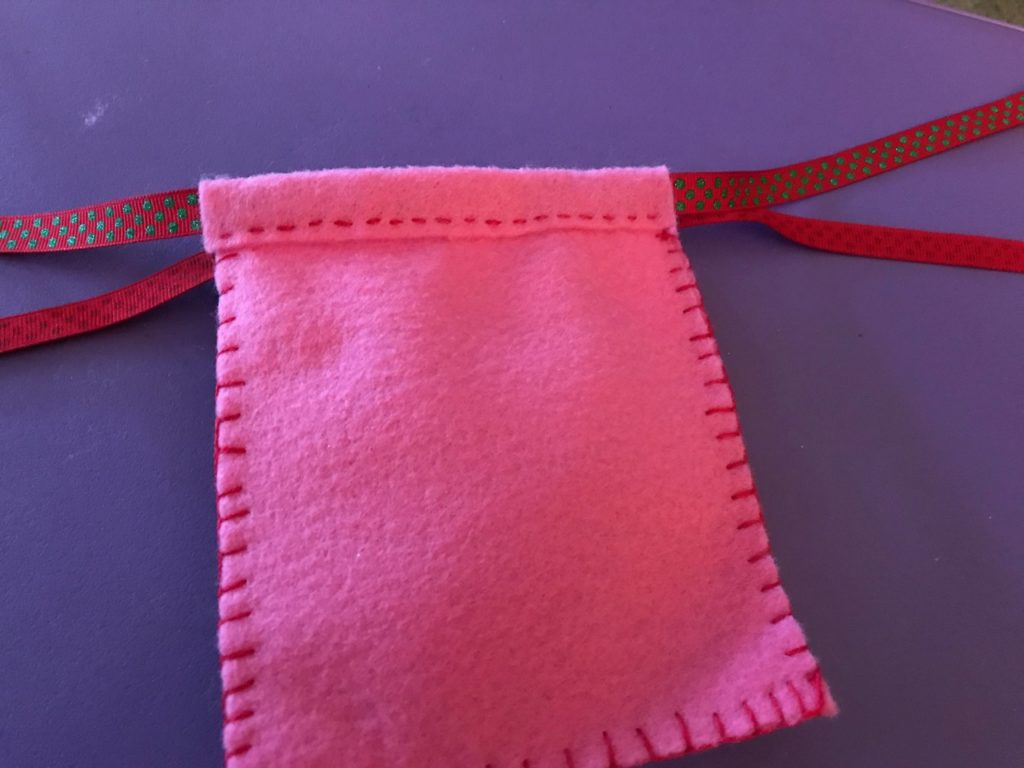
The final step is adding the ribbon. I like to use a plastic yarn needle because it won’t get caught in the felt (usually). Take one of your 18″ ribbons and thread it through the needle’s eye. Then draw it through the FRONT of the bag. Repeat with the second piece of ribbon for the back of the bag.
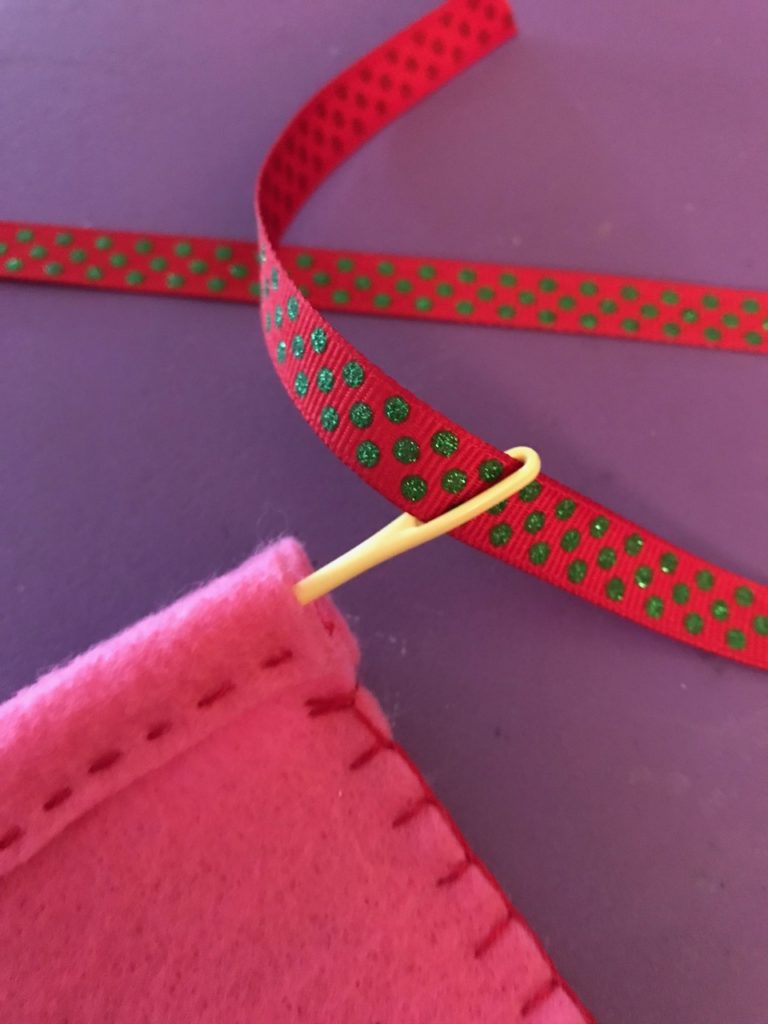
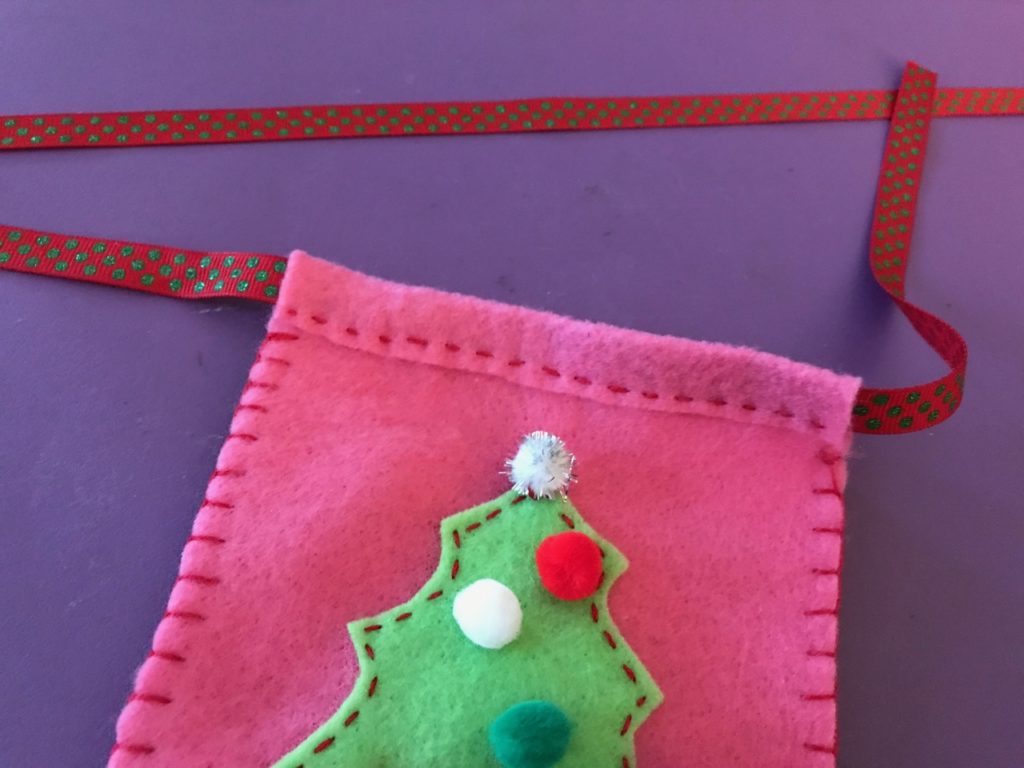
Pull most of the ribbons to one side of the bag. Tie a knot in the shorter side to secure it. Then you’re ready to fill the bag, tie the ribbon in a big bow, and add the gift tag.
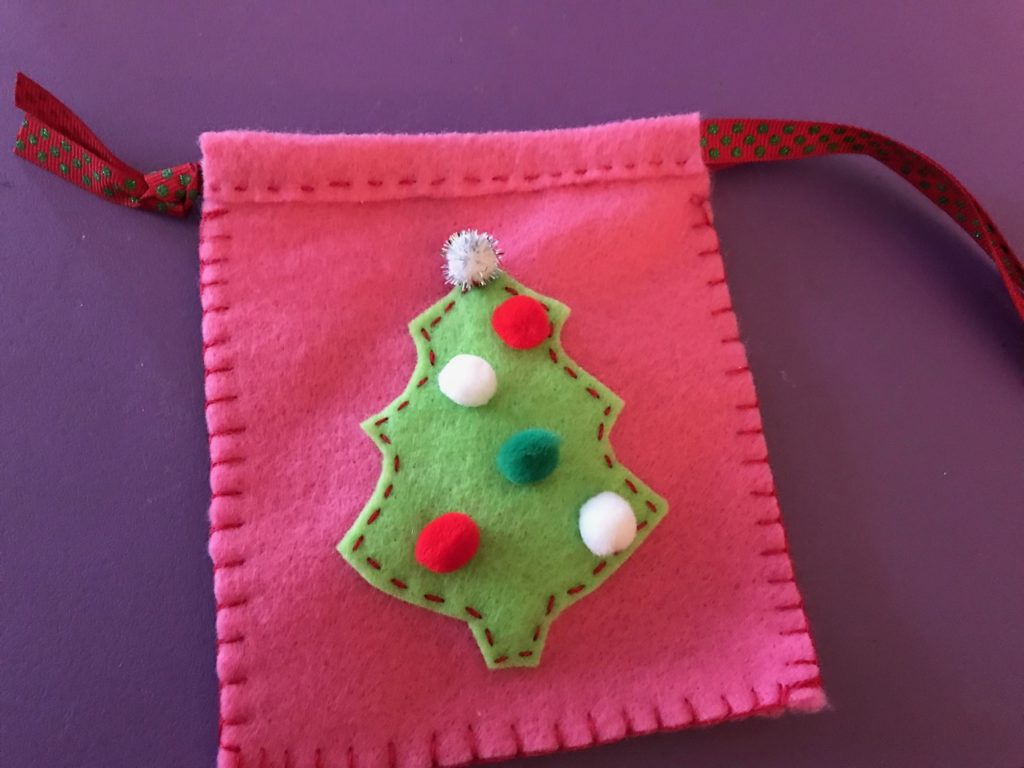
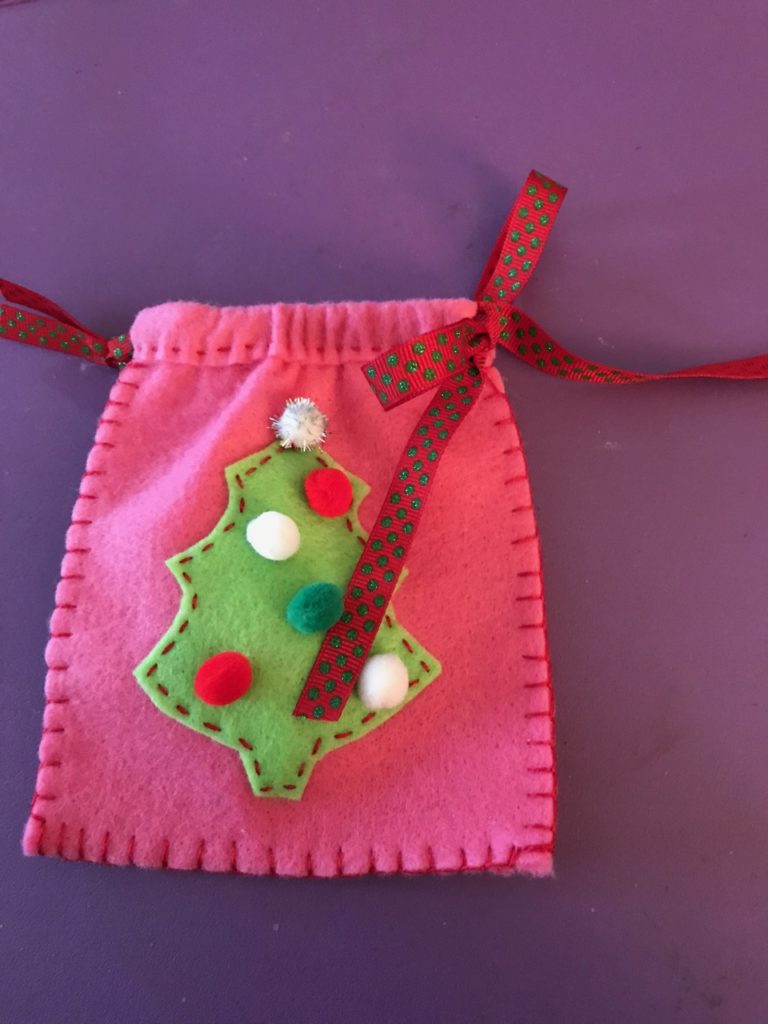
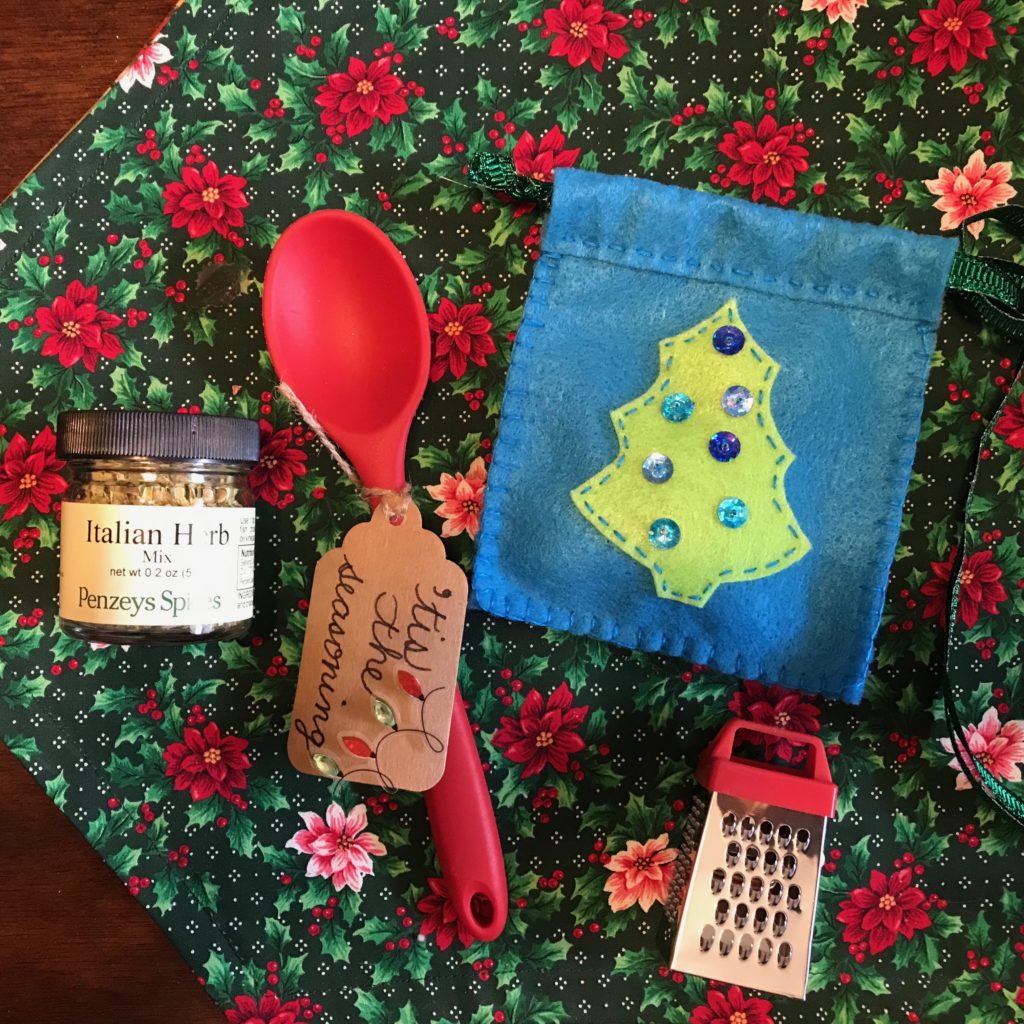
I decided to make my bag a kitchen gift. So I added a small jar of seasoning (Penzey’s is one of my favorite brands!), a mini spatula, and a mini grater (perfect for cinnamon sticks). Then I made two more!
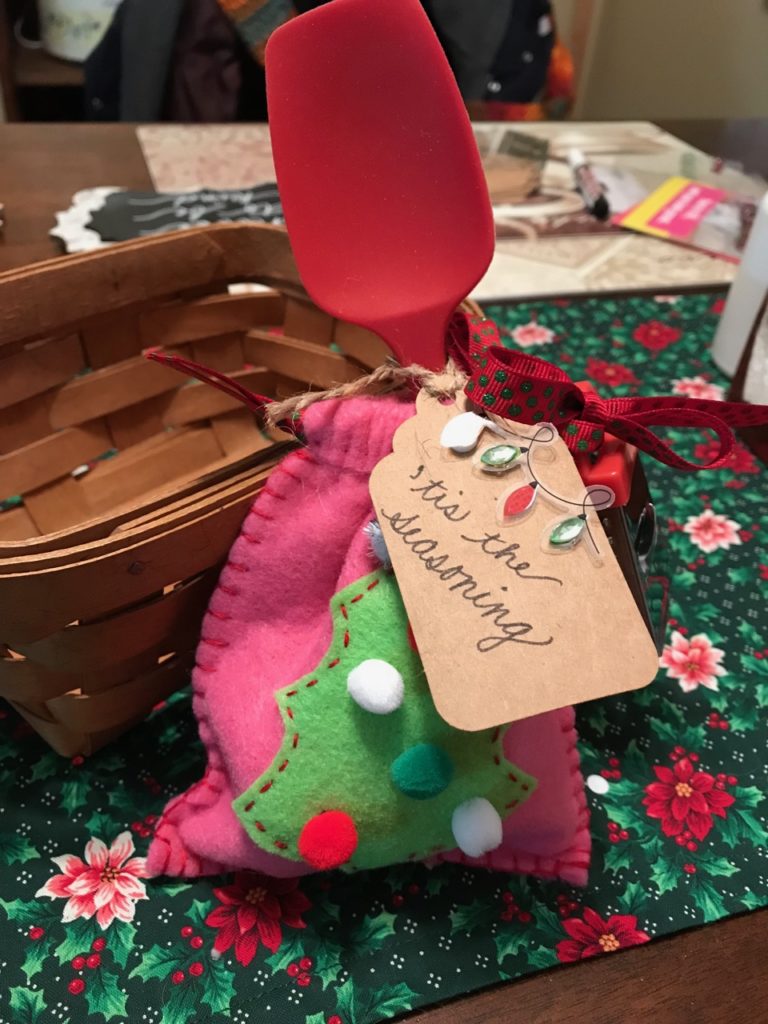
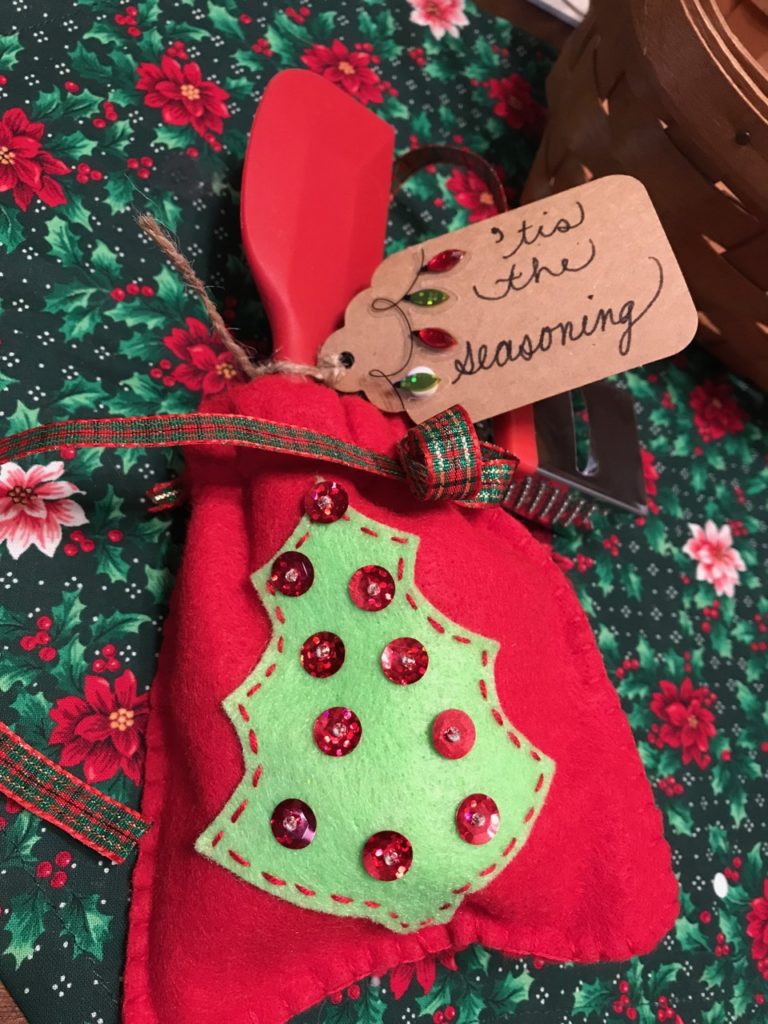
Of course, you can fill your bag with anything you want. Candies. Money $$$$. A gift card. But whoever receives it will be happy to have something handmade by you just for them.

I wish you all a blessed, happy, healthy holiday season! I’ll be back in 2019 with more Heartfelt Crafts for us to share.
Super Simple Fall Ideas #2

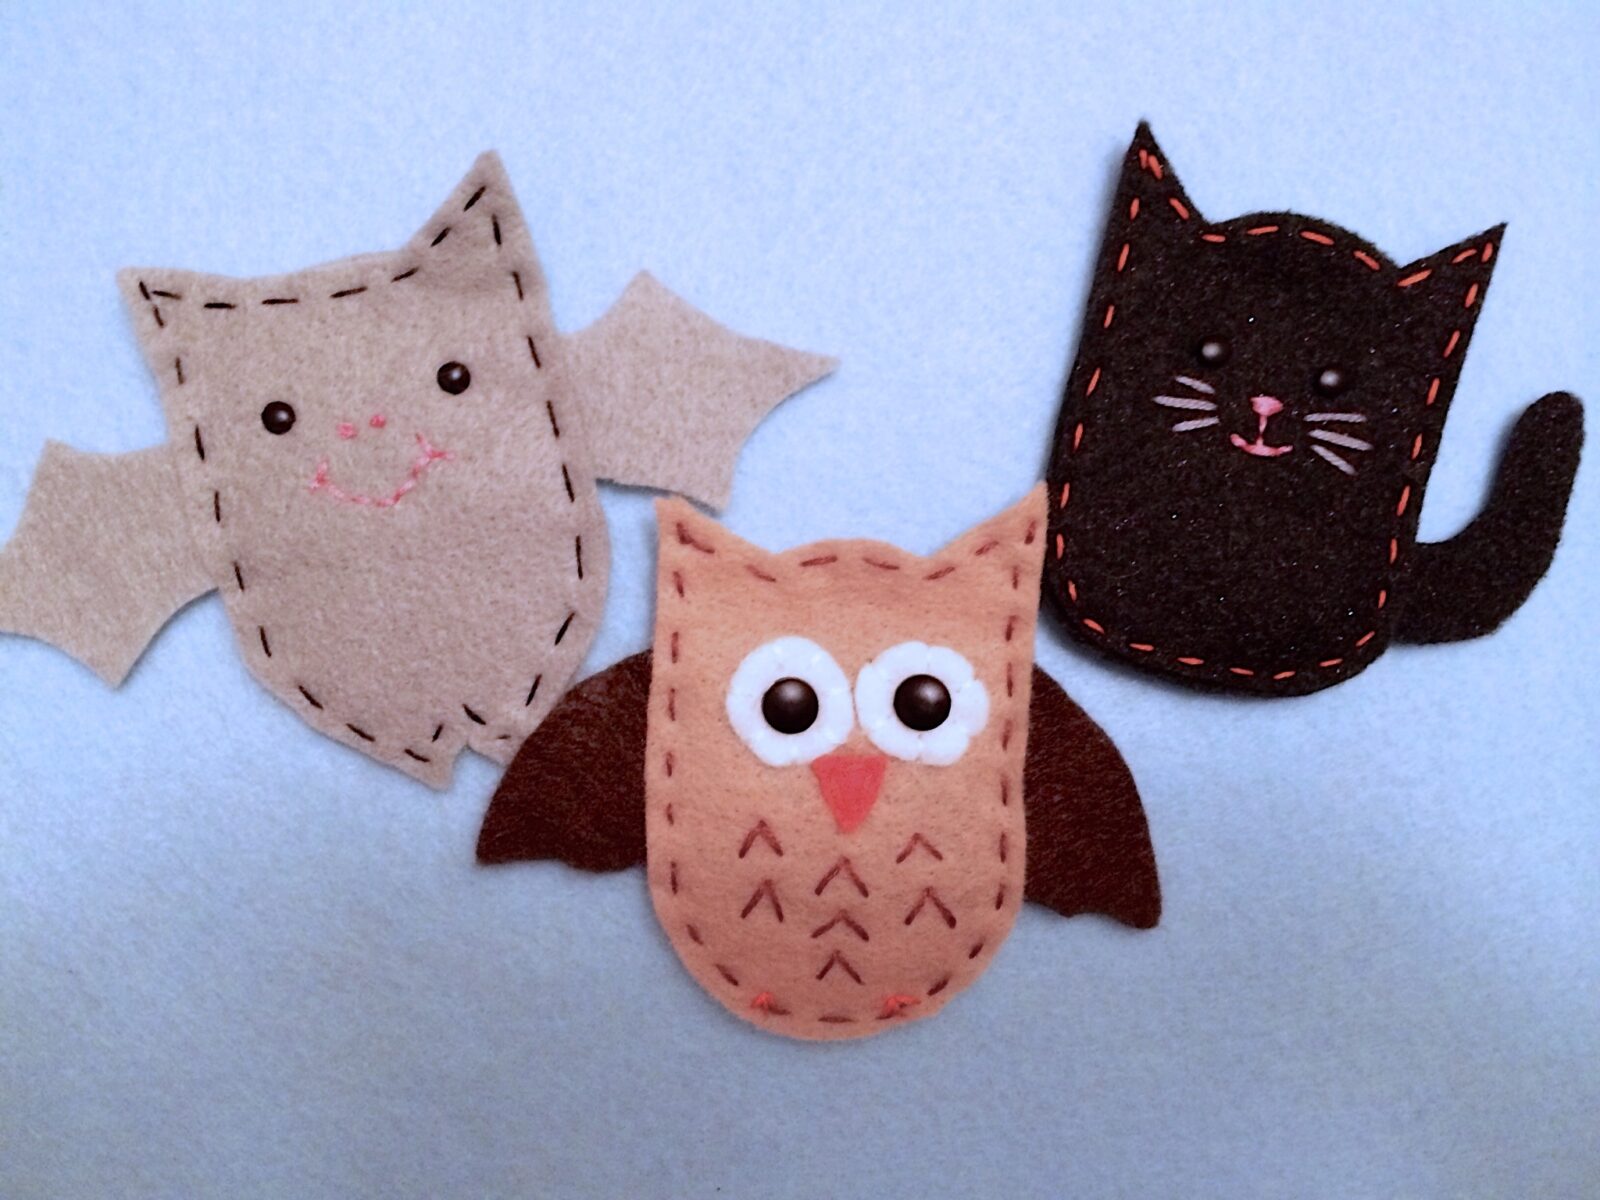
I love felt. In fact, that’s why I use the word “heartfelt” for my creative pursuits, both here and on Etsy. In hot weather, I don’t play with felt much, but once the temperatures cool down and the colors start changing, I reach for felt projects to keep my hands busy. In this post, I’m going to show you how to make some felted friends. This project is easy enough to get your kids involved, too!

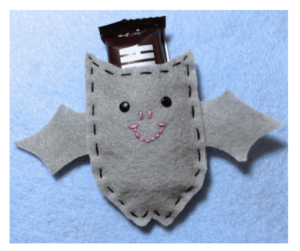
I’m showing you step-by-step how to make Buffy Bat. At the end of the post, you’ll be able to download the full PDF with the cutout forms and photos that show you how to make all three critters: Buffy Bat, Ollie Owl, and Cassie Cat.

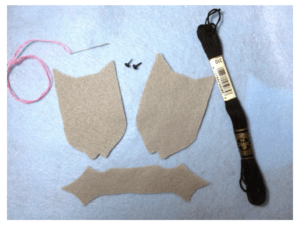
Here’s all you need to get started:

Materials:

  • Colored felt
  • An embroidery needle
  • Embroidery floss (it’s thicker than regular thread, so it shows up better
  • Sharp scissors
  • Tiny brads (4mm) or buttons

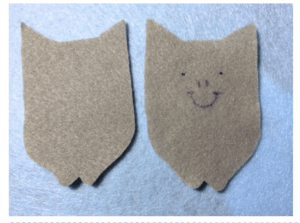
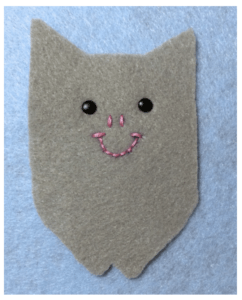
Step One: Cut out the felt pieces.

Step Two: On the front body piece, use marking pen to mark eye, nose, and mouth placements.

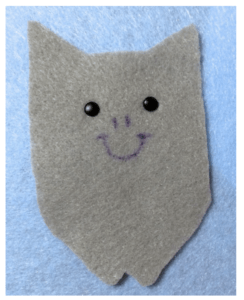
Step Three: Place brads for eyes. (You may use a pin to stretch a little hole to make it easier to insert

the back of the brad.) Or sew on small black buttons.

Step Four: Make either French knots or straight stitches to make the nose. Use backstitches to form

the mouth.

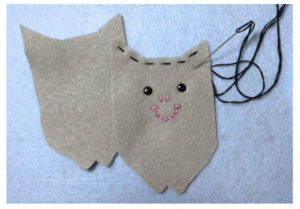
Step Five: Make running stitches around the top of the head on the front only.

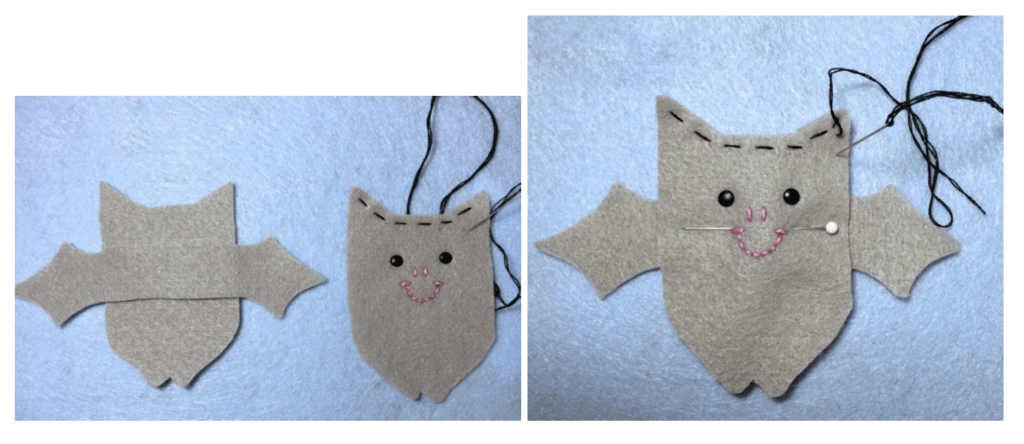
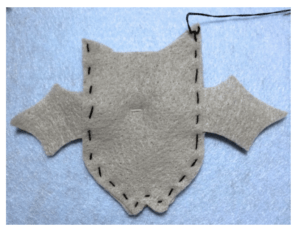
Step Six: Place the wing between the front and back of the body pieces as shown. Pin in place.

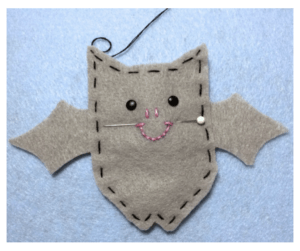
Step Seven: Use running stitches to sew the front, back, and wings together as shown. Only stitch

the sides and bottom if you are leaving the top open for a treat. That’s it! You’re finished. 

Now go eat that chocolate bar. You’ve earned it.

Now for that download.

Just click HERE. I’m making it available to my Heartfelt blog followers for FREE.

You can send others to my Etsy shop where they can purchase the download for $2.95.

Super-Easy Pet Cushion Project

We have a new member of the household. His name is Kirby—after tossing around dozens of names and circling back to the one that really describes what he does best, sucking up stuff on the floor and making it disappear. He’s a Pekingese and an Easter baby. Yep, the Easter bunny brought this little fellow on April 8. (Which just happens to be MY BIRTHDAY, too, and was too much of a cosmic coincidence for me to ignore.) Having a little pocket pet offers all kinds of crafting opportunities, including the creation of costumes and outfits that he’d be mortified to wear if he had just an ounce of self-awareness. In due time, my little puppy, in due time.

I’m starting with more basic projects, however. He’s being crate-trained, as most household dogs are, and I can’t stand the thought of his little puppy underparts lying on the cold, hard, plastic, cookie-sheet-shaped, slide-out base of the cage. I also don’t want to give up any of my good towels. Here’s a chance to use my crafty brain to cook up something simple, yet wonderful.

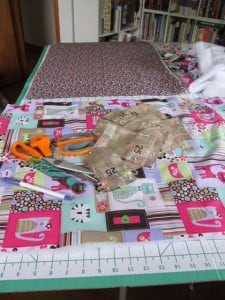
I scavenge through the house, looking in drawers, closets, and my sewing area. Voilà! I spy some oldish pillowcases whose matching sheets have long since been used for dust covers in the garage. A little feminine, yes, but he’s a modern pup—it’s all about recycling. I take the first pillowcase to my sewing station, flatten it on my cutting board, and unroll a batch of batting. Using the pillowcase as my pattern, I cut a folded (doubled) piece of batting about an inch smaller around the edges than the pillowcase. Then I insert the doubled piece inside and pin the four layers flat. Using a larger stitch than normal, but not a full basting stitch, I sew around the perimeter of the pillowcase, securing the batting.

That’s it! All done! It is the perfect size to fit inside the doggie crate, and it’s pretty, cushiony, and so washable. I’ll make 3 or 4 so I can rotate them between wash days. Kirby doesn’t even mind the darling little ruffle on the end. See? He’s just happy his owner is such a crafty lady.


Buckets o’ fun

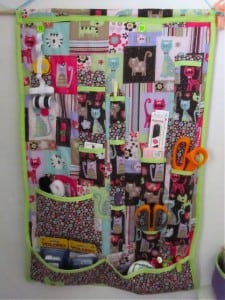
In my quest to get organized, I had to go beyond the hanging organizer (see previous post). Yes, it’s finished! I think it turned out pretty-kitty well and it also got filled up pretty-kitty fast. I think it looks pretty-kitty pretty. Don’t you just love themes?

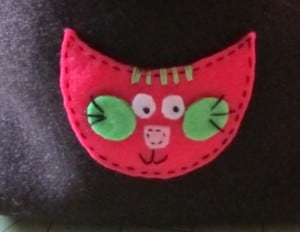
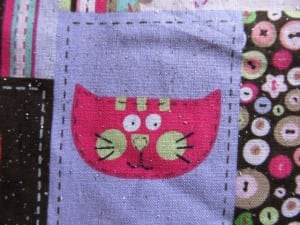
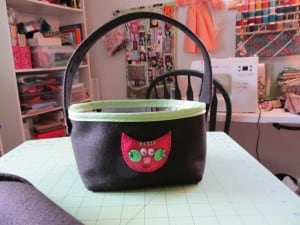
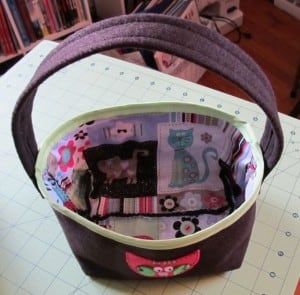
What could I do with the other stuff that didn’t fit into one of those pockets? Put it in bags? Bins? Boxes? Baskets? Buckets! But buckets are ugly and bulky, right? Well, not anymore. Introducing my “buckets o’ fun”! The first one I made is sans handle, but I think I’ll add it later. It continues the kitty theme, but not quite as directly as the new brown bucket. See that kitty on the front? I just imitated one of the kitties in the fabric used for the liner (same fabric used on the hanging organizer).

Now I’m using my buckets to hold things like rick-rack packs, patterns, notions, and little remnants that I might used for other things. Instead of a pile of mess, I now have some cute, coordinated organizers to help me be less cluttered.

In the next couple of days, I’ll be posting a pattern and instructions on how to make your own lined buckets. I hope you have buckets o’ fun, too!


Getting organized is messy

McCall's Crafts M6374

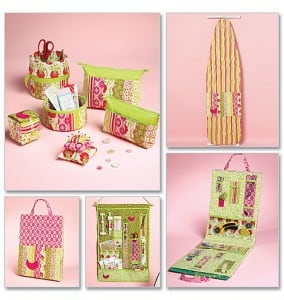
I found a fun and practical pattern for making lots of things to help keep some of my sewing and crafts more organized. It’s McCall’s Crafts pattern M6374. I can’t imagine paying $18.95 for a pattern—remember back in the good old days when patterns were in the $1–$3 range?—so I was THRILLED when Hobby Lobby had their occasional sale of all patterns for 99 cents. (It’s beyond satisfying to buy things for 99 cents, isn’t it? I love to wander around dollar stores.) So I bought four patterns, but knew this one was the one I’d open first. Why?

Because I need to get organized. I thought the wall-hanging organizer would be a good idea so I can get things off my sewing table, but still keep them handy. I’ll just hang it within reach while I’m sewing. (Oh, and a huge THANK YOU to my DH, Eric, for buying me a new sewing machine! Love it!) But things had to get a little messier before they got better. Isn’t life like that sometimes? I remember hearing that when I was going through some counseling several years ago. It’s like needing surgery. In order to heal, sometimes we have to get cut open, which can be very messy and painful indeed. And sometimes we need someone outside ourselves to help. For me, that has included God, close friends, special family members, and the occasional mental health professional. The end result, though, is worth all the tears. It means moving forward with more light and less darkness, more self-control and less trying to control others.

So here’s the messy part of my project: cutting out the 20+ pieces that are supposed to become an organizer. When I saw how many pieces were involved, I have to admit that I almost changed my mind. Instead, I decided to read through the directions so I could understand what each piece was, how it was sewn, and what purpose it served when finished. I did just that, and **Surprise!** it all made sense! I cut out each piece and began sewing. Less than 24 hours later, I was finished!

I love this bright, sparkly, kitty-laden organizer. Now I want to get busy making some matching accessories: probably the square pincushion and some of the round boxes to hold lots of goodies. Stay tuned for finished products in the next post!

I hope you’re learning how to put all your pieces in the right places, too. Thanks, friends, for coming along for the journey.