In everyone’s life, at some time, our inner fire goes out. It is then burst into flame by an encounter with another human being. We should all be thankful for those people who rekindle the inner spirit. —Albert Schweitzer
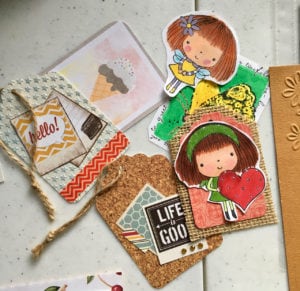 This is one reason I love doing pocket letters. It allows me to send a little spark of hope, friendship, laughter, or love to my friends. Jennifer and I have known each other for more than 20 years, and most of those years we’ve been separated by hundreds of miles. Mailing each other cards, notes, stickers (I got those yesterday!), packages, and now pocket letters has kept our friendship alive and well. I believe in connections. But connections break if we don’t tend to them. This project we’re working on together in this set of blogs can strengthen the bonds of friendship no matter the distance between the sender and receiver.
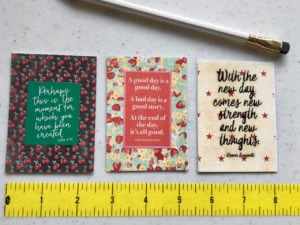
Today we’re going to finish that pocket letter! Get out your supplies, including the cards you’ve cut to size. Let the fun begin!
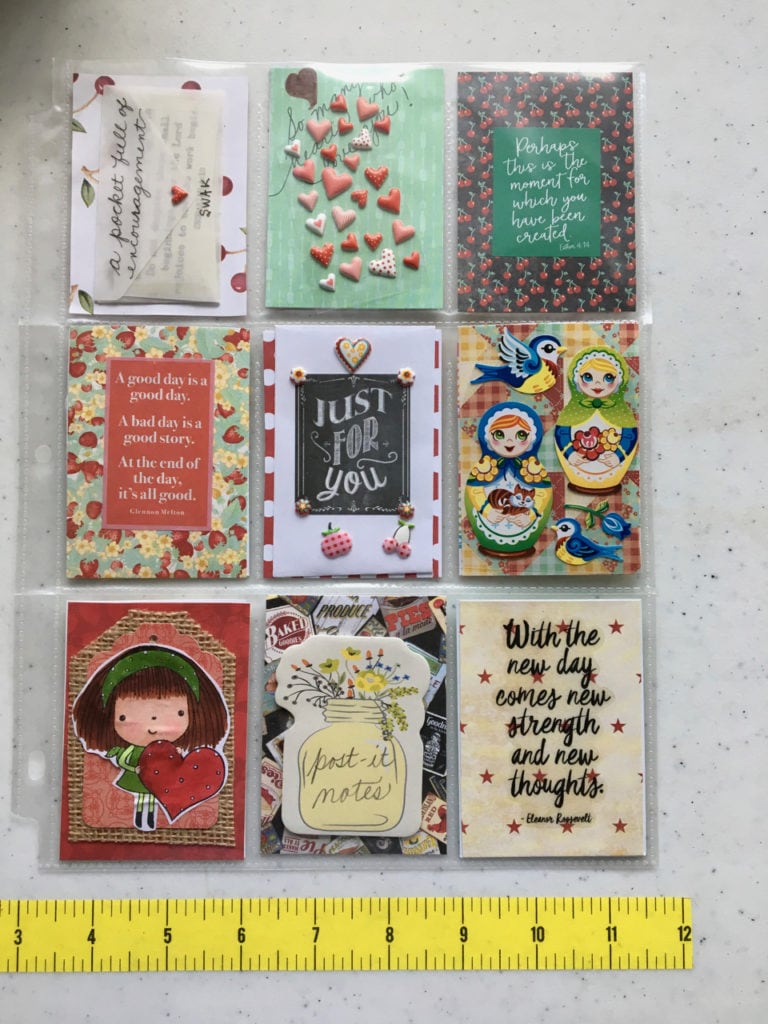
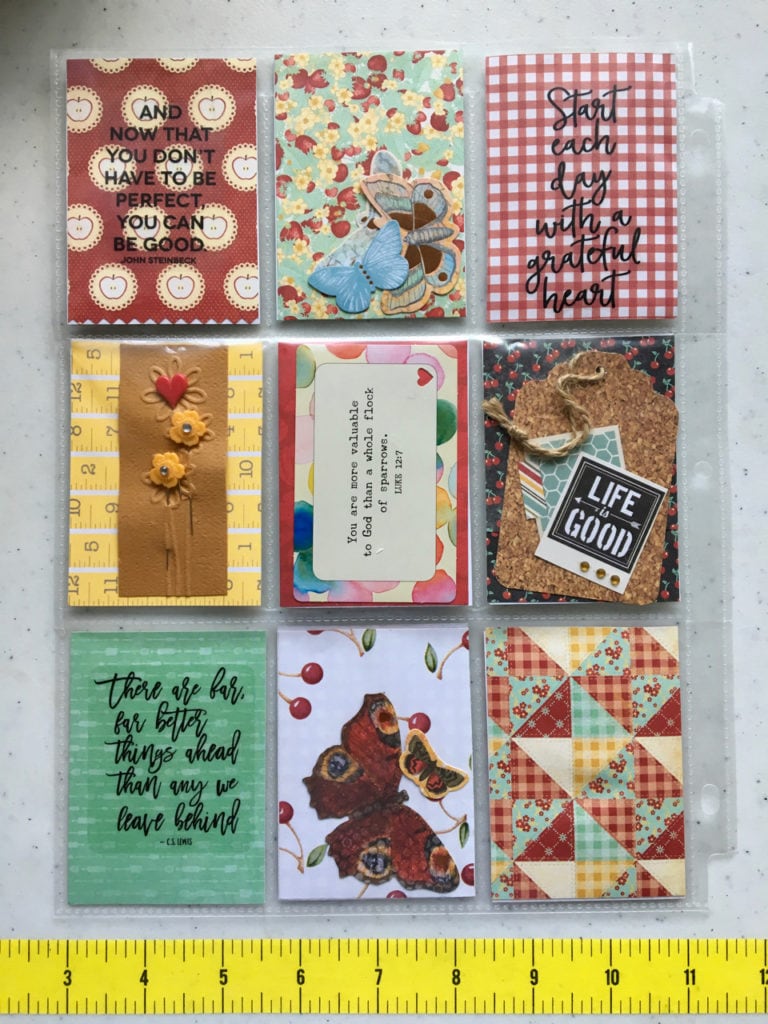
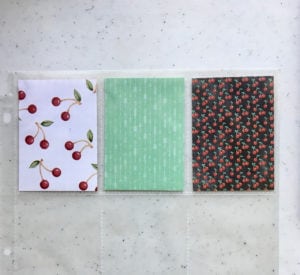
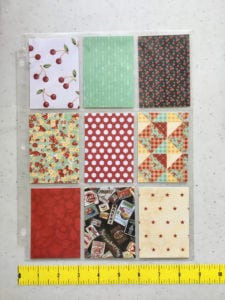
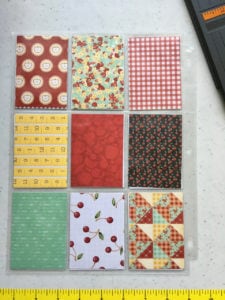
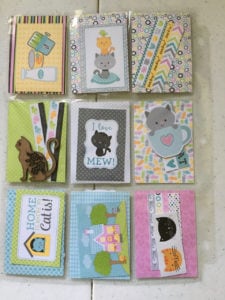
FIRST: I like to insert all of my cards and arrange them in a way that’s random, attractive, and colorful.
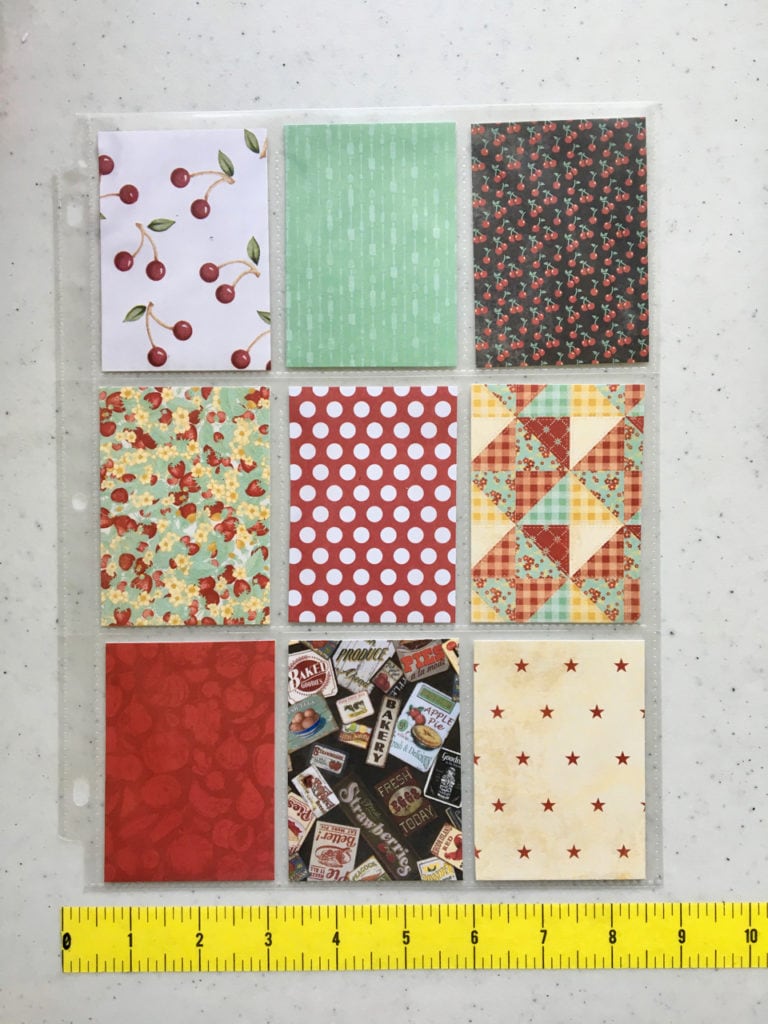
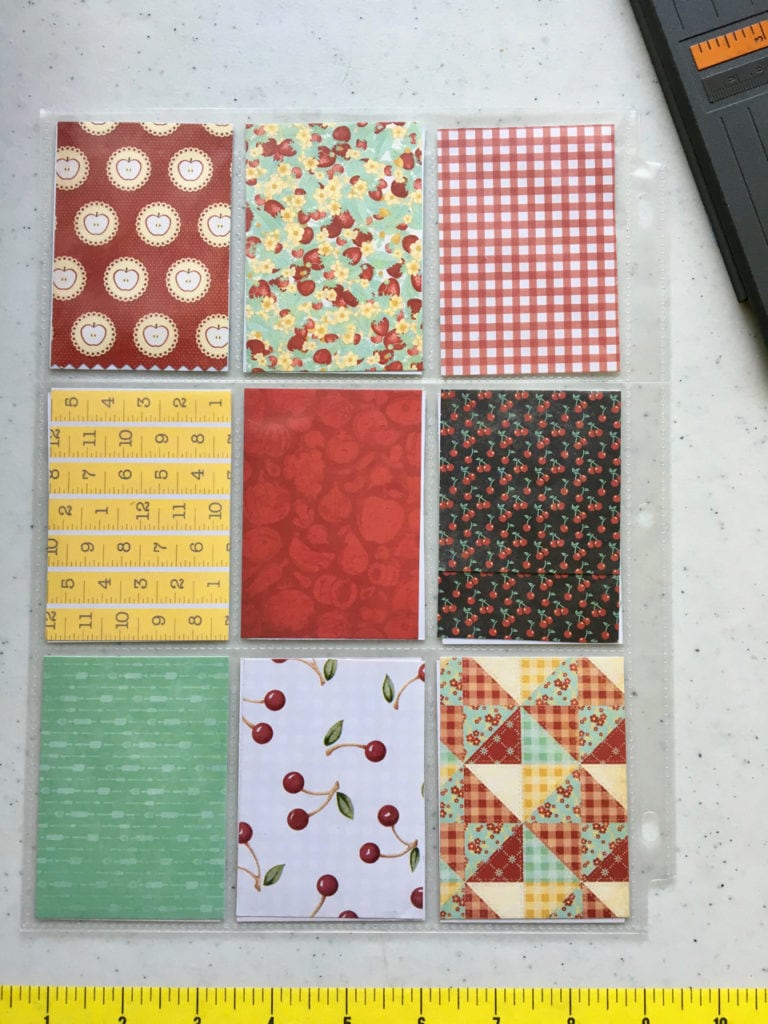
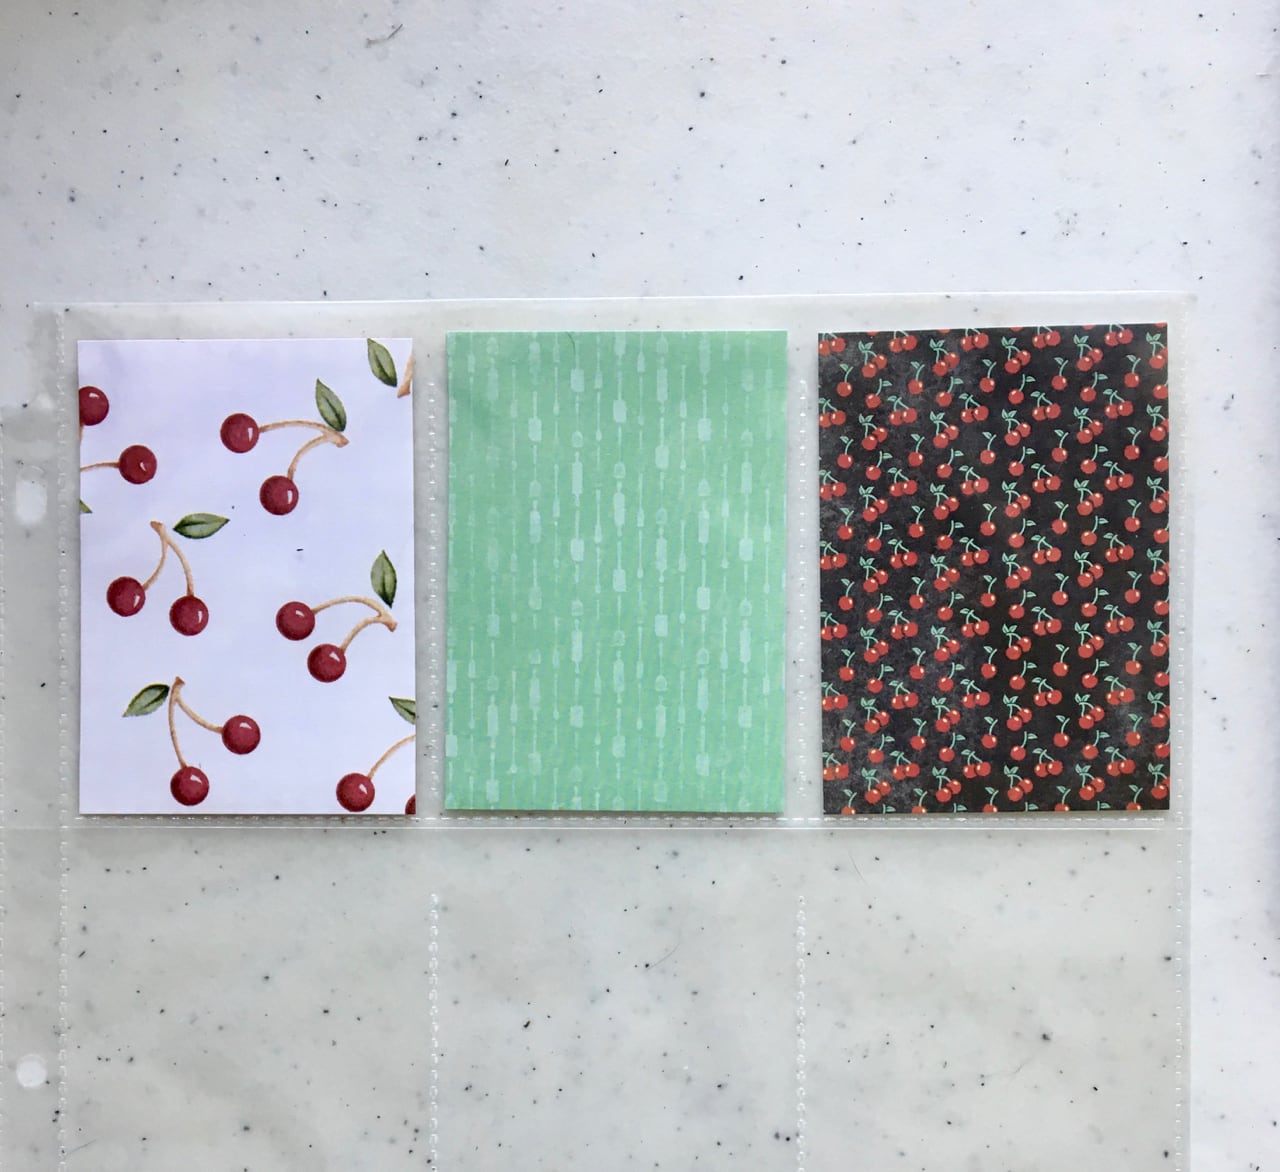
My mixed-bag of papers has a loose theme that could be kitchen-y or calico-y or retro. I just liked how all of the patterns and colors worked together.
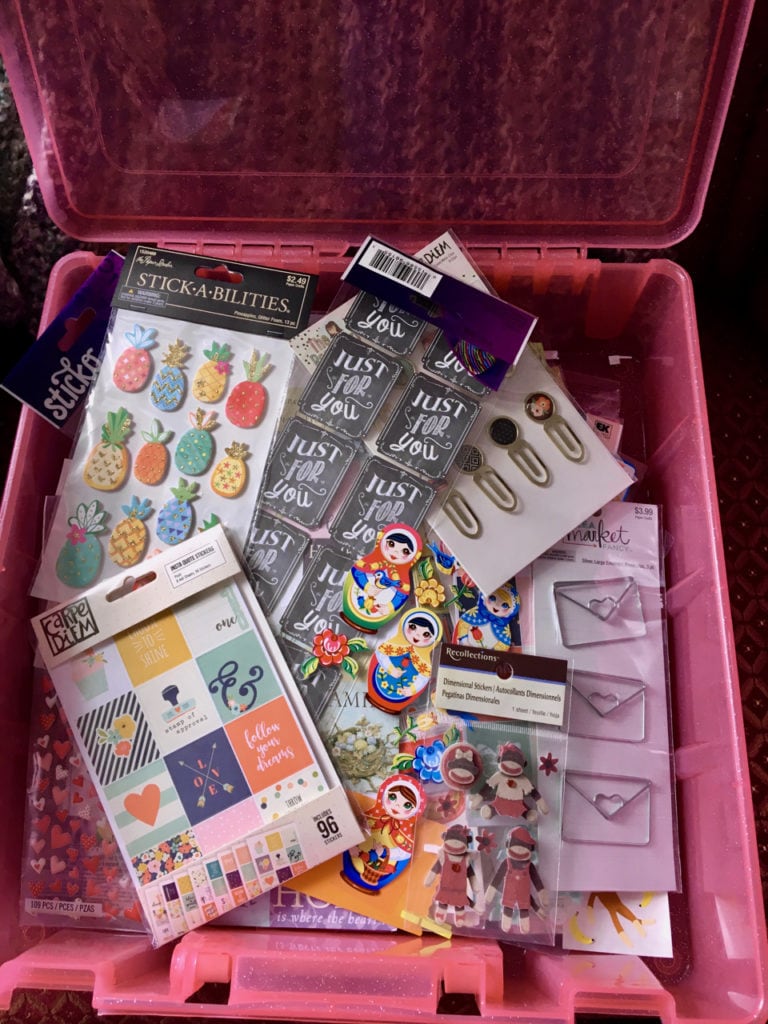
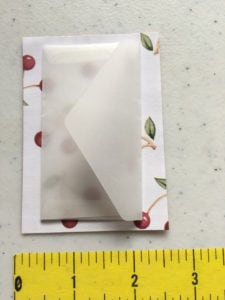
NEXT: Now I get to go digging through my containers of embellishments. (I won’t admit how many of those I have.) I’m looking for stickers, decorative elements, etc. to add to each card. Here’s one of my hoards:
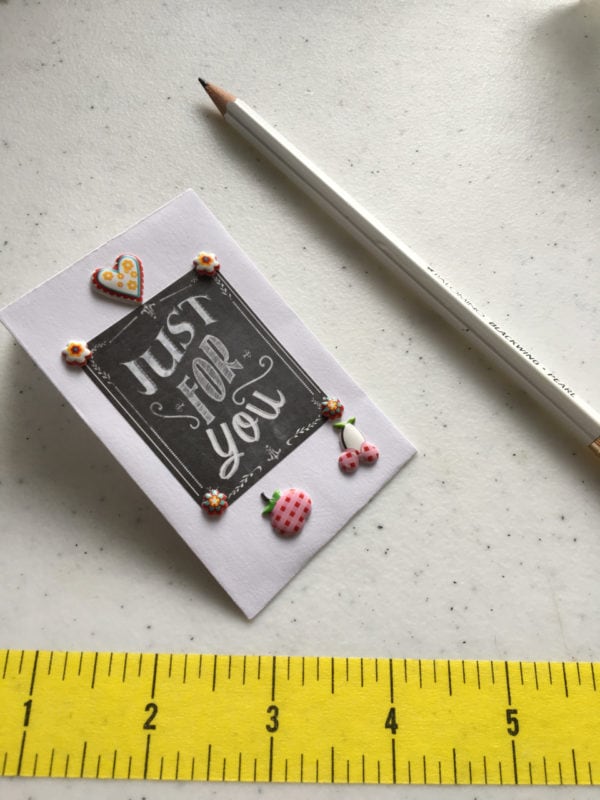
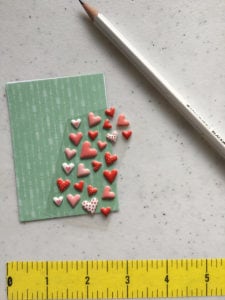
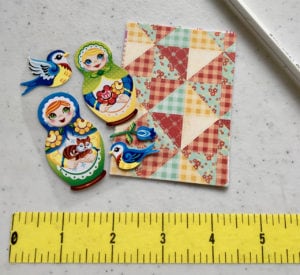
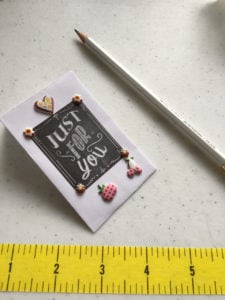
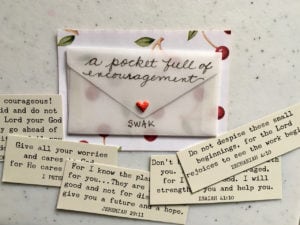
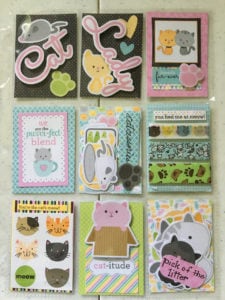
ALSO NEXT: The next photos will show you how I took different paper cards and applied stuff to them.
ALMOST DONE: After every card has its special message, design, or gift included (tea bags fit perfectly in a pocket!), just put them into the spaces until the page is filled (on both sides if you want).
I added some tea bags to three pockets in the back before sending this PL to one of my new friends, Linda. (Hi, Linda!)
Sending? That’s right! These are meant to be mailed. Just accordion-fold the three horizontal sections and the whole thing fits a standard business-size envelope. If it weighs less than 13 ounces, you only need one first-class stamp. Most of mine take two stamps—sometimes I add a third one if the envelope is extra-thick.
So try one! There’s nothing about this that has to be perfect. It’s easy, creative, and filled with love. That’s almost as good as a doughnut!
Send me your photos of finished or in-progress pocket letters. I’d love to share them with my blog followers and on my Heartfelt Crafts Facebook page. Send them to me at tanya (at) heartfeltcrafts (dot) com.

 Each entry will earn you a name on a slip of paper. I’ll put all of the papers out on my floor and let my adorable dog, Kirby, select the winner. Photos will follow!!!
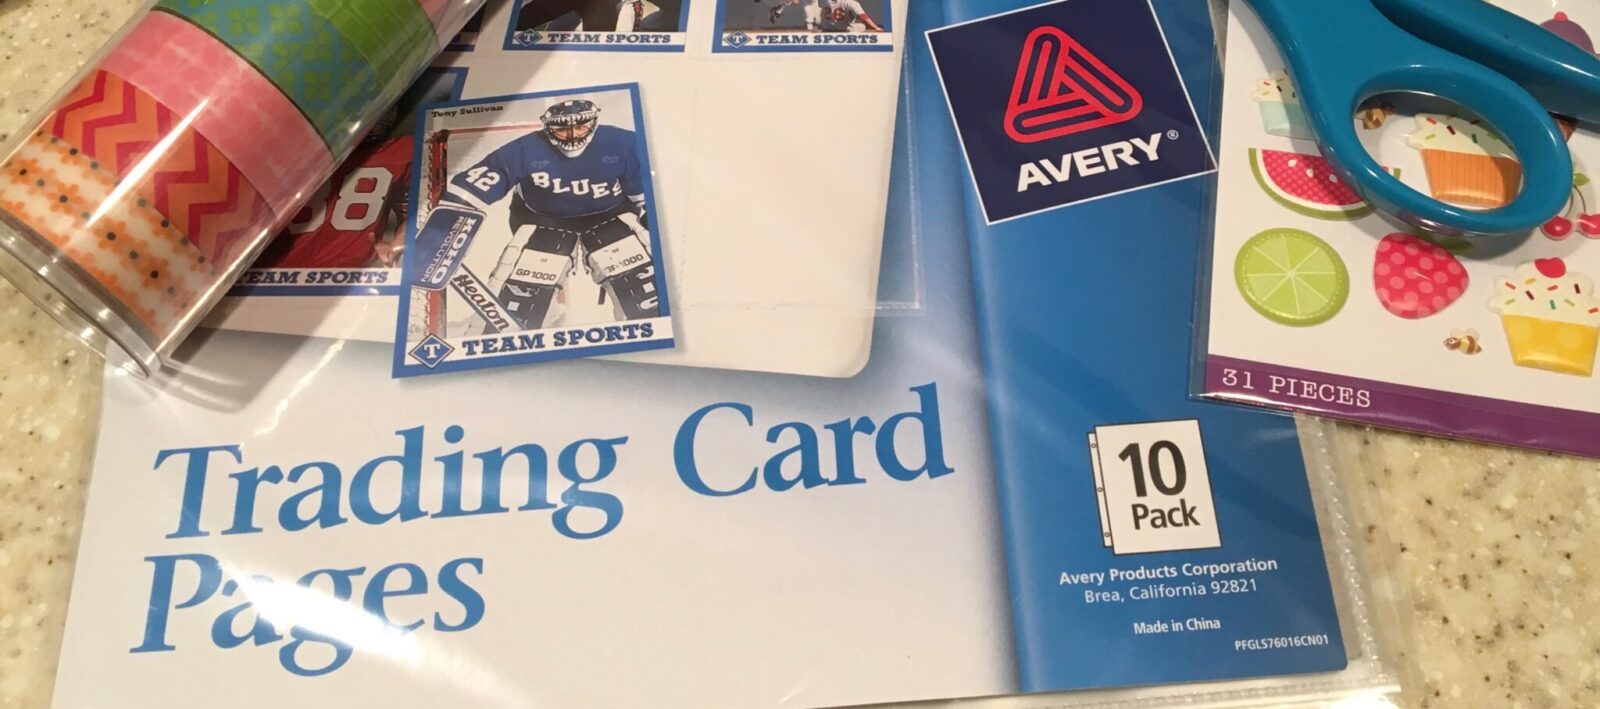
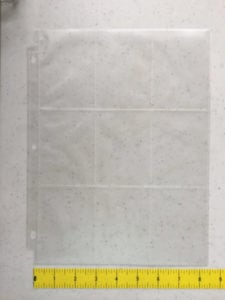
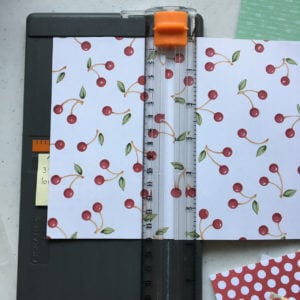
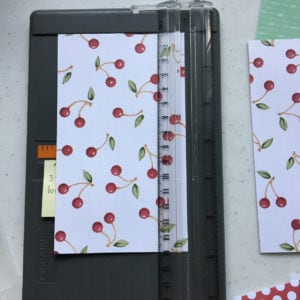
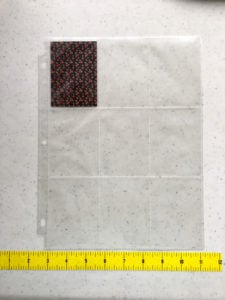
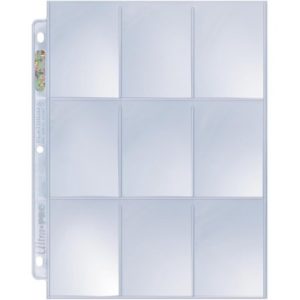 These vinyl pages hold nine trading cards, 2 ½” x 3 ½”. Now they will be holding your beautiful, quirky, wonderful pocket letters!!! I have found several brands (Avery, Ultra Pro, Office Depot), and they come in packs of 10 to 100 for between $3.50 to $15.00, respectively. Super reasonable!
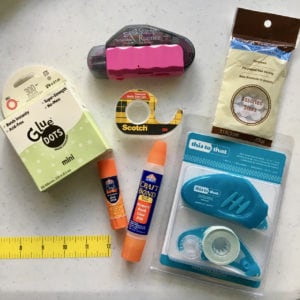 Adhesives: Glue stick, glue dots, Elmer’s glue, double-sided tape, basically anything that you can use to get paper to stick to stuff and stuff to stick to paper. To get a 3-D effect for some designs, I like to use Glue Dots and Foam Adhesive pieces.
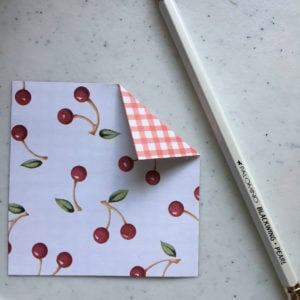
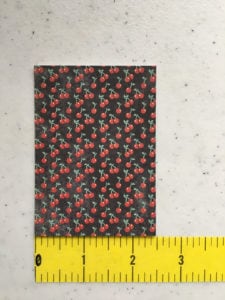
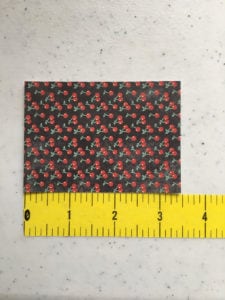
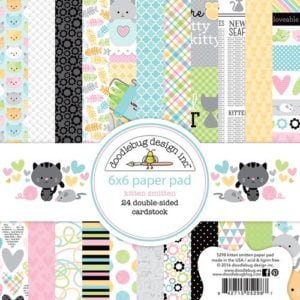
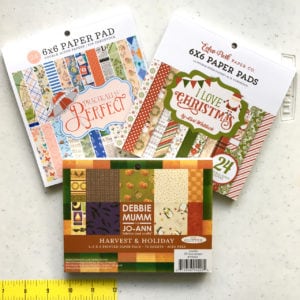 Paper: Now we can get creative! It helps to start with a theme or color palette. You can use construction paper, notebook paper, gift wrap, scrapbook paper—basically anything you can cut into the card shape and glue stuff onto. (It helps if the paper is stiff enough to be able to slide into the pocket. For that reason, I don’t recommend using toilet paper. For this.) The easiest way to get a good theme going is to find a pad of printed paper that paper crafters use for scrapbooking, cardmaking, and general paper wizardry. Each pad has its own theme or color scheme and costs from about $5.00 a pad to $6.99 and more for specialty papers.
 Aunt Sue and I showed up with our McDonald’s Buckets o’ Tea (really, what a deal for a buck!). We figured we’d need all our senses to complete this project. Neither of us had done much with acrylic paints before. It was an adventure in artistry! We watched the instructor and did what she did (kinda). Thanks to having lids on our iced tea, we never dipped our paintbrushes into our drinks, so there’s that. My main goal was to have a fun evening, not to paint a masterpiece. (Aunt Sue, bless her heart, had had shoulder surgery the month before, so she gave it her best. She’s usually very artistic! I was scared.)
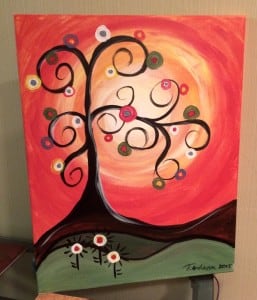 Which is why I was so surprised when my painting actually turned out to be something I might hang on a wall. I mean I was SURPRISED. And the instructor complimented me, which, all of us who live for the approval of others know, is the cherry on top. Here’s what I discovered: