In everyone’s life, at some time, our inner fire goes out. It is then burst into flame by an encounter with another human being. We should all be thankful for those people who rekindle the inner spirit. —Albert Schweitzer
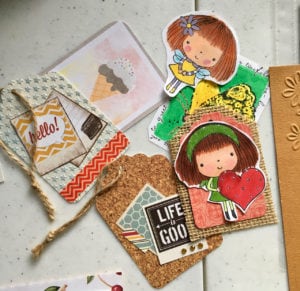 This is one reason I love doing pocket letters. It allows me to send a little spark of hope, friendship, laughter, or love to my friends. Jennifer and I have known each other for more than 20 years, and most of those years we’ve been separated by hundreds of miles. Mailing each other cards, notes, stickers (I got those yesterday!), packages, and now pocket letters has kept our friendship alive and well. I believe in connections. But connections break if we don’t tend to them. This project we’re working on together in this set of blogs can strengthen the bonds of friendship no matter the distance between the sender and receiver.
Today we’re going to finish that pocket letter! Get out your supplies, including the cards you’ve cut to size. Let the fun begin!
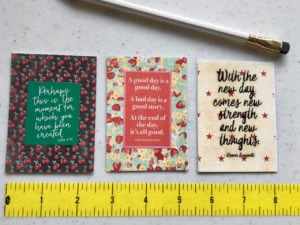
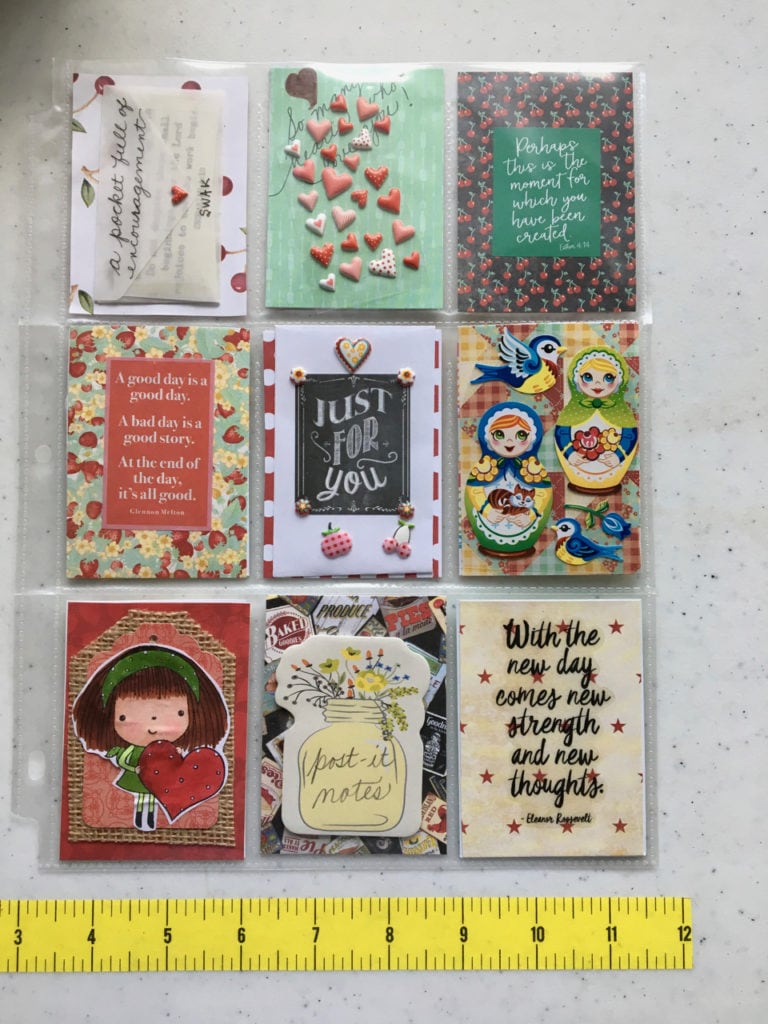
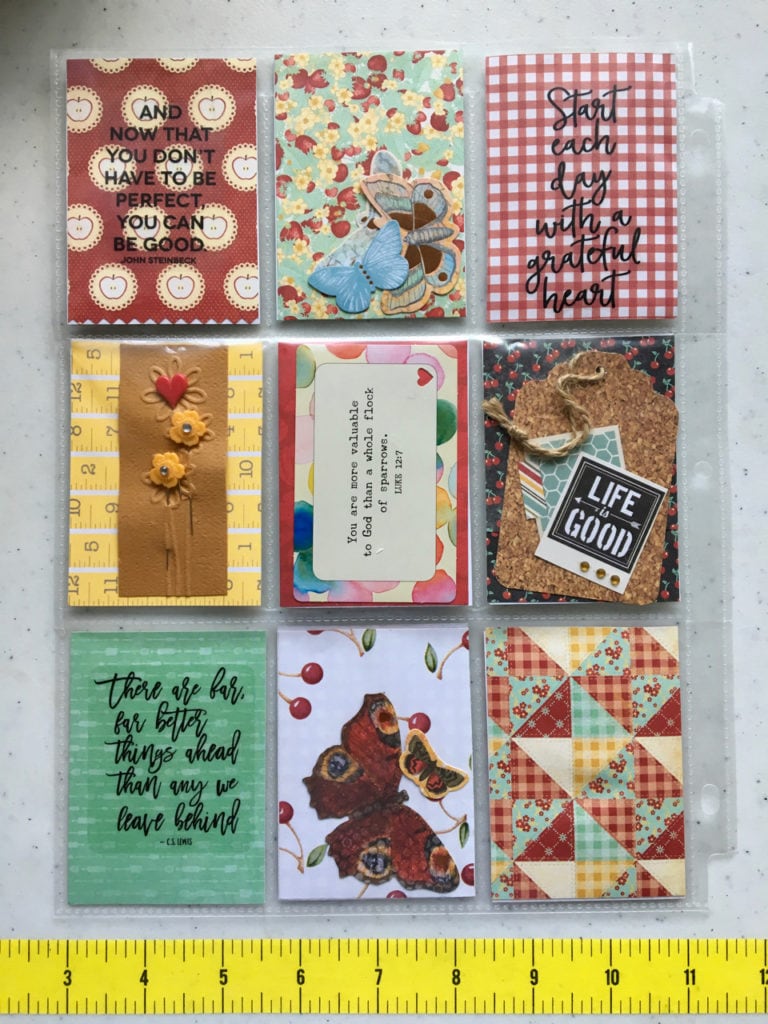
FIRST: I like to insert all of my cards and arrange them in a way that’s random, attractive, and colorful.
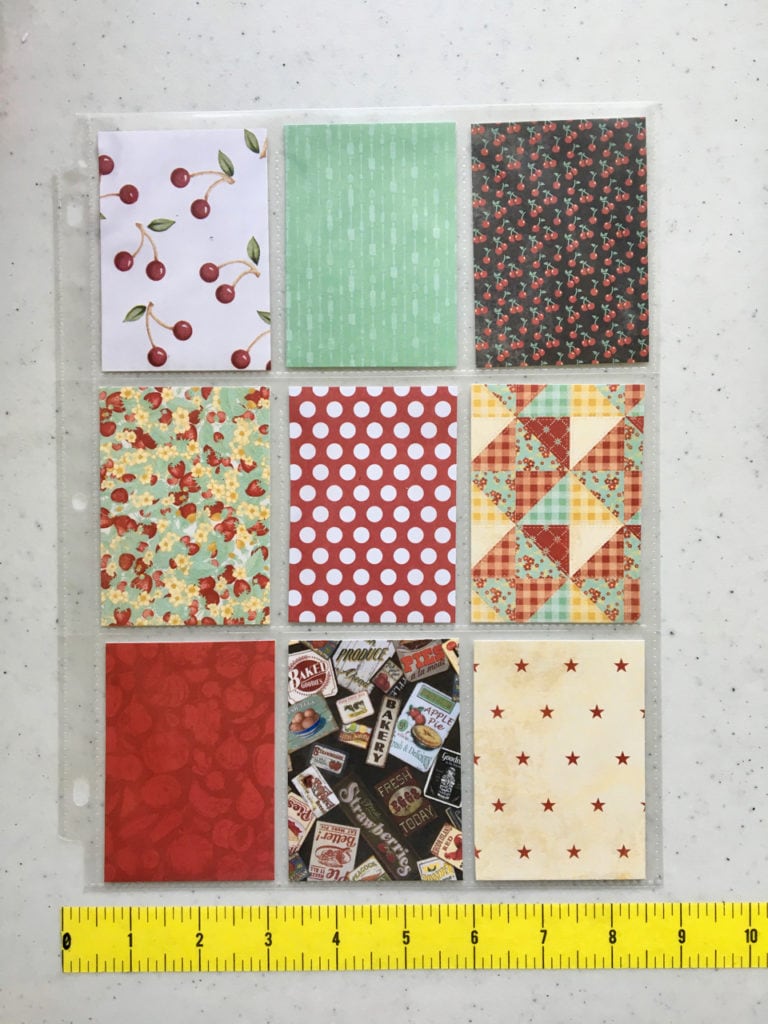
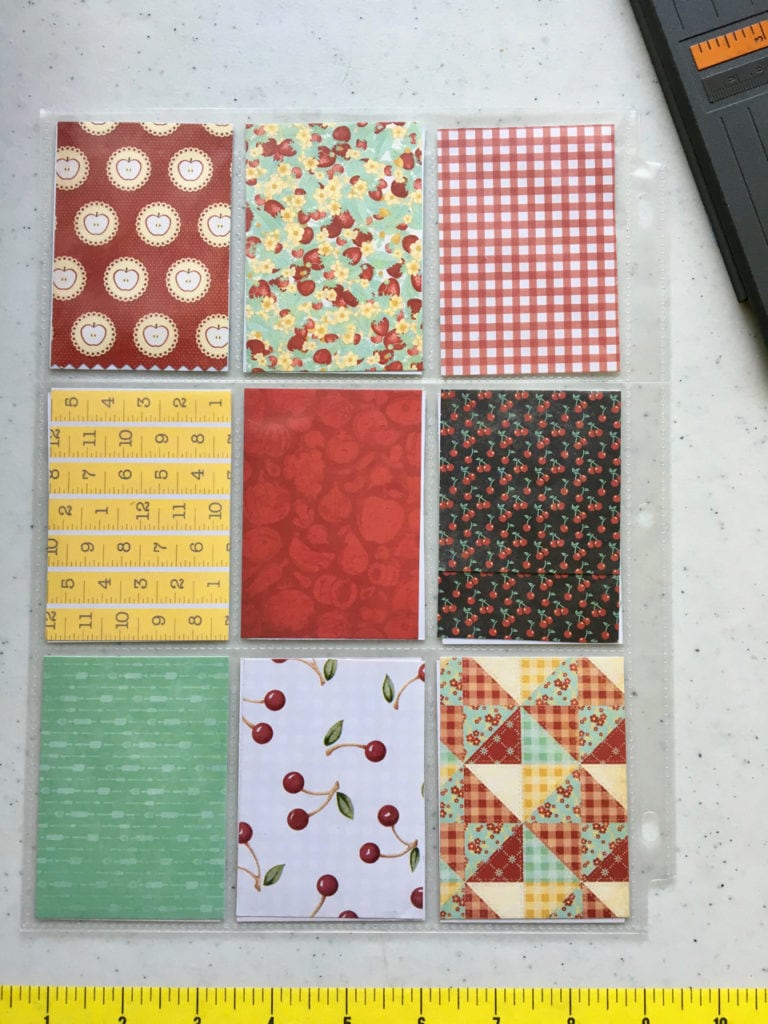
My mixed-bag of papers has a loose theme that could be kitchen-y or calico-y or retro. I just liked how all of the patterns and colors worked together.
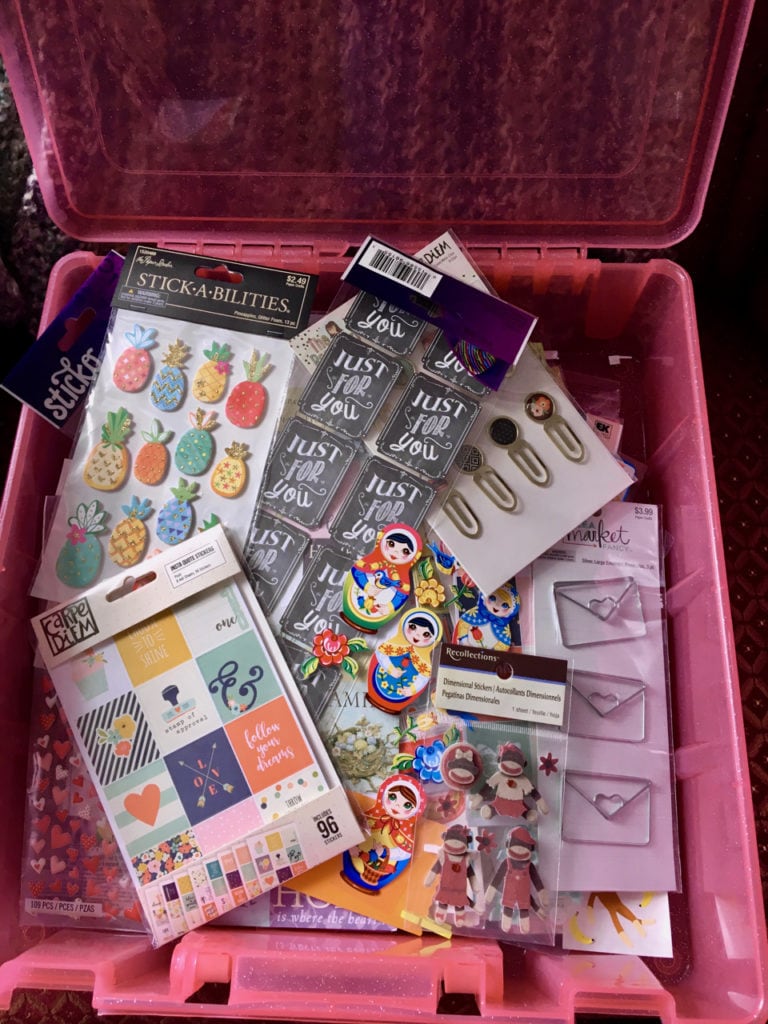
NEXT: Now I get to go digging through my containers of embellishments. (I won’t admit how many of those I have.) I’m looking for stickers, decorative elements, etc. to add to each card. Here’s one of my hoards:
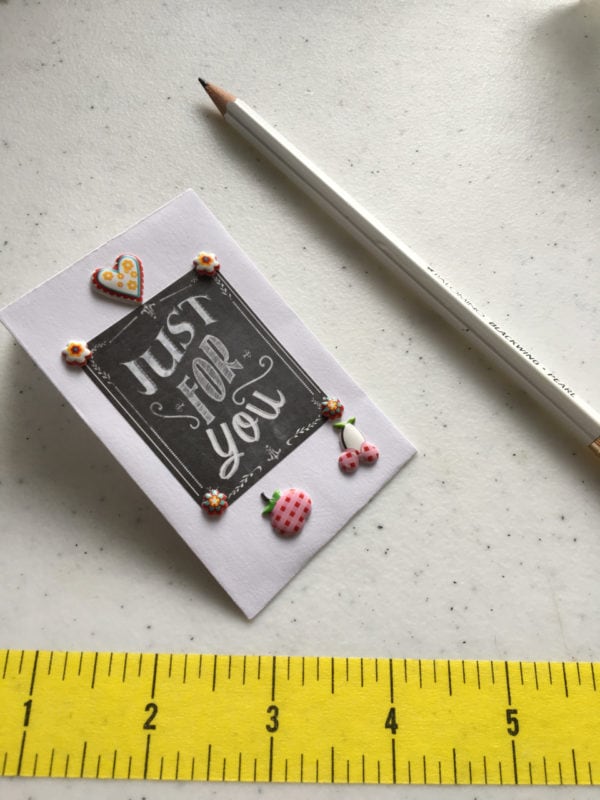
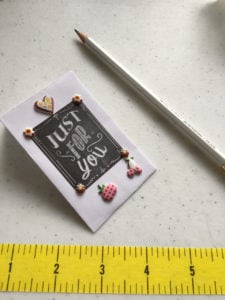
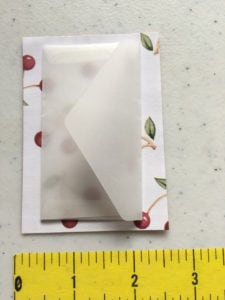
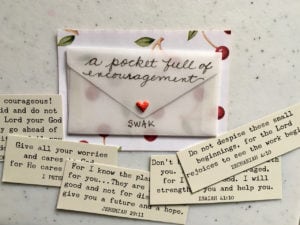
ALSO NEXT: The next photos will show you how I took different paper cards and applied stuff to them.
ALMOST DONE: After every card has its special message, design, or gift included (tea bags fit perfectly in a pocket!), just put them into the spaces until the page is filled (on both sides if you want).
I added some tea bags to three pockets in the back before sending this PL to one of my new friends, Linda. (Hi, Linda!)
Sending? That’s right! These are meant to be mailed. Just accordion-fold the three horizontal sections and the whole thing fits a standard business-size envelope. If it weighs less than 13 ounces, you only need one first-class stamp. Most of mine take two stamps—sometimes I add a third one if the envelope is extra-thick.
So try one! There’s nothing about this that has to be perfect. It’s easy, creative, and filled with love. That’s almost as good as a doughnut!
Send me your photos of finished or in-progress pocket letters. I’d love to share them with my blog followers and on my Heartfelt Crafts Facebook page. Send them to me at tanya (at) heartfeltcrafts (dot) com.

