Sending Greetings to Kids: Cards or Books?

It’s been a couple of weeks since I’ve posted, but that’s because there’s been so much good stuff going on. I did some editing assignments, writing assignments, and crocheting for the season. (I usually donate hats and scarves to the Salvation Army for their winter clothing drive.) And the BIG event was my grandson’s fifth birthday! 
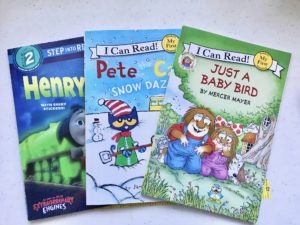
As I was wrapping his gifts, I realized that I had forgotten to buy him a card. Oh no! And that made me think: Why do we all need to give him cards when he’s probably never going to look at them again? What can I do that is different and useful? I spotted, among my gifts, a leveled reader. You know, one of those 6 x 9 paperbacks with a big 1 or 2 or 3 (and even higher) in a circle on the front. 
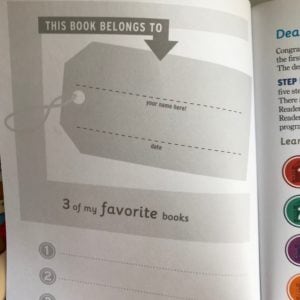
I opened the book, and right there on the inside cover was a place to write a greeting, along with Matthew’s name. It’s almost like a birthday card, right? I signed it “Happy 5th birthday to Matthew. Love, Grammy and Grandpa.” Now, where’s an envelope that will work?

Nothing fit! Like Goldilocks, I found some that were too small or too large or too thick—but none that were just right. Well, challenge accepted!

Follow along with me and you’ll see how to make a lined envelope perfect for holding—and MAILING—a leveled reader instead of a card. (Or include a card. There’s room. Also: most greeting cards these days are going for $3.95 to $5.95 apiece! Sheesh! These leveled readers are only $3.99 or $4.99, and they won’t get tossed in the trash. Genius, right?)

Step One

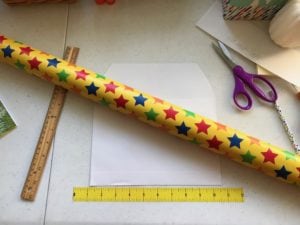
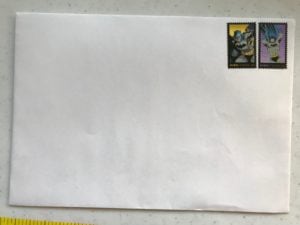
Get a 9½” x 13″ envelope that opens at the top (not the side, like some do). I’m using white, but if you prefer the standard yellow, that’s fine.

Step Two

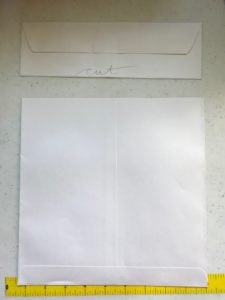
Measure from the bottom 9½” and mark with a pencil. This will be your cutting line. Yes, you’ll be cutting off the sealer at the top. Now you’ll have a 9½” x 9½” square.
  

Step Three

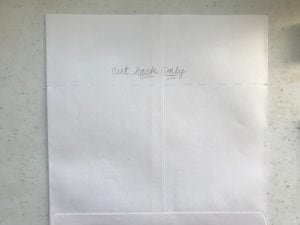
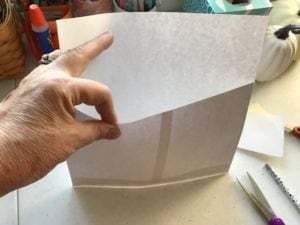
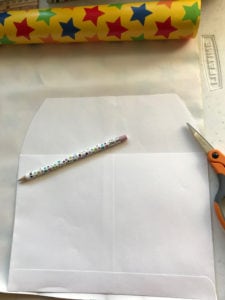
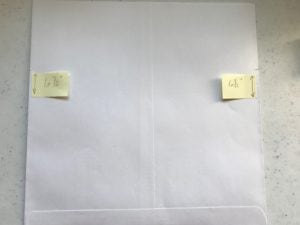
Measure from the bottom up 6½” and draw a line for cutting. But DO NOT CUT it yet.
Step Four

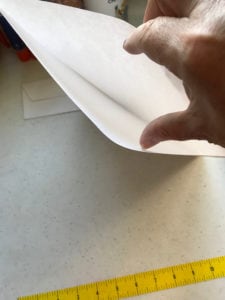
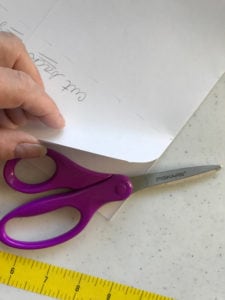
You will only cut the BACK SIDE ONLY of the envelope this time. This is how you get the envelope flap on the front.


Step Five

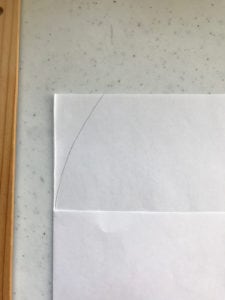
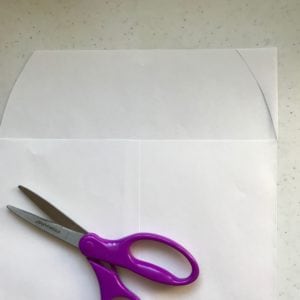
Next you will cut curves on the outer edges of the envelope flap. Try to make these as even as you can. I drew one side and cut it, then used the cut off piece to show me where to draw the other curve. It’s kind of like geometry, but fun!


Step Six

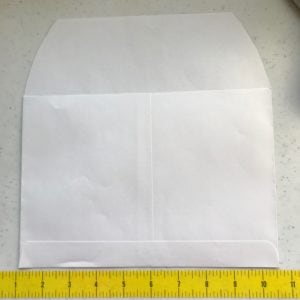
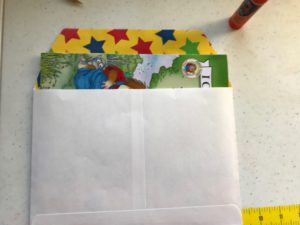
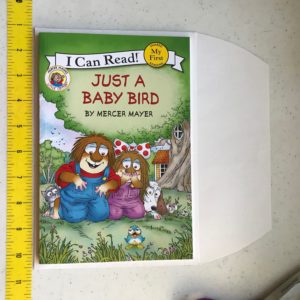
Just a quick check and you’ll see that one book fits perfectly inside! You can stop here if you want, but for some added pizzazz, let’s keep going. We’re going to make a bright, happy liner for the envelope next.
Step Seven

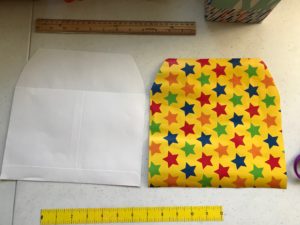
To make a liner, you can use any light- to normal-weight decorative paper. In this case, I’m using gift wrapping paper. (It can be tricky if it’s from a roll, but not difficult.) Start by cutting a piece by using your envelope as a pattern. Cut INSIDE your lines so it will fit in the envelope.


Step Eight

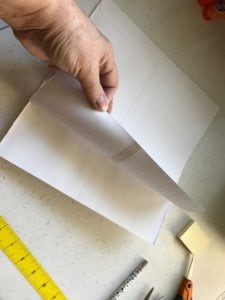
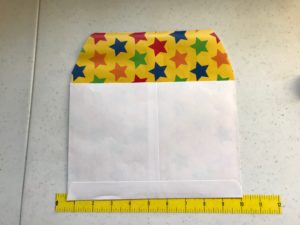
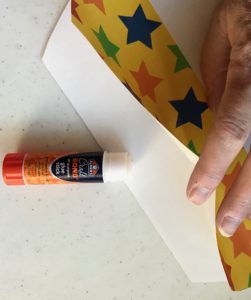
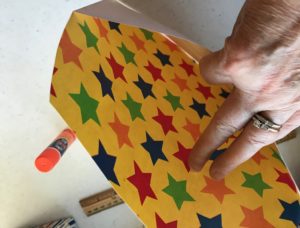
Slide the liner into the envelope so it is face-out as shown below. Then use a glue stick or other non-liquidy glue to adhere the liner to the top of the flap.


Step Nine

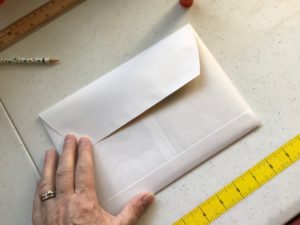
Fold over the flap. Before mailing, you can seal the envelope using a glue stick, Scotch tape, or washi tape. Just make sure it’s sealed well. Insert the book and add postage if you’re mailing it. Two first-class stamps will get it where it’s going in the U.S. 

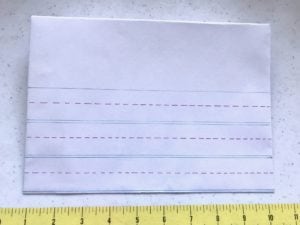
Add some envelope art or stickers to the front if you like. I made one recently that looks like notebook paper. I’ll add the name and address in big, round print, just like in kindergarten!


Other Fun Ideas

Don’t stop here. Think of ways you can share books and the love of reading. Adapt the envelope for 8″ x 8″ readers or Little Golden Books or other formats. Cards are nice, but books are better. Or throw a card in with the book. Add bookmarks, sticker sheets, trading cards, etc. Your little ones will be thrilled to get mail—and even more excited to have a gift they can keep for their very own.

Happy reading and crafting, my friends.


Succulent Felt Fun

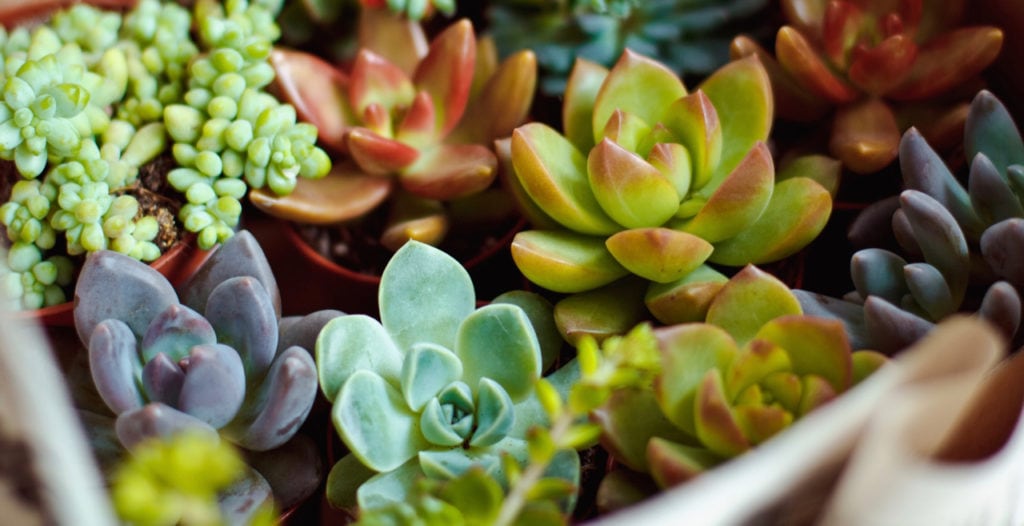
One of the hottest trends these days comes in small sizes: the wide world of the cactus family known as SUCCULENTS. Who knew there were so many varieties, colors, and shapes? No wonder artists and crafters are finding ways to include these perfect, low-maintenance plants into their projects. And that includes me.

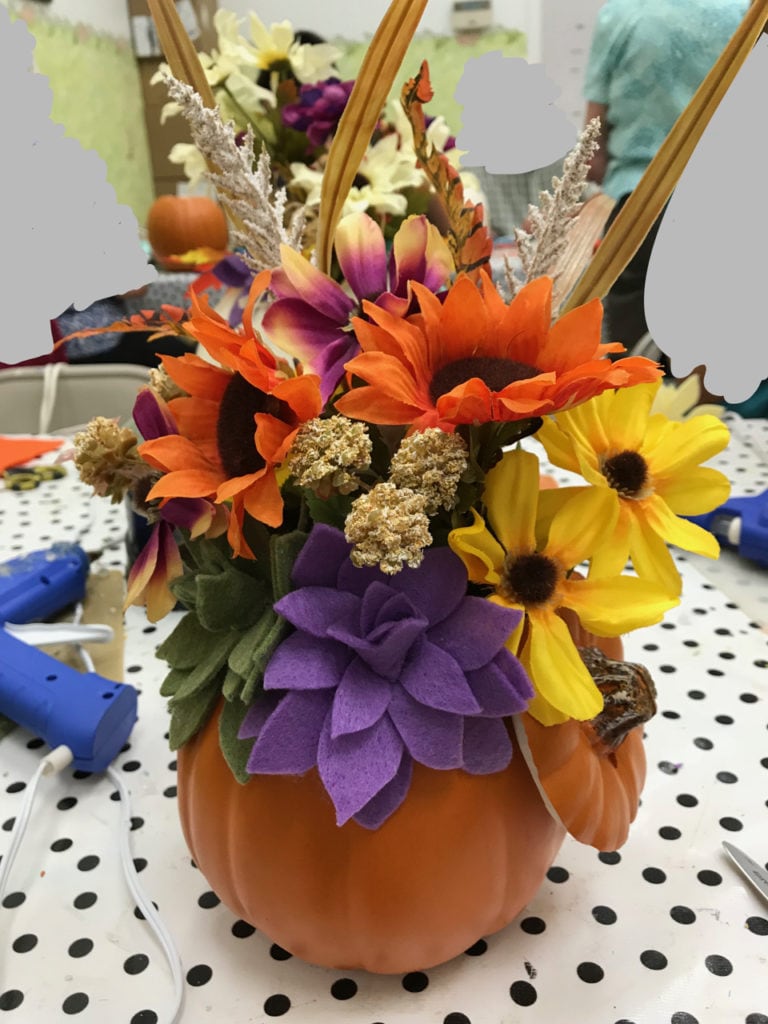
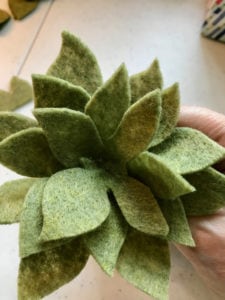
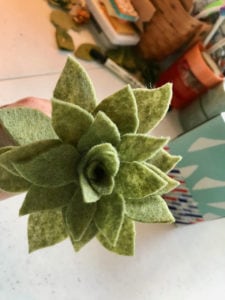
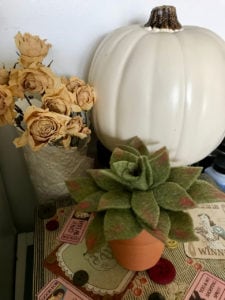
I recently took a class at a local craft store, Pat Catan’s, where we made a lovely fall floral arrangement using a foam pumpkin, some silk flowers, and felt succulents. The teacher showed how to make the succulents, so this wasn’t just a “stick it and take it” kind of floral class. I’m going to share with you the basic succulent she taught us that day. Here’s the finished product:

There are two succulents in the arrangement: purple and olive green. Succulents come in so many lovely colors that you can make them fit into any motif and color scheme in your home. Now let’s start making YOUR own succulents!

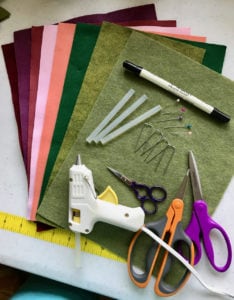
Materials

Pattern for succulent layers (PDF link here)

Felt sheet (one for each succulent)
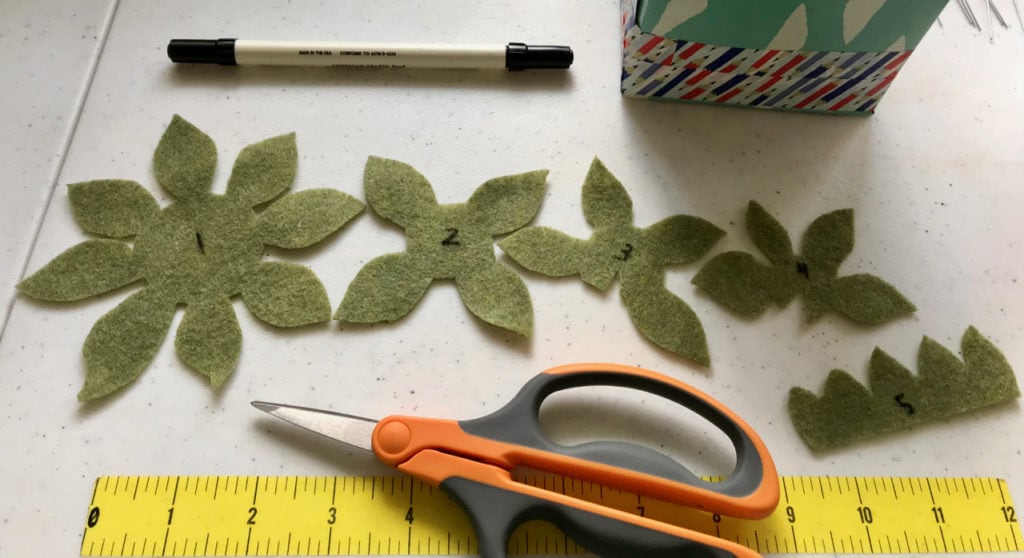
  • You can use the recycled material felt (the cheapest and thinnest—fine for this project—or the heavier wool felt sheets)
  • Recommended colors include olive green, light green, dark green, any shades of purple or maroon, soft pinks or peach, light yellow or yellow-green, orange-red, the list goes on!

Scissors (sharp with points—I like using embroidery scissors so I can make tiny cuts)

Hot glue gun and glue sticks

Dark ink pen or marker OR sewing pins

Floral pins

Colored chalk or pastels and small paintbrush (optional)

Steps

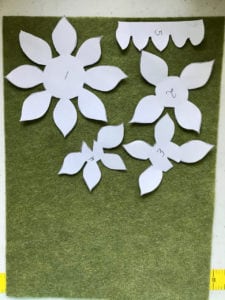
ONE: Print out the PDF.

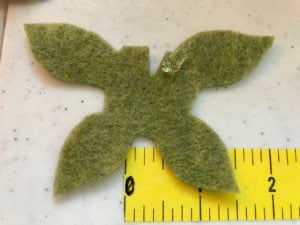
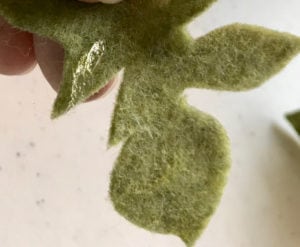
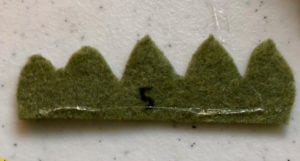
TWO: Cut apart each of the five (5) pieces.

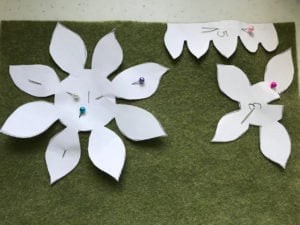
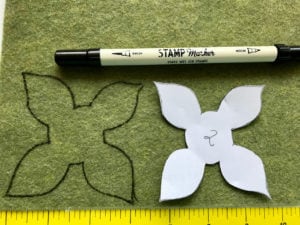
THREE: Choose your felt sheet and lay out all five pieces. Either pin in place, or use a marker to draw each piece.


FOUR: Plug in your glue gun. Cut out all five pieces. It helps to label the felt pieces so you don’t lose track of which is which. (If you used a marker to draw around the pieces, be sure to cut INSIDE the lines so none of the marker shows.)

FIVE: Place each felt piece in order, from 1 to 5, left to right. We will start with #1. Make sure the numbers are on the DOWN side so they don’t show.

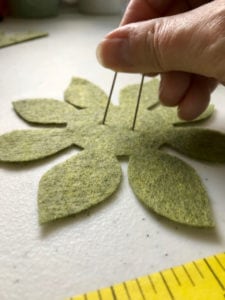
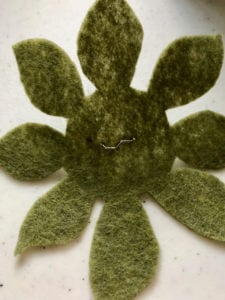
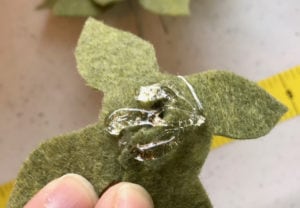
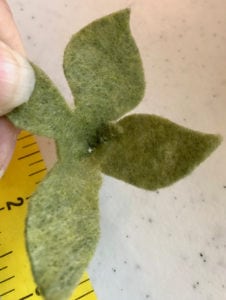
SIX: Stick both tines of a floral pin straight into the center of #1 so it lies flat as shown:

SEVEN: Apply some hot glue to the center, over the top of the pin. Pinch up a bit to make the piece not quite so flat. While the glue is hot, take the #2 piece and carefully center it in place on top of #1. Make sure the leaves don’t cover the ones on #1, but instead fill in the gaps between some of the bottom leaves.

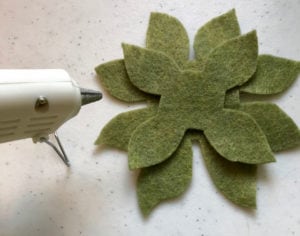
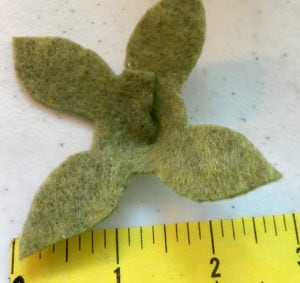
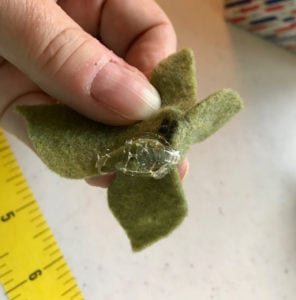
EIGHT: Pieces #3 and #4 both have notches on them. You will need to glue the notches shut, forming a little indent inside the center and the leaves will point more UP instead of flat. Glue as shown below:

NINE: Take #3 and place hot glue on it’s underside center as shown. Then stick in into the center of #2, continuing to bunch up the pieces as you add new layers.


TEN: Do the same with #4.

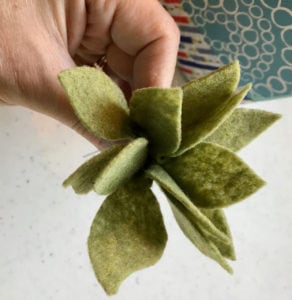
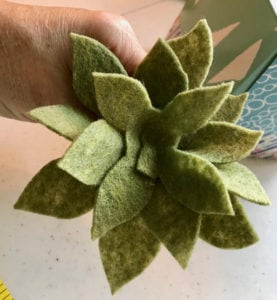
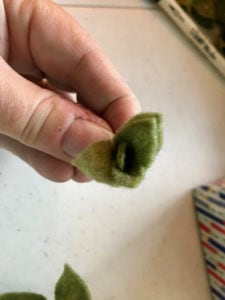
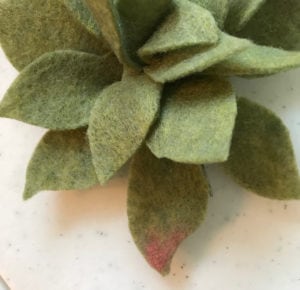
ELEVEN: Notice that #5 is different from the others. This one will be rolled up into a small bunch. I like to place a thin line of hot glue along its bottom edge. Do this on the marked side. When you roll it up, the number marking will be inside, not showing. Roll it so the leaves are not all lined up, but rather intermittent, like rose petals.

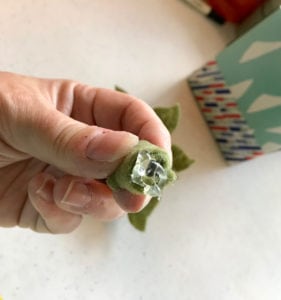
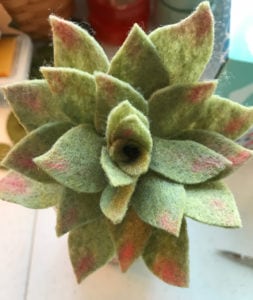
TWELVE: Place hot glue on the bottom of the roll and place it in the center of #4. Scrunch up the leaves around the rolled piece and hold until the glue is set.

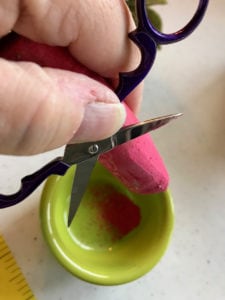
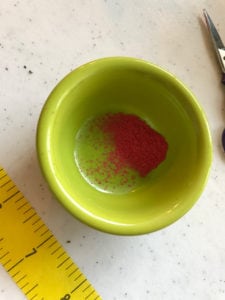
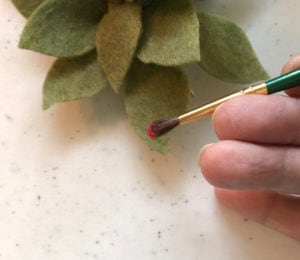
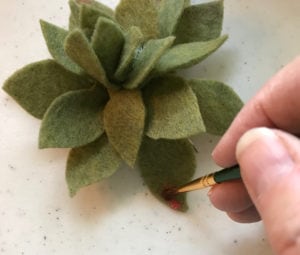
OPTIONAL STEP: Use some crushed chalk or pastel chalk (powdery fine) to brush a bit of color on the leaves. I didn’t have anything but sidewalk chalk (I’ll get more, Matthew!) and it worked great. Brush as little or much as you want.

Display your creation!

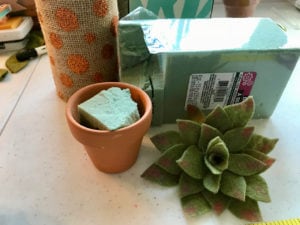
This is so simple. Just get a small pot (like this 5-cent terra cotta one I had) and put a bit of floral styrofoam inside. Push the floral pin in the center of your succulent into the foam. If you want it to be more permanent, you can use hot glue under the succulent before you pin it in place.

Add some decorative flair to the pot or add a few small felt plants or leaves if you want.

What’s next?

See that pumpkin floral arrangement up top where we began? Yes! That’s our next project. Come back, bring others, and share the heartfelt love.


Let’s Fill Those Pockets, Part 1—Plus a Giveaway Prize!

Okay, fellow crafters, gather all your goodies from the previous post and let’s get started!

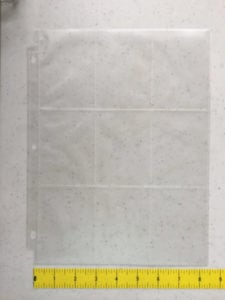
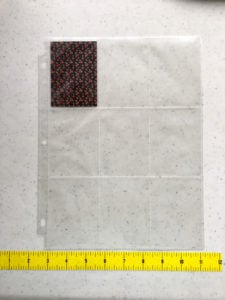
First, place your pockets nearby. Note that there are nine pockets and each of them opens at the top. (If you have it upside-down, your papers will just fall out. You’ll feel sad, bad, and slightly mad. No one has ever done this. Ahem…) Let’s do some math!

9 pockets = 9 papers, right?

Well, only if you want to make a one-sided PL, which is okay with me. My first one was one-sided. Then I thought, “Hey, what a missed opportunity to double my fun!” So I made sure there were enough papers for 9 + 9 = 18 sides. Does that mean you need to cut 18 pieces? Not necessarily.

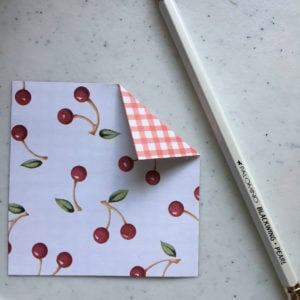
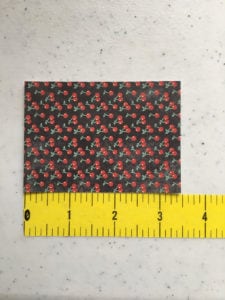
If your papers are printed only on the front and the back is white, then you will need 18 pieces (2 per pocket) to cover both sides. However, the wonderful world of paper crafting has provided us with 2-sided printed papers, too. Here’s an example. One side is covered with sweet cherries and the other has a complimentary color/design of gingham. When you slide one of these cards in a pocket, you get a different design on the front and back. This can save you time, but you will want to have 2-sided papers that you really like. 
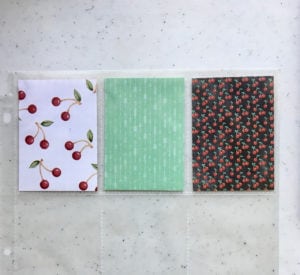
If you want more control over your colors and patterns, then you will want to cut 18 individual papers. Quick Quiz: Do you remember the dimensions?

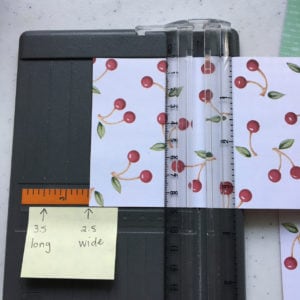
2.5 inches wide
3.5 inches tall

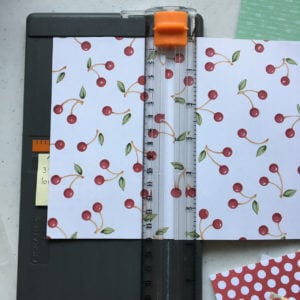
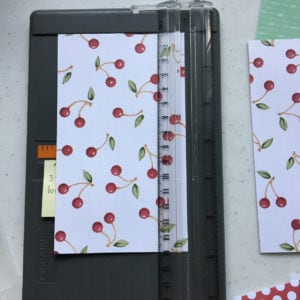
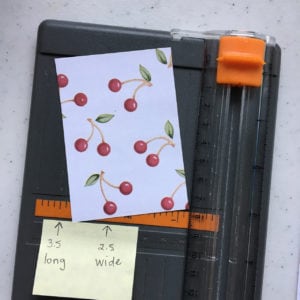
How should you cut them? Very carefully! But seriously, folks, you can either cut them with scissors (trace your cards with pencil or make a template and use it) or use a paper trimmer like the one shown below. As you can see, I’ve marked the 2.5 and 3.5 inch lines so I don’t mess up. (Remember the old adage “measure twice, cut once”? Yeah, that actually works.) Having markers helps me get it right the first time. Do what you feel most comfortable doing. Using the trimmer looks like this:
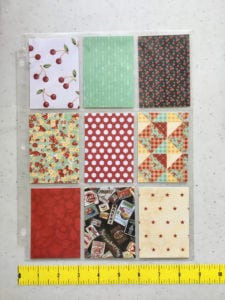


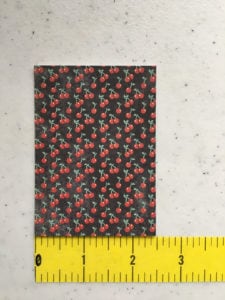
As you can see, the 3.5 x 2.5 paper fits perfectly in a pocket.


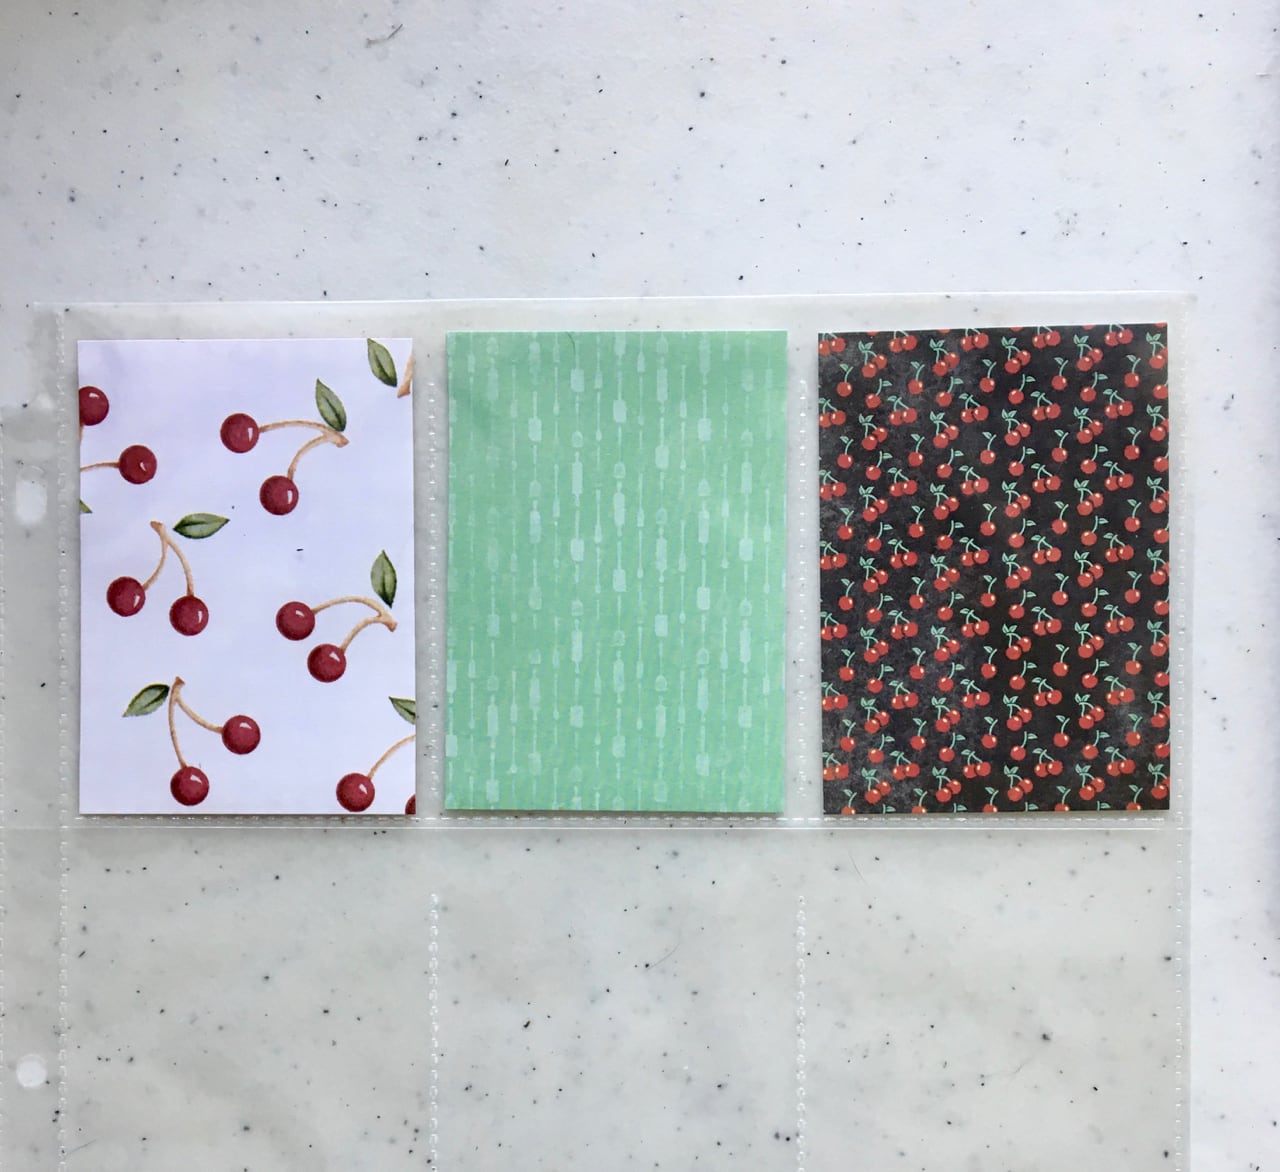
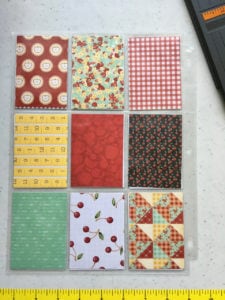
It’s fun to move the pieces around until you get them in an array that makes you happy. Here’s mine, from various papers with a kitchen/Americana/fruit theme (front and back). Yes, I’ve made two of several papers, one for each side. It keeps my theme from running amok.


This post is running a bit long, so we will finish our PLs in the next post. Here’s a tip: scrounge around your craft room, home office, kitchen, garage, local craft store, etc. for little items that will fit your theme and the pockets. Ideas: stickers, buttons, tiny envelopes (!), misc. embellishments, quotes, photos, cards, decorative tapes, recycle-able stuff, and whatever your heart loves. We’ll be using them to decorate the pockets.

Okay, so here’s the GIVEAWAY!!! You will get points for each of the following. Each point gives you an entry into the drawing. The prize is described below the list.

  1. Subscribe to this blog. (If you already have, you’re my best friend. Truly.)
  2. Post a link to my blog on your Facebook page, Instagram, Pinterest, or Twitter in the next 72 hours (ends at 11:59 p.m. on Sunday, August 5, 2018). If you do all four, that’s more chances to win! Use the hashtag #heartfeltcraftblog so I can keep track.
  3. Leave a comment at the bottom of this post.
  4. Post a photo of your PL with its papers in place on the Heartfelt Crafts Facebook page. I’ll give you a “like” to show I’ve seen it.

Each entry will earn you a name on a slip of paper. I’ll put all of the papers out on my floor and let my adorable dog, Kirby, select the winner. Photos will follow!!!

Drumroll please! THE PRIZE!

The winner will be mailed a themed set of papers, stickers, and other goodies, perfect for making your own PLs or other paper craft. (Retail value around $15.)

Ready, set, CUT THOSE PAPERS AND GET POSTING!!!


Super-Easy Pet Cushion Project

We have a new member of the household. His name is Kirby—after tossing around dozens of names and circling back to the one that really describes what he does best, sucking up stuff on the floor and making it disappear. He’s a Pekingese and an Easter baby. Yep, the Easter bunny brought this little fellow on April 8. (Which just happens to be MY BIRTHDAY, too, and was too much of a cosmic coincidence for me to ignore.) Having a little pocket pet offers all kinds of crafting opportunities, including the creation of costumes and outfits that he’d be mortified to wear if he had just an ounce of self-awareness. In due time, my little puppy, in due time.

I’m starting with more basic projects, however. He’s being crate-trained, as most household dogs are, and I can’t stand the thought of his little puppy underparts lying on the cold, hard, plastic, cookie-sheet-shaped, slide-out base of the cage. I also don’t want to give up any of my good towels. Here’s a chance to use my crafty brain to cook up something simple, yet wonderful.

I scavenge through the house, looking in drawers, closets, and my sewing area. Voilà! I spy some oldish pillowcases whose matching sheets have long since been used for dust covers in the garage. A little feminine, yes, but he’s a modern pup—it’s all about recycling. I take the first pillowcase to my sewing station, flatten it on my cutting board, and unroll a batch of batting. Using the pillowcase as my pattern, I cut a folded (doubled) piece of batting about an inch smaller around the edges than the pillowcase. Then I insert the doubled piece inside and pin the four layers flat. Using a larger stitch than normal, but not a full basting stitch, I sew around the perimeter of the pillowcase, securing the batting.

That’s it! All done! It is the perfect size to fit inside the doggie crate, and it’s pretty, cushiony, and so washable. I’ll make 3 or 4 so I can rotate them between wash days. Kirby doesn’t even mind the darling little ruffle on the end. See? He’s just happy his owner is such a crafty lady.