One year+ later…

Wow. The past so-many months descended like a silent storm, keeping us isolated, worried, and hyper-vigilant. How have we managed? How have we endured? How can we pay tribute to loved ones we’ve lost and offer hope and support to loved ones who are forever changed because of a virus that came raining down?

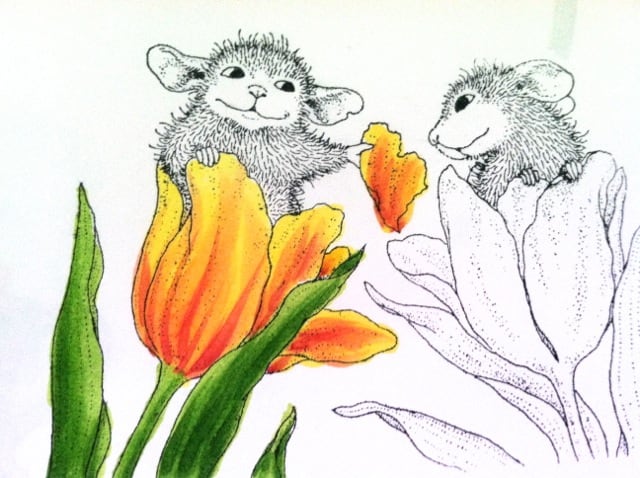
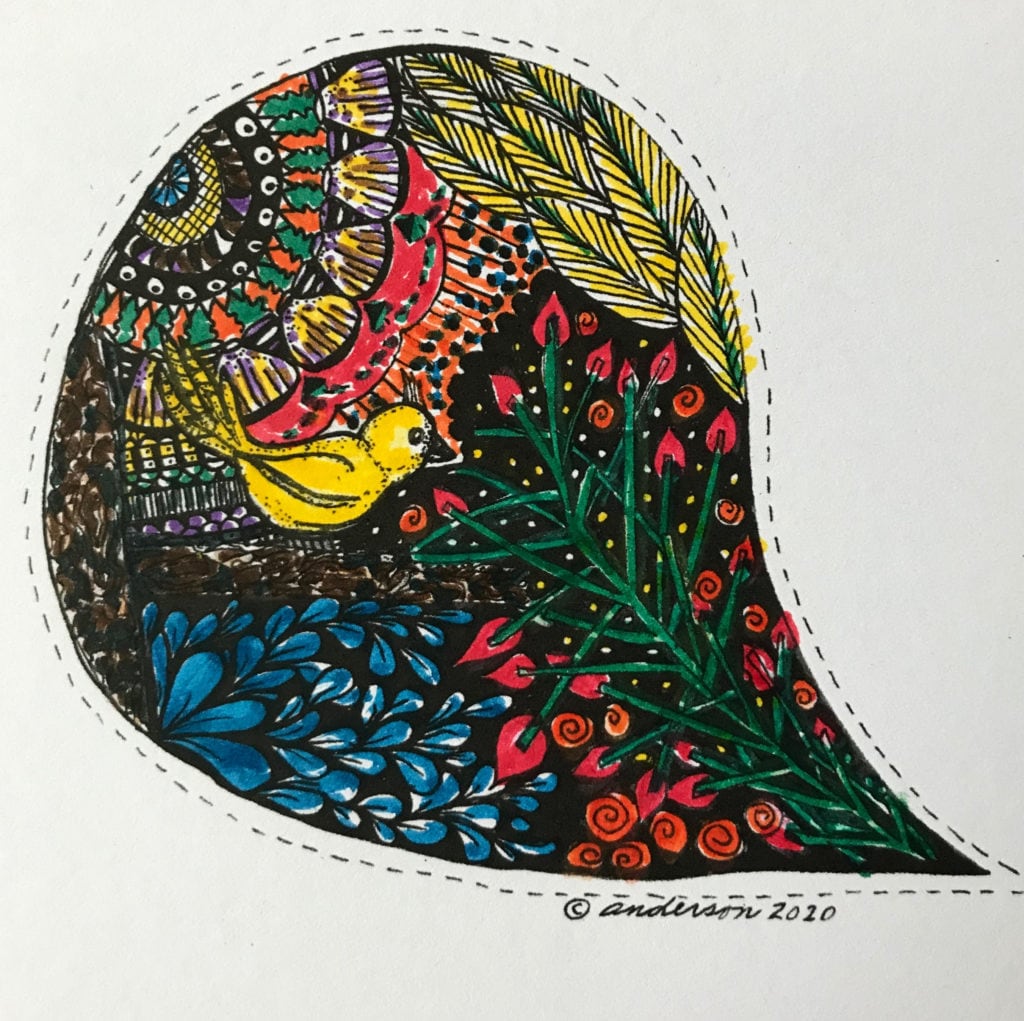
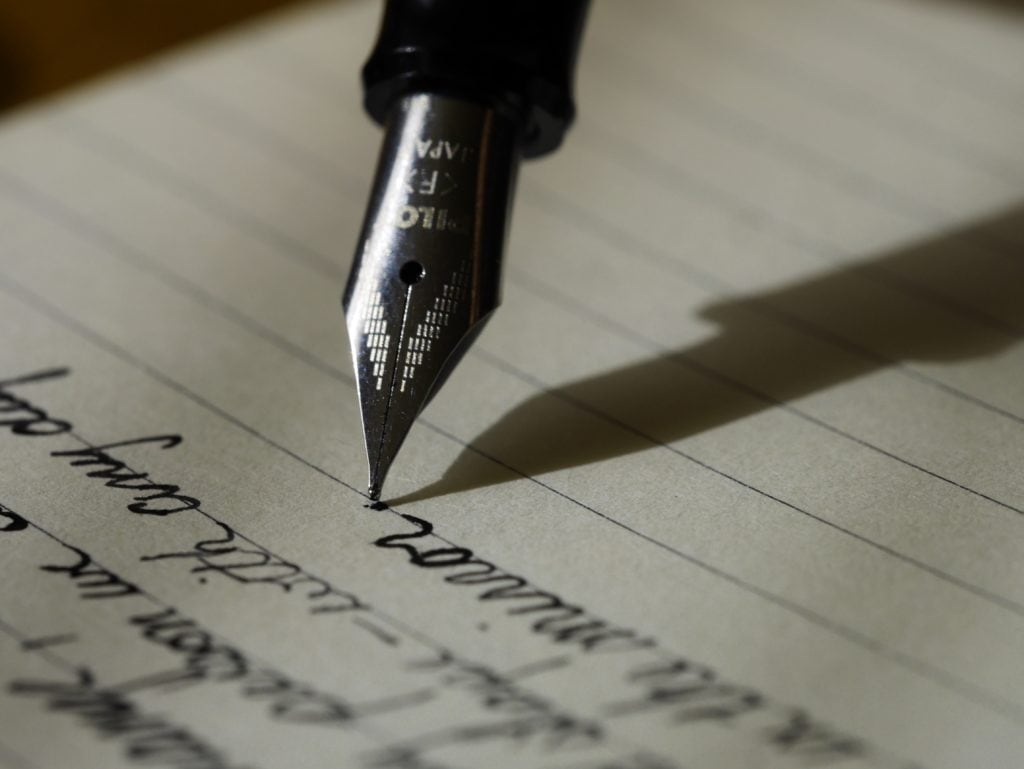
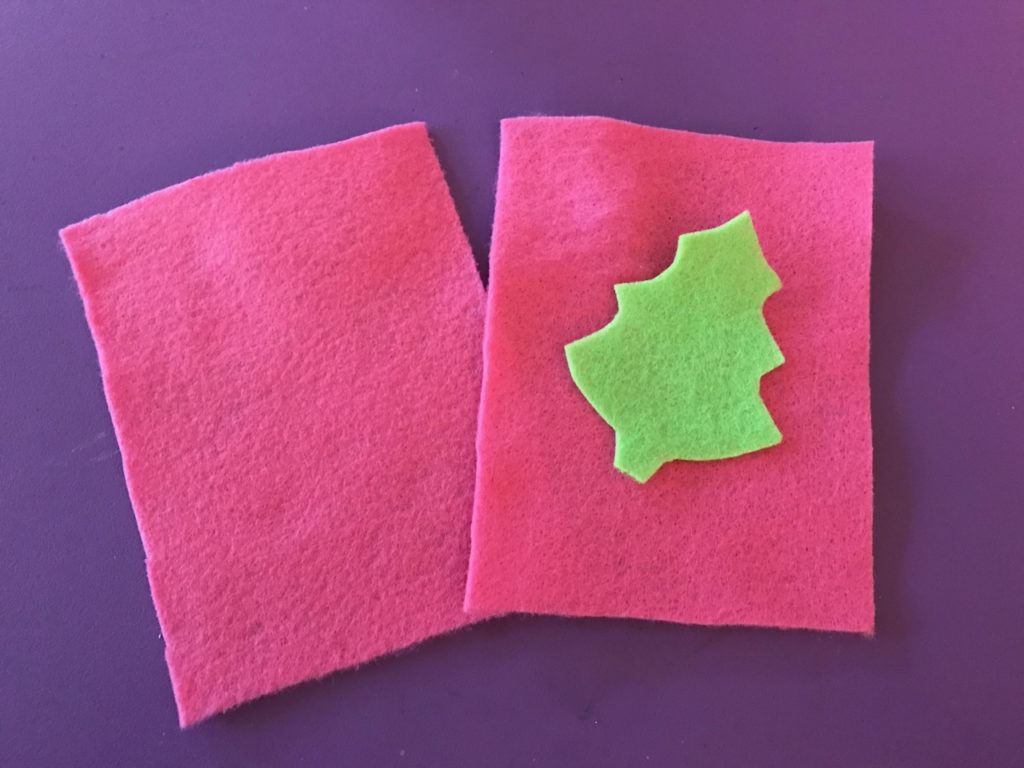
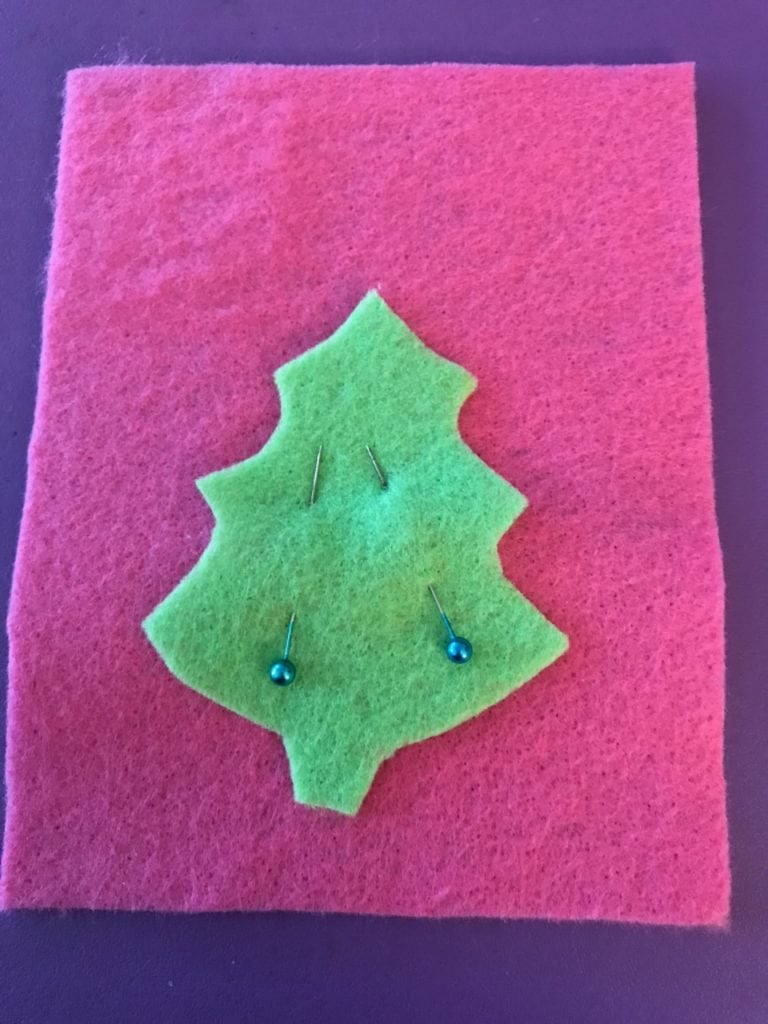
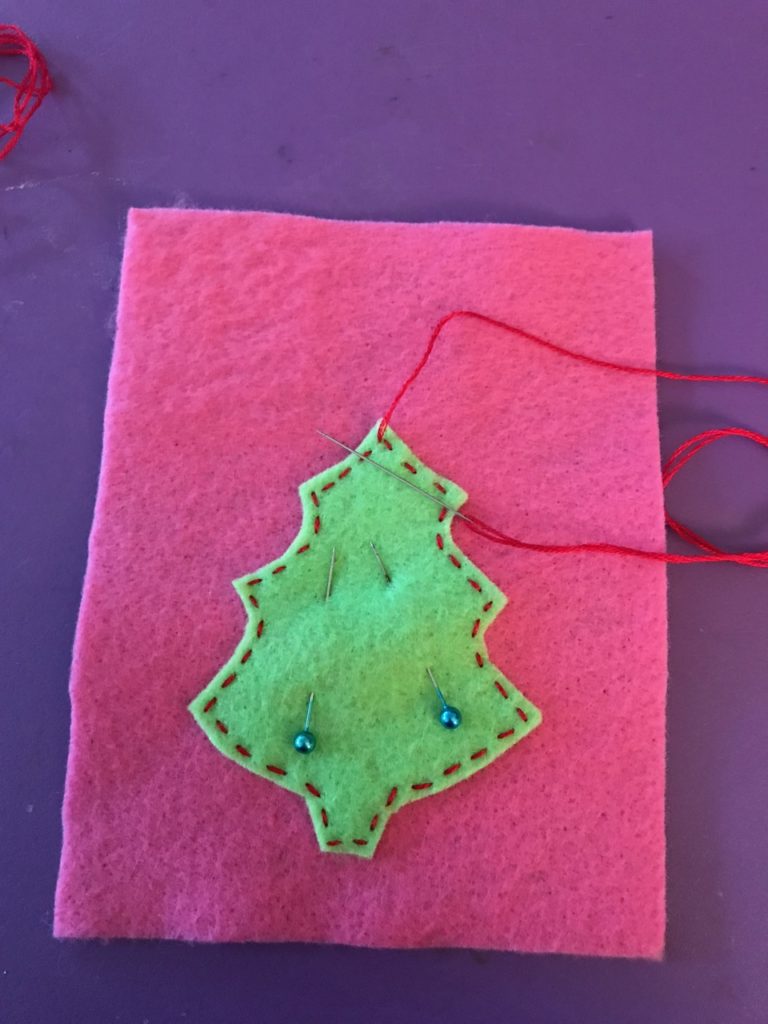
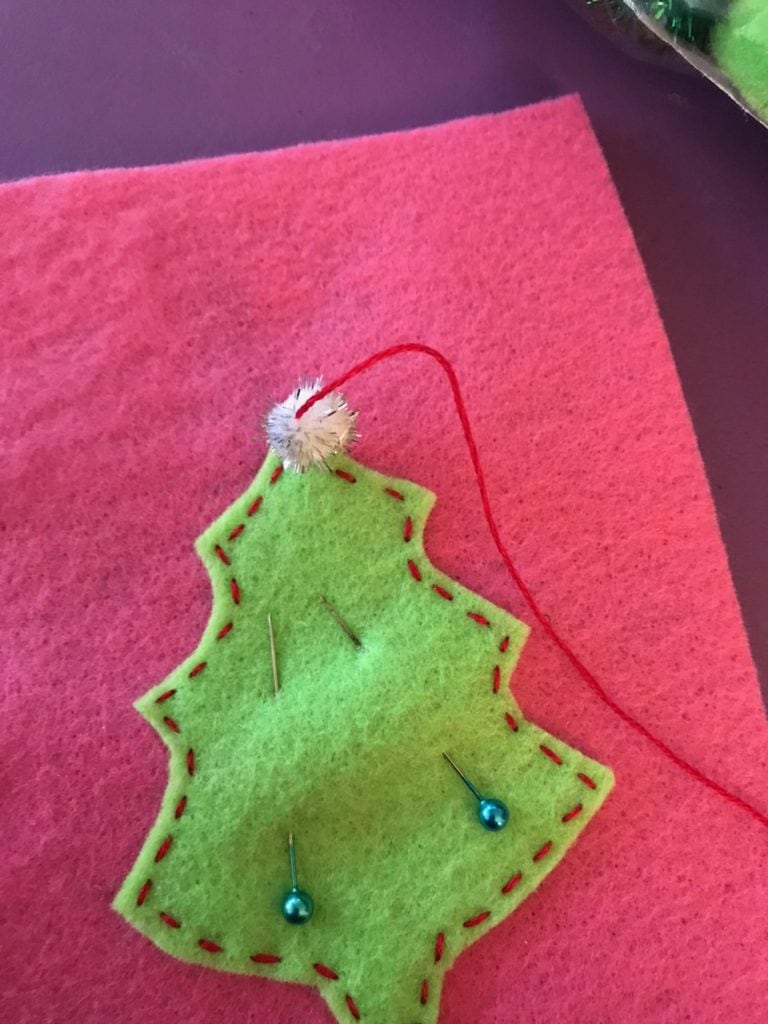
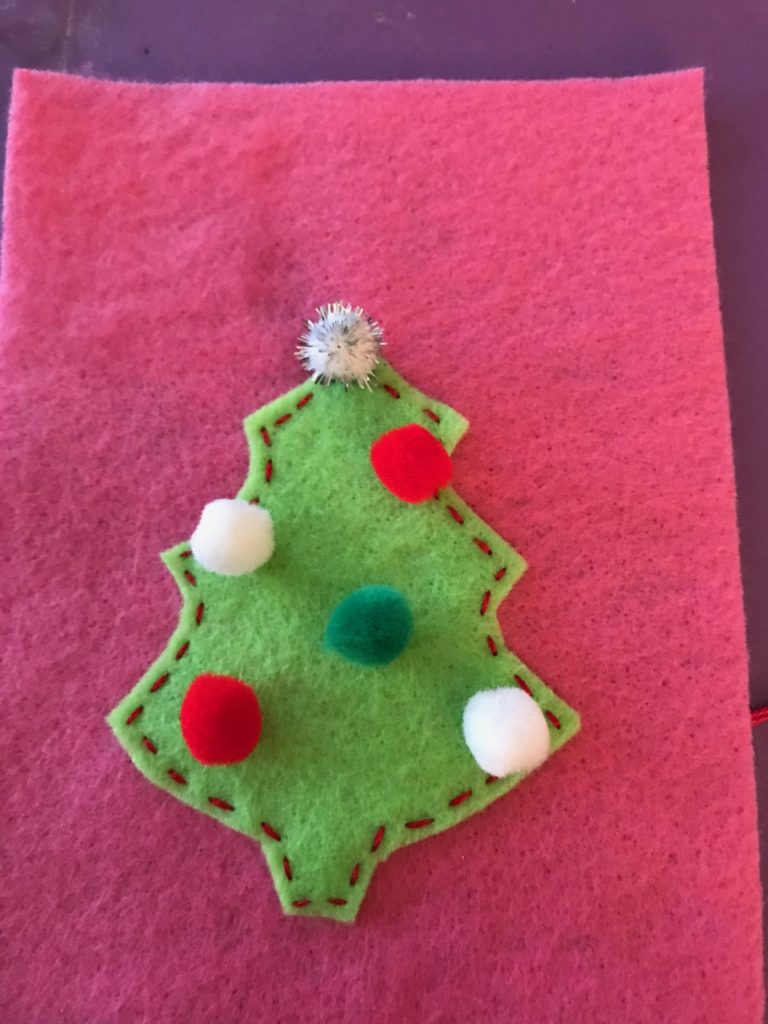
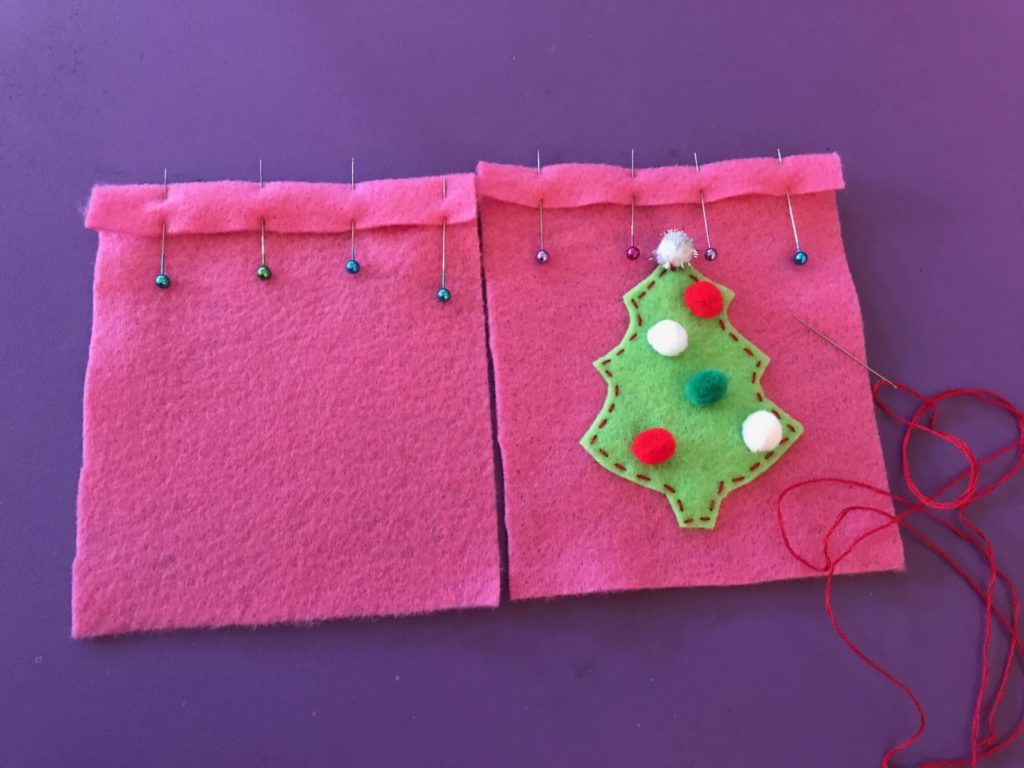
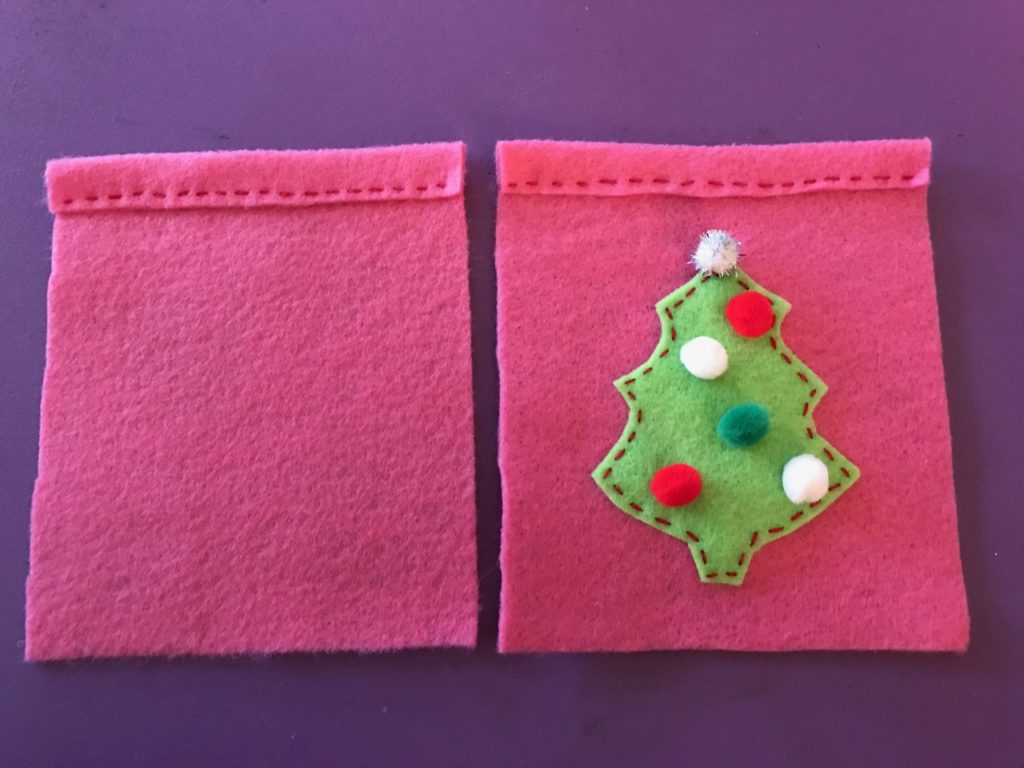
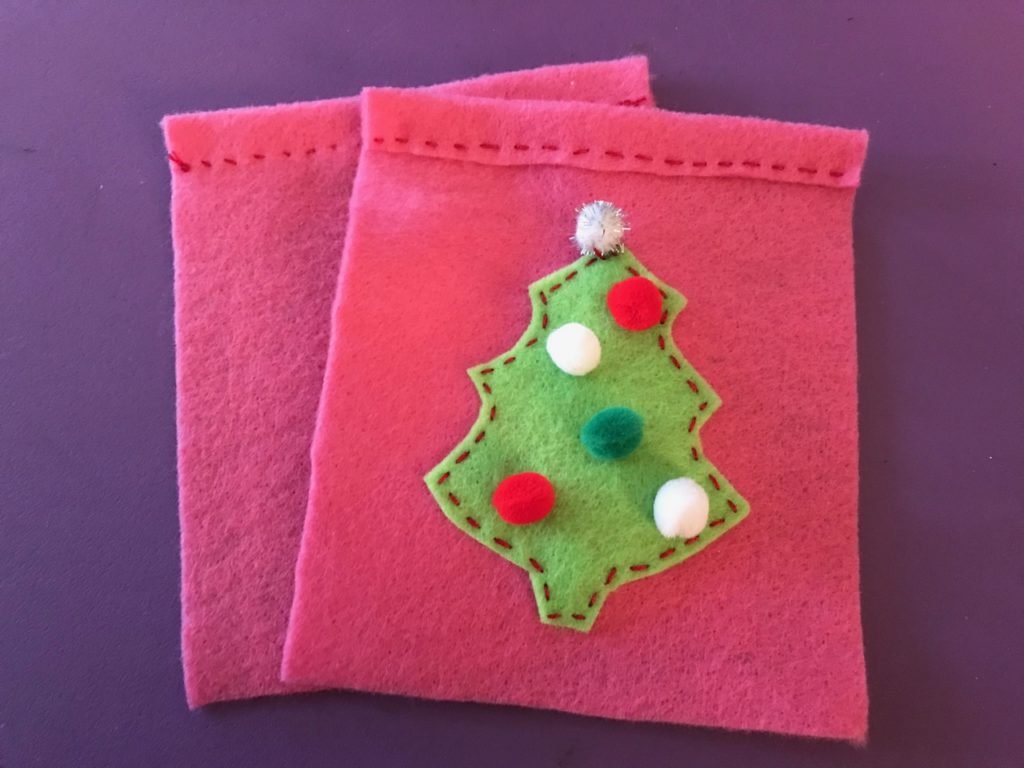
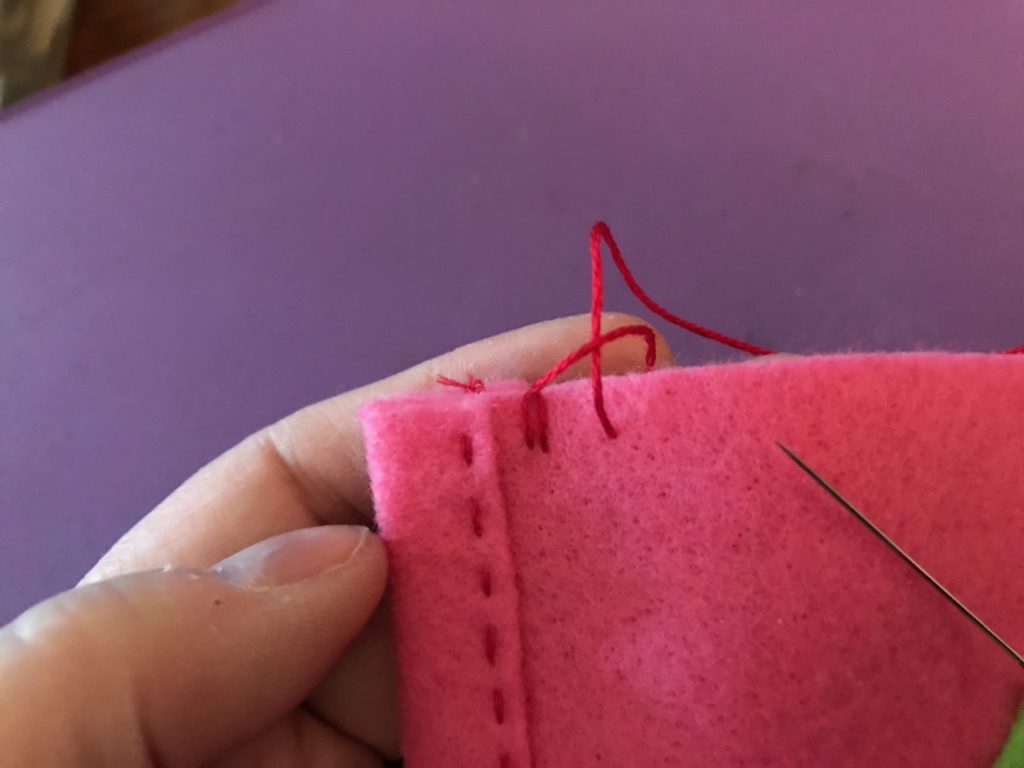
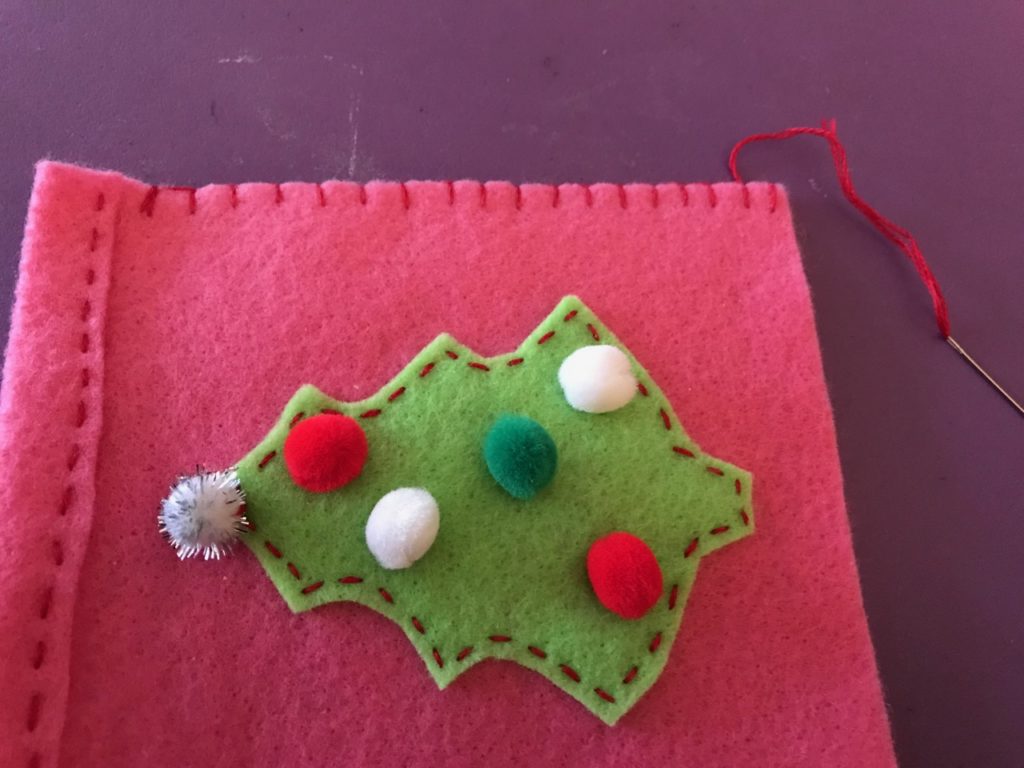
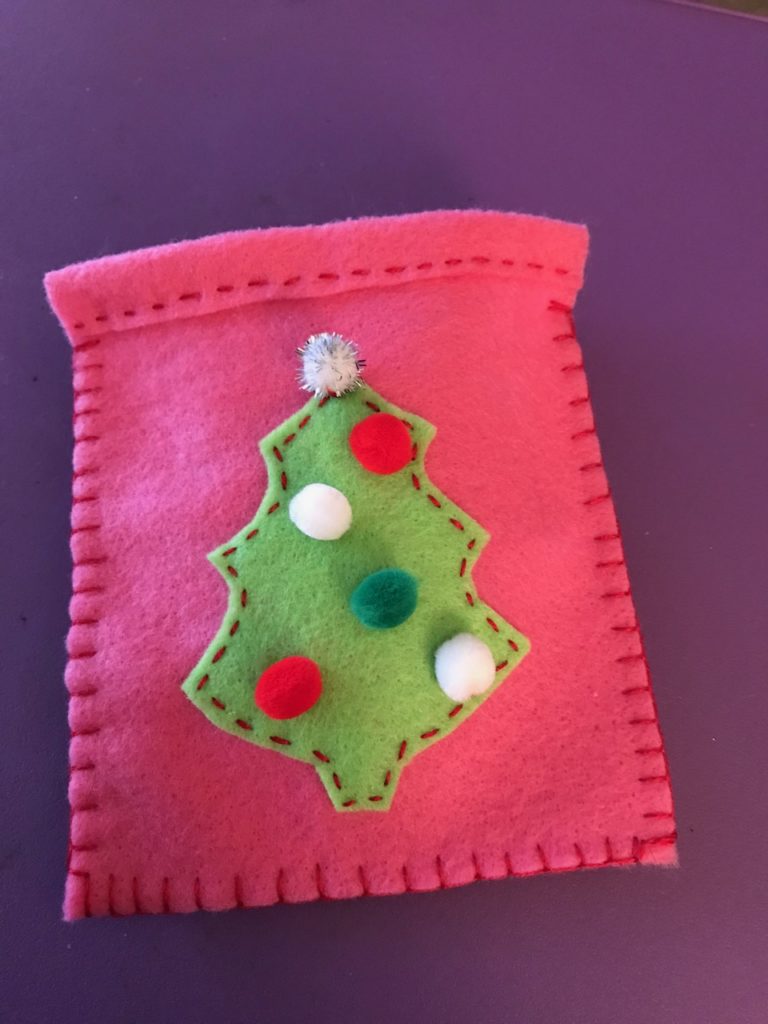
I turned to creation—and the Creator. I feel more alive when I’m making something. I bet you do, too. It doesn’t matter if it’s making a batch of your favorite soup, painting a landscape (or your kitchen walls), photographing the brilliantly silly birds that stop by the feeder, or handcrafting something with yarn, fabric, clay, or paper. Making is magic. Making is power. Making is soothing. Making makes us more human.

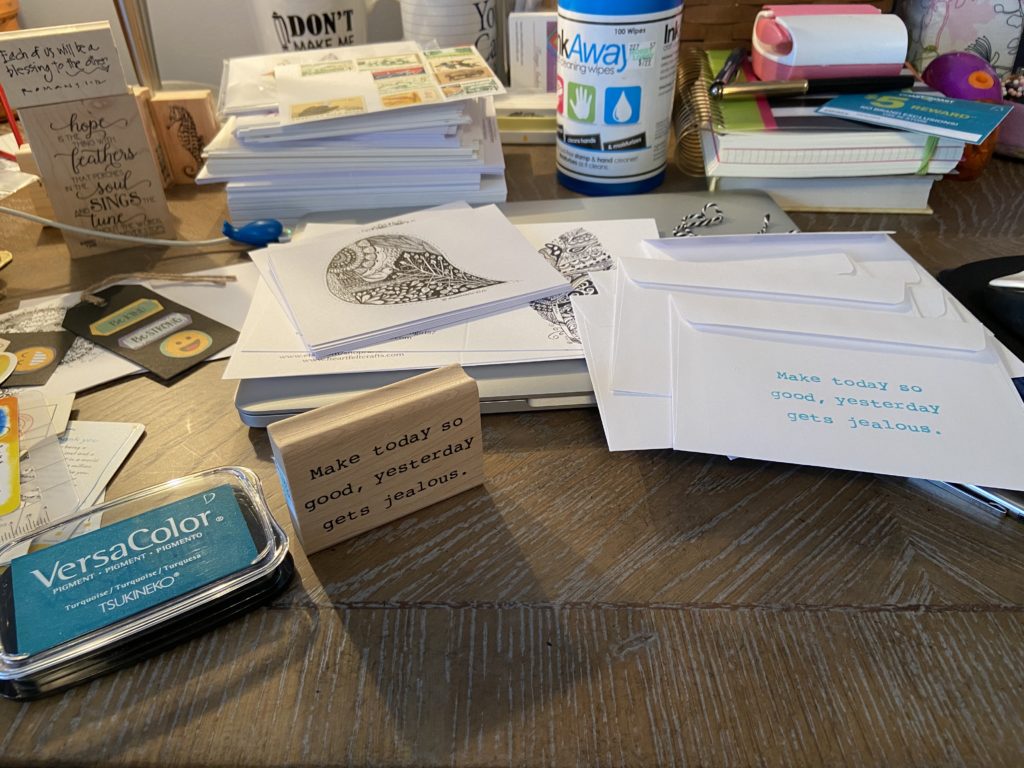
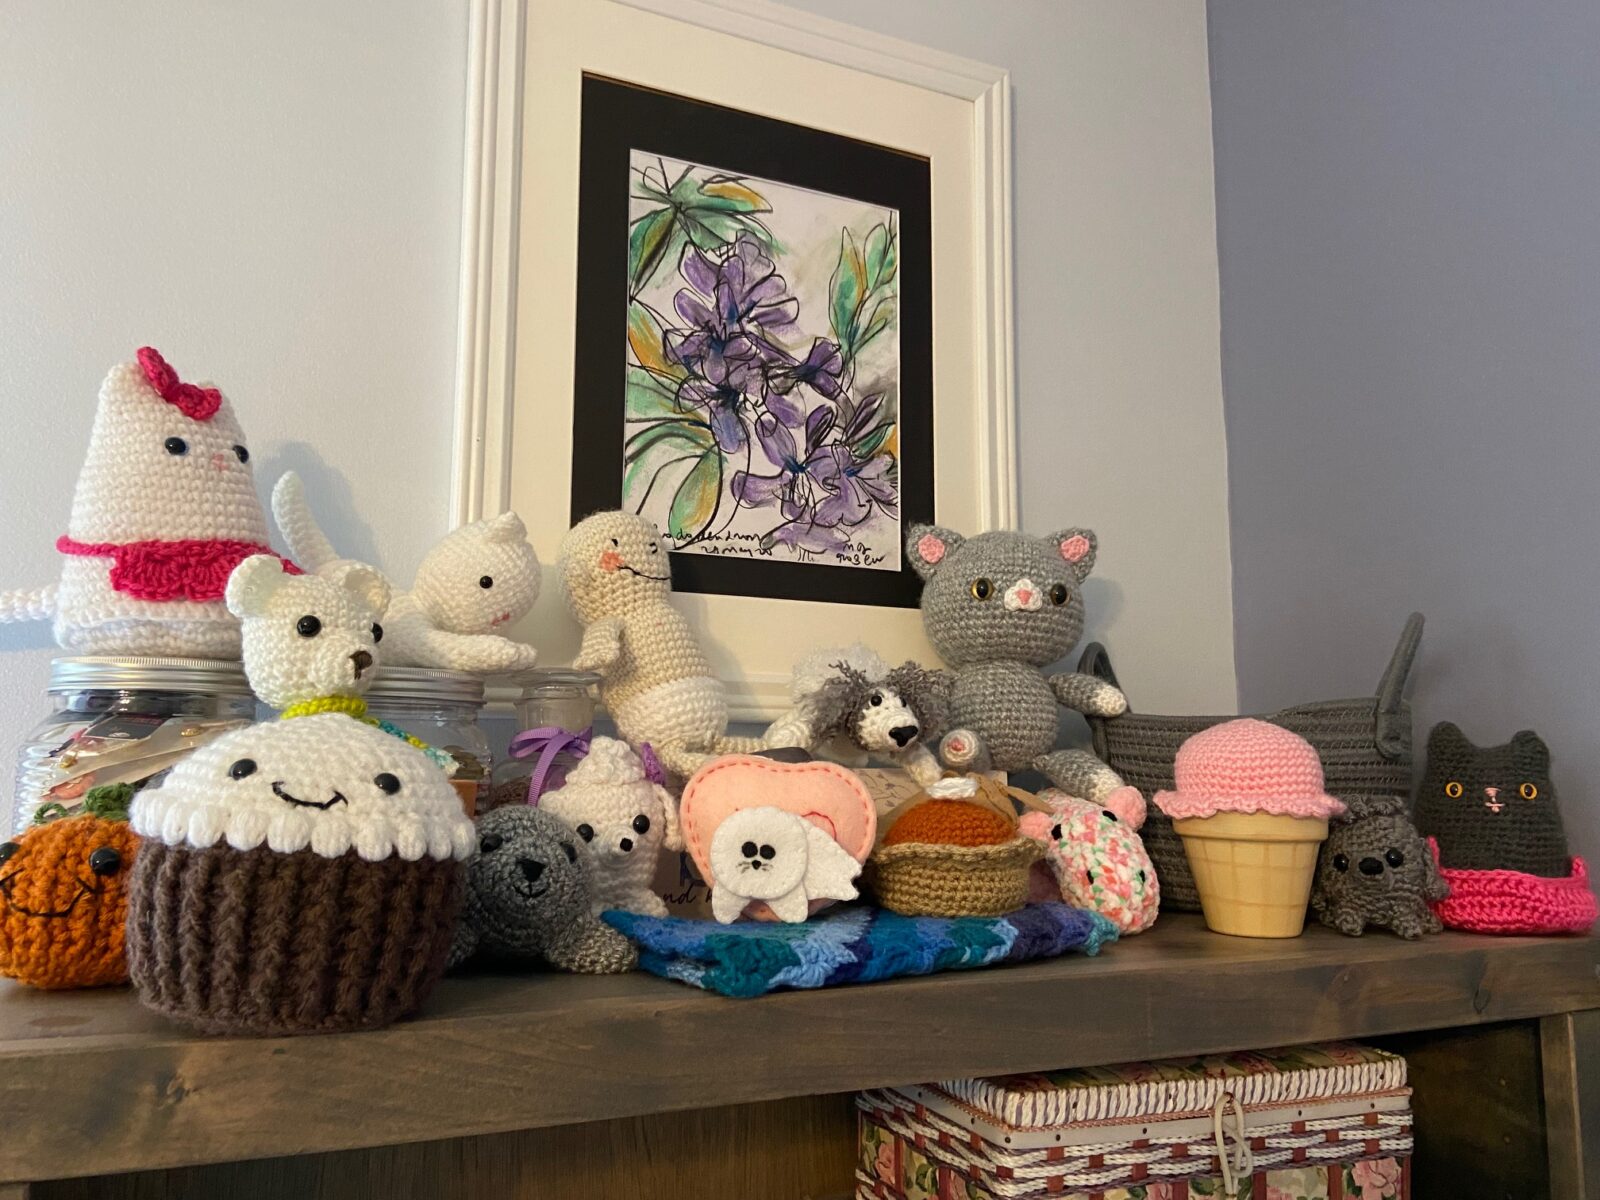
I’m surrounded by handmade things. My gallery of yarn babies keep watch over me here in my office/craft room. And behind them is a bold, happy art piece by one of my favorite people, Michael J. Rosen. He knows my love for all things purple!

And I face a big purple wall that’s covered with photos of my tribe—sons, daughters-in-law, grandsons. Beside them is a lovely cross-stitched gift from a dear friend. I’m surrounded by the things that inspire me. Family. Friends. Art. Images. Creativity in every form.

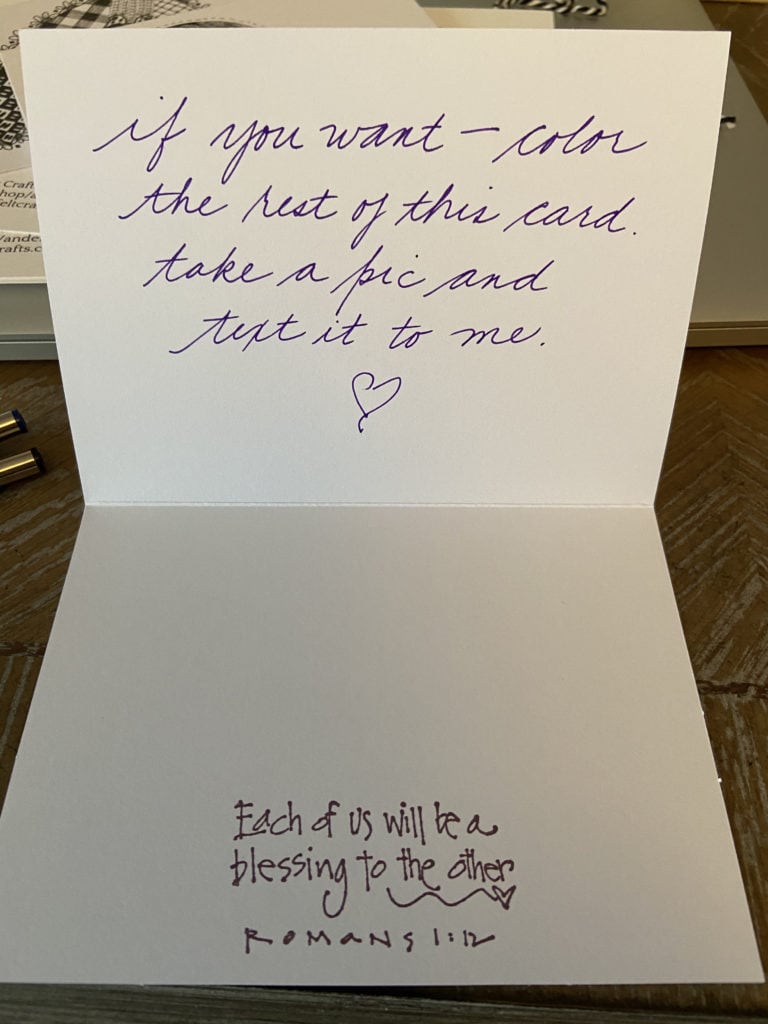
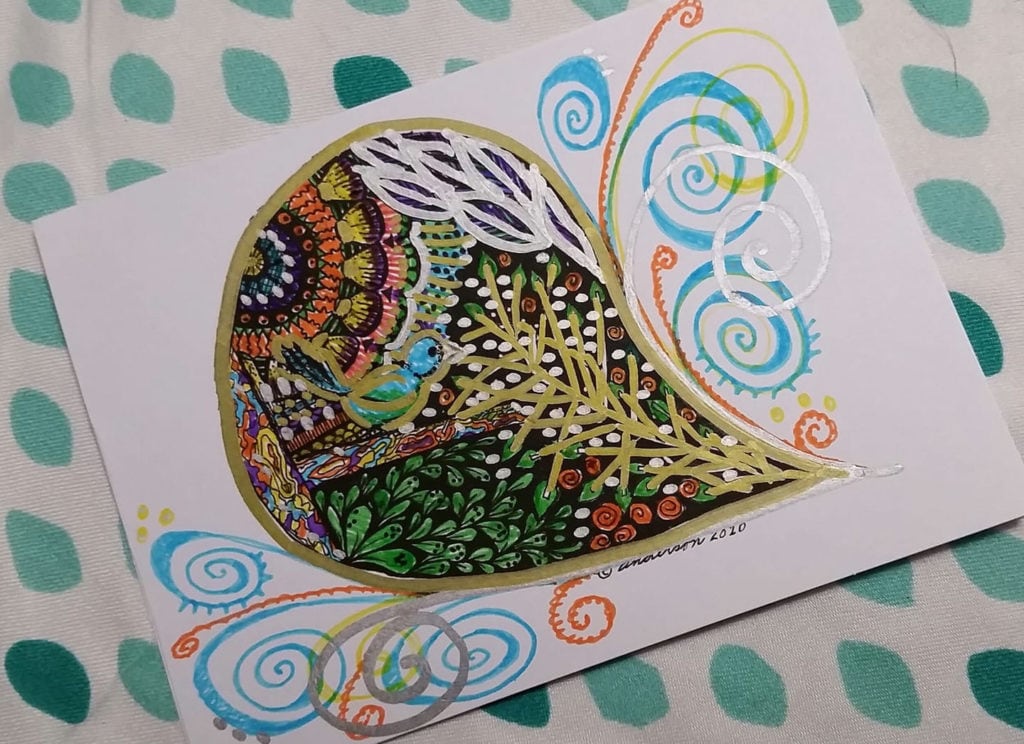
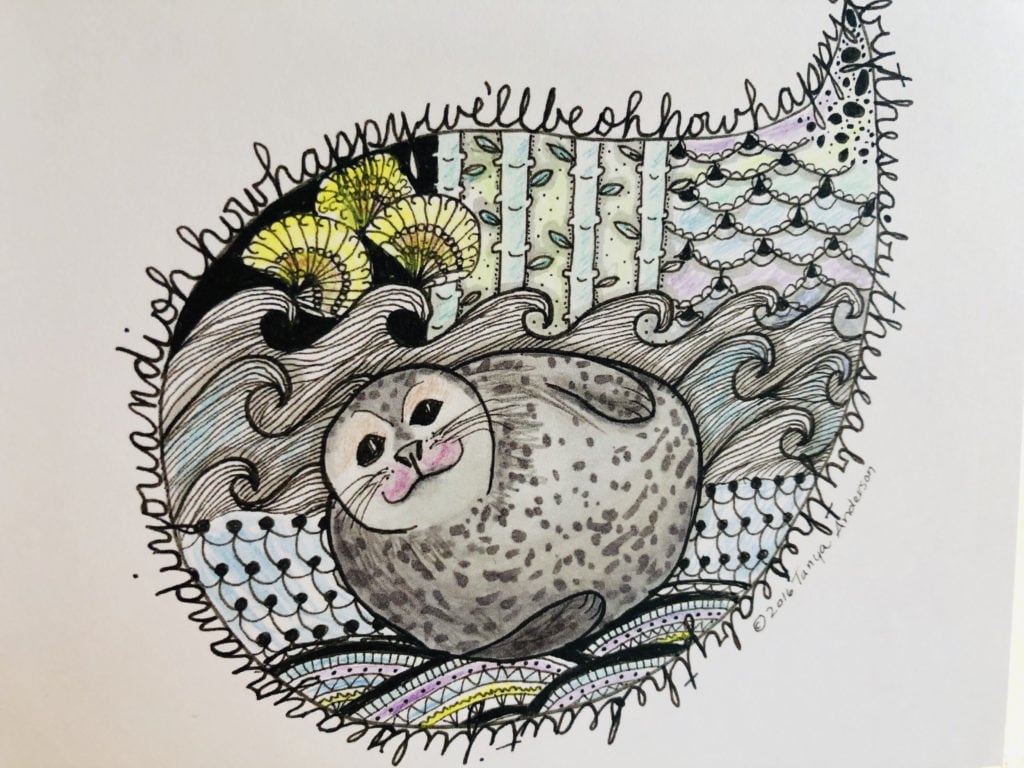
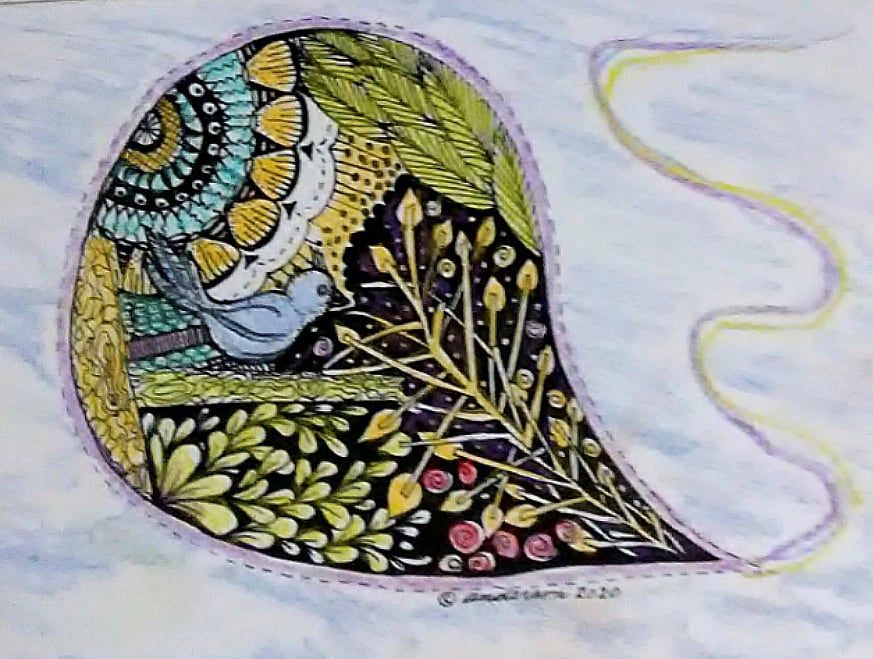
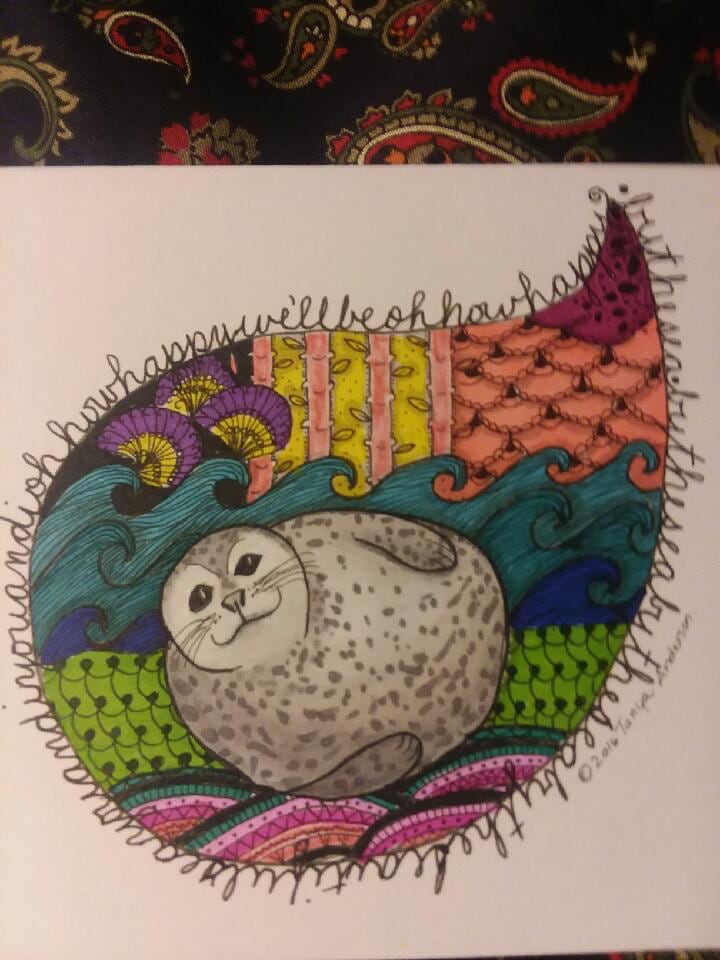
I also keep a neat stack of the many, many love-filled notes and cards I’ve received since the pandemic began. They fill me with joy. They remind me that people are good. But most of all, they remind me of the people themselves, dear friends and family members who have the biggest, best hearts in the whole wide world. What a lovely cocoon we all wrapped around each other, threads of words woven with kindness, concern, encouragement, hope. These are the creations that surround me. I wanted to share them with you so you can look around and find the things that bring you joy.

And I’ll end this post by suggesting, in the gentlest but strongest way, that you go forth and create…make…imagine…share…the gifts the Creator has given you, too.

Treasure Boxes

Boxes come in all sizes, shapes, colors, and materials. They remind us of birthdays, Christmas, weddings, and other celebrations. Who doesn’t love getting a box in the mail? It’s a treat just because it’s in a box! Right?

Here in Florida, where I spend my winters (thank the Lord!), I see the most beautiful, ornate, illustrated, hand-crafted boxes. I’m near Tampa, the cigar capital of the U.S. Those handmade, imported, or locally made cigars are stored in unique boxes. These are actually, in my opinion, works of art. Most are wooden, with lids ornamented in gold foil and amazing illustrations. Here are a few I recently found:

Hecho a mano means “made by hand.”
The foil coins indicate the awards this cigar has won around the world.
Bellas artes means “fine arts.”

Who knew that cigar boxes could be so fabulous? Lots of folks who use them to create treasure boxes after cigar stores have emptied them. Folks like the proprietors at Tampa’s The Paper Seahorse. (Click on the link to see how they’ve made a treasure box called “The Essential Tools Box,” for crafters.)

I shop there frequently, buying everything from Blackwing pencils to fountain pens to fine papers. And I have my eye on a manual typewriter or two. They recondition vintage typewriters so people can experience the peace of “going analog.”

Inspired by their example, I have been going analog more often. That’s what I want to share with you. To do that, I’m creating some treasure boxes to help you get started. Where did I start? At a local cigar shop. The owner was more than happy to let me take as many boxes as I wanted, for a minimal donation. I mean, minimal. I walked out with ten boxes. Three are the ones you see above. Here is most of the batch:

I aired them out, loaded them with silica dessicant pouches, and waited a month for the cigar scent to disappear. Now I’m ready to make my treasure boxes. I’m so excited! Come along with me in the next post to see what my little brain has cooked up.


Digital detox: good for the brain and soul

We need rest, the rest that comes from disconnecting. We introverts feel this in our bones. The world can become an enormous, loud, incoherent monster jumping in front of our faces. It’s a monster that demands to be heard and fed, not daily, but minute by minute until we turn off the noise and lights. We plug in our gadgets to recharge the monster, but we find ourselves with lower and lower battery life after a while.

Photo by William Iven on Unsplash

Critical dichotomy: We need to unplug in order to recharge.

The best way for me to leave the digital gizmos alone is to find something else to do. I am not a sitter-and-thinker. I am a doer-and-thinker. The more my hands and brain work together, the happier I am. Crafting is my happy place. Writing with instruments instead of a keyboard feels natural to me. In fact, most of the books I’ve written were first drafted on yellow legal pads with either 1) a good old Bic pen or 2) a favorite fountain pen.

I also find contentment in writing notes or sending cards to people. No email can convey what one wants to say as well as sending a handwritten note. It says “I really wanted to think about you while I wrote this. I want you to see me by way of my own unique handwriting. Handwriting is a kiss blown to the receiver.

Photo by Aaron Burden on Unsplash

So I’ve come up with an idea that combines art, crafting, and the handwritten word. I call it Tanya’s Treasure Box. It’s a little box filled with things that will make your soul sigh, your heart sing, and your mind relax. Yes, I will be selling them on Etsy. But before I do that, I want to share some of my treasures with a few of you—for free. Why? Because of my heartfelt gratitude for your friendship.

Want to learn more? Stay tuned here, on my Heartfelt Crafts Facebook page, and on my new Instagram page.

Photo by Clem Onojeghuo on Unsplash
*Not the actual boxes, but these are amazing!!!

‘Tis the Season…ings

Sugar and spice and everything nice, that’s what the grown-up girls on your list are made of. Let’s make something special just for them. A bag of seasoning with some mini accessories!

This easy felt project can be completed in about one hour.

But first you need to gather all the ingredients.

Ingredients:

  • 8 1/2 x 11″ felt piece in main color
  • felt scrap in green
  • scissors
  • pins
  • sewing needle
  • embroidery floss in matching or contrasting color
  • plastic yarn needle
  • two (2) 18″ pieces of ribbon 3/8″ wide
  • pompoms (optional)
  • sequins (optional)
  • glass beads for sewing on sequins (optional)
  • gift tag

Lay everything aside and start with the green scrap piece of felt. This piece is for the Christmas tree. Use the pattern (download here) and trace the outline of the tree onto the green felt. Then cut it out. The second photo shows you the finished size of the tree.

Next, take the full-size piece of felt (pink is shown here). Fold it in half and cut along the fold.

Now you will fold one of these pieces in half and cut along the fold, as shown below.

Now you’re going to add the tree, like an appliqué, and stitch around the edges. I like to use a running stitch (basic, basic), but you could use any embroidery stitch you want: blanket stitch, back stitch, French knots, daisy chains, etc. Begin by pinning the tree in the center but slightly lower, as shown below.

Using the contrasting colored embroidery floss (I use three strands), stitch the tree to one piece of the background felt. Do NOT tie off the thread yet.

Now it’s time to decorate the tree! The demonstration below uses mini pompoms, but as you’ll see at the end of this post, I also use sequins and beads to decorate. Add each decoration by stitching it securely through both layers, the tree and the background piece. When finished, tie off the thread on the back and cut.

A jolly little tree!

Now you’re going to assemble the bag. Get the second piece of background felt. On both pieces, fold over the top to make a casing for the ribbon. Pin in place to keep the felt from moving around on you.

You can use the same color embroidery floss as before or you can change it up if you like. You are going to using a running stitch to complete the casing on both pieces, slightly wider than the 3/8-inch ribbon, like this:

Now it’s time to put the bag together. Place the insides of the bag so they touch, leaving the folded over casing to show on the front and the back, as seen below.

You can either use a blanket stitch (as I did) or a running stitch to sew the sides and bottom of the bag. (There are lots of great YouTube videos on how to do the blanket stitch. It’s easy! You can do it!!! )

Do NOT stitch over the casing openings. Start below the casing and end when you reach the other casing.

The final step is adding the ribbon. I like to use a plastic yarn needle because it won’t get caught in the felt (usually). Take one of your 18″ ribbons and thread it through the needle’s eye. Then draw it through the FRONT of the bag. Repeat with the second piece of ribbon for the back of the bag.

Pull most of the ribbons to one side of the bag. Tie a knot in the shorter side to secure it. Then you’re ready to fill the bag, tie the ribbon in a big bow, and add the gift tag.

I decided to make my bag a kitchen gift. So I added a small jar of seasoning (Penzey’s is one of my favorite brands!), a mini spatula, and a mini grater (perfect for cinnamon sticks). Then I made two more!

Of course, you can fill your bag with anything you want. Candies. Money $$$$. A gift card. But whoever receives it will be happy to have something handmade by you just for them.

I wish you all a blessed, happy, healthy holiday season! I’ll be back in 2019 with more Heartfelt Crafts for us to share.