It might not feel like fall yet, but inside most stores you’ll see more orange, yellow, and brown than any other colors. While you’re trapped indoors enjoying the AC, why not put together some quick, easy, fall-appropriate items? Let’s get started.
Personalized Pumpkin Placeholders
SKILL LEVEL ♥ easy
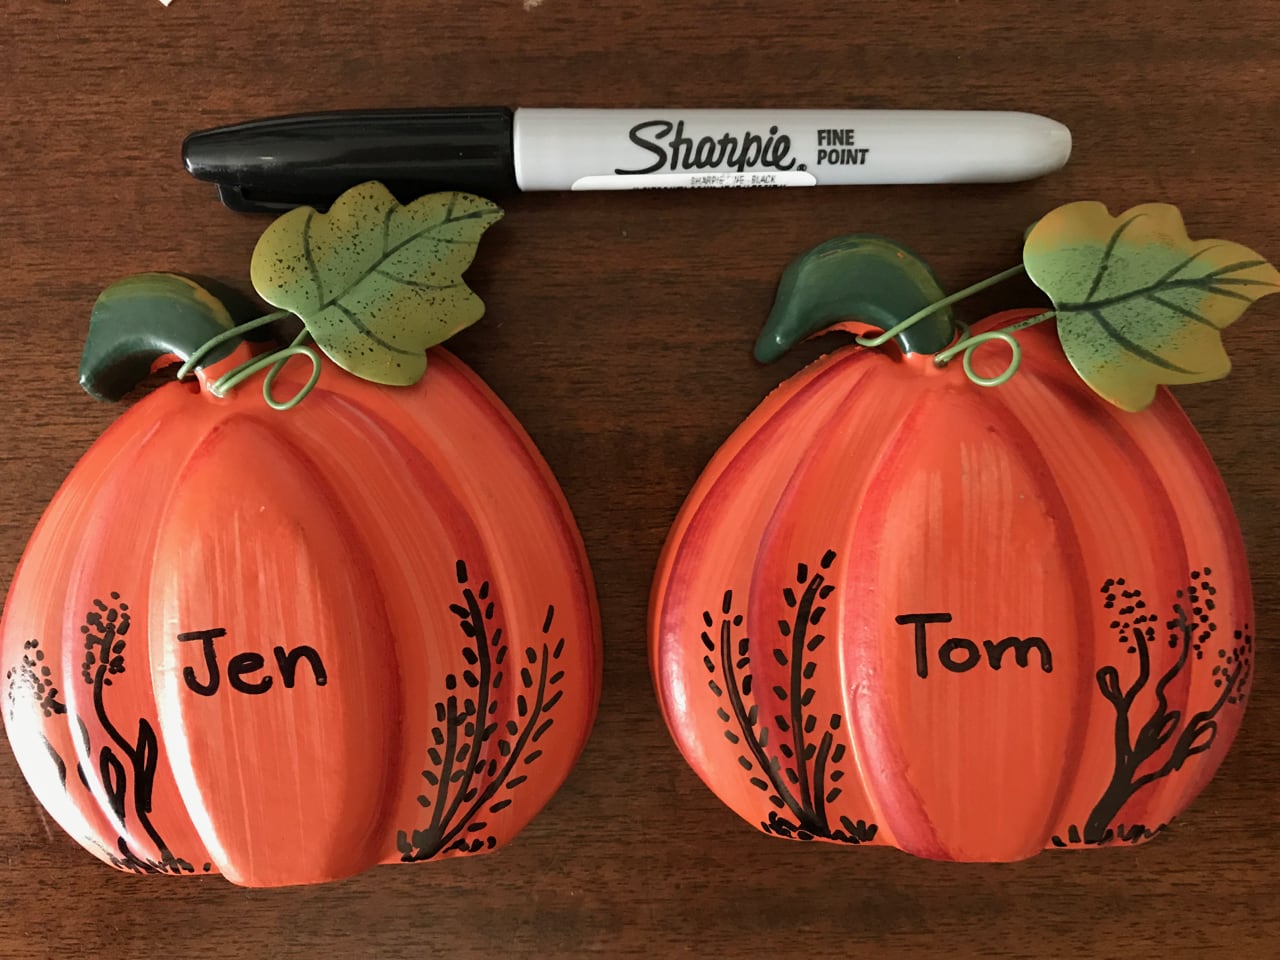
I found these wooden pumpkins at Hobby Lobby for $3.99 each (plus a 40% discount when I used my coupon). Other stores have similar if not identical seasonal pumpkin flatties. They’re about 6½” x 3½”. Perfect for small places! But they need a crafty touch, don’t you think? Simple! Grab your black Sharpie, my friends!
I decided to make a pair of personalized pumpkins for one of my favorite couples: Tom and Jen F.
I added the names in the center. (I did mine horizontally since the names were short, but you could write longer names vertically down the middle. You can also use a super-fine point Sharpie for longer names and more detailed drawing.) I drew some wheat and some other nondescript plant to the sides and some grass on the bottom. Here’s the final version:
Think of what you could do when you have a fall dinner or Thanksgiving feast for your loved ones! Place one at each table setting. They’ll know where to sit—AND they have a handmade gift to take home. Winner, winner, turkey dinner!
As always, feel free to send me your photos of finished projects—or ask me any questions about crafts! tanya (a) heartfeltcrafts (dot) com
Project #2 coming next week! Tell others. Join the blog. Share on Facebook, Twitter, Instagram. Let’s build a big ole team of Heartfelt Crafters! Who knows? Someday I may give out badges!
In everyone’s life, at some time, our inner fire goes out. It is then burst into flame by an encounter with another human being. We should all be thankful for those people who rekindle the inner spirit. —Albert Schweitzer
This is one reason I love doing pocket letters. It allows me to send a little spark of hope, friendship, laughter, or love to my friends. Jennifer and I have known each other for more than 20 years, and most of those years we’ve been separated by hundreds of miles. Mailing each other cards, notes, stickers (I got those yesterday!), packages, and now pocket letters has kept our friendship alive and well. I believe in connections. But connections break if we don’t tend to them. This project we’re working on together in this set of blogs can strengthen the bonds of friendship no matter the distance between the sender and receiver.
Today we’re going to finish that pocket letter! Get out your supplies, including the cards you’ve cut to size. Let the fun begin!
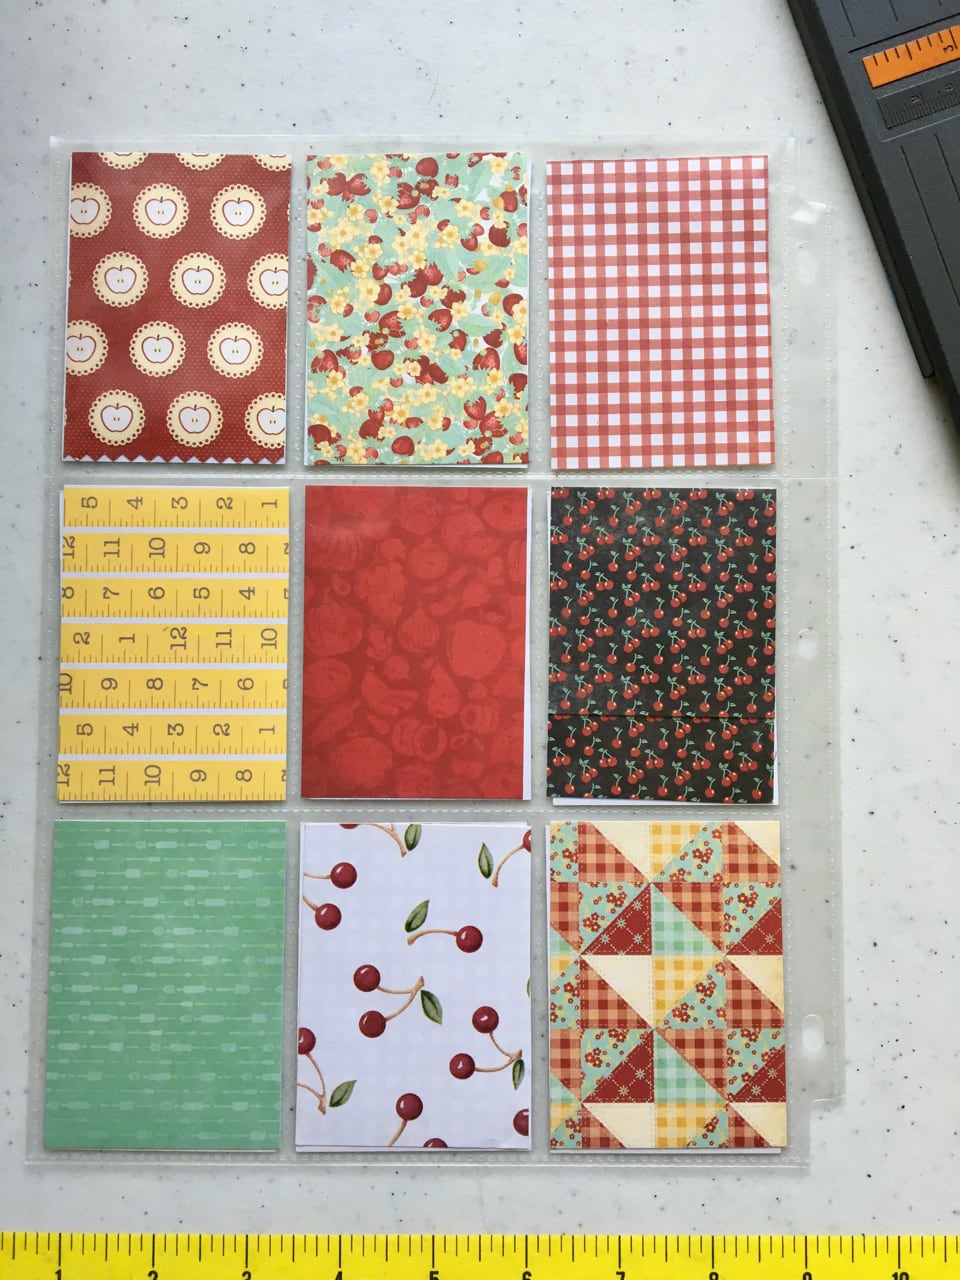
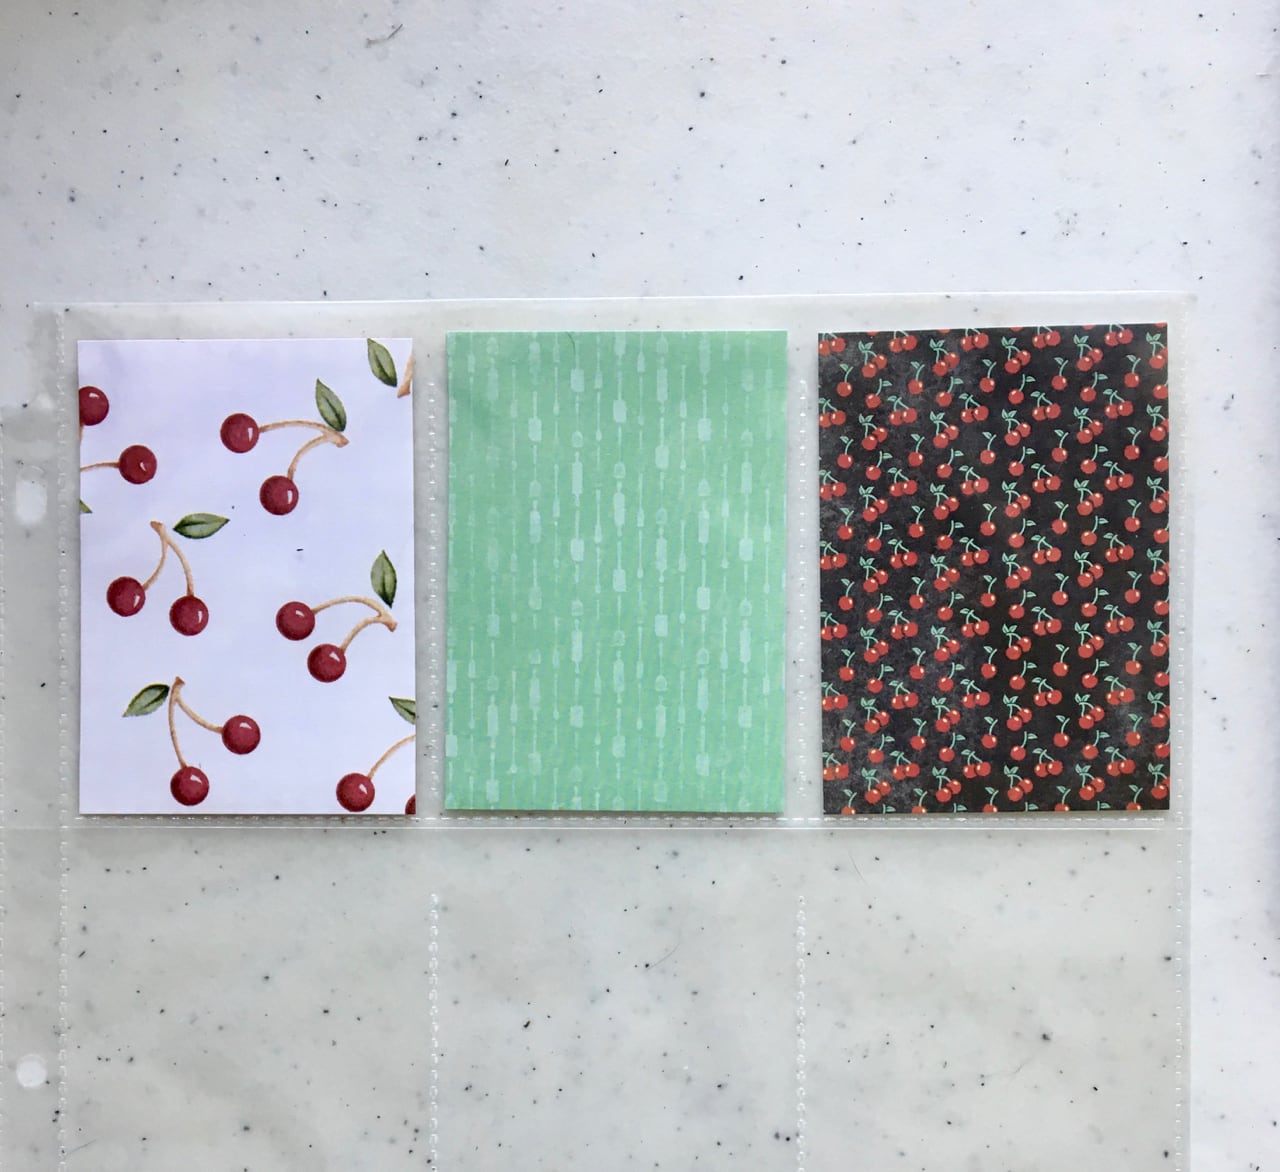
FIRST: I like to insert all of my cards and arrange them in a way that’s random, attractive, and colorful.
Front (see the binder holes on the left?)Back
My mixed-bag of papers has a loose theme that could be kitchen-y or calico-y or retro. I just liked how all of the patterns and colors worked together.
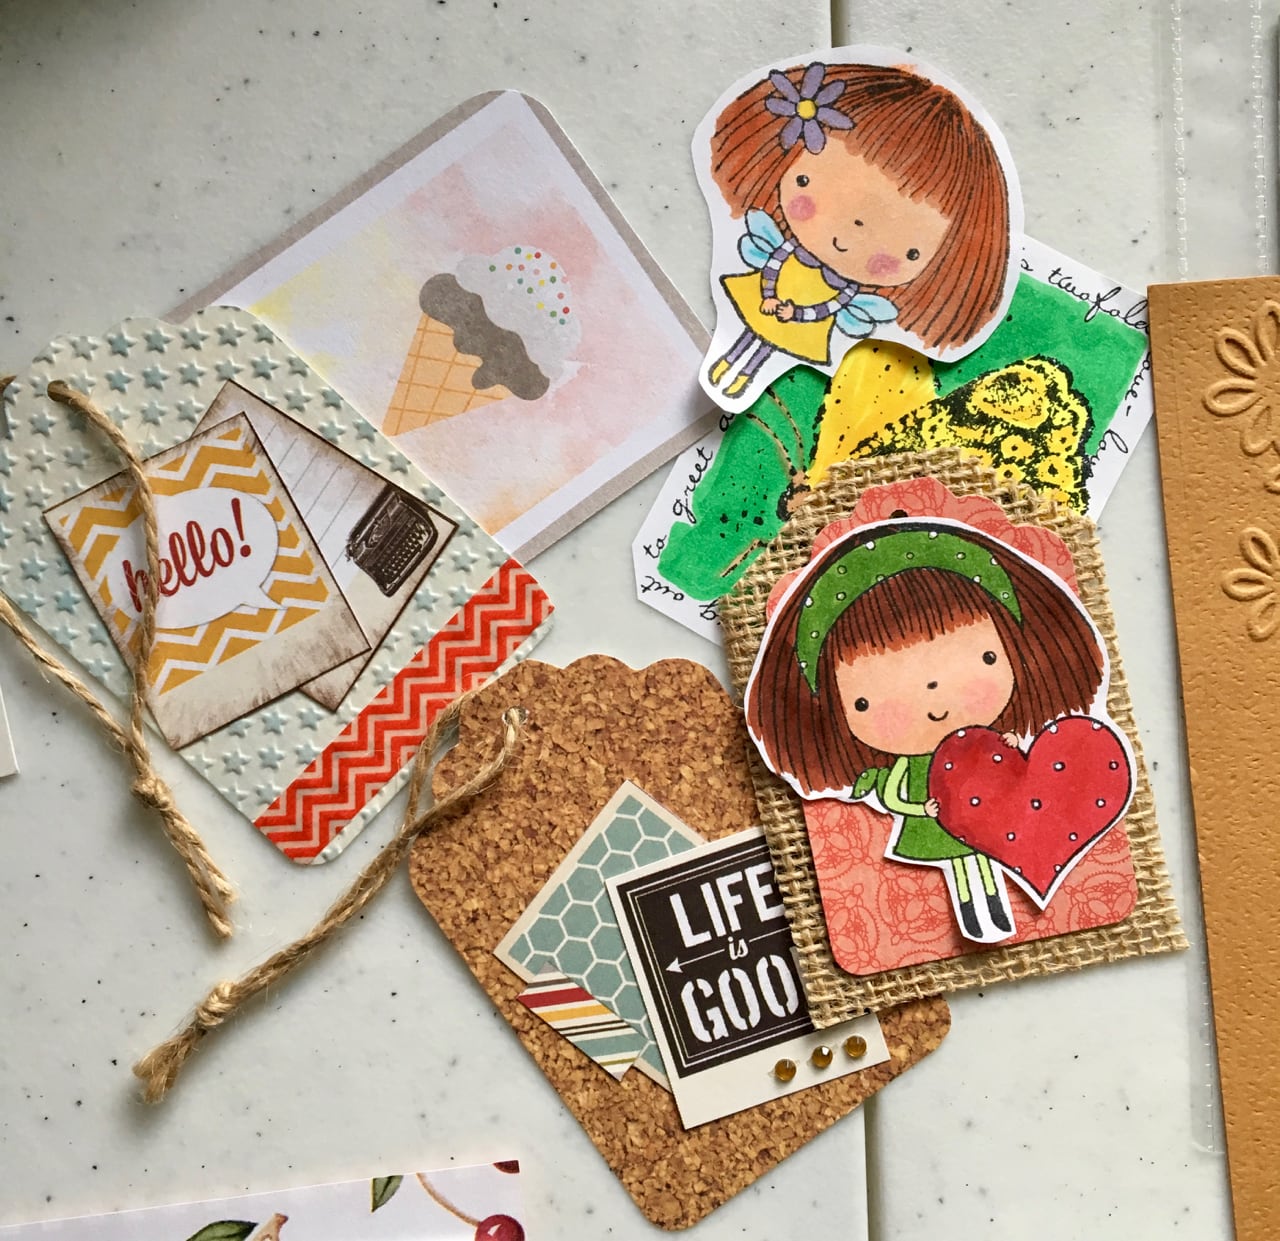
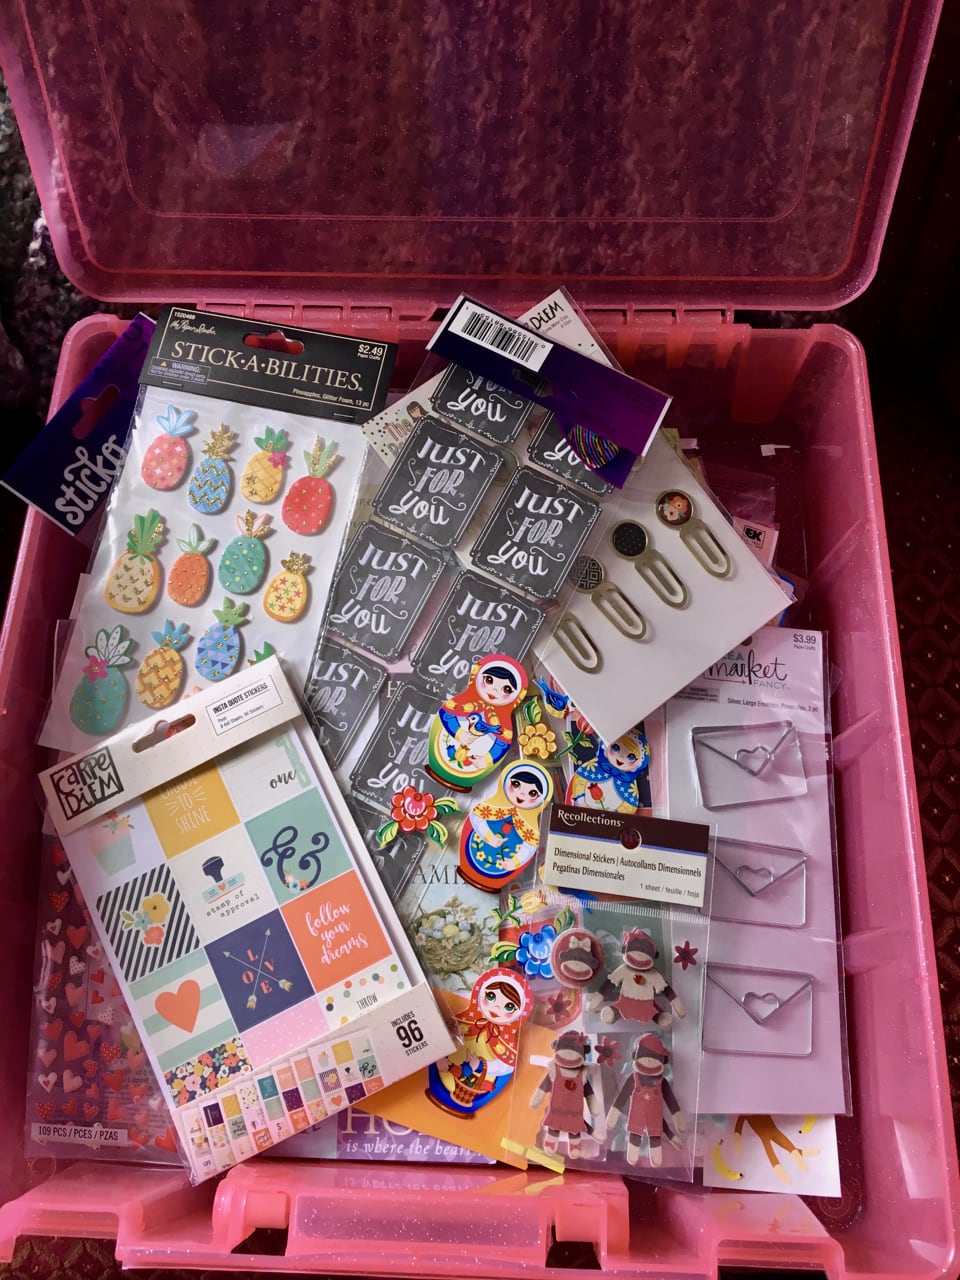
NEXT: Now I get to go digging through my containers of embellishments. (I won’t admit how many of those I have.) I’m looking for stickers, decorative elements, etc. to add to each card. Here’s one of my hoards:
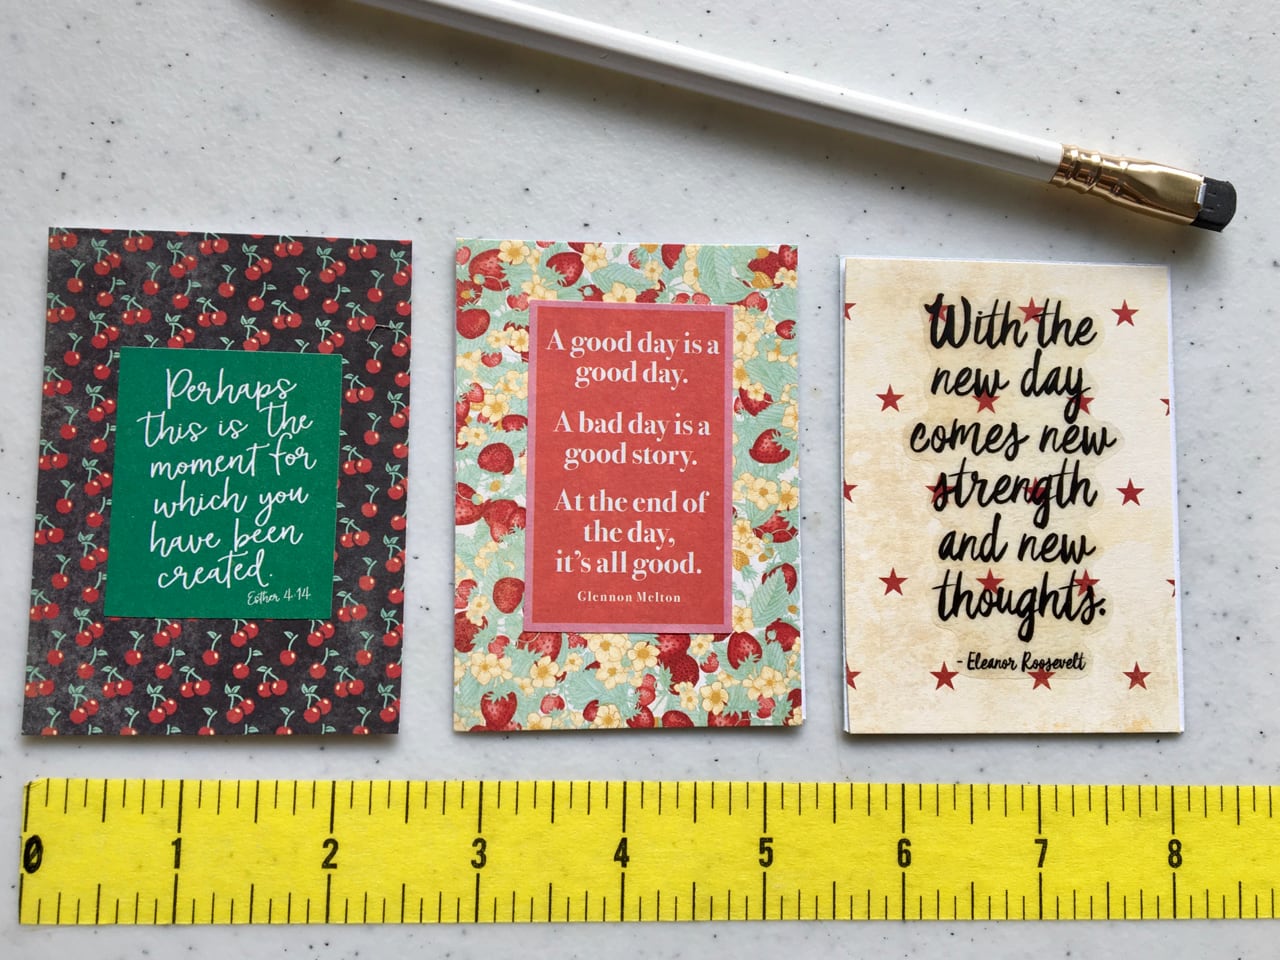
ALSO NEXT:The next photos will show you how I took different paper cards and applied stuff to them.
ALMOST DONE:After every card has its special message, design, or gift included (tea bags fit perfectly in a pocket!), just put them into the spaces until the page is filled (on both sides if you want).
I added some tea bags to three pockets in the back before sending this PL to one of my new friends, Linda. (Hi, Linda!)
Sending? That’s right! These are meant to be mailed. Just accordion-fold the three horizontal sections and the whole thing fits a standard business-size envelope. If it weighs less than 13 ounces, you only need one first-class stamp. Most of mine take two stamps—sometimes I add a third one if the envelope is extra-thick.
So try one! There’s nothing about this that has to be perfect. It’s easy, creative, and filled with love. That’s almost as good as a doughnut!
Send me your photos of finished or in-progress pocket letters. I’d love to share them with my blog followers and on my Heartfelt Crafts Facebook page. Send them to me at tanya (at) heartfeltcrafts (dot) com.
Okay, fellow crafters, gather all your goodies from the previous post and let’s get started!
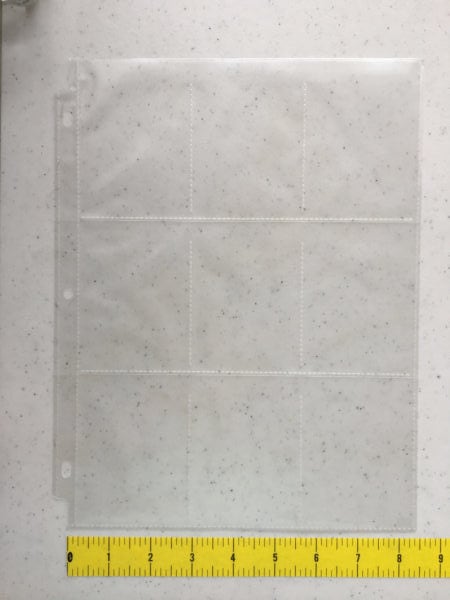
First, place your pockets nearby. Note that there are nine pockets and each of them opens at the top. (If you have it upside-down, your papers will just fall out. You’ll feel sad, bad, and slightly mad. No one has ever done this. Ahem…) Let’s do some math!
9 pockets = 9 papers, right?
Well, only if you want to make a one-sided PL, which is okay with me. My first one was one-sided. Then I thought, “Hey, what a missed opportunity to double my fun!” So I made sure there were enough papers for 9 + 9 = 18 sides. Does that mean you need to cut 18 pieces? Not necessarily.
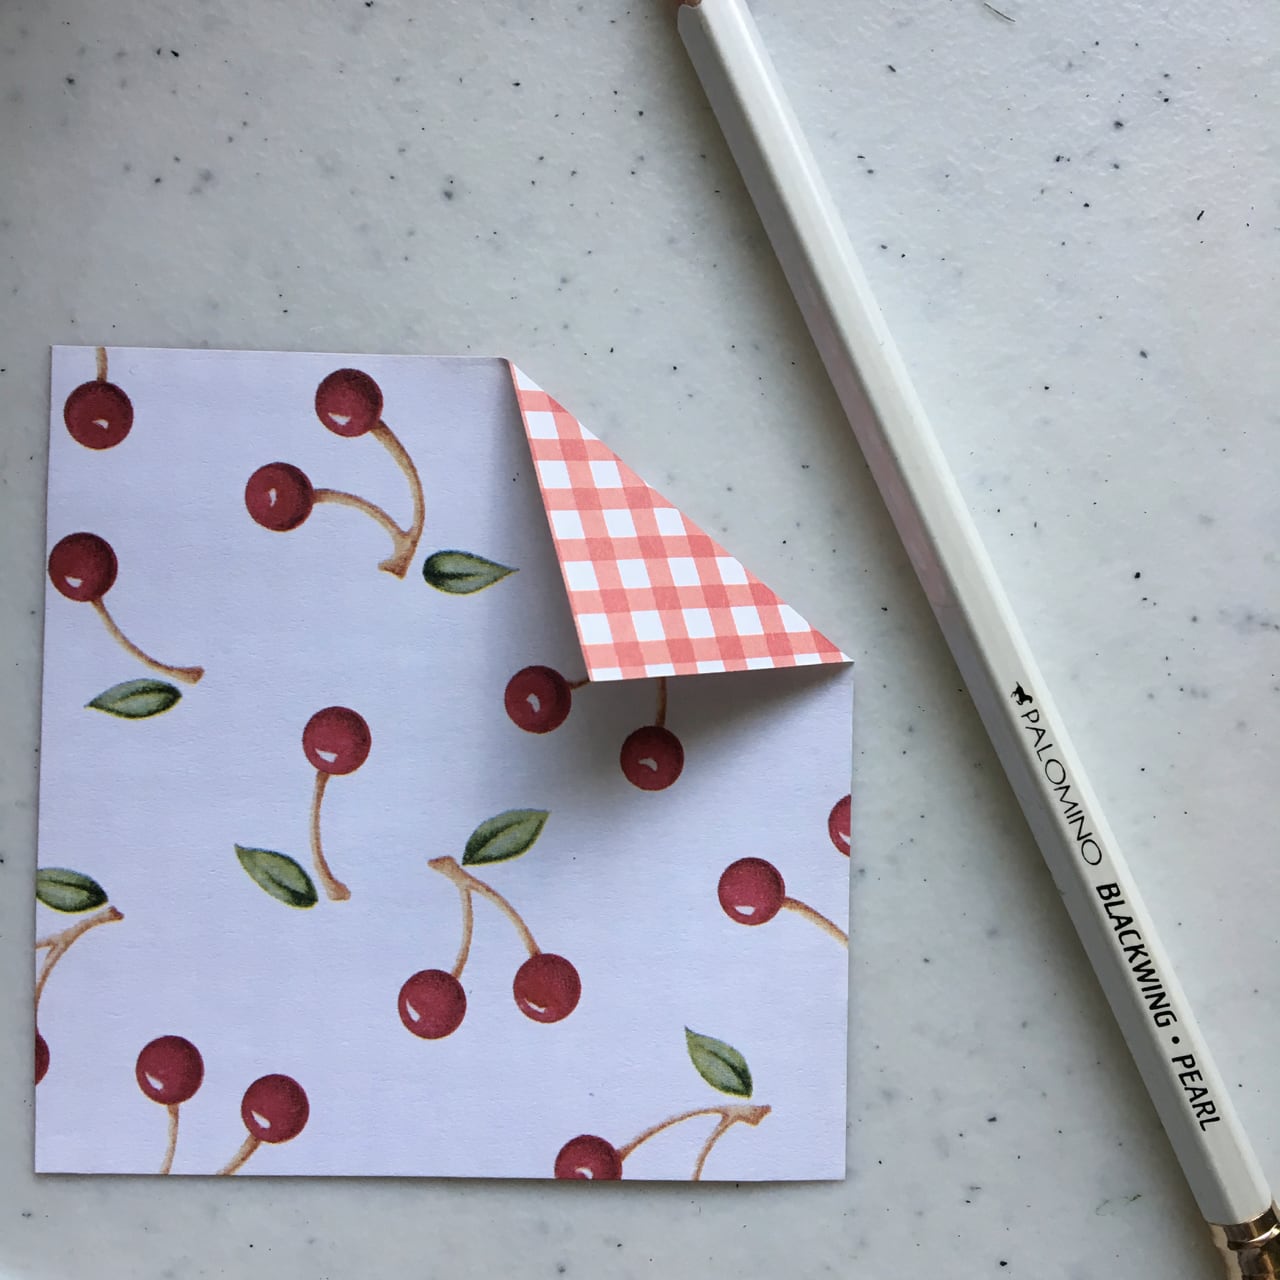
If your papers are printed only on the front and the back is white, then you will need 18 pieces (2 per pocket) to cover both sides. However, the wonderful world of paper crafting has provided us with 2-sided printed papers, too. Here’s an example. One side is covered with sweet cherries and the other has a complimentary color/design of gingham. When you slide one of these cards in a pocket, you get a different design on the front and back. This can save you time, but you will want to have 2-sided papers that you really like.
If you want more control over your colors and patterns, then you will want to cut 18 individual papers. Quick Quiz: Do you remember the dimensions?
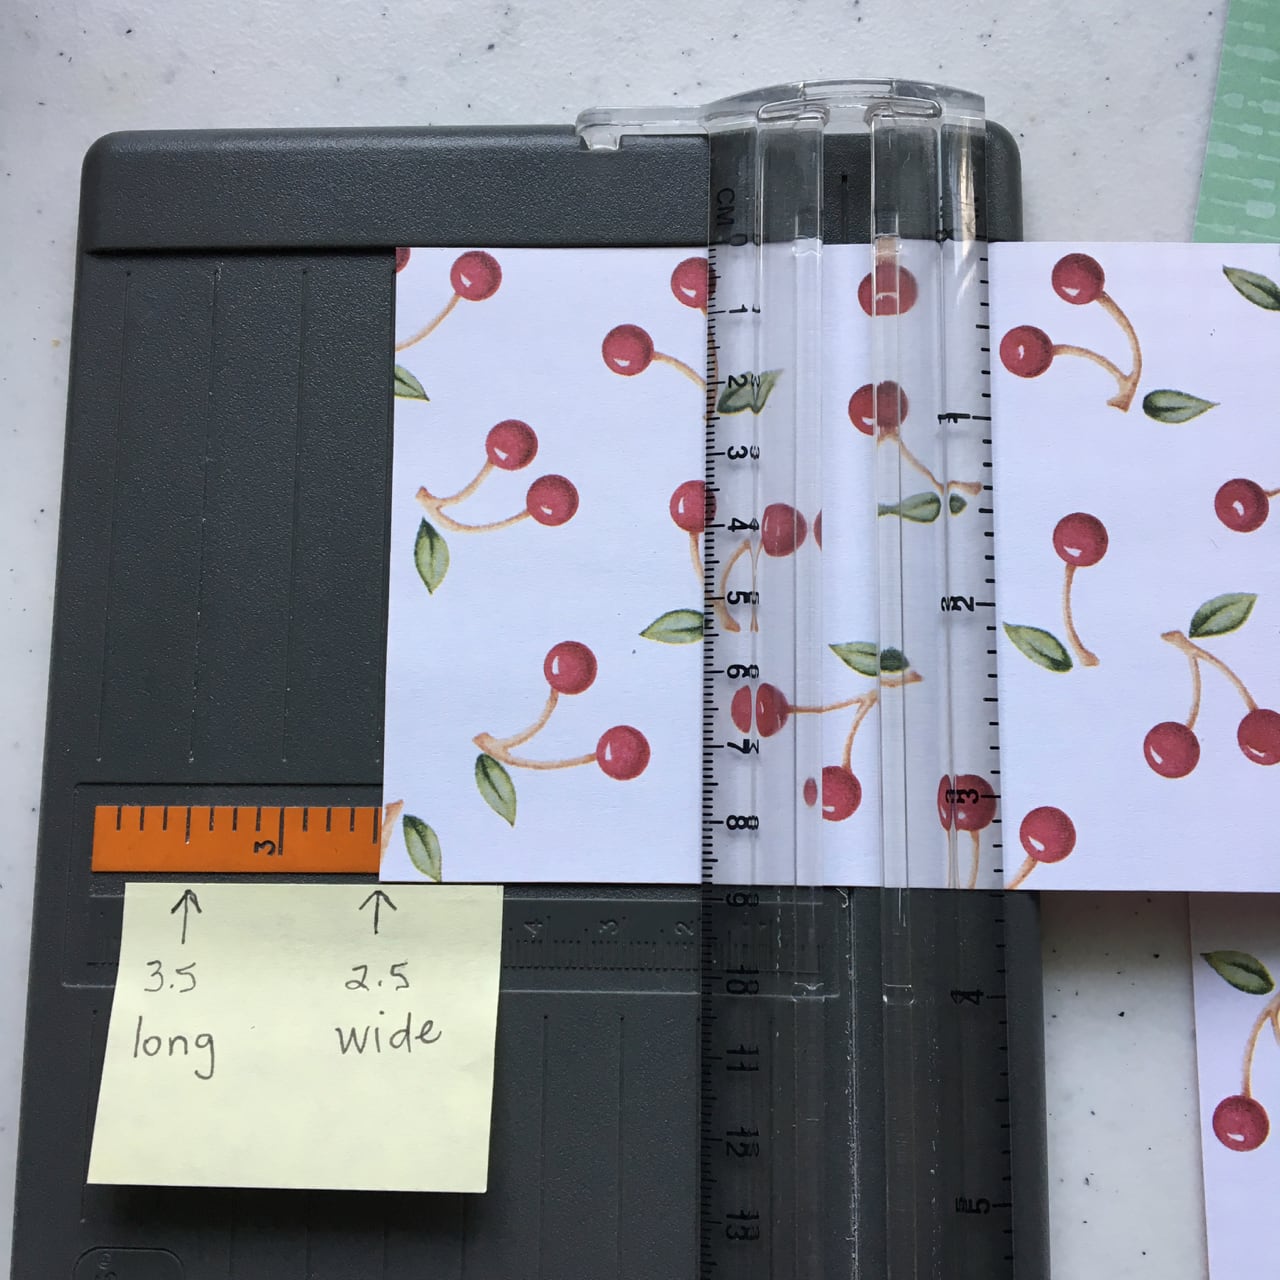
2.5 inches wide3.5 inches tall
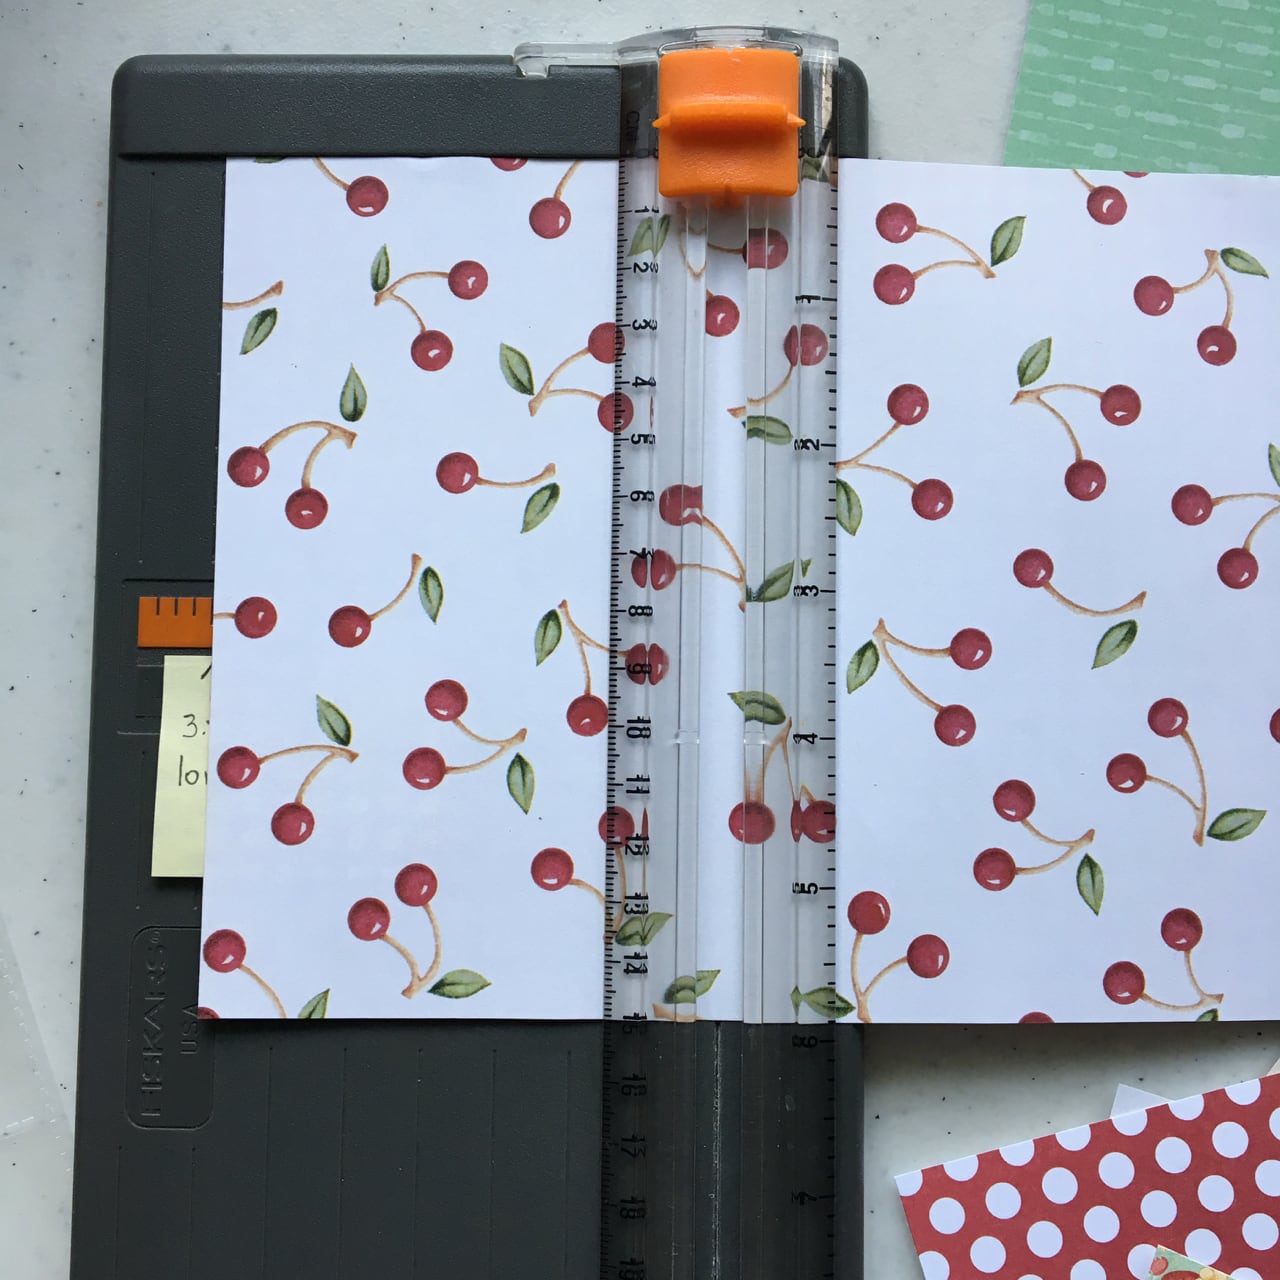
How should you cut them? Very carefully! But seriously, folks, you can either cut them with scissors (trace your cards with pencil or make a template and use it) or use a paper trimmer like the one shown below. As you can see, I’ve marked the 2.5 and 3.5 inch lines so I don’t mess up. (Remember the old adage “measure twice, cut once”? Yeah, that actually works.) Having markers helps me get it right the first time. Do what you feel most comfortable doing. Using the trimmer looks like this:
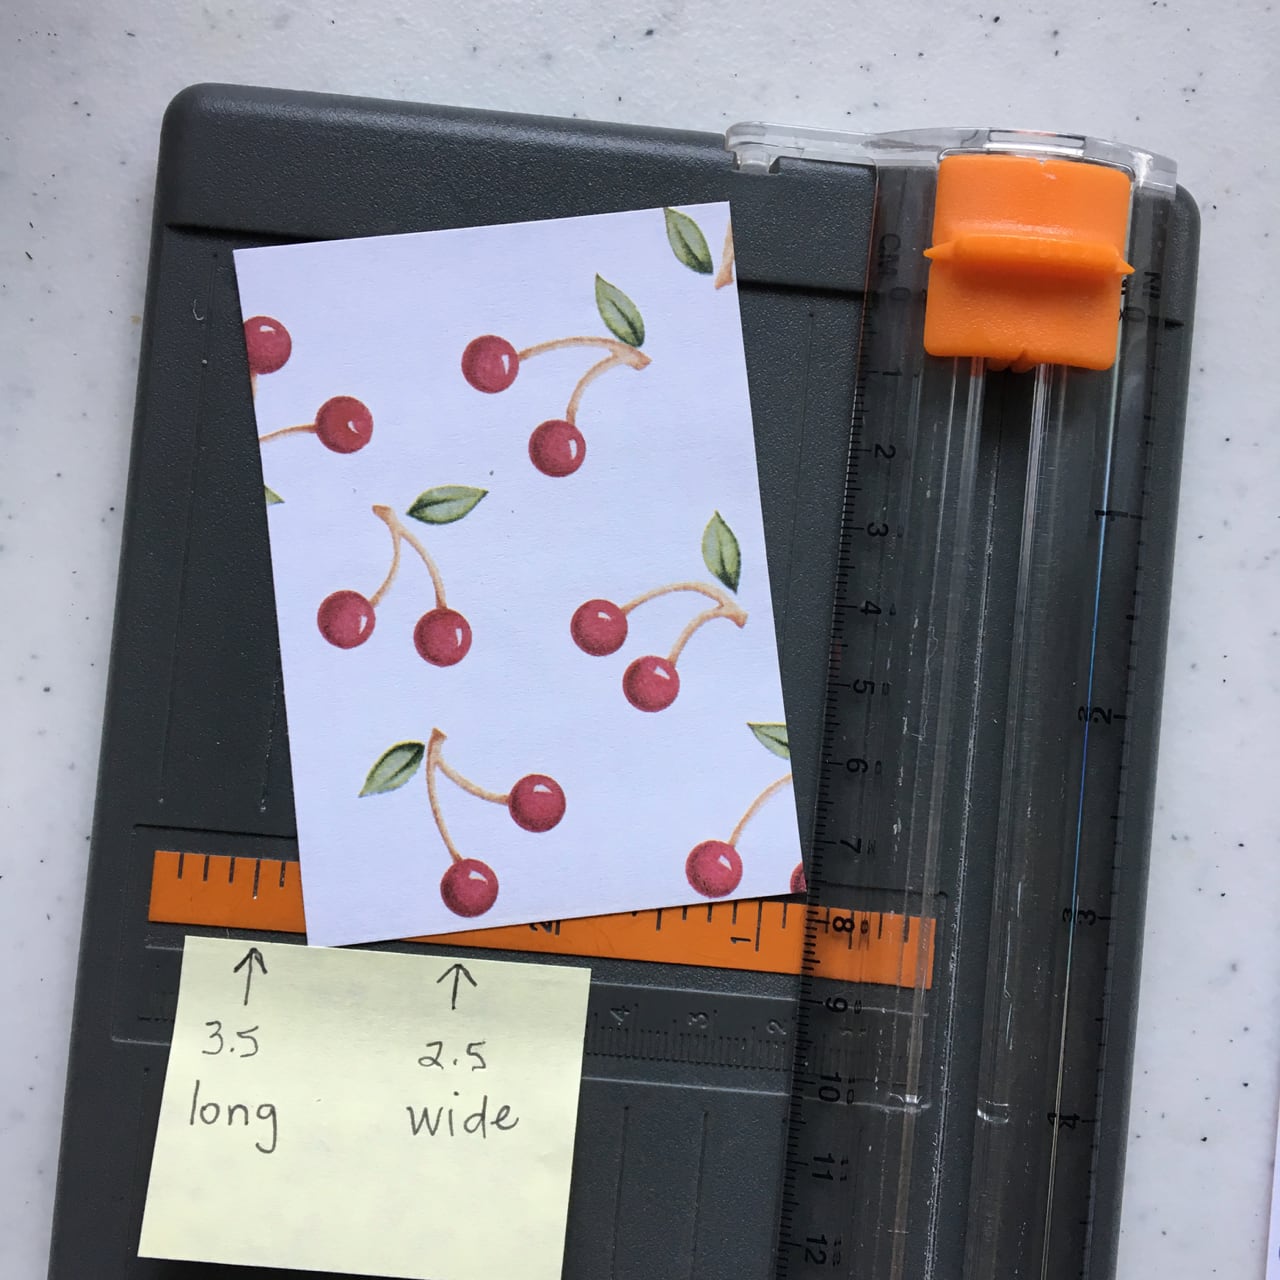
As you can see, the 3.5 x 2.5 paper fits perfectly in a pocket.
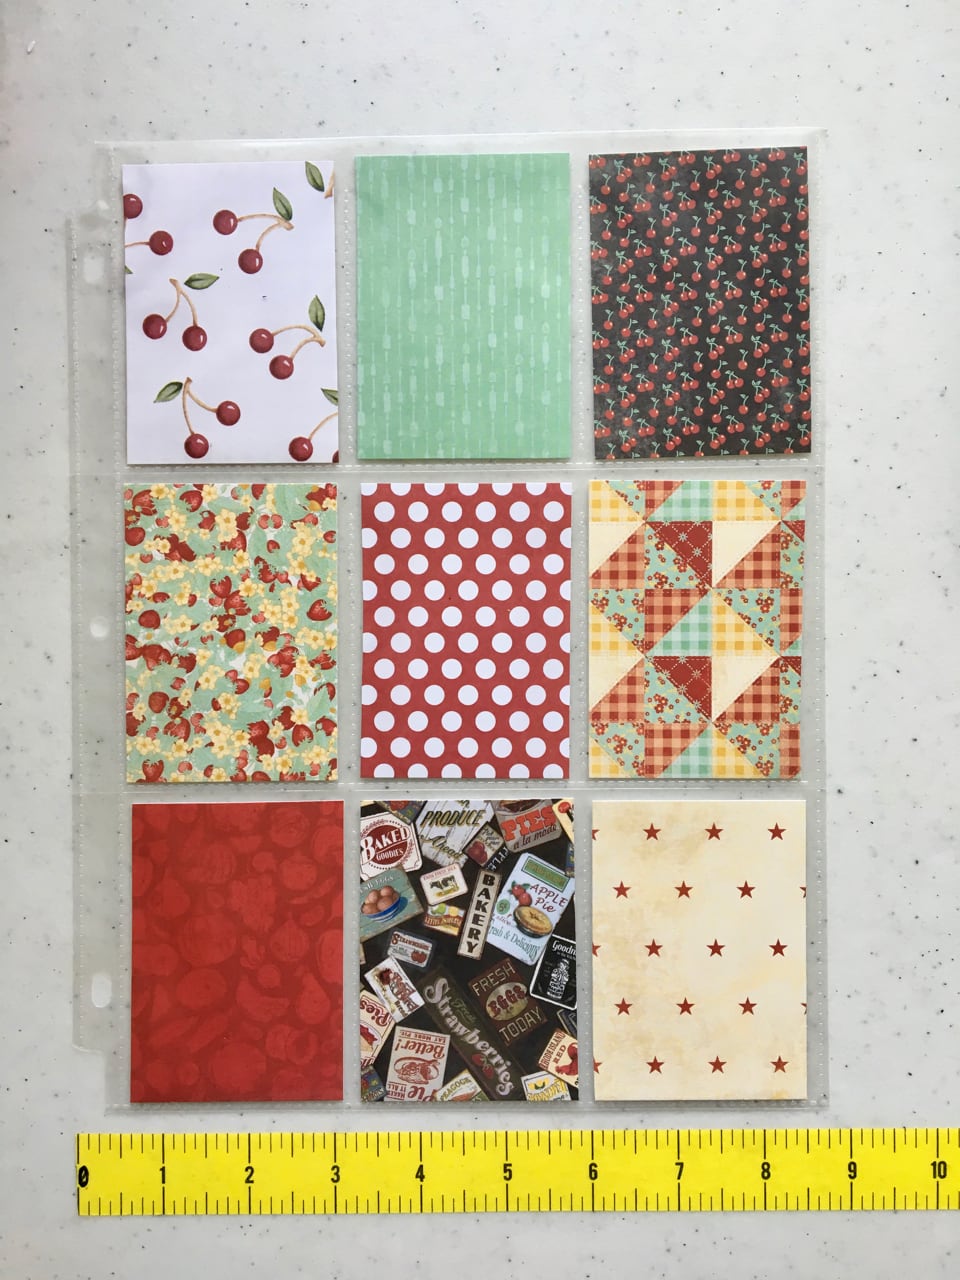
It’s fun to move the pieces around until you get them in an array that makes you happy. Here’s mine, from various papers with a kitchen/Americana/fruit theme (front and back). Yes, I’ve made two of several papers, one for each side. It keeps my theme from running amok.
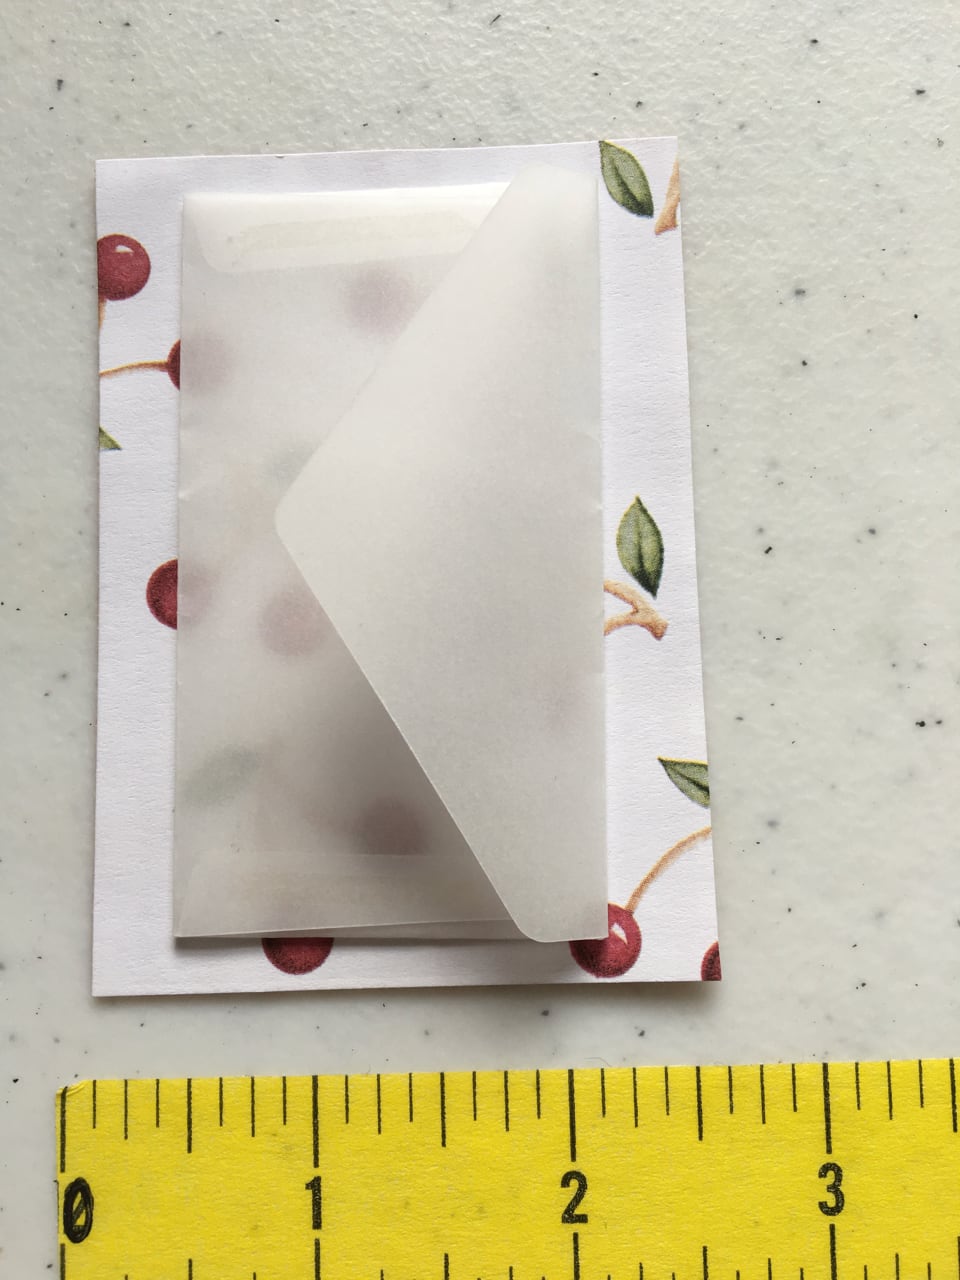
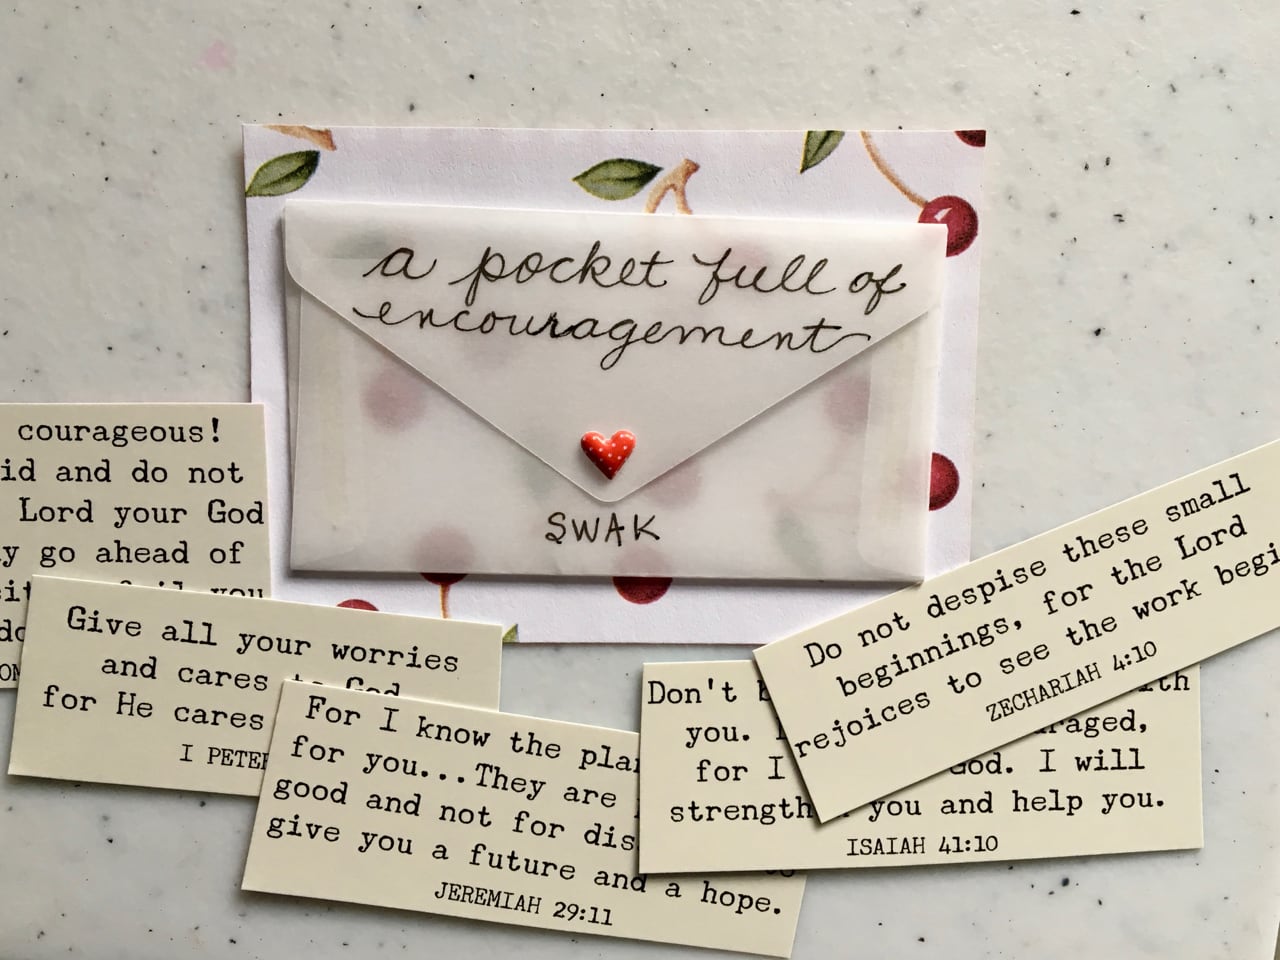
This post is running a bit long, so we will finish our PLs in the next post. Here’s a tip: scrounge around your craft room, home office, kitchen, garage, local craft store, etc. for little items that will fit your theme and the pockets. Ideas: stickers, buttons, tiny envelopes (!), misc. embellishments, quotes, photos, cards, decorative tapes, recycle-able stuff, and whatever your heart loves. We’ll be using them to decorate the pockets.
Okay, so here’s the GIVEAWAY!!! You will get points for each of the following. Each point gives you an entry into the drawing. The prize is described below the list.
Subscribe to this blog. (If you already have, you’re my best friend. Truly.)
Post a link to my blog on your Facebook page, Instagram, Pinterest, or Twitter in the next 72 hours (ends at 11:59 p.m. on Sunday, August 5, 2018). If you do all four, that’s more chances to win! Use the hashtag #heartfeltcraftblog so I can keep track.
Leave a comment at the bottom of this post.
Post a photo of your PL with its papers in place on the Heartfelt Crafts Facebook page. I’ll give you a “like” to show I’ve seen it.
Each entry will earn you a name on a slip of paper. I’ll put all of the papers out on my floor and let my adorable dog, Kirby, select the winner. Photos will follow!!!
Drumroll please! THE PRIZE!
The winner will be mailed a themed set of papers, stickers, and other goodies, perfect for making your own PLs or other paper craft. (Retail value around $15.)
When I first heard the term “pocket letter,” I thought it might be something simple like a letter in a pocket.
Or could it be . . . a letter ON a pocket?
I’m not seeing the craft possibilities yet. Oh, I know! It’s a letter that USED to be a pocket! I feel so smart.
Wait. What? That’s not it either? So what in the heck is this newfangled fun craft thing that so many scrapbookers are crazy about—and that has the unofficial endorsement of the United States Postal Service?*
My friend Jennifer sent me a link to a Pinterest folder: Pocket Letters. She suggested we try to make some and send them to each other. I was in Ohio and she was in Florida, so it was kind of a nice way to do a craft together—but apart—you get it.
So we did. And we agreed to photograph our PLs (we quickly created an abbreviation to keep from having to write or type the words over and over again) and to post them on Pinterest for others to share and adore. That was almost a year ago! We have had a blast. Let me show you some and give you some ideas for how to start your own #PLPenPalProject.
A Few of Our PLs
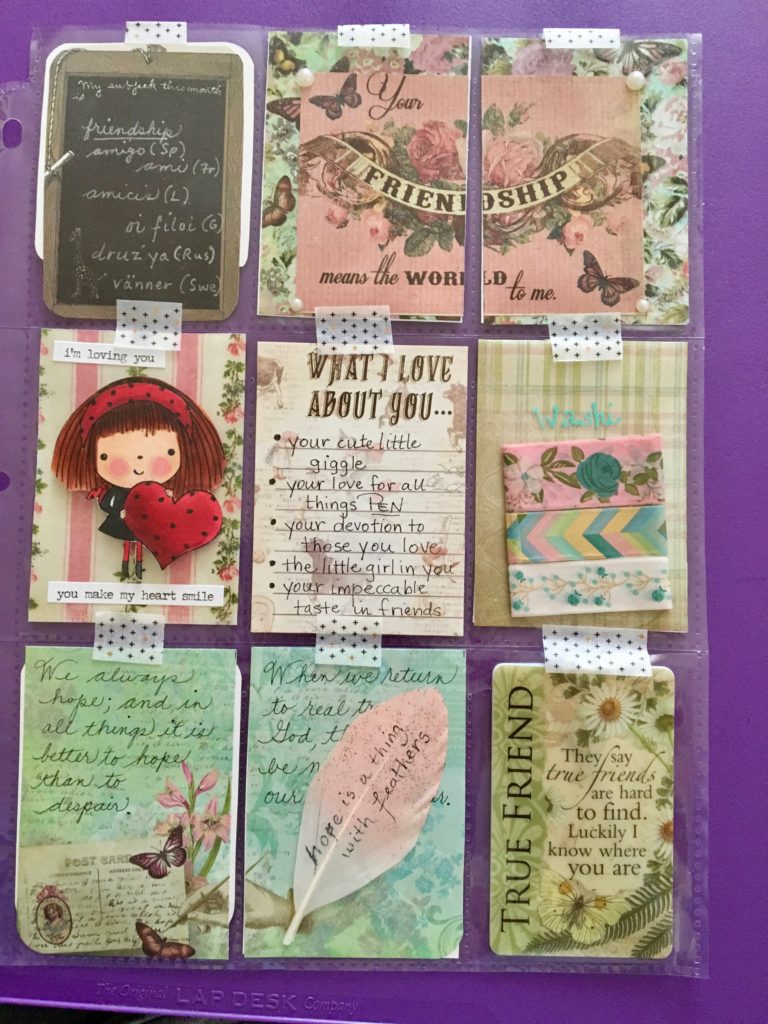
This one has a friendship theme. I made it very personal for Jennifer, the recipient. The middle row, far right pocket has samples of some washi tape I wanted to share with her. I wrapped 3-ft lengths around a piece of mylar I cut from some packaging. Good use for that mylar stuff instead of throwing it in the trash!
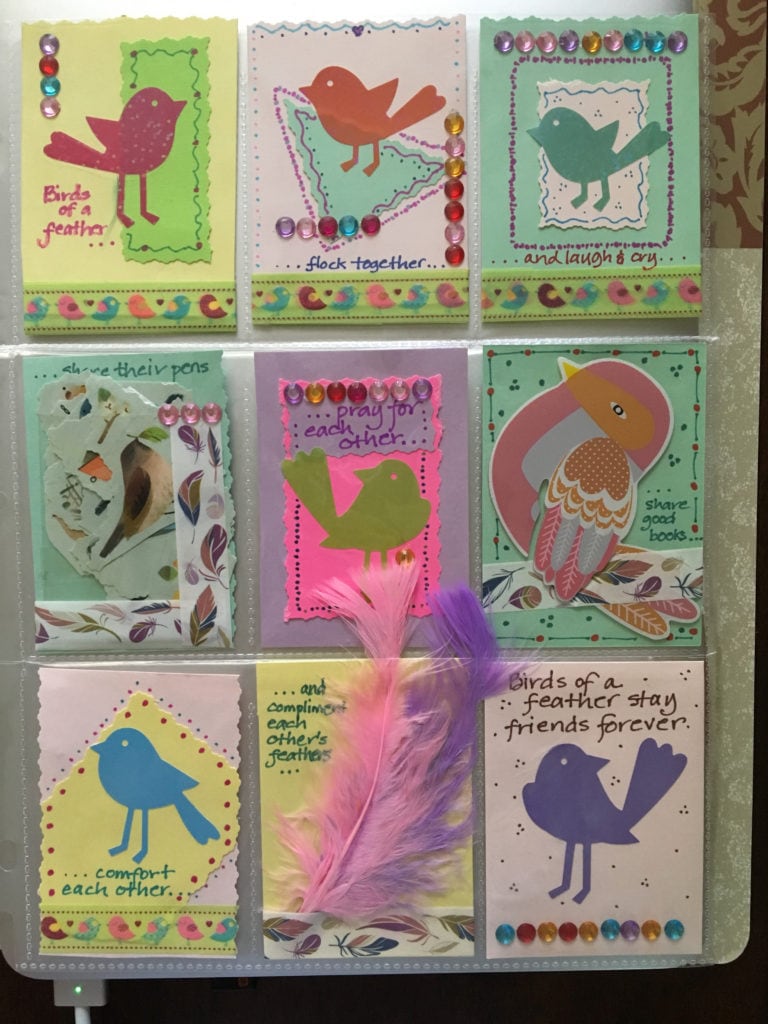
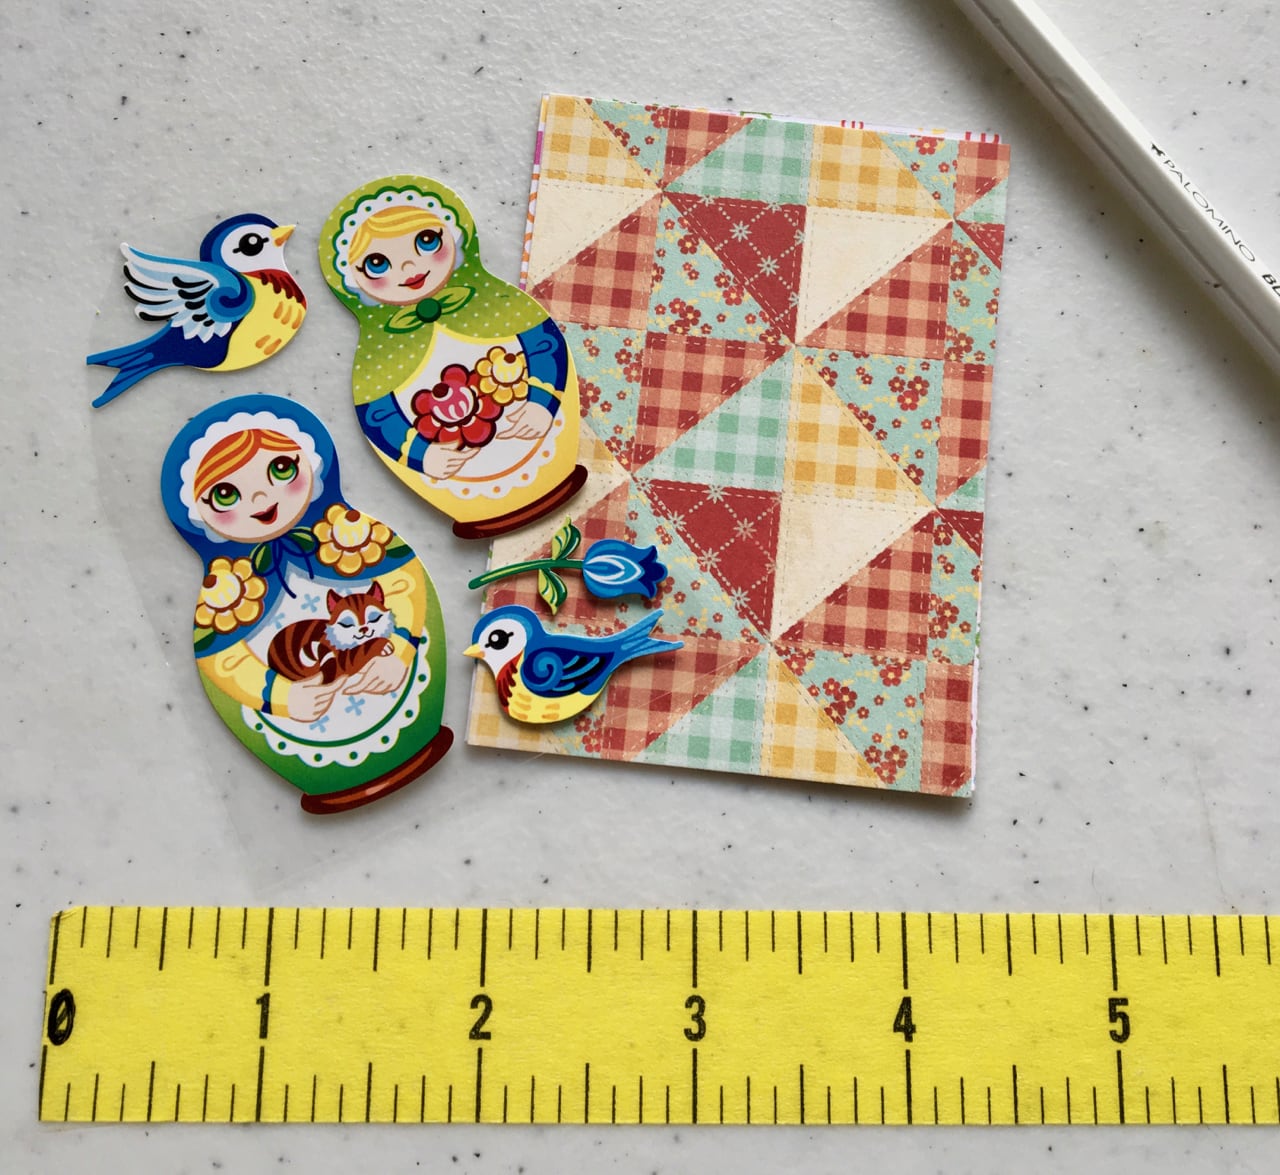
Jennifer sent me this one with a birds-of-a-feather theme. She included stickers for me to use (middle row, left) and some adorable feathers!
As you can see, coming up with a theme is half of the idea. Then you can have fun finding all kinds of things to add. Some themes we’ve used or seen others use include:
back to school
our home state (Ohio/Buckeyes for me!)
by the seashore
quotes about pennies, with a penny in each pocket
owls (whoooo doesn’t love owls???)
kitties (see above, but kitties)
fall/autumn
Christmas
patriotism–4th of July
summer fun
coffee and tea
sweet stuff (cupcakes, candy, etc.)
I could go on all day, but you get the idea. Check out the Pinterest link for tons of ideas!
Now that you can tell what PLs are, I’ll walk you through making one of your own in our next post.
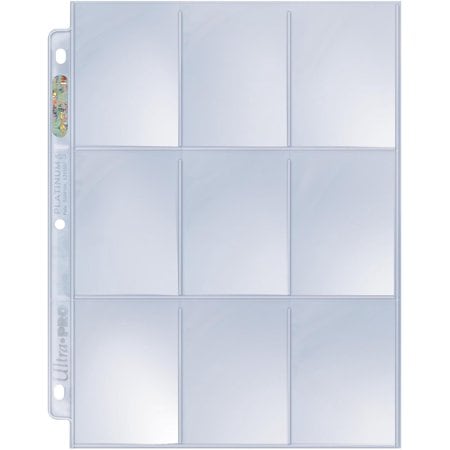
P.S. Go get some baseball card protector sleeves:
*I made that up. But I’m sure they appreciate the increase in actual snail mail that’s hitting their inboxes—I mean, mailboxes—lately. Maybe they don’t like the lumpiness or the fancy, schmancy hand lettering on the envelopes. Hey, for 50¢ (so far, but who knows what with tariffs and such—just kidding!!!), it’s a heck of a deal to send these things. Maybe they’ll even get where they’re supposed to go–and in one piece!
We have a new member of the household. His name is Kirby—after tossing around dozens of names and circling back to the one that really describes what he does best, sucking up stuff on the floor and making it disappear. He’s a Pekingese and an Easter baby. Yep, the Easter bunny brought this little fellow on April 8. (Which just happens to be MY BIRTHDAY, too, and was too much of a cosmic coincidence for me to ignore.) Having a little pocket pet offers all kinds of crafting opportunities, including the creation of costumes and outfits that he’d be mortified to wear if he had just an ounce of self-awareness. In due time, my little puppy, in due time.
I’m starting with more basic projects, however. He’s being crate-trained, as most household dogs are, and I can’t stand the thought of his little puppy underparts lying on the cold, hard, plastic, cookie-sheet-shaped, slide-out base of the cage. I also don’t want to give up any of my good towels. Here’s a chance to use my crafty brain to cook up something simple, yet wonderful.
I scavenge through the house, looking in drawers, closets, and my sewing area. Voilà! I spy some oldish pillowcases whose matching sheets have long since been used for dust covers in the garage. A little feminine, yes, but he’s a modern pup—it’s all about recycling. I take the first pillowcase to my sewing station, flatten it on my cutting board, and unroll a batch of batting. Using the pillowcase as my pattern, I cut a folded (doubled) piece of batting about an inch smaller around the edges than the pillowcase. Then I insert the doubled piece inside and pin the four layers flat. Using a larger stitch than normal, but not a full basting stitch, I sew around the perimeter of the pillowcase, securing the batting.
That’s it! All done! It is the perfect size to fit inside the doggie crate, and it’s pretty, cushiony, and so washable. I’ll make 3 or 4 so I can rotate them between wash days. Kirby doesn’t even mind the darling little ruffle on the end. See? He’s just happy his owner is such a crafty lady.


 Each entry will earn you a name on a slip of paper. I’ll put all of the papers out on my floor and let my adorable dog, Kirby, select the winner. Photos will follow!!!