
Okay, fellow crafters, gather all your goodies from the previous post and let’s get started!
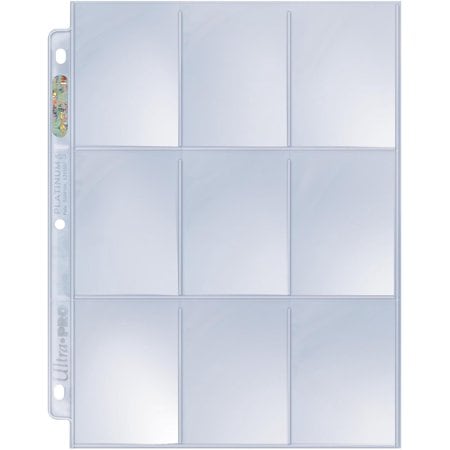
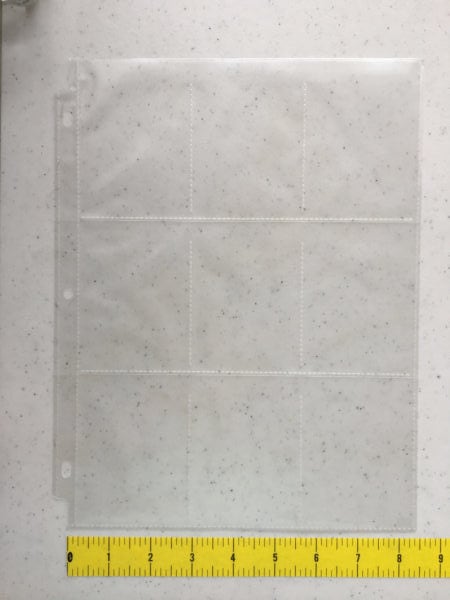 First, place your pockets nearby. Note that there are nine pockets and each of them opens at the top. (If you have it upside-down, your papers will just fall out. You’ll feel sad, bad, and slightly mad. No one has ever done this. Ahem…) Let’s do some math!
9 pockets = 9 papers, right?
Well, only if you want to make a one-sided PL, which is okay with me. My first one was one-sided. Then I thought, “Hey, what a missed opportunity to double my fun!” So I made sure there were enough papers for 9 + 9 = 18 sides. Does that mean you need to cut 18 pieces? Not necessarily.
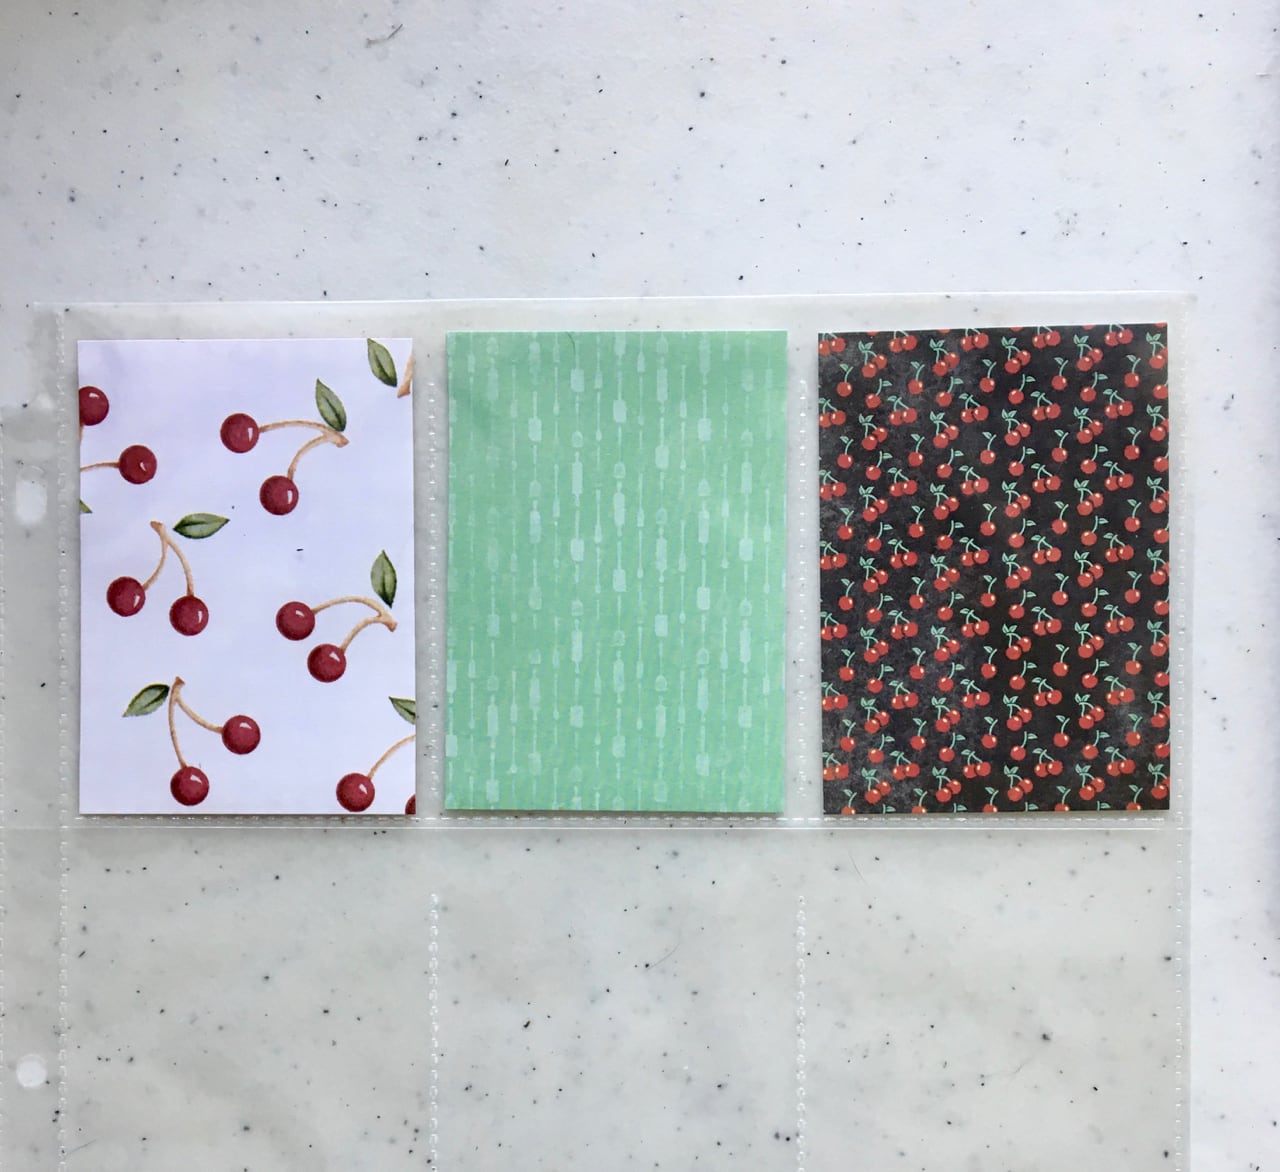
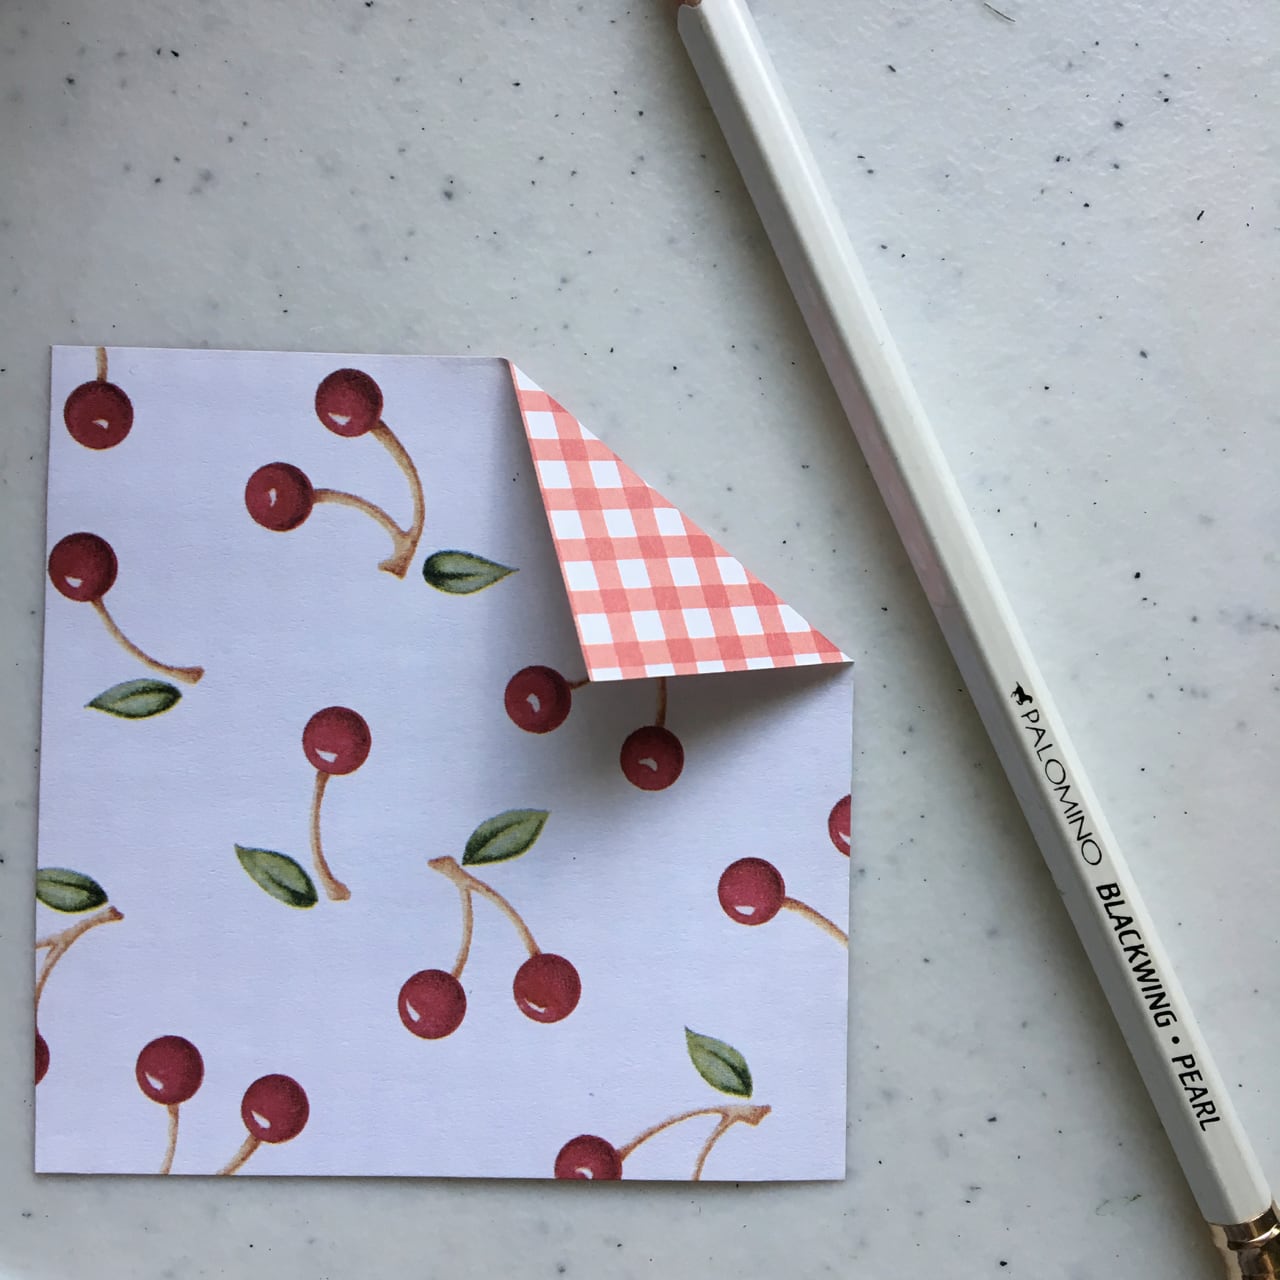 If your papers are printed only on the front and the back is white, then you will need 18 pieces (2 per pocket) to cover both sides. However, the wonderful world of paper crafting has provided us with 2-sided printed papers, too. Here’s an example. One side is covered with sweet cherries and the other has a complimentary color/design of gingham. When you slide one of these cards in a pocket, you get a different design on the front and back. This can save you time, but you will want to have 2-sided papers that you really like.
If you want more control over your colors and patterns, then you will want to cut 18 individual papers. Quick Quiz: Do you remember the dimensions?


How should you cut them? Very carefully! But seriously, folks, you can either cut them with scissors (trace your cards with pencil or make a template and use it) or use a paper trimmer like the one shown below. As you can see, I’ve marked the 2.5 and 3.5 inch lines so I don’t mess up. (Remember the old adage “measure twice, cut once”? Yeah, that actually works.) Having markers helps me get it right the first time. Do what you feel most comfortable doing. Using the trimmer looks like this:
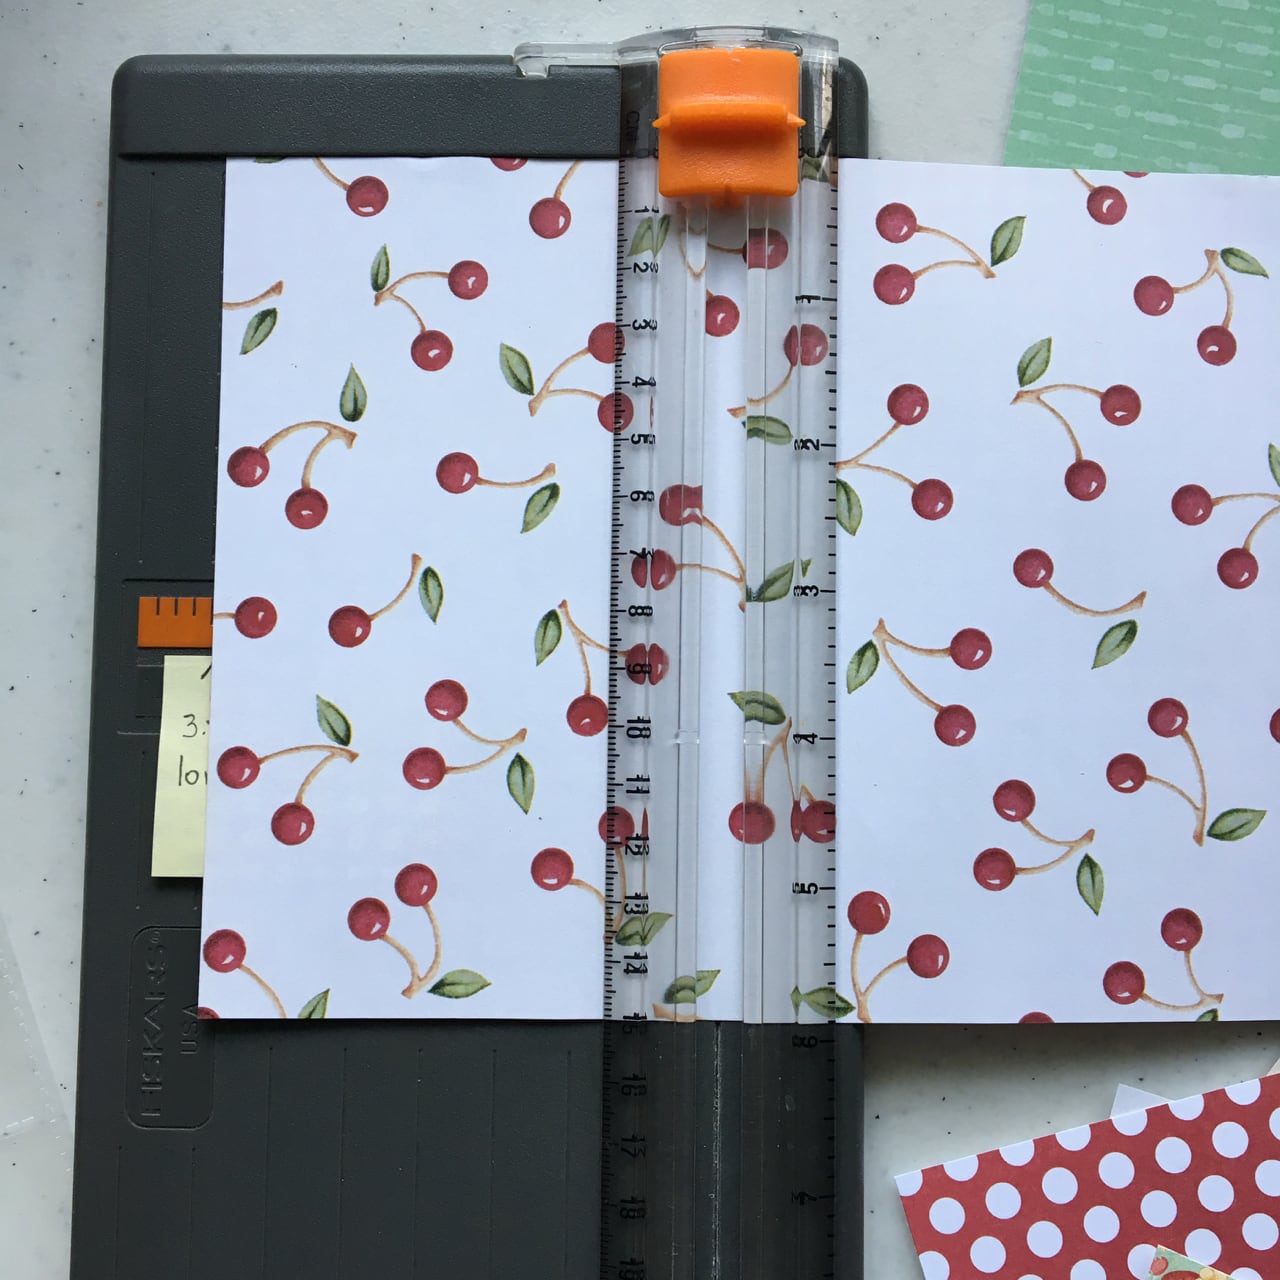

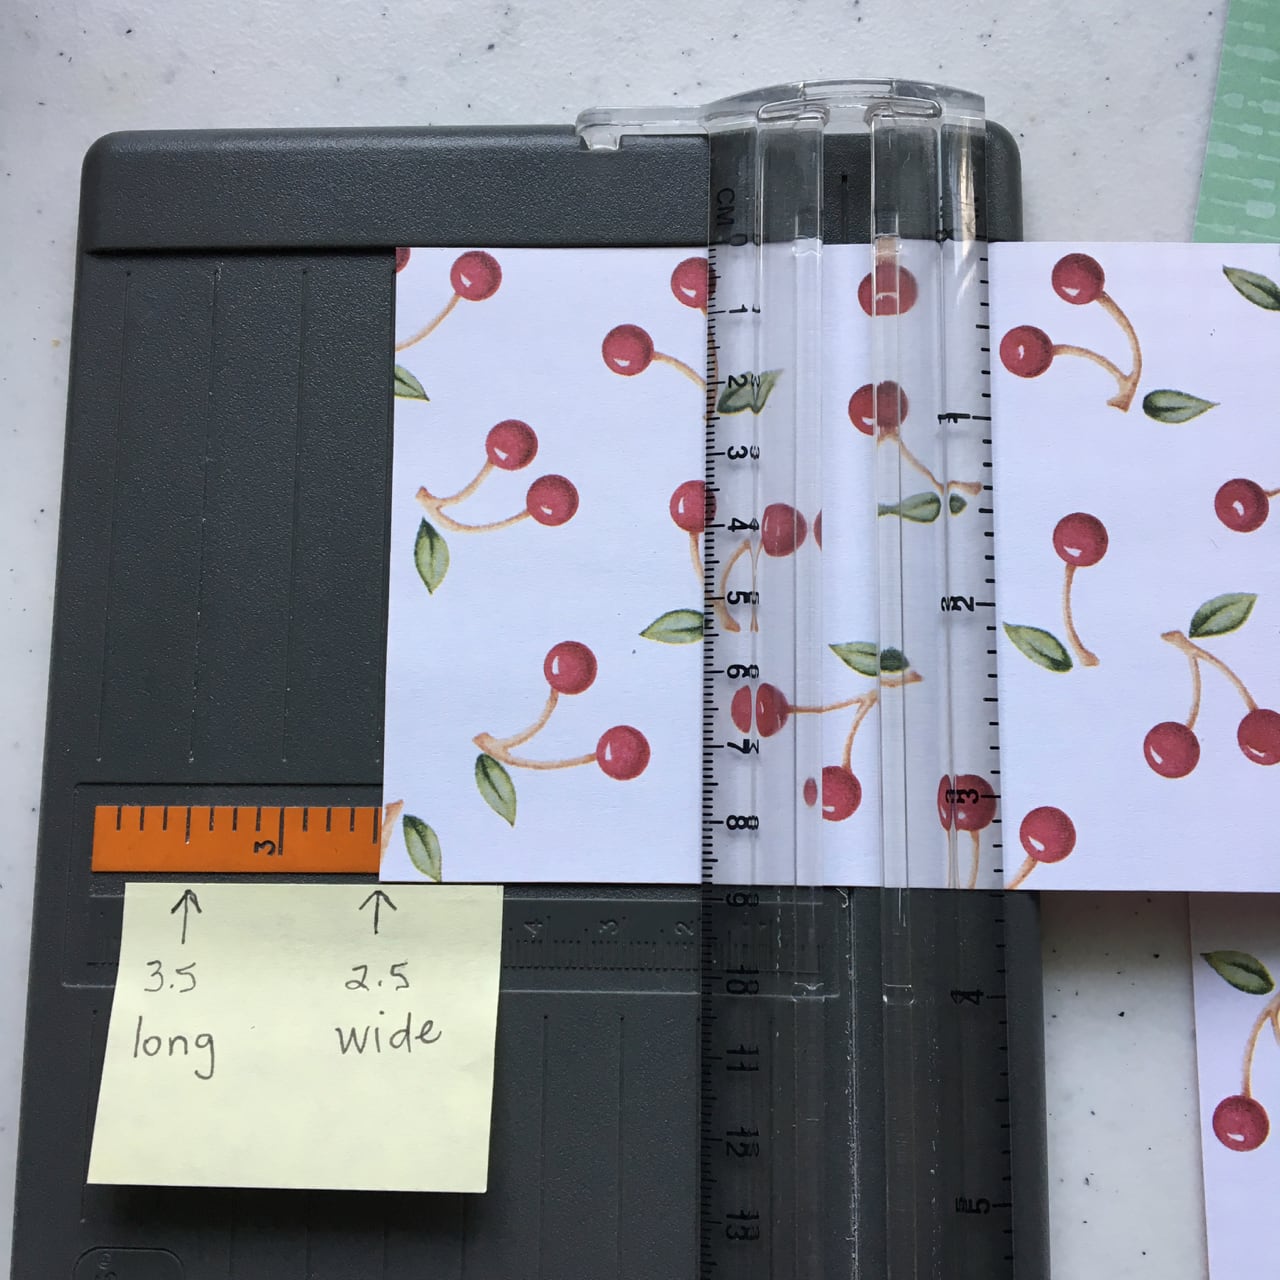
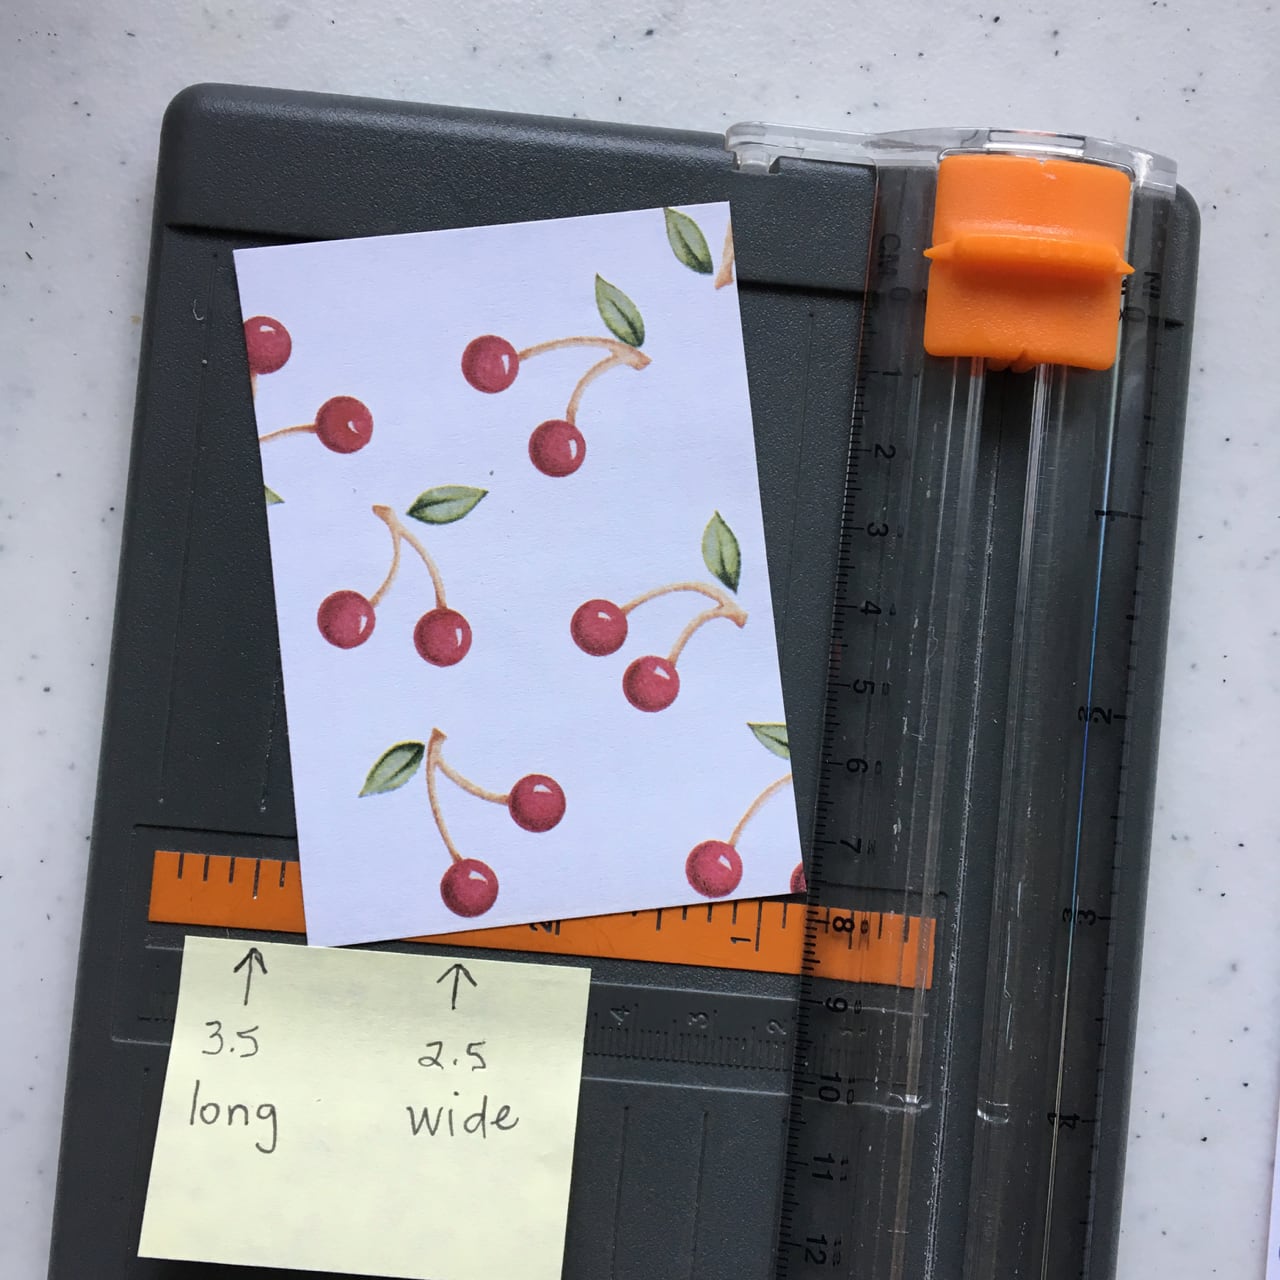
As you can see, the 3.5 x 2.5 paper fits perfectly in a pocket.

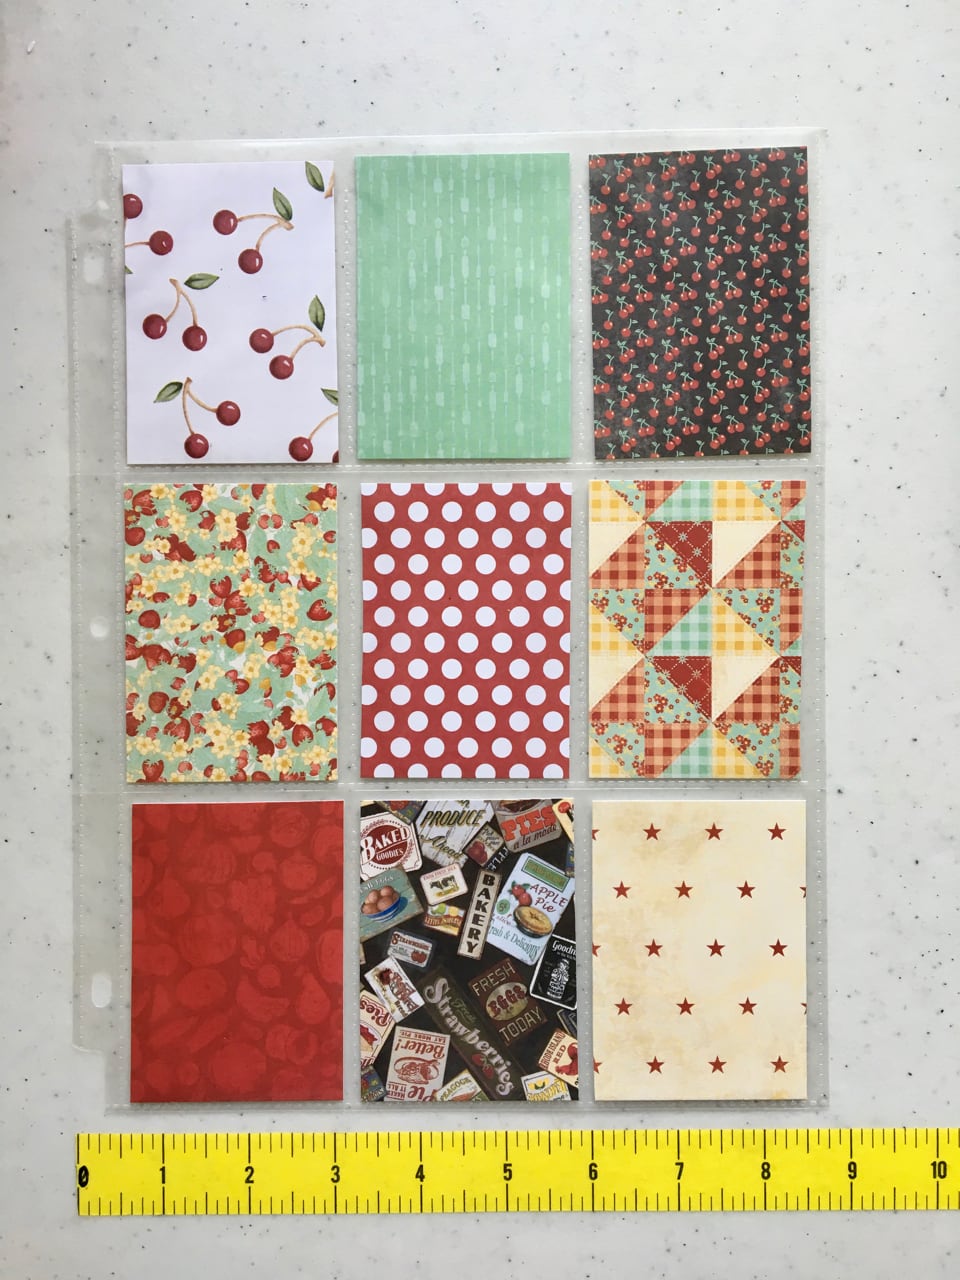
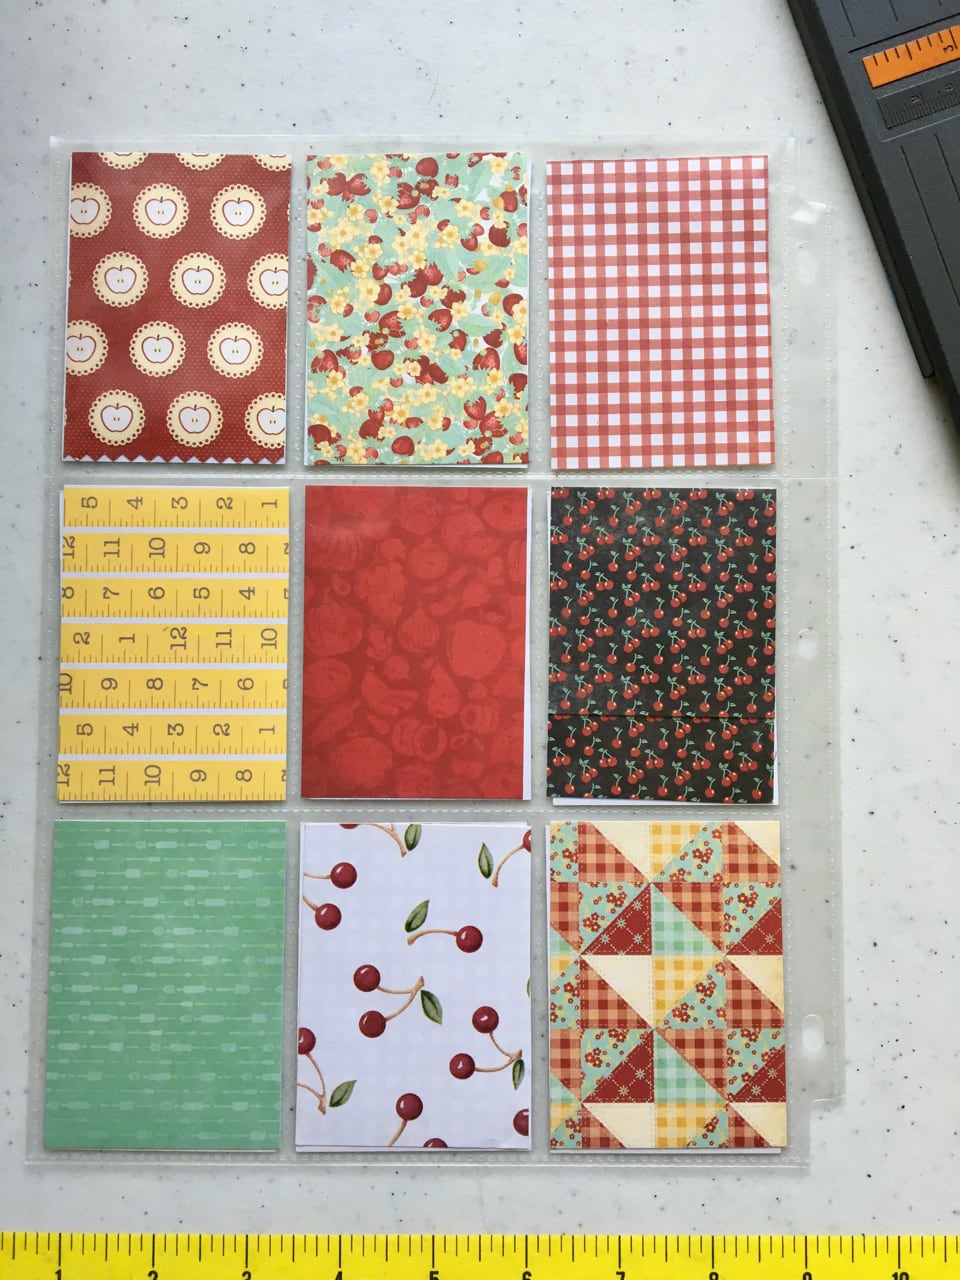
It’s fun to move the pieces around until you get them in an array that makes you happy. Here’s mine, from various papers with a kitchen/Americana/fruit theme (front and back). Yes, I’ve made two of several papers, one for each side. It keeps my theme from running amok.
This post is running a bit long, so we will finish our PLs in the next post. Here’s a tip: scrounge around your craft room, home office, kitchen, garage, local craft store, etc. for little items that will fit your theme and the pockets. Ideas: stickers, buttons, tiny envelopes (!), misc. embellishments, quotes, photos, cards, decorative tapes, recycle-able stuff, and whatever your heart loves. We’ll be using them to decorate the pockets.
Okay, so here’s the GIVEAWAY!!! You will get points for each of the following. Each point gives you an entry into the drawing. The prize is described below the list.
- Subscribe to this blog. (If you already have, you’re my best friend. Truly.)
- Post a link to my blog on your Facebook page, Instagram, Pinterest, or Twitter in the next 72 hours (ends at 11:59 p.m. on Sunday, August 5, 2018). If you do all four, that’s more chances to win! Use the hashtag #heartfeltcraftblog so I can keep track.
- Leave a comment at the bottom of this post.
- Post a photo of your PL with its papers in place on the Heartfelt Crafts Facebook page. I’ll give you a “like” to show I’ve seen it.
 Each entry will earn you a name on a slip of paper. I’ll put all of the papers out on my floor and let my adorable dog, Kirby, select the winner. Photos will follow!!!
Drumroll please! THE PRIZE!
The winner will be mailed a themed set of papers, stickers, and other goodies, perfect for making your own PLs or other paper craft. (Retail value around $15.)
Ready, set, CUT THOSE PAPERS AND GET POSTING!!!


 Aunt Sue and I showed up with our McDonald’s Buckets o’ Tea (really, what a deal for a buck!). We figured we’d need all our senses to complete this project. Neither of us had done much with acrylic paints before. It was an adventure in artistry! We watched the instructor and did what she did (kinda). Thanks to having lids on our iced tea, we never dipped our paintbrushes into our drinks, so there’s that. My main goal was to have a fun evening, not to paint a masterpiece. (Aunt Sue, bless her heart, had had shoulder surgery the month before, so she gave it her best. She’s usually very artistic! I was scared.)
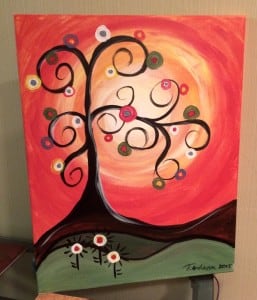 Which is why I was so surprised when my painting actually turned out to be something I might hang on a wall. I mean I was SURPRISED. And the instructor complimented me, which, all of us who live for the approval of others know, is the cherry on top. Here’s what I discovered: