Crochet Lessons from Pam Muñoz Ryan’s Esperanza Rising

[Esperanza] watched the silver crochet needle dance back and forth in her grandmother’s hand. When a strand of hair fell into her lap, Abuelita picked it up and held it against the yarn and stitched it into the blanket.

“Esperanza, in this way my love and good wishes will be in the blanket forever. Now watch. Ten stitches up to the top of the mountain. Add one stitch. Nine stitches down to the bottom of the valley. Skip one.”

Esperanza picked up her own crochet needle and copied Abuelita’s movements and then looked at her own crocheting. The tops of her mountains were lopsided and the bottoms of the valleys were all bunched up.

Abuelita smiled, reached over, and pulled the yarn, unravelling all of Esperanza’s rows. “Do not be afraid to start over,” she said.

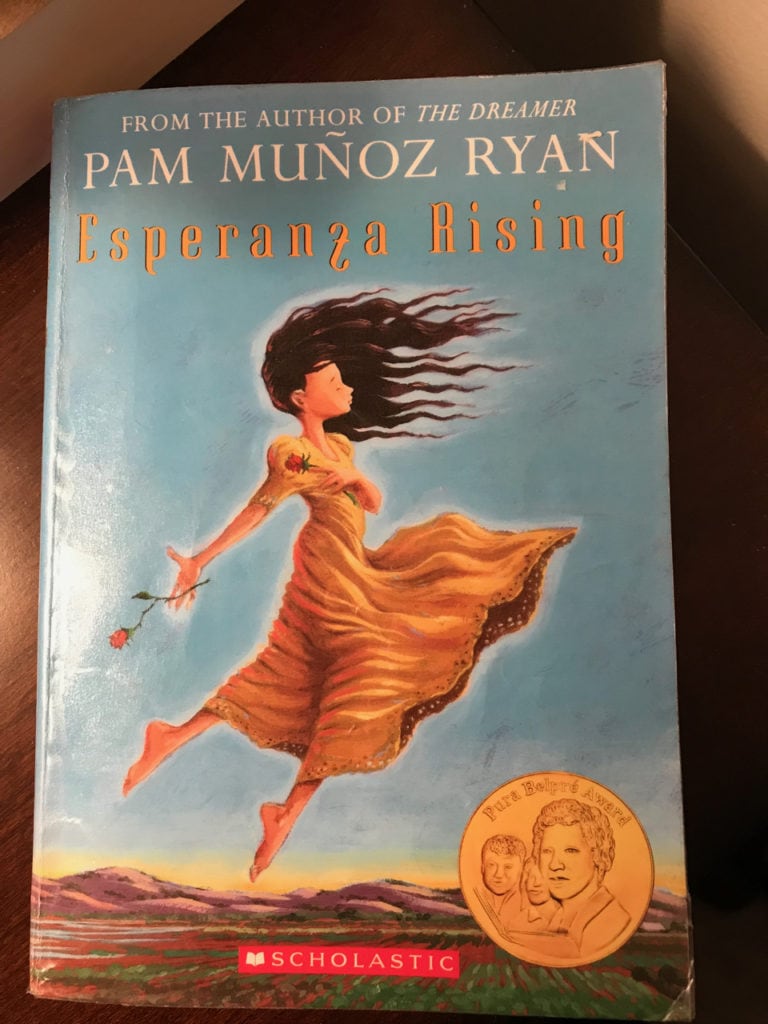
Esperanza Rising by Pam Muñoz Ryan, Scholastic paperback edition, ISBN 978-0-439-12042-5, 2007, pp. 14–15.

A Few Opening Thoughts

If you haven’t read this book yet, let me tell you that it belongs on your TBR list. Go ahead. Write it down. I’ll wait.

The clamor over immigration these days is not as new as we want to believe. It’s been a hotbed issue for decades. This tale of a young Mexican girl who has to flee her home with her mother and a group of family friends for the safety of America is based on the author’s grandmother’s immigration experience. Migrant farm workers form the backbone of Ryan’s family tree. They worked hard to make a home for their children, grandchildren, and great-grandchildren. Even though the story takes place during the Great Depression decade of the 1930s, the obstacles for immigrants are still looming and scary. 

If you have a young person in your life, probably aged 10 or older, do them a favor and buy them this book. Then have a conversation about immigration. Perhaps dig up your own family history and share it. Many of us can trace our roots to an immigrant who dared to risk everything to start over in America. Now, more than ever, this conversation needs to happen. 

Crochet Lesson #1 (Lección de Ganchillo Número Uno)

Imperfections create personalization.

Those of us who work with yarn—usually as knitters or crocheters—find ourselves pick, pick, picking things out of the yarn as we stitch. It might be a piece of lint, a cat hair, or one of our own single tresses that clings to the fiber. We see that as an imperfection, an intrusion into the project that we’re working so hard to make. Pick, pick, pick.

From now on, I want to think like Abuelita. I want my strands to embrace the yarn if they fall into my work. I want to make every stitch a prayer for the person who will receive the gift I’m creating. I’ll be less worried about perfection so I can enjoy the stitches, the rows, the mountains and the valleys. Will you?

Crochet Lesson #2 (Lección de Ganchillo Número Dos)

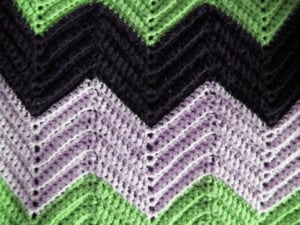
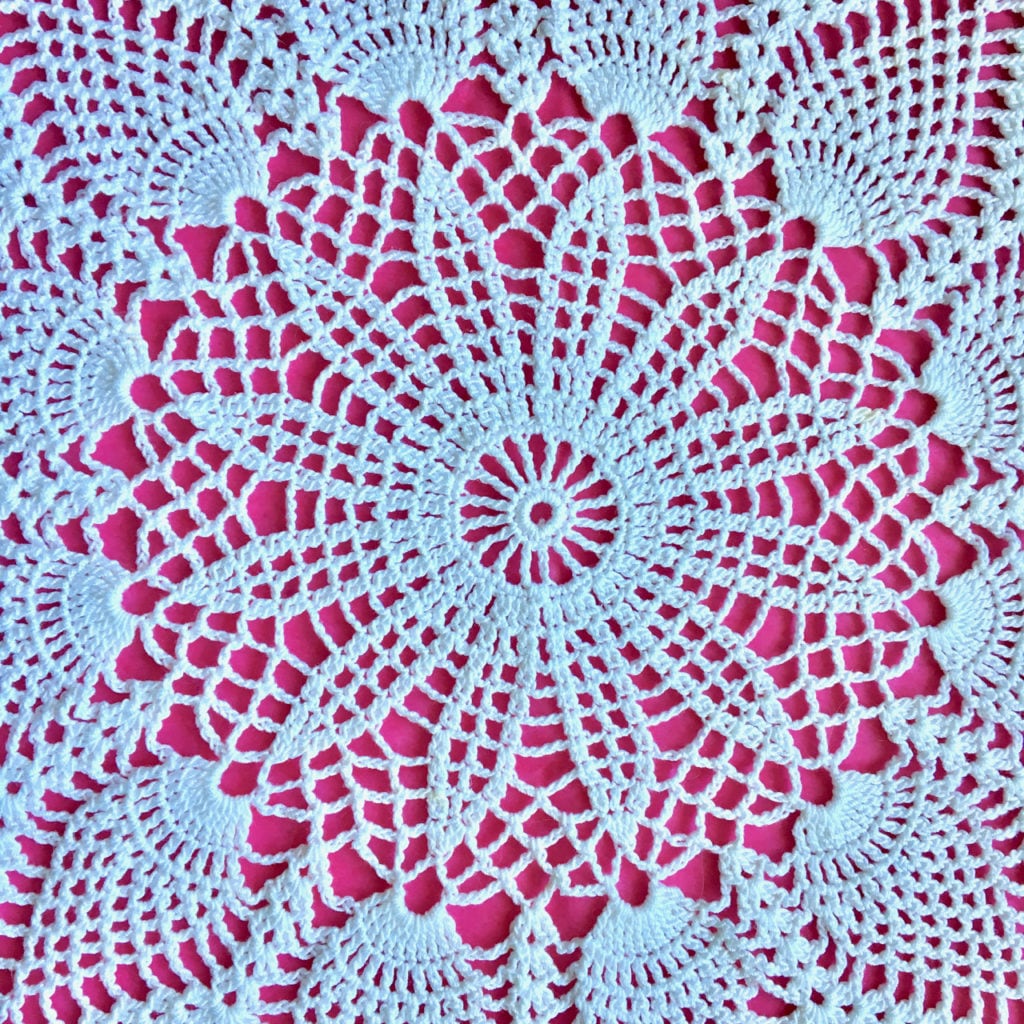
Ah, those mountains and valleys. I’ve spent time in both places—and so many years in between. I’ll bet you have, too. Those valleys are tough. They feel dark, lonely, and long. If you can envision the crochet pattern Abuelita uses (it looks exactly like the photo above), you will see that the deepest part of the valley is only one stitch away from heading up toward the mountain top. Just one stitch. Maybe that’s all you can manage some days. That one thing that moves you slightly up, changes the angle oh-so-little, but oh-so-not-in-the-deepest-part-of-the-valley. Maybe it’s taking a walk. Calling a friend. Starting a new book (read or write). Steeping a cup of tea and watching a favorite old movie. Just one little stitch. Crochet hook in, yarn over, pull through. Pull through.

Crochet Lesson #3 (Lección de Ganchillo Número Tres)

Abuelita smiled, reached over, and pulled the yarn, unravelling all of Esperanza’s rows. “Do not be afraid to start over,” she said.

I wish we could undo our mistakes as simply as pulling on a string. We can’t. However, we can try again, over and over if necessary. Here are some ways to do that:

  • Apologize sincerely when wrong.
  • Admit when we’ve made a mistake.
  • Make atonement when possible. (AA’s Twelve-Steps followers depend on this to maintain sanity and sobriety. We all would do well to practice this step, too.)
  • Not take failure to heart. 
  • Remember that everyone fails, and probably a lot more often than we realize.
  • Forgive yourself.
  • Give yourself permission to mess up, especially if it means you can take risks doing something you’ve always wanted to do.
  • Swear. Punch a pillow. Take a break. Doodle. Journal. Mow the lawn. Clean the kitchen. Do something to get the negative feelings out (don’t stuff and deny them—that will only make you depressed and even sick) and then start again when you’re ready.

Do you know someone who might be encouraged by this post? Send it to them. They don’t have to join the blog, make a comment, or do anything at all. Just receive some encouragement—especially if they’re deep in a valley right now.

Those who want to follow my blog can do so by adding your information here:


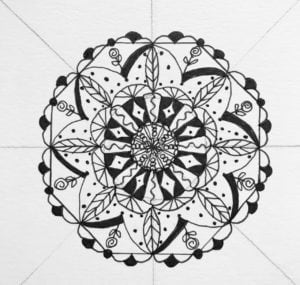
Hello, Doily!

Sometimes you just have to combine two crafts that you love—and come up with a new one to love, as well. This week’s project is easy, Zen-like, and oh-so-pretty!

Those of us of a certain age grew up in homes decorated with doilies. Think of them as lacy coasters, if you will, underneath everything from lamps to candlesticks to the make-me-beautiful objects found on a bedroom vanity.

Before you panic, don’t! I’m not going to entice you to learn the needlecraft of thread crochet or tatting. (My grandmother knew how to do both to perfection.) No, we’re going to do something that will take much less time, fewer materials, and no stress. (Unless you stress about everything, in which case, I can’t promise much. tee hee

Remember some of my previous posts about learning to Zentangle®? I’m going to show you how to apply some of the basics of calming, creative, mindful doodling to make a lovely circle of sweetness. Let’s begin with what you’ll need:
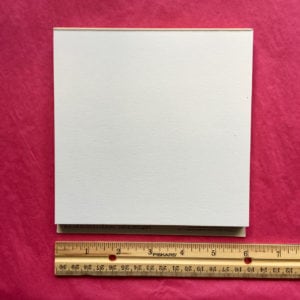
  1. Plain paper—a square size of your choice—that doesn’t bleed when using markers. Any color is fine, as long as your marker will show up on it. You could even use black paper if you have a white marker. (I’ll show you how that looks at the end.) I use 6″ x 6″ cardstock paper: 
  2. A ruler
  3. Anything you can find to make concentric circles: a compass, circle stencils, circle templates, or a variety of round objects from small (about the size of a dime) to large (for this purpose, about the size of a small saucer).
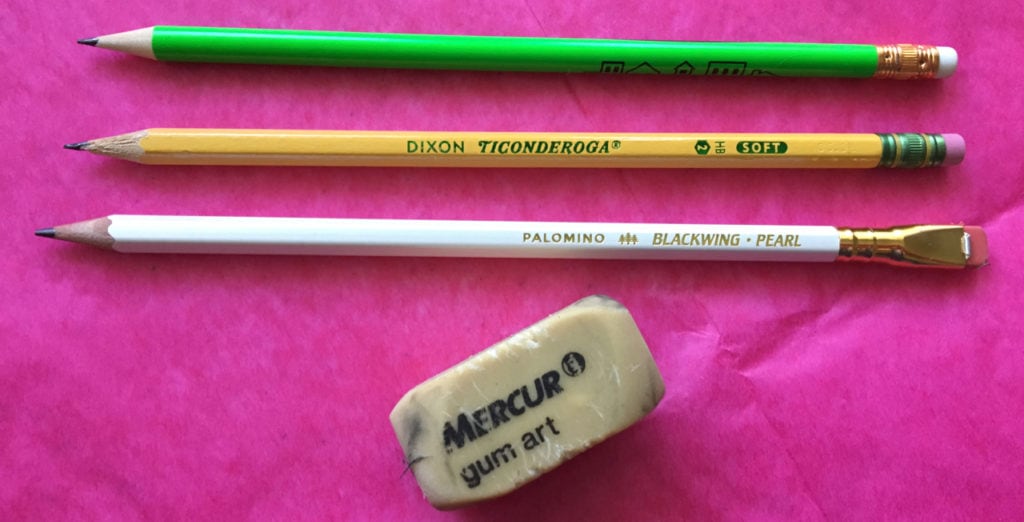
  4. A good pencil and eraser. My favorite pencils for things like this (because they erase completely) are Ticonderoga No. 2 and Palomino Blackwing Pearl. Any good pencil will do if you find you can create soft lines and erase without leaving any graphite behind. My favorite erase is not on the end of the pencil. I prefer the old-fashioned, bouncy, chunky art gum erasers. They are unbeatable for erasing pencil marks and not taking away any ink from your work.
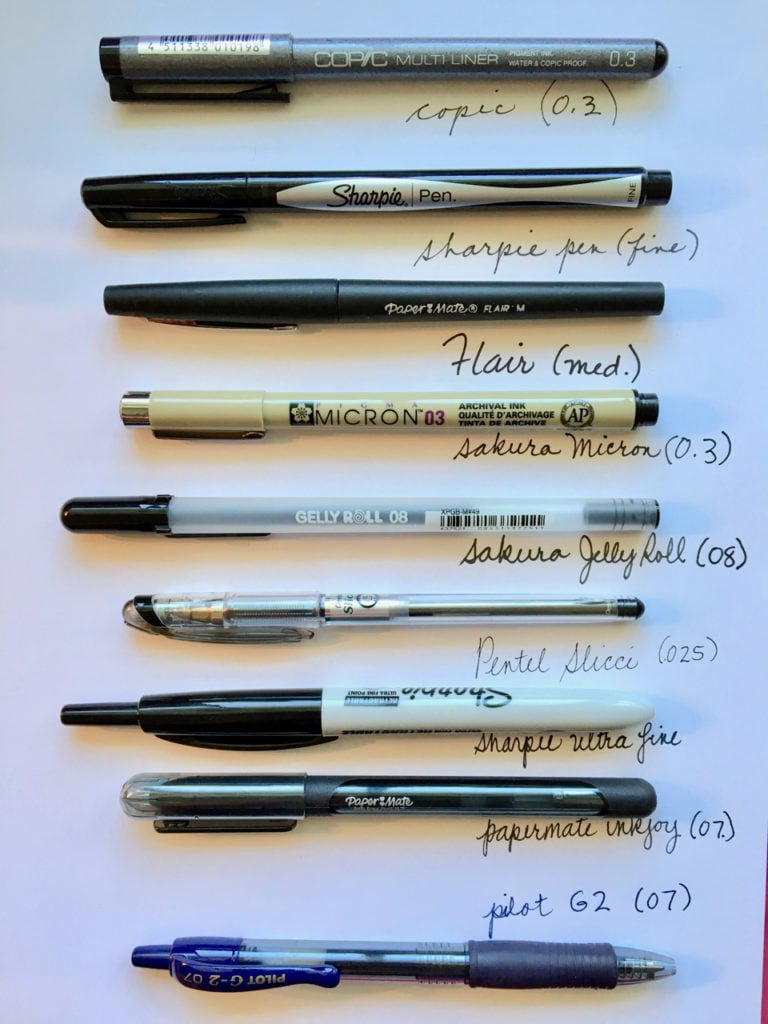
  5. Fine-tipped colorfast markers or gel pens such as Sharpie, Copic, Sakura Micron, Sakura Jelly Roll, Pilot G2, Stablio, etc. Here’s a photo to show a few of these and a writing sample of each. For the project you’ll see here, I used the fourth one down, the Sakura Micron 0.3 marker.

That’s it. Now we can start. Find a place where you can work comfortably and where the light is good. You’ll be making faint pencil marks, so it’s good to be able to see them easily.

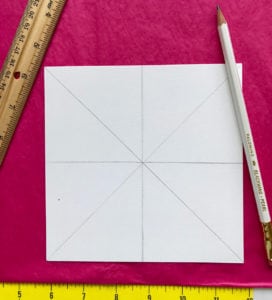
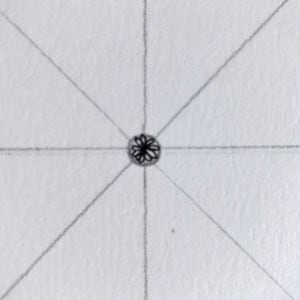
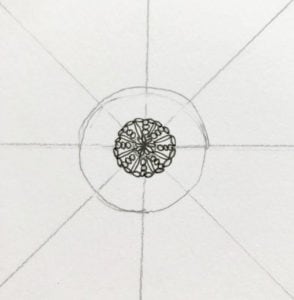
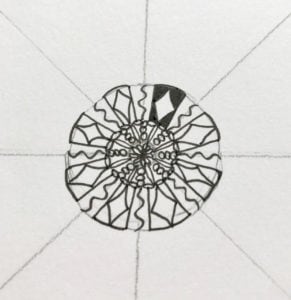
First, using your pencil, start by drawing straight lines from corner to corner so you can find your center.


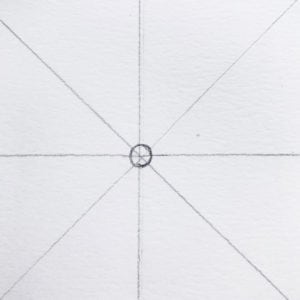
2. Draw a small circle in the center. Use a compass or template or just freehand it.

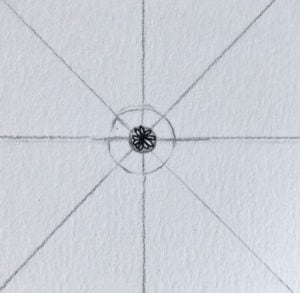
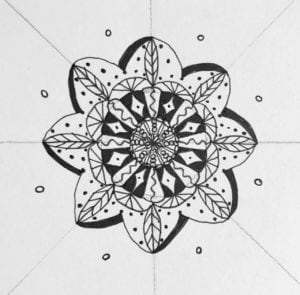
3. Make a design around the circle. I’m using long ovals that look like petals. You don’t have to do exactly what I’m doing on these steps. Whatever design you want, go for it!

4. Draw another circle around the first one to keep your designs equidistant from the center. Remember, all of the pencil marks will go away at the end.

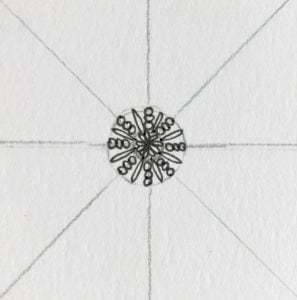
5. Doodle a different design around this circle. Make sure it touches the first circle’s design so it seems to hold together, like a doily!6. Sketch in another circle around that one.

7. I decided to border the entire second circle with a chain effect. You could use dots, scallops, lines, or nothing!

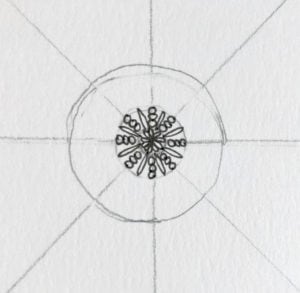
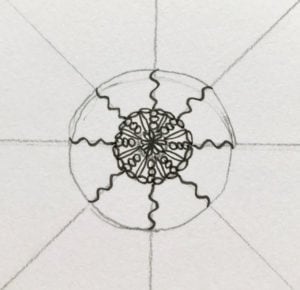
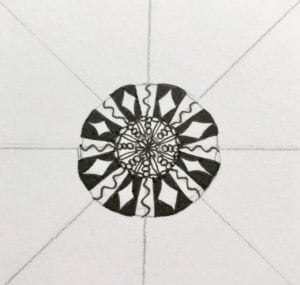
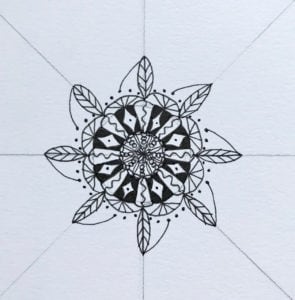
8. Using the lines you drew at the beginning, begin to pull your design outward. As you do this, you won’t have to keep drawing circles to keep your distance from the center. However, you may draw circles if you feel better about that. The goal here (as you can clearly see from my example) is NOT perfection. It’s about play, imagination, design, and feeling calm as you discover what wants to appear.

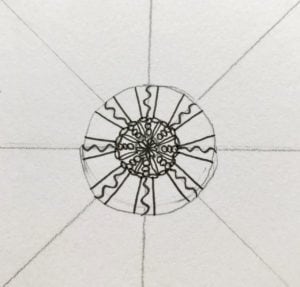
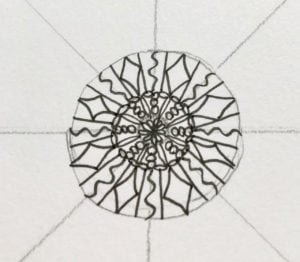
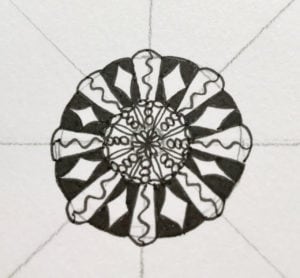
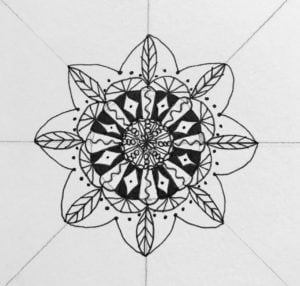
9. Just keep adding designs as you wish. Here’s a progression of mine for this round. (When crocheting a doily, each time you start on a new circle, it is called a “round.”)      

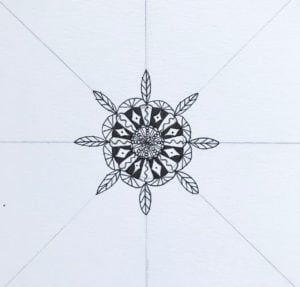
10. Now I’m using the rays (lines) to pull the design again. These leaf/feather pieces also add something recognizable. 

11. After I put the dots in, I pull a “wing” down to the center dot of each section.

12. Then I do the same to the other side.

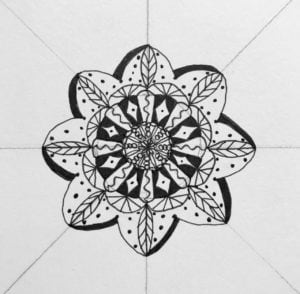
13. I add some dots as fillers and draw a lefthand line that I’ll be using to shade the design.   

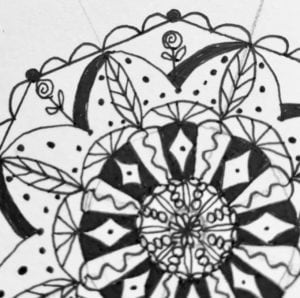
14. Again, I’m pulling the design outward by placing these small circles in the center of each section. (See how you don’t have to keep drawing circles now?)

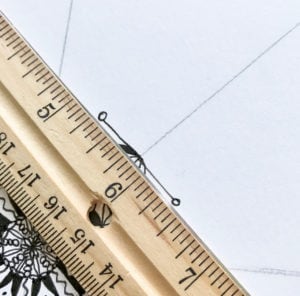
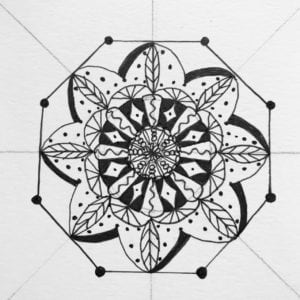
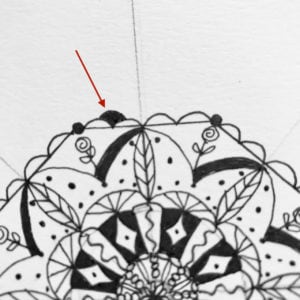
15. Use your ruler to draw a straight line from tiny circle to tiny circle, making sure you touch the top of each arc (petal).


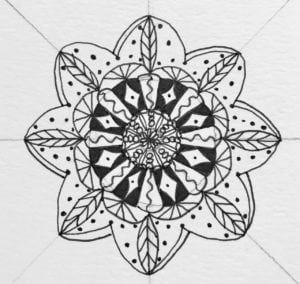
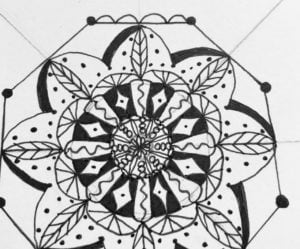
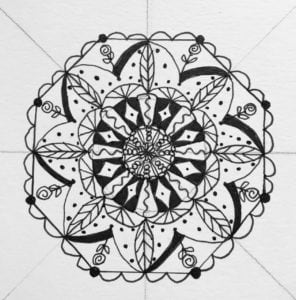
16. Progress by adding elements to this round. We’re almost done!


17. You can keep adding rounds as long as you want. The project can be as large or small as you want. When you’re happy with your final round, it’s time to erase—but wait! Let your ink completely dry before you start rubbing the paper with an eraser. The time varies, but I try to wait at least 15 minutes. Some inks take longer. I prefer to use a gum eraser. It takes out everything the pencil has done, but doesn’t interfere with the ink at all. 

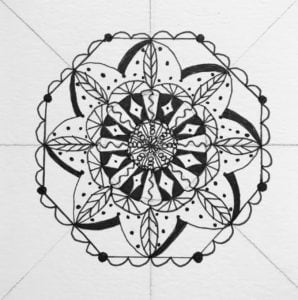
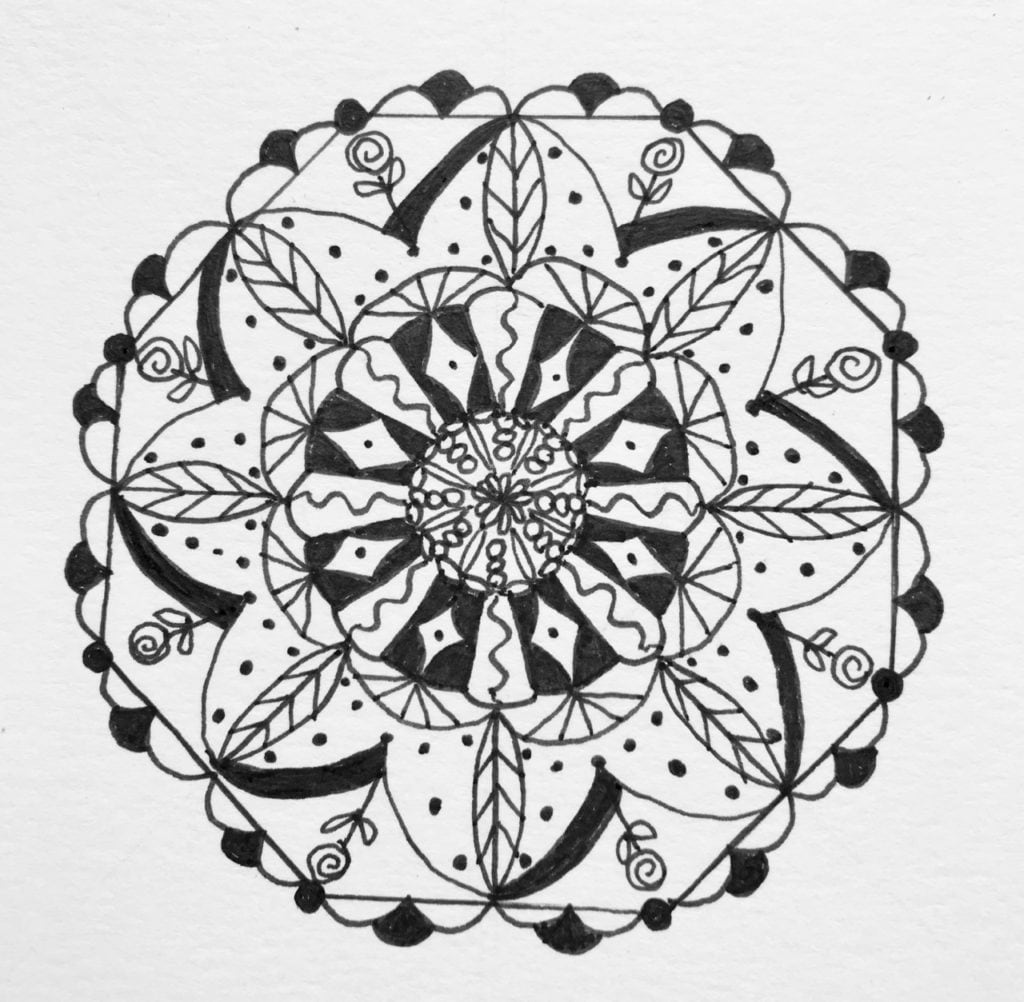
Here’s the final product! No, it’s not perfect. But it’s nice and pretty and ready for a little frame. Unless…I decide to color some areas. That’s entirely up to you! Use gold or silver metallic pens to put some elegance on it. Or use colored markers or colored pencils to make it pop. 

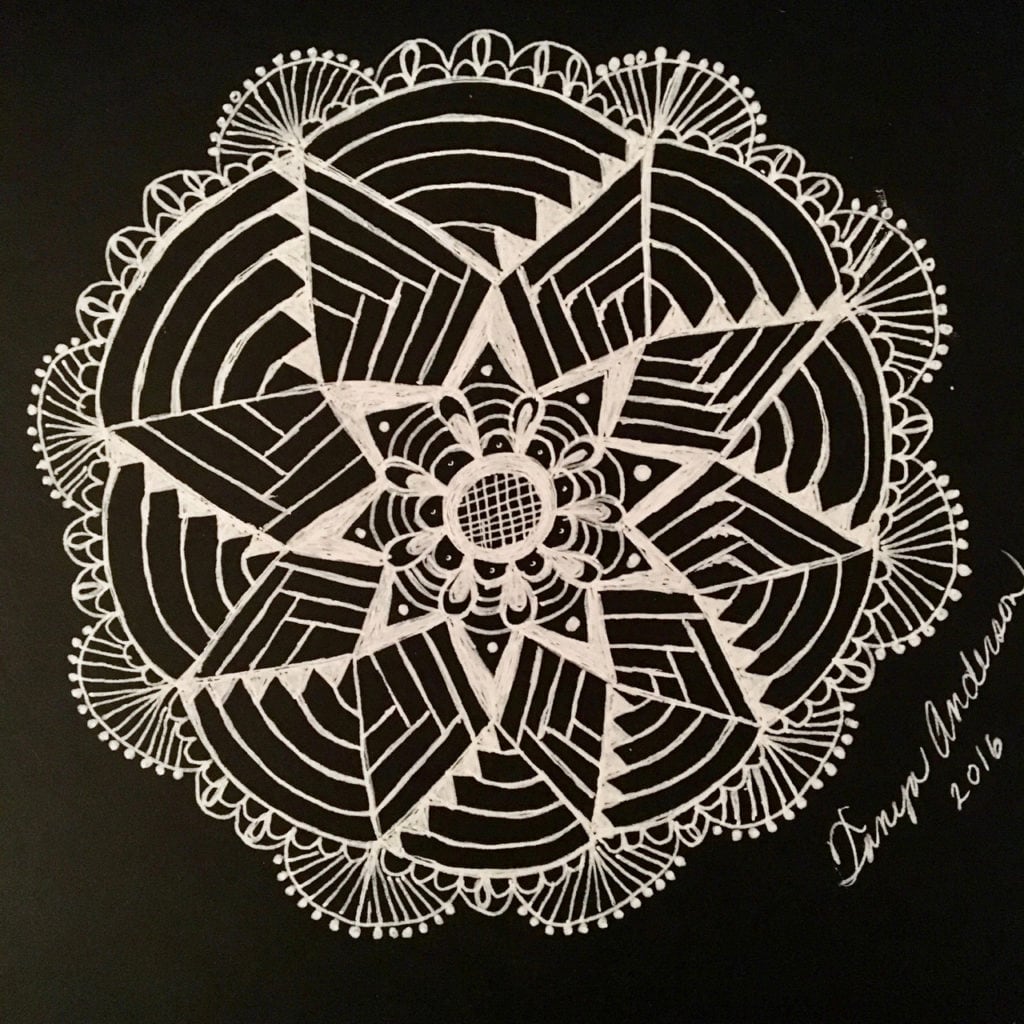
I hope you had fun doing this project with me. As promised, here’s an example of one I did on black paper with a white gel pen—again, NOT perfect.

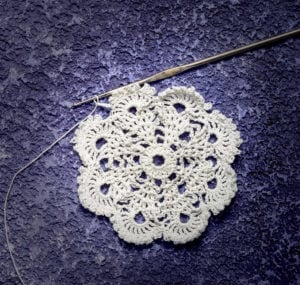
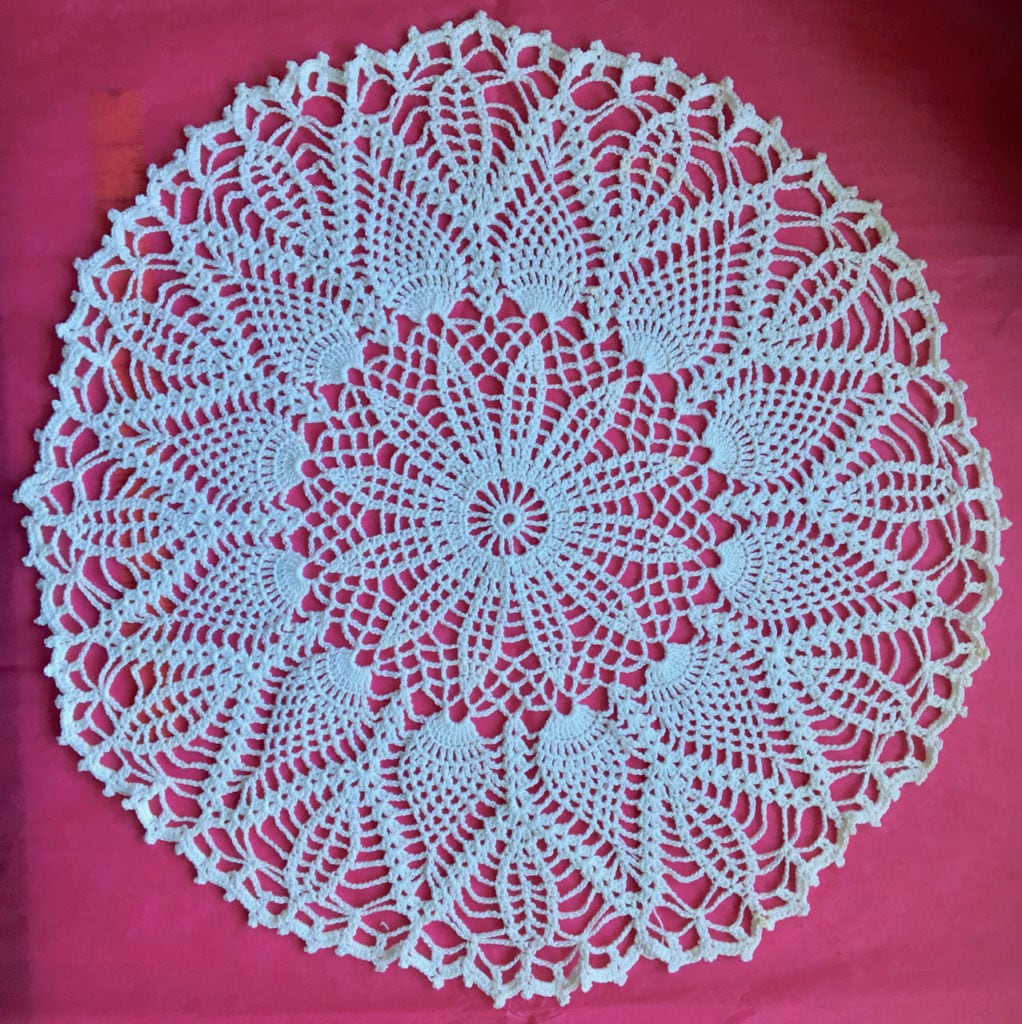
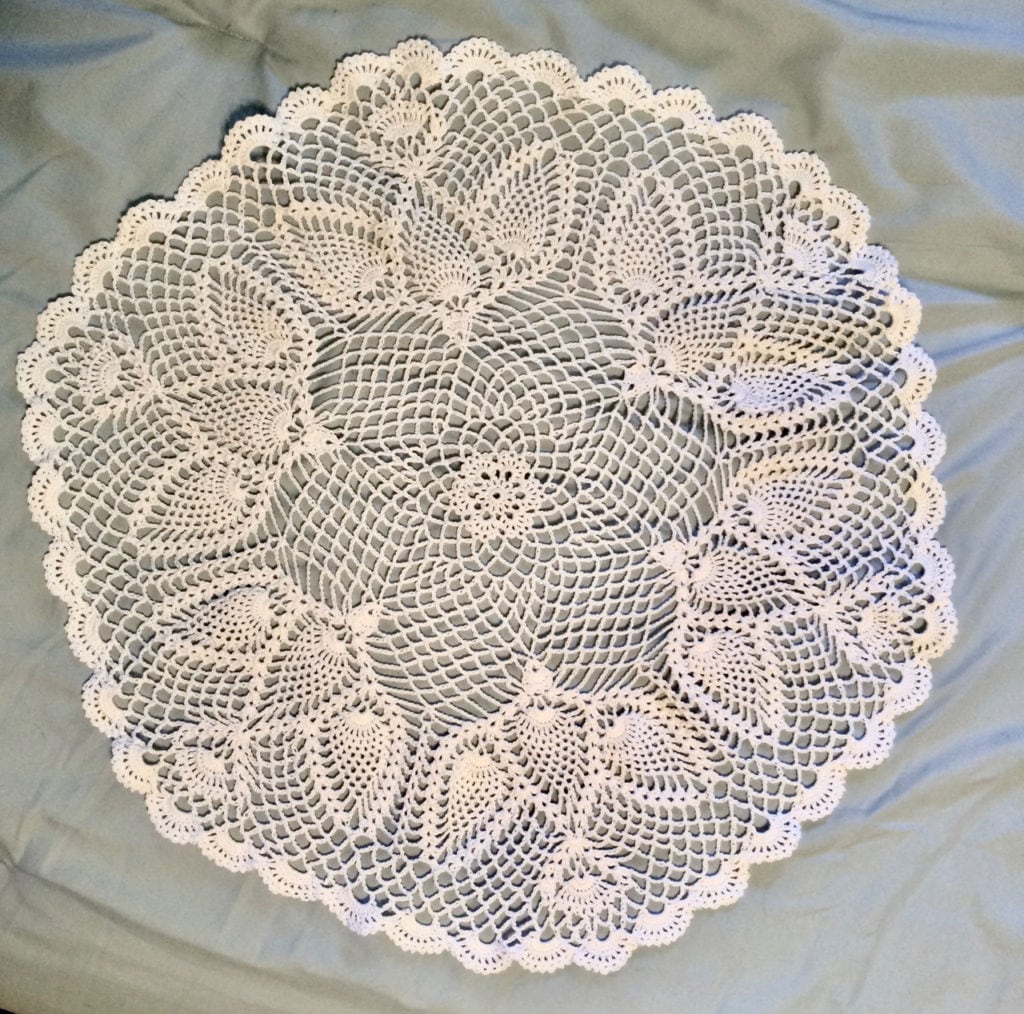
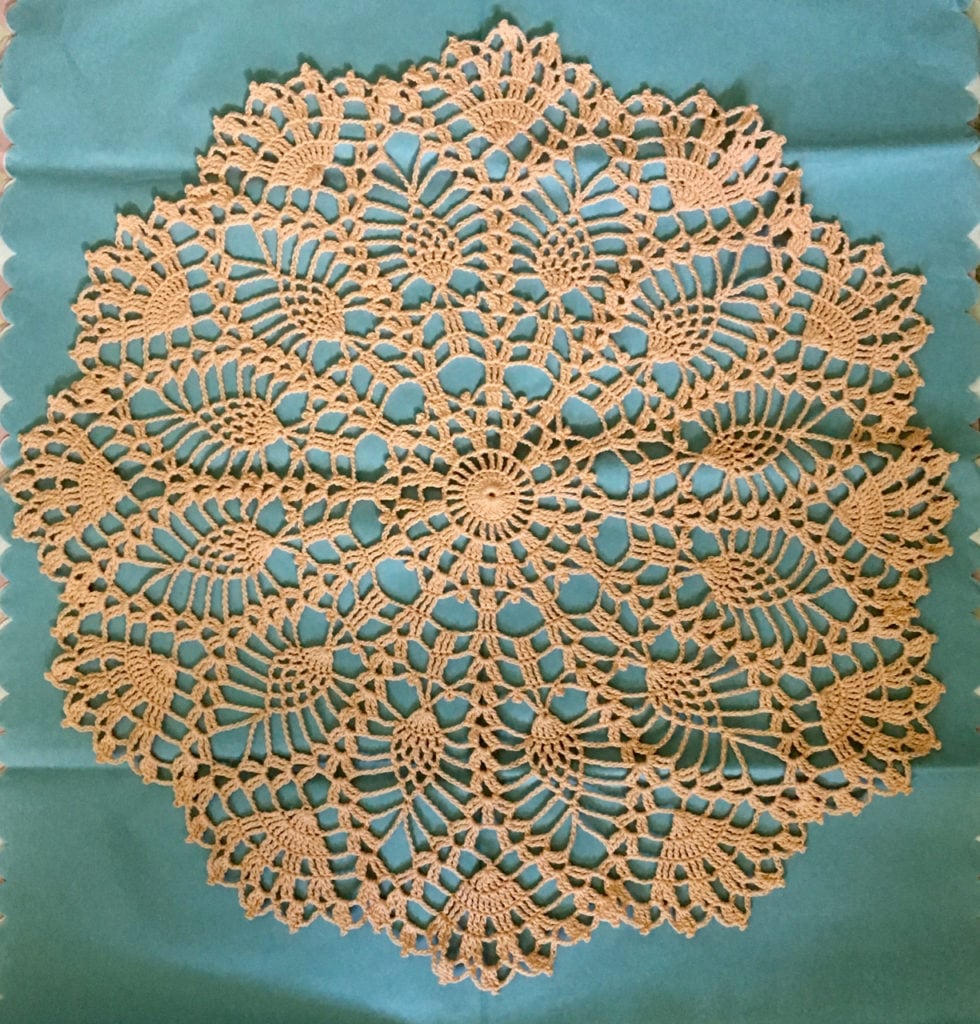
Here are some crocheted doilies I’ve made. Most were given as gifts. And now I can draw them (which is SO much faster!) 

Send me pics of your paper doilies when they’re done. I love to see what you create! 


Crafting for Christmas … in July

If you’ve been in a craft store lately, you know that Christmas isn’t really that far away. Never mind that it’s 95 degrees outside and most of the country is dry as a bowl of Cheerios sans milk. (Really, now do toddlers eat those things dry?!) This year has been warmer and dryer than any year in recent memory, so it’s begun to feel like the title of one of those drippy teen romance novels:The Summer of Forever, or whatever. And then I saw the aisles at Hobby Lobby and JoAnn’s and Michael’s. Aisles that twinkled with red, green, and gold glitter. Santas and snowmen greeted me with crinkly eyes and fat-cheeked smiles. They reminded me that even this summer will come to an end.

My first reaction is horror. How can they even think about Christmas this early? Then I start to think about it. And realize, like the merchandisers of craft stores, that I should really get started on projects that I intend to make as Christmas gifts this year.

Granted, those kinds of gifts are fewer than they used to be. When I had small children (all boys, by the way), I made beautiful, heirloom-worthy things. My oldest son’s hand-stitched crewel embroidery stocking was a masterpiece. Unfortunately, it now resides with my ex-husband who may or may not treasure it as I would. Some part of me wants to go all ninja-like and sneak in to steal this one-of-a-kind work of art. Honestly, I learned stitches on that thing that I had never done before nor have done since. I *will* post a photo of it on here someday. Just don’t ask how I got it.

Nowadays I satisfy my crafting urges by making smaller things: dishcloths, dishcloths, earrings, dishcloths, bracelets, hot pads that can double as dishcloths. I go for quantity over quality now. That Christmas stocking took me more than 80 hours to finish, I’m sure. Now I can whip up a dishcloth in about 15 minutes. It’s a good one, too, don’t get me wrong. Just look:

Ask yourself honestly, would you give away something that took you much longer than 15 minutes to make if you knew it was going to be submerged in dishwater for wiping peanut butter or pasta sauce off a stack of plates? I rest my case. (The one on the right here is especially good for cleaning up grape jam, by the way.)

How many have I made for Christmas 2012 so far? At last count, about 25.

Anybody want a dishcloth?