‘Tis the Season…ings

Sugar and spice and everything nice, that’s what the grown-up girls on your list are made of. Let’s make something special just for them. A bag of seasoning with some mini accessories!

This easy felt project can be completed in about one hour.

But first you need to gather all the ingredients.
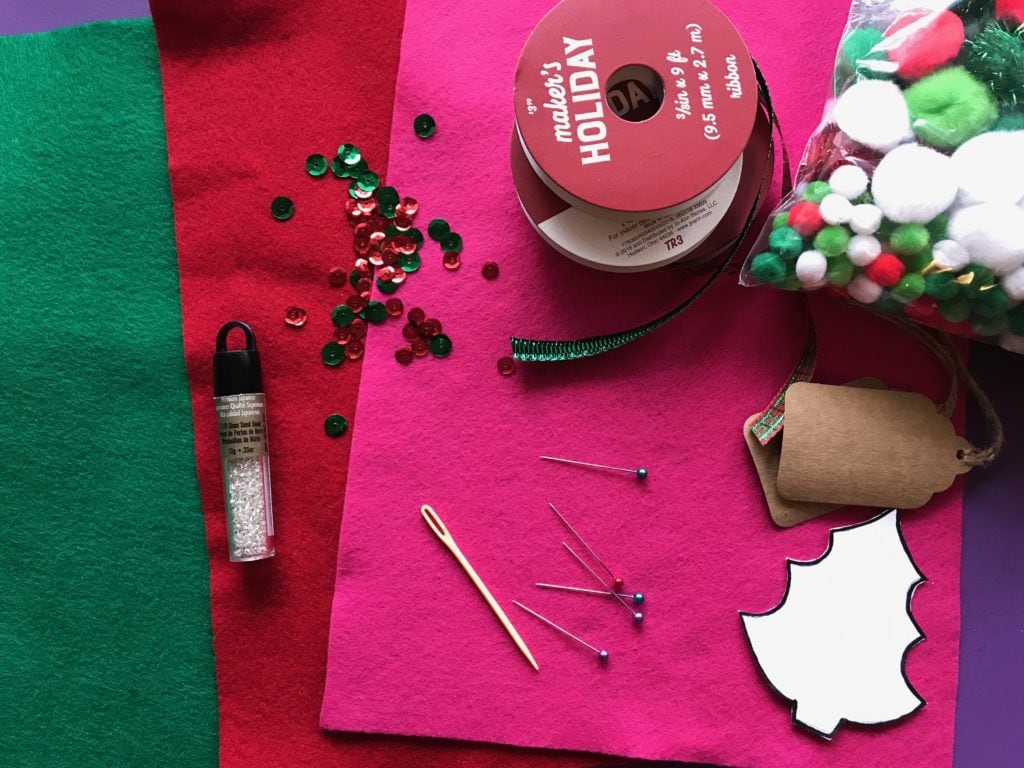
Ingredients:

  • 8 1/2 x 11″ felt piece in main color
  • felt scrap in green
  • scissors
  • pins
  • sewing needle
  • embroidery floss in matching or contrasting color
  • plastic yarn needle
  • two (2) 18″ pieces of ribbon 3/8″ wide
  • pompoms (optional)
  • sequins (optional)
  • glass beads for sewing on sequins (optional)
  • gift tag

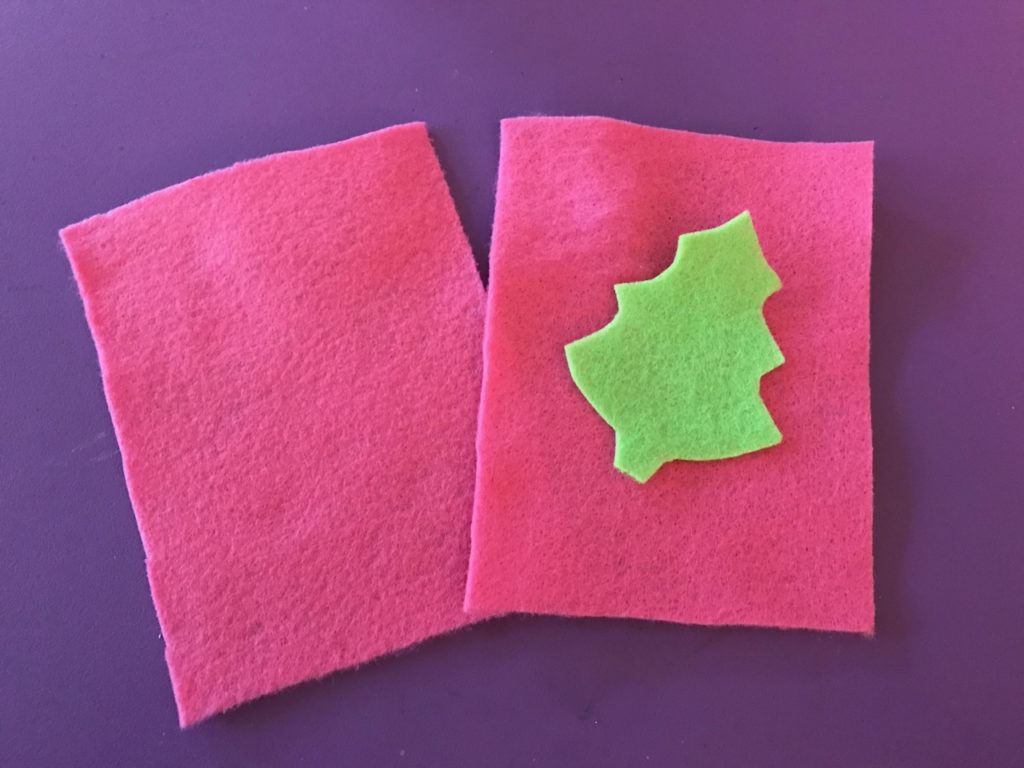
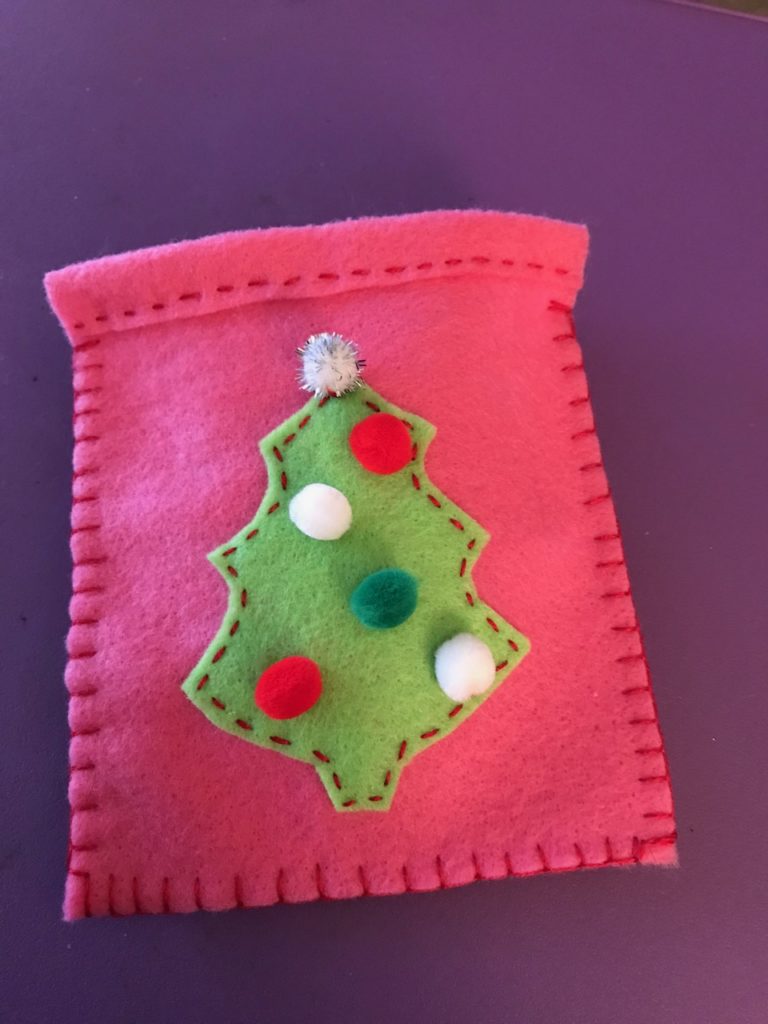
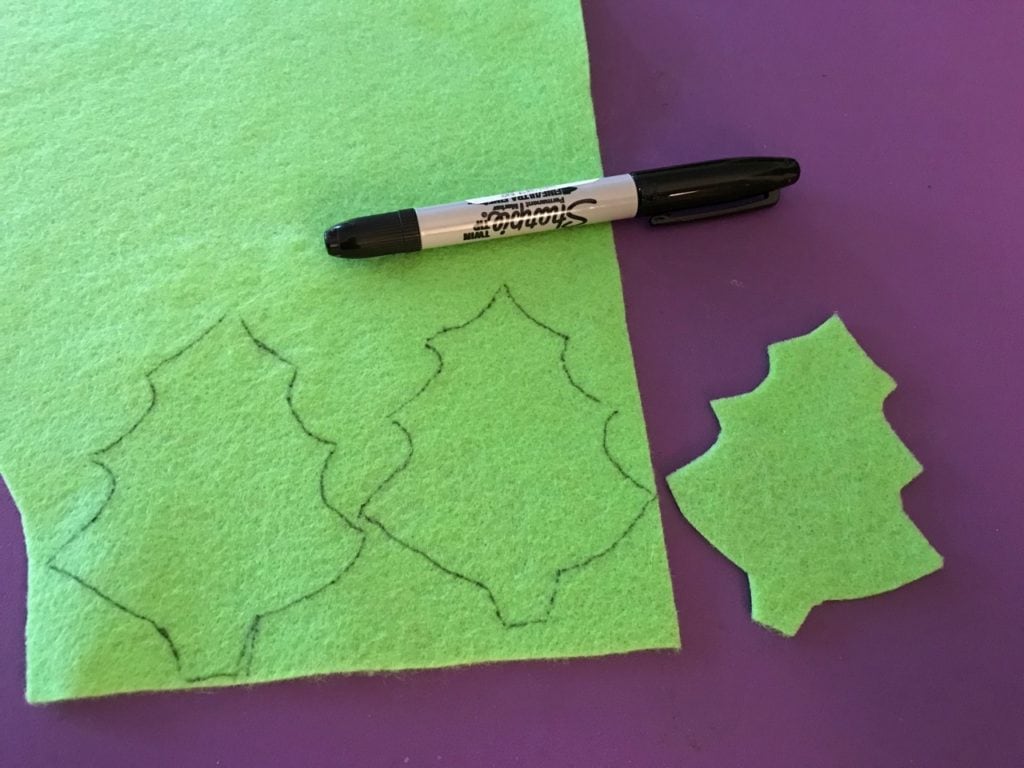
Lay everything aside and start with the green scrap piece of felt. This piece is for the Christmas tree. Use the pattern (download here) and trace the outline of the tree onto the green felt. Then cut it out. The second photo shows you the finished size of the tree.
Next, take the full-size piece of felt (pink is shown here). Fold it in half and cut along the fold.
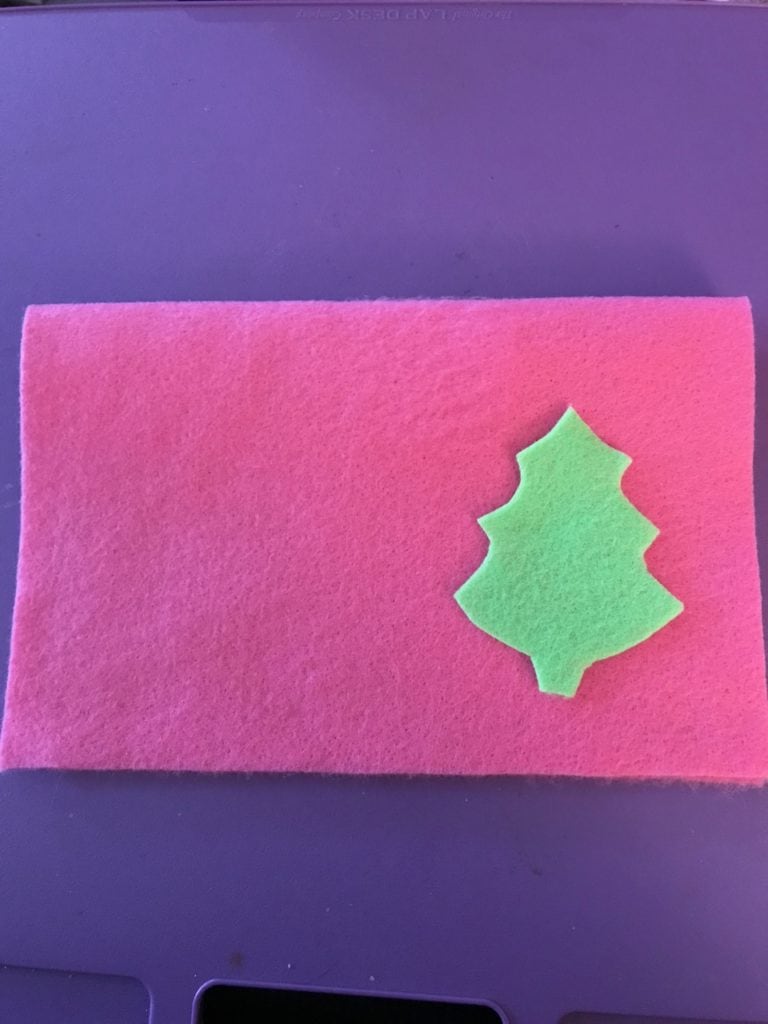
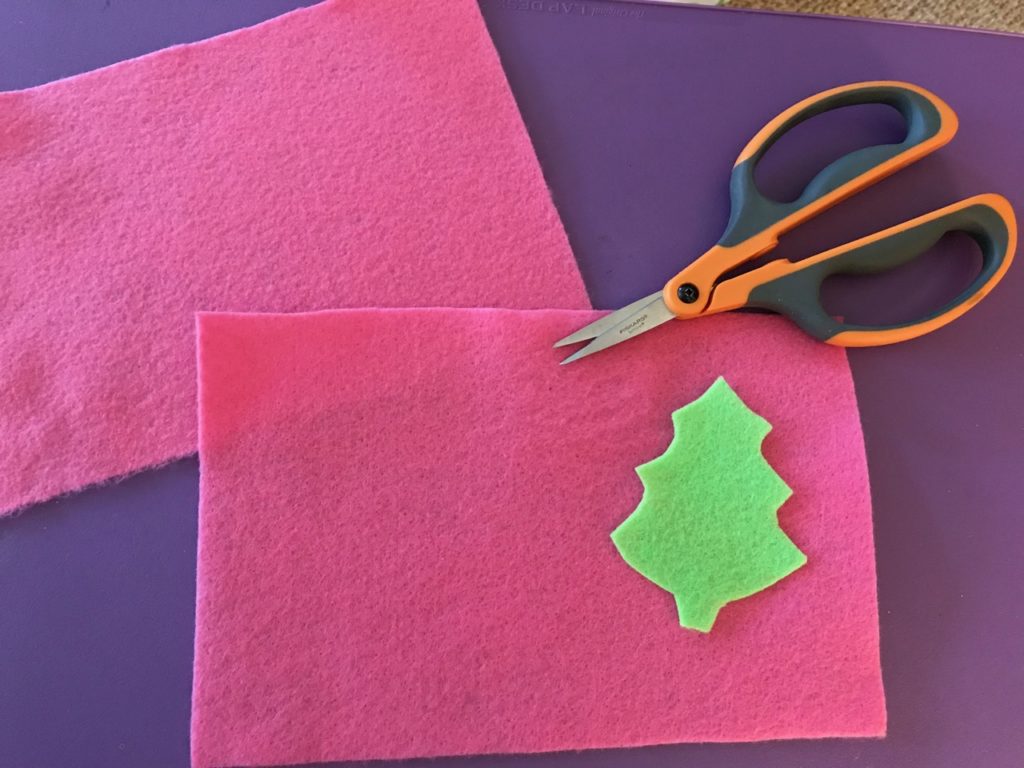
Now you will fold one of these pieces in half and cut along the fold, as shown below.
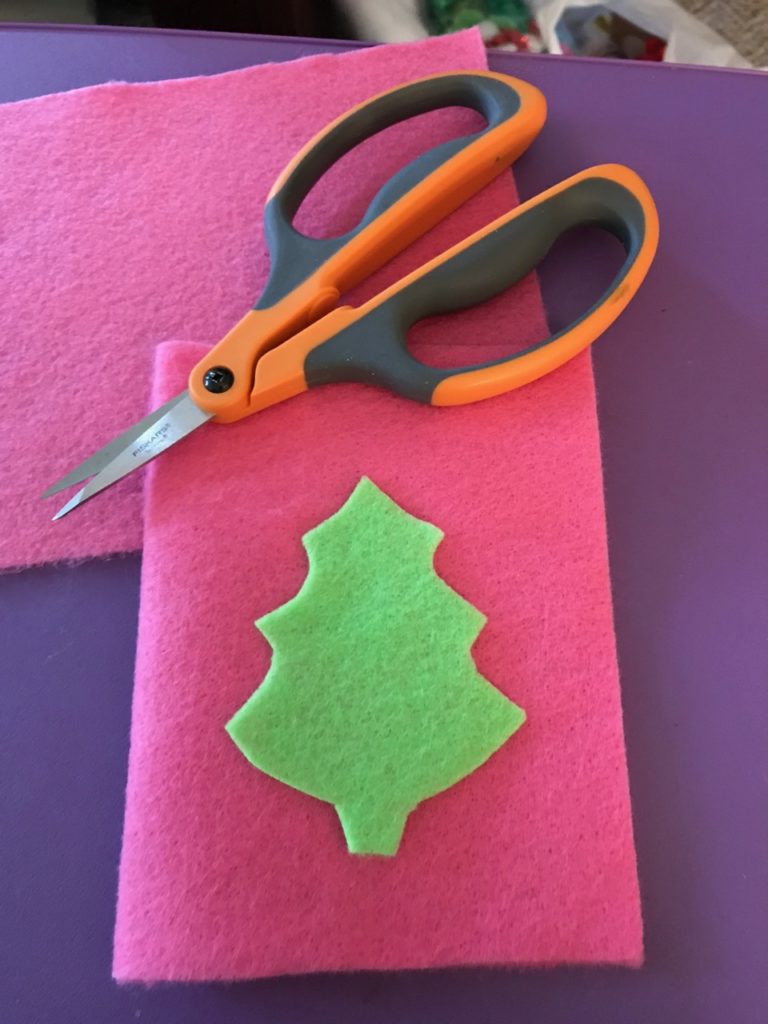
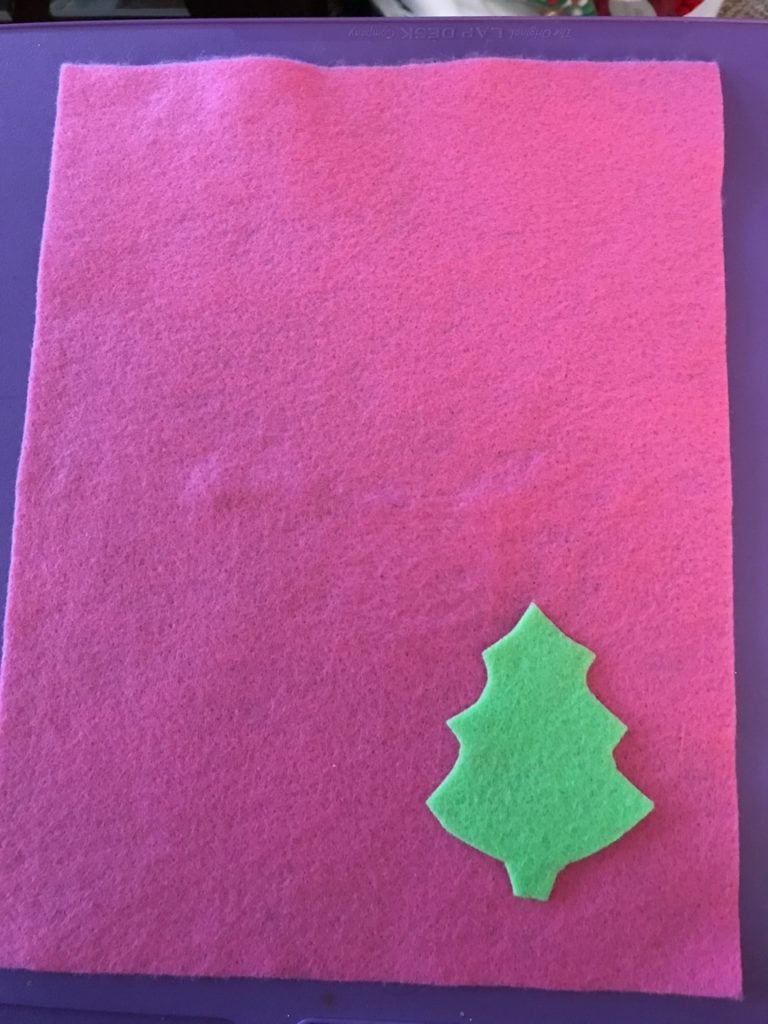
Now you’re going to add the tree, like an appliqué, and stitch around the edges. I like to use a running stitch (basic, basic), but you could use any embroidery stitch you want: blanket stitch, back stitch, French knots, daisy chains, etc. Begin by pinning the tree in the center but slightly lower, as shown below.
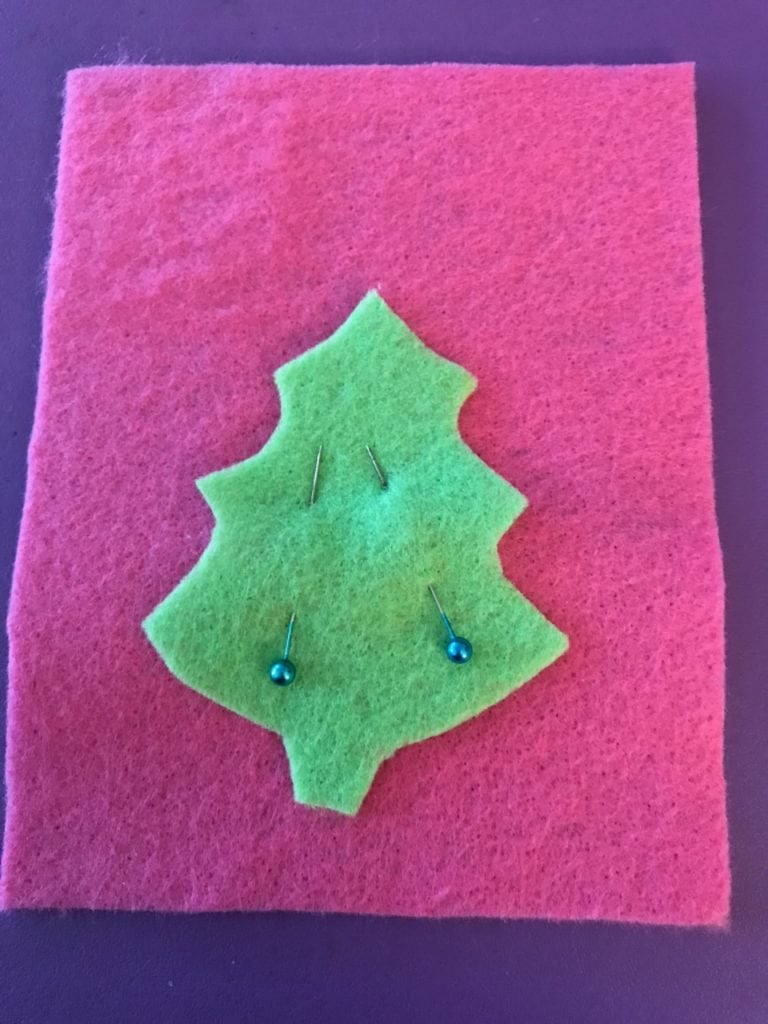
Using the contrasting colored embroidery floss (I use three strands), stitch the tree to one piece of the background felt. Do NOT tie off the thread yet.
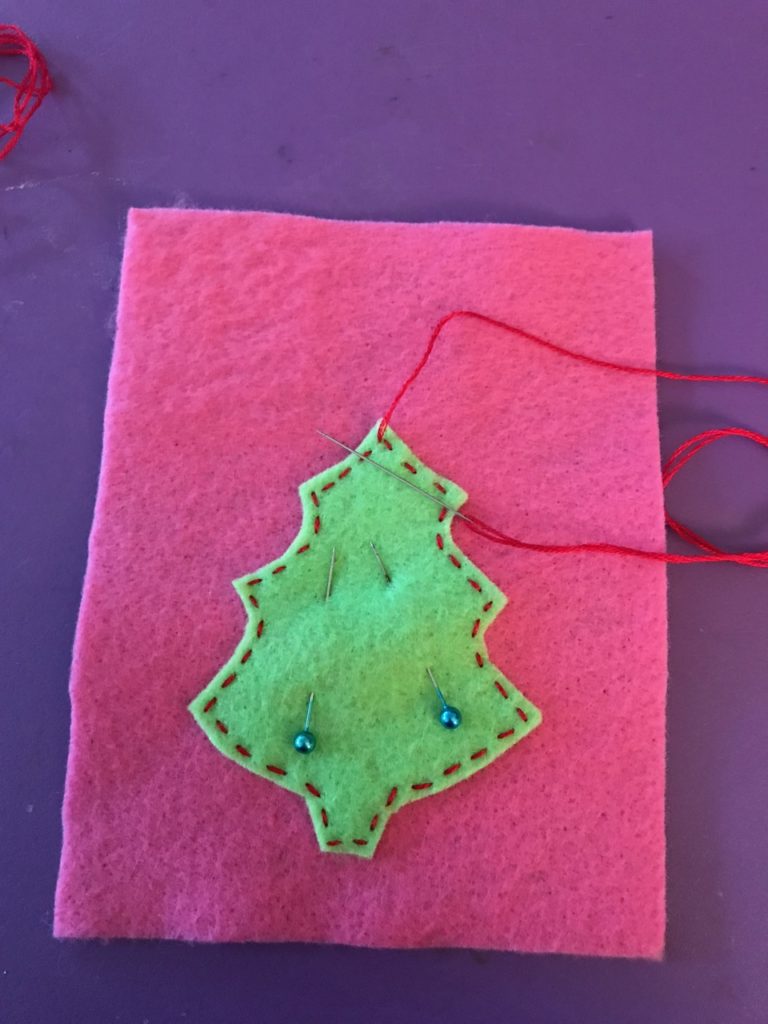
Now it’s time to decorate the tree! The demonstration below uses mini pompoms, but as you’ll see at the end of this post, I also use sequins and beads to decorate. Add each decoration by stitching it securely through both layers, the tree and the background piece. When finished, tie off the thread on the back and cut.
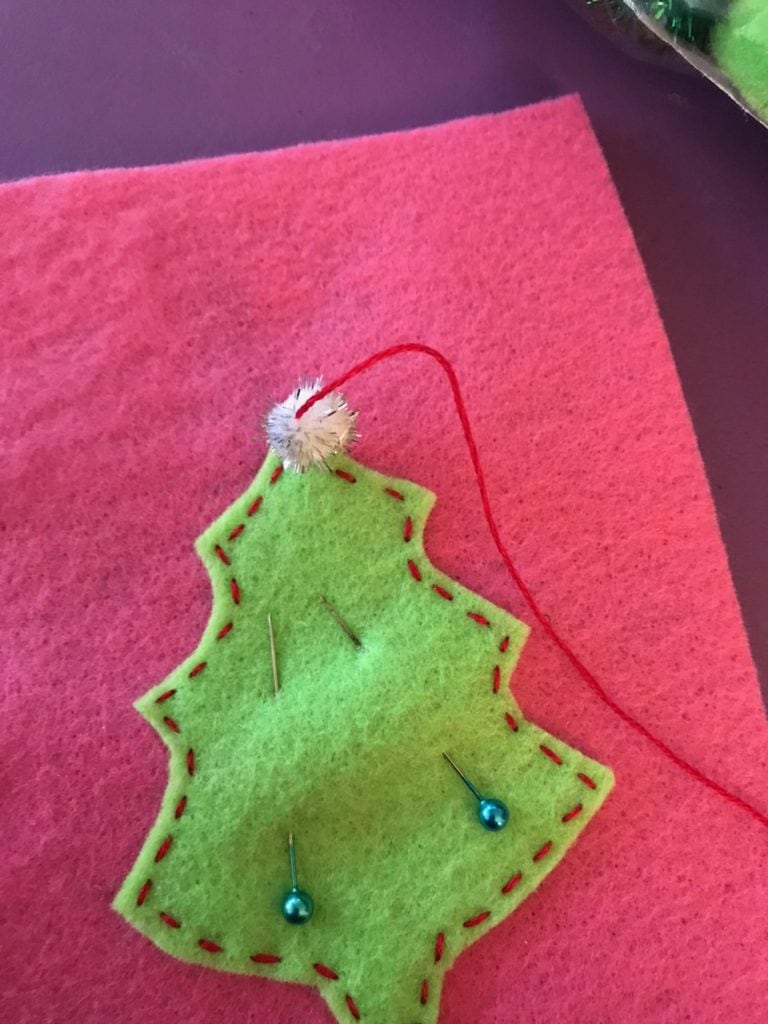
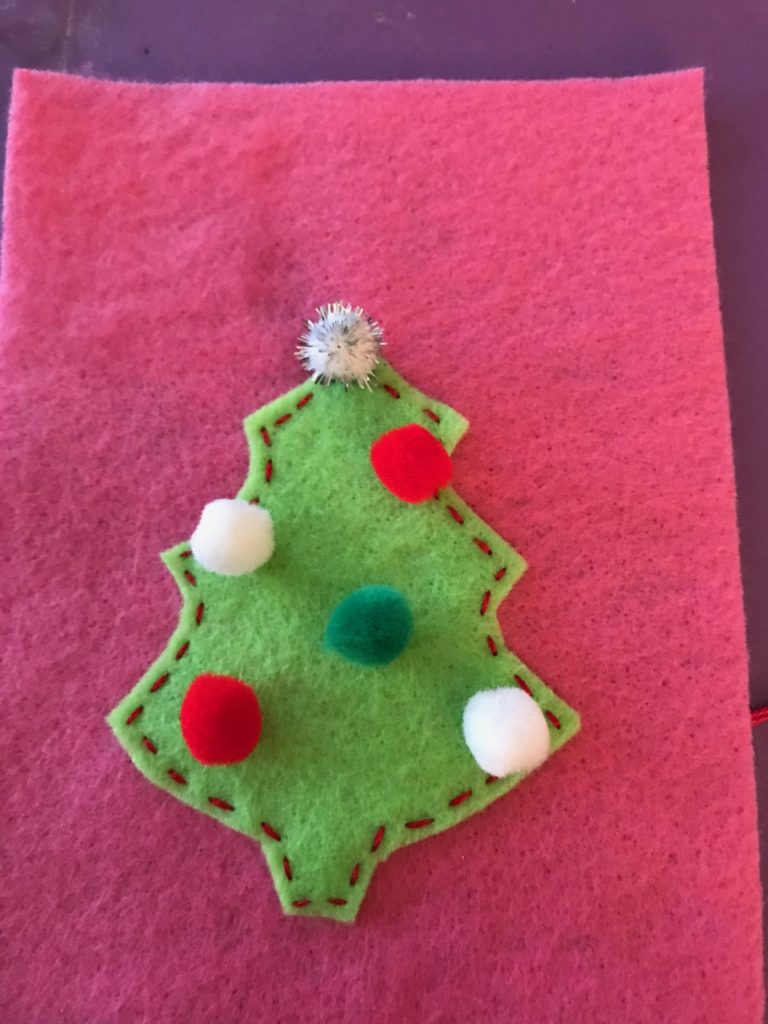
A jolly little tree!

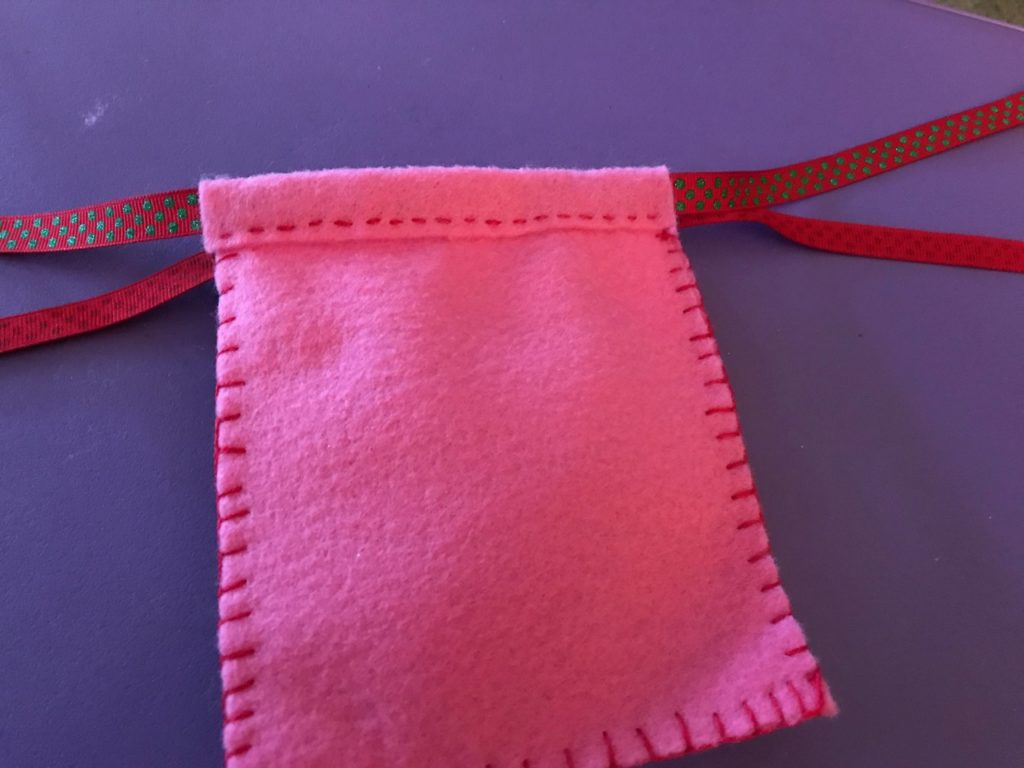
Now you’re going to assemble the bag. Get the second piece of background felt. On both pieces, fold over the top to make a casing for the ribbon. Pin in place to keep the felt from moving around on you.
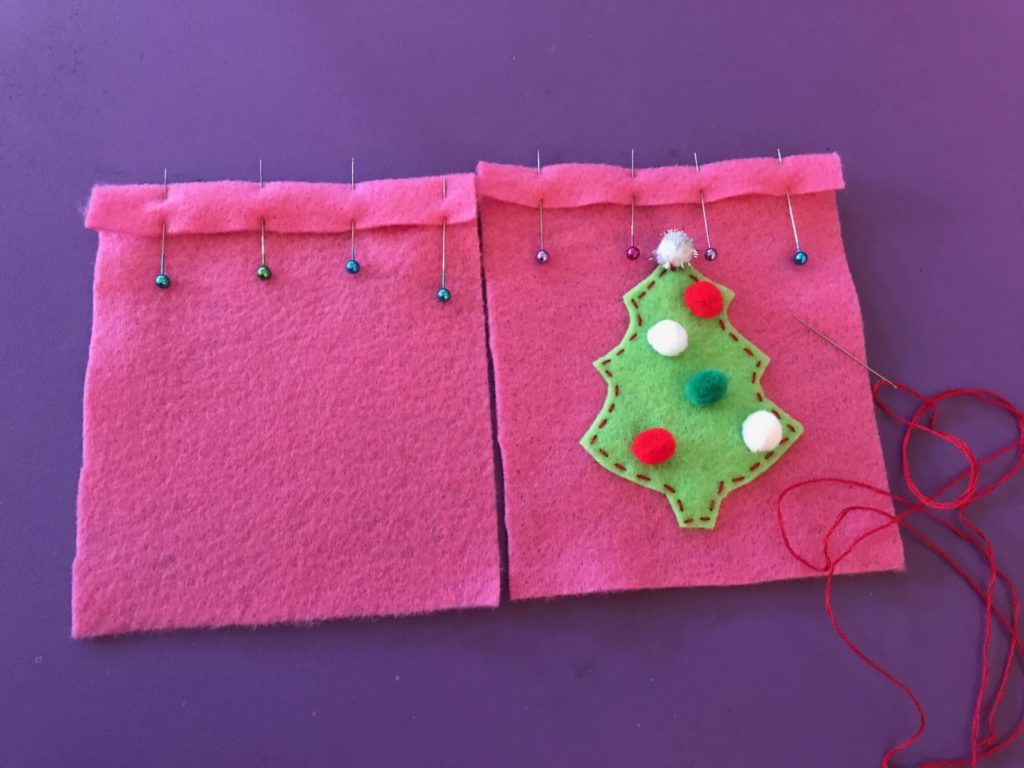
You can use the same color embroidery floss as before or you can change it up if you like. You are going to using a running stitch to complete the casing on both pieces, slightly wider than the 3/8-inch ribbon, like this:
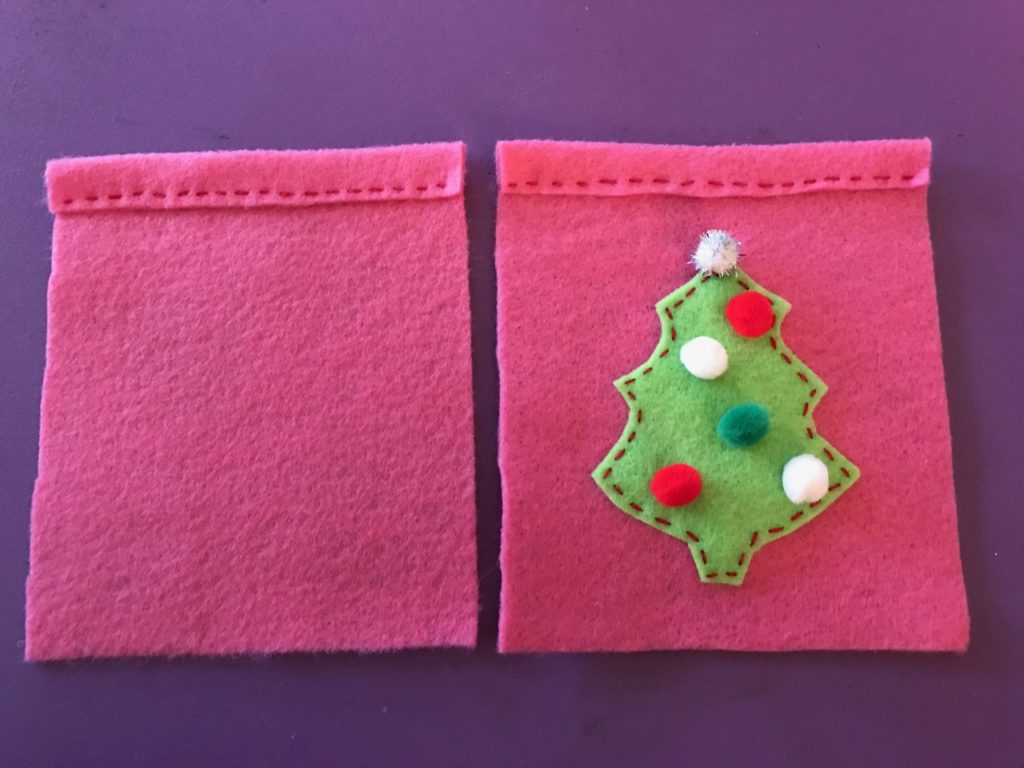
Now it’s time to put the bag together. Place the insides of the bag so they touch, leaving the folded over casing to show on the front and the back, as seen below.
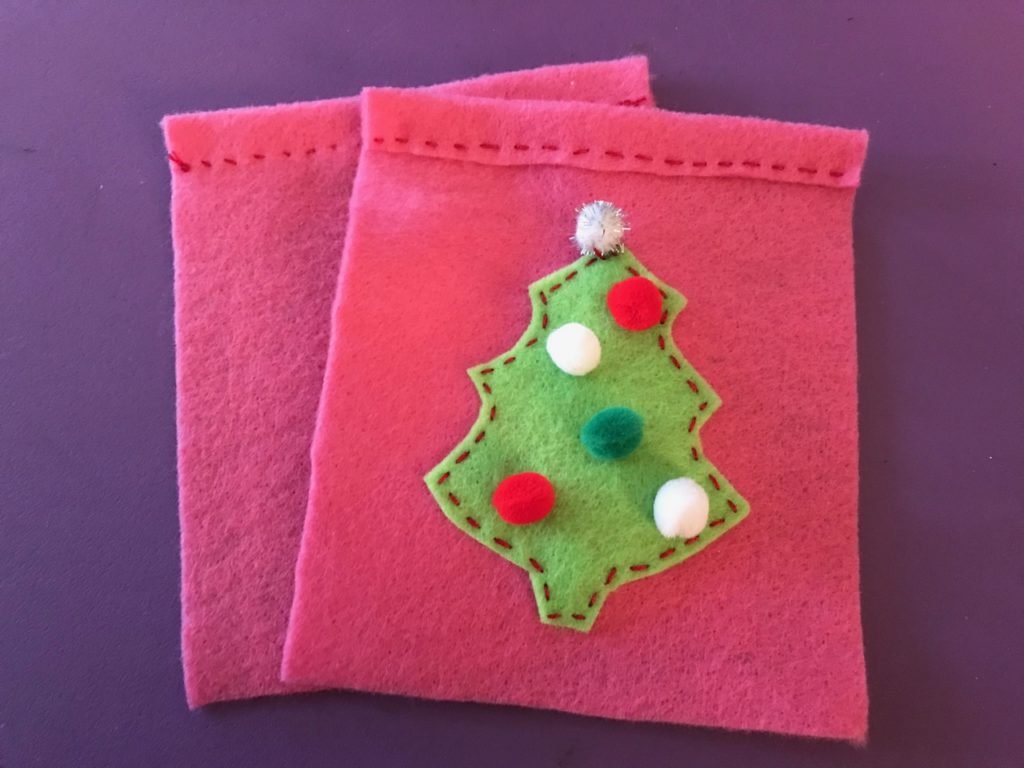
You can either use a blanket stitch (as I did) or a running stitch to sew the sides and bottom of the bag. (There are lots of great YouTube videos on how to do the blanket stitch. It’s easy! You can do it!!! )

Do NOT stitch over the casing openings. Start below the casing and end when you reach the other casing.
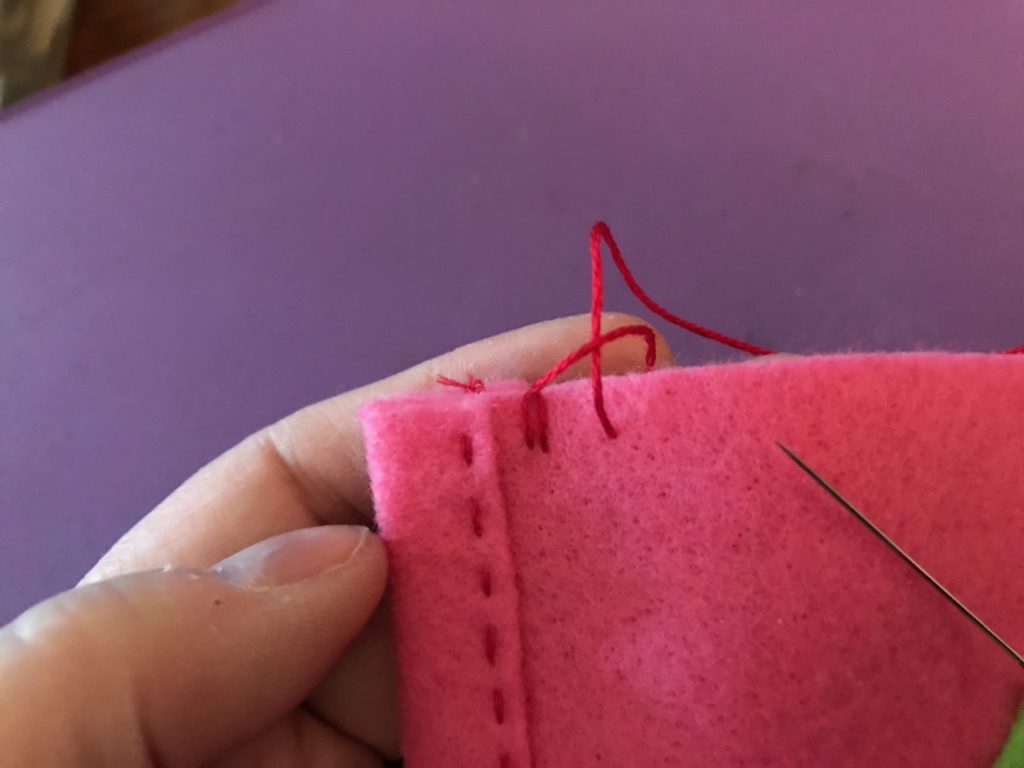
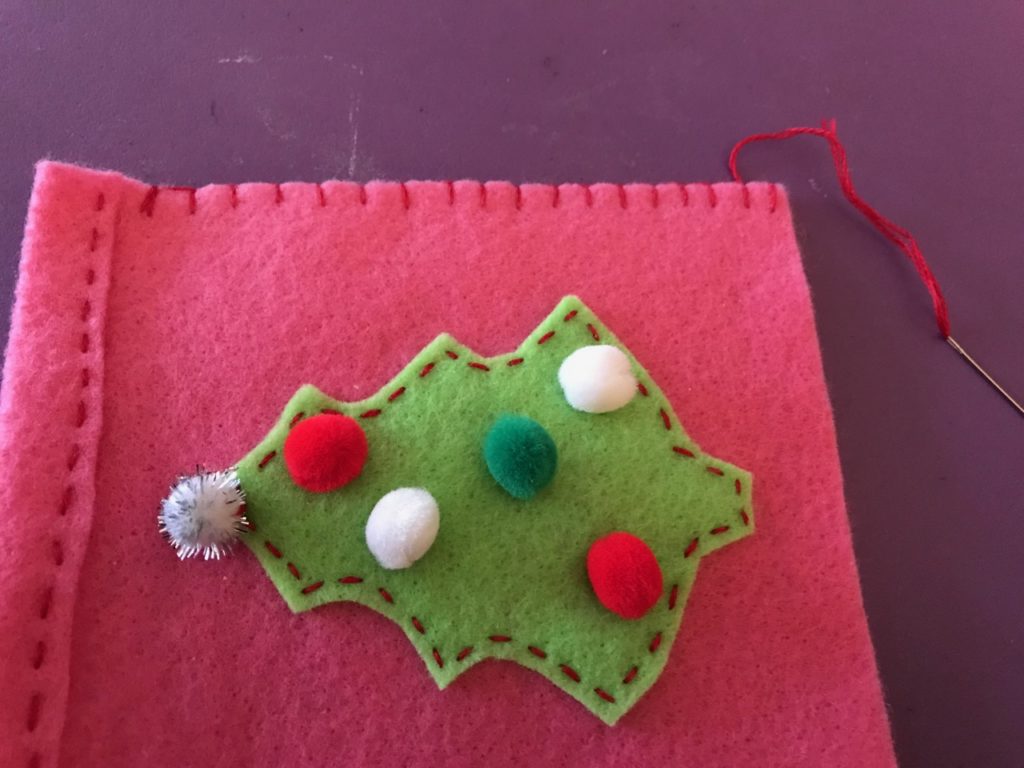
The final step is adding the ribbon. I like to use a plastic yarn needle because it won’t get caught in the felt (usually). Take one of your 18″ ribbons and thread it through the needle’s eye. Then draw it through the FRONT of the bag. Repeat with the second piece of ribbon for the back of the bag.
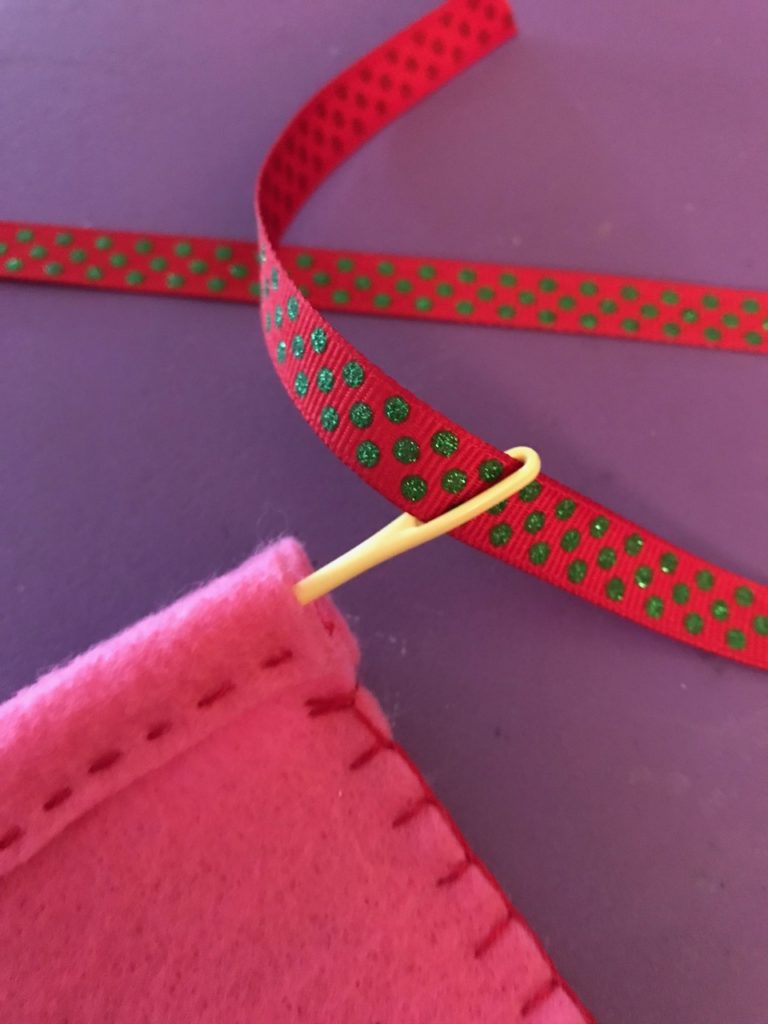
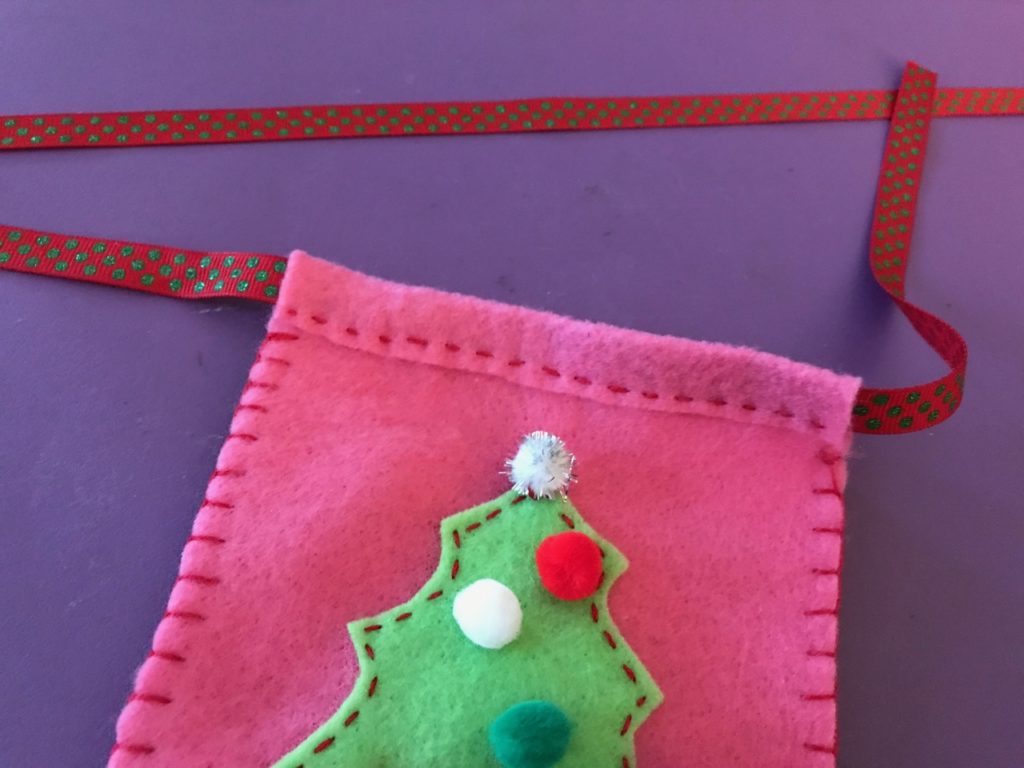
Pull most of the ribbons to one side of the bag. Tie a knot in the shorter side to secure it. Then you’re ready to fill the bag, tie the ribbon in a big bow, and add the gift tag.
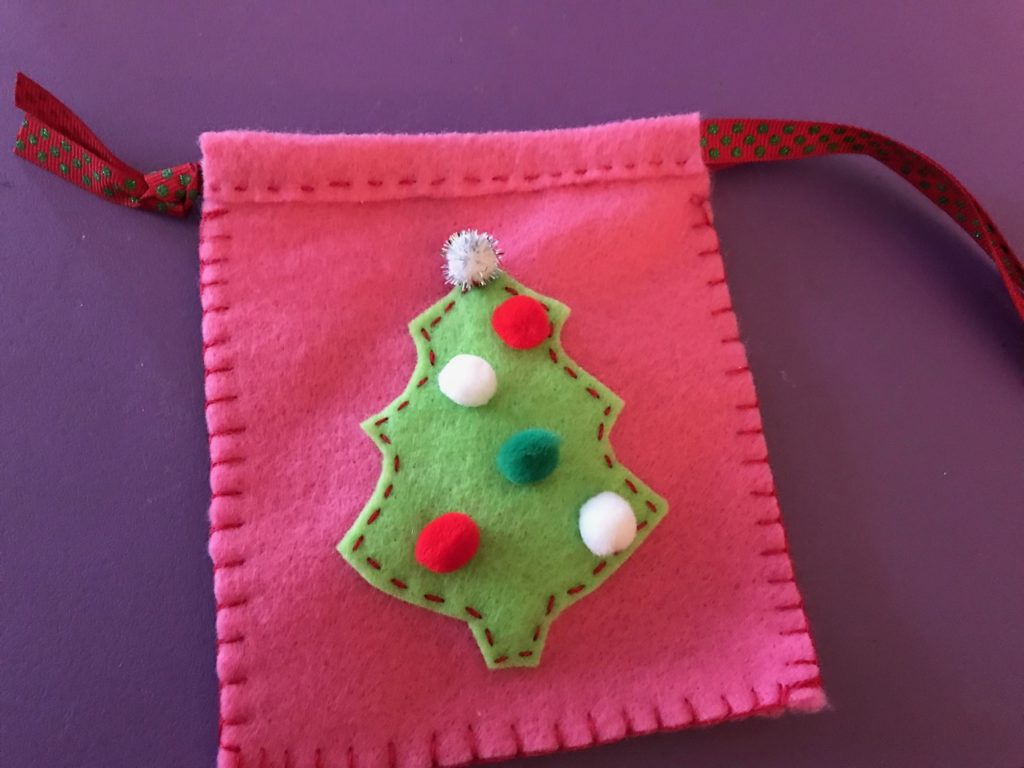
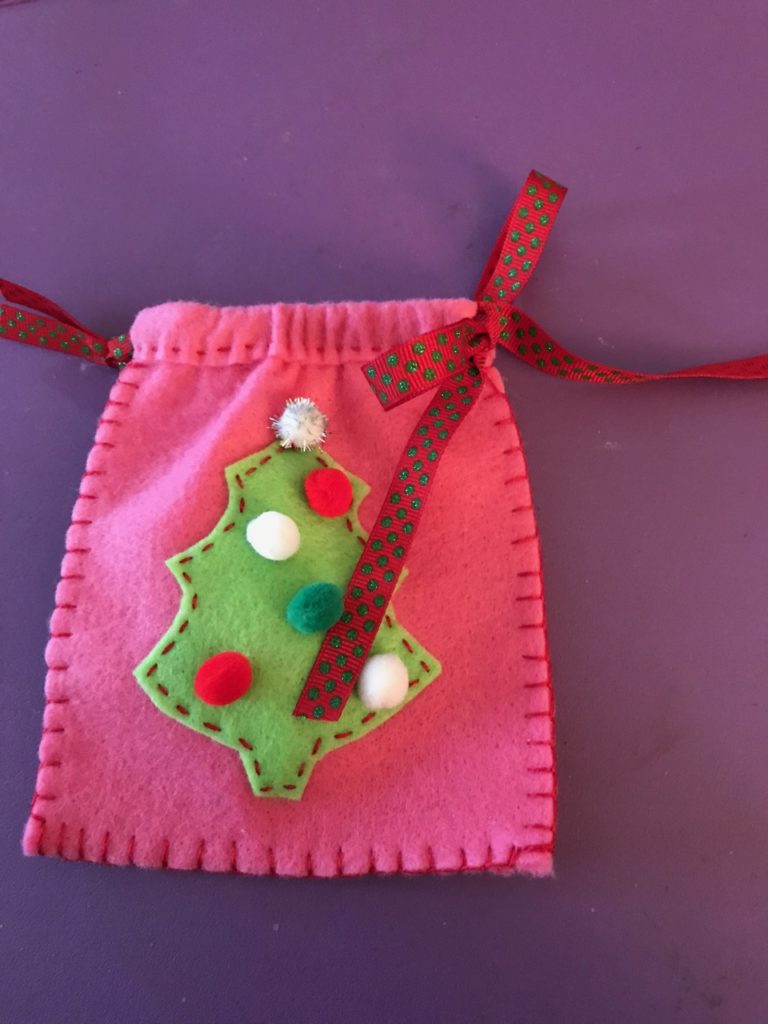
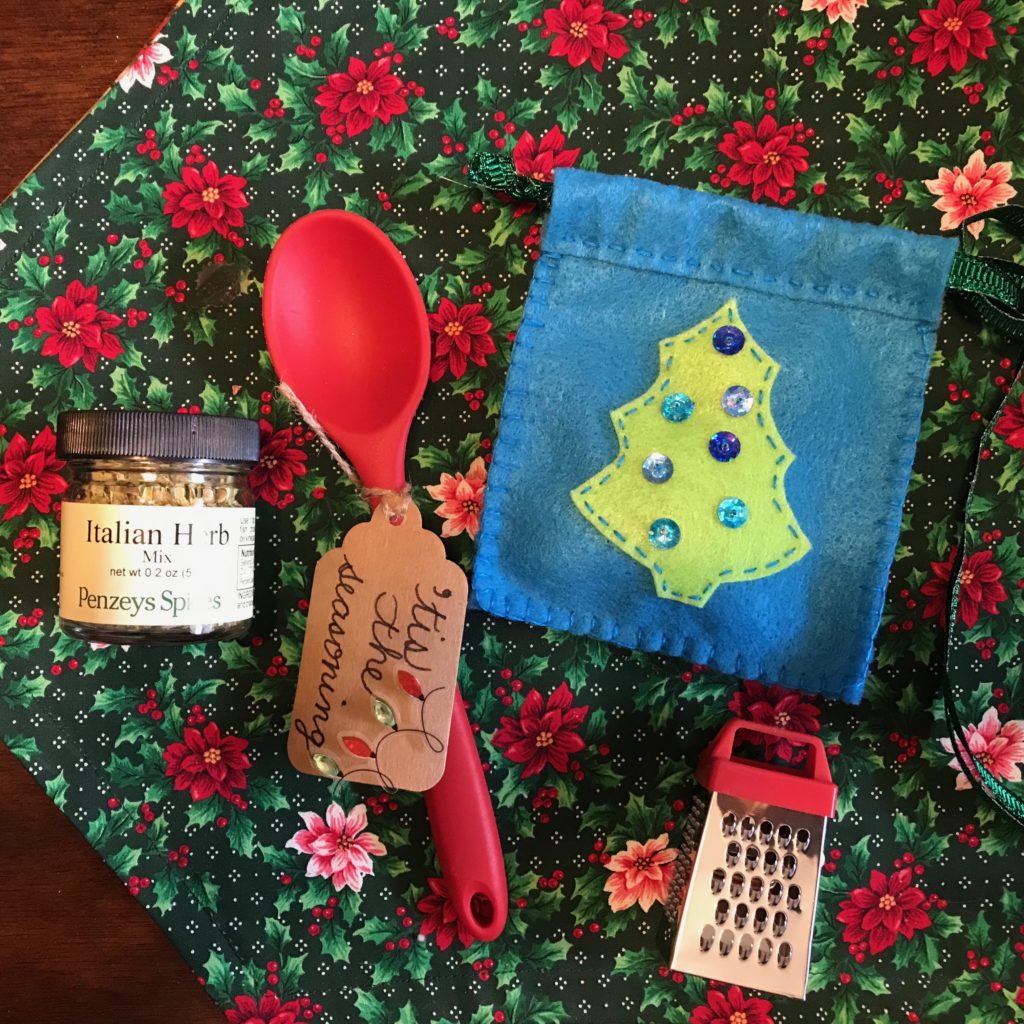
I decided to make my bag a kitchen gift. So I added a small jar of seasoning (Penzey’s is one of my favorite brands!), a mini spatula, and a mini grater (perfect for cinnamon sticks). Then I made two more!
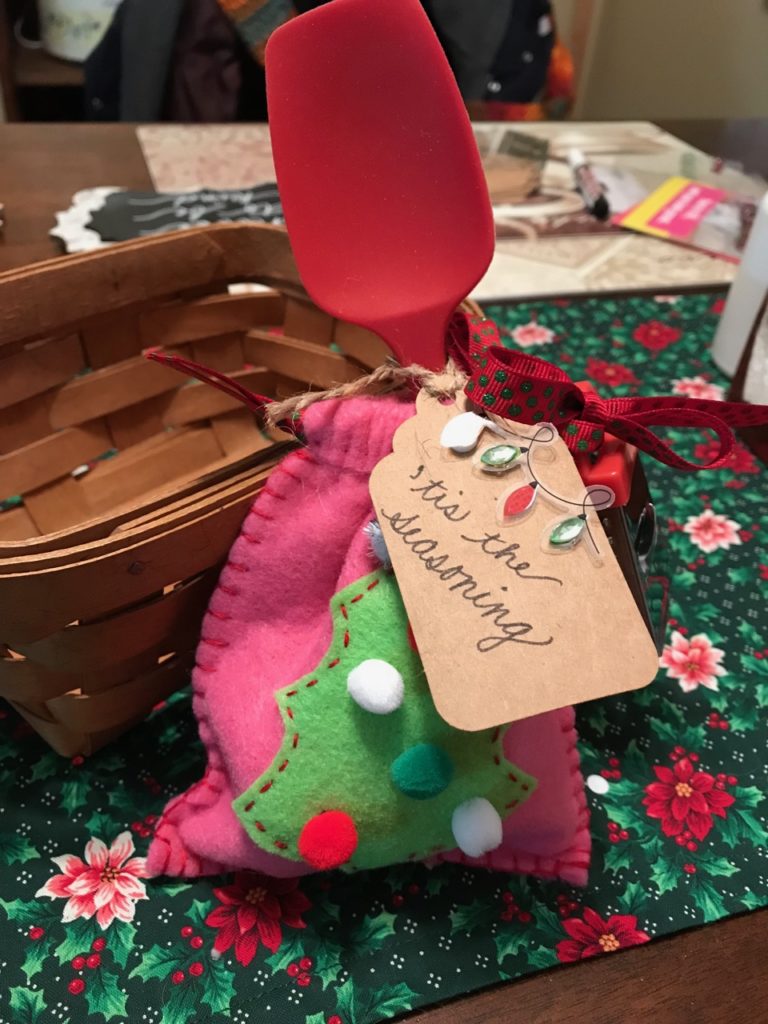
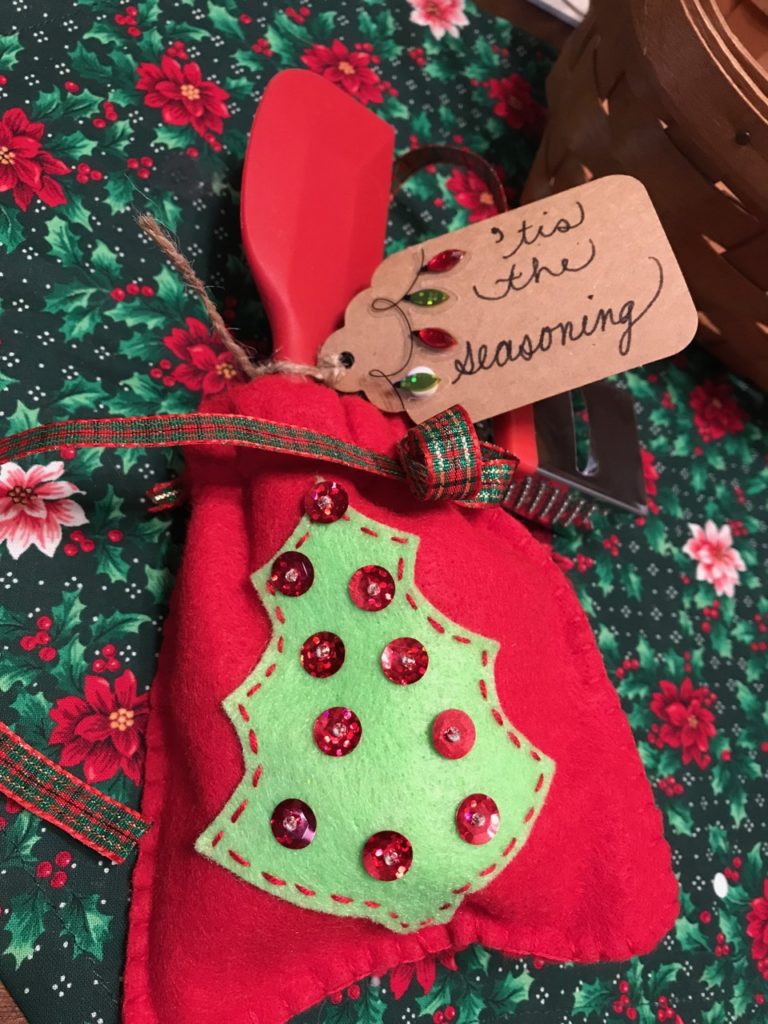
Of course, you can fill your bag with anything you want. Candies. Money $$$$. A gift card. But whoever receives it will be happy to have something handmade by you just for them.

I wish you all a blessed, happy, healthy holiday season! I’ll be back in 2019 with more Heartfelt Crafts for us to share.
Sending Greetings to Kids: Cards or Books?

It’s been a couple of weeks since I’ve posted, but that’s because there’s been so much good stuff going on. I did some editing assignments, writing assignments, and crocheting for the season. (I usually donate hats and scarves to the Salvation Army for their winter clothing drive.) And the BIG event was my grandson’s fifth birthday! 

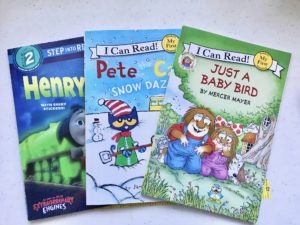
As I was wrapping his gifts, I realized that I had forgotten to buy him a card. Oh no! And that made me think: Why do we all need to give him cards when he’s probably never going to look at them again? What can I do that is different and useful? I spotted, among my gifts, a leveled reader. You know, one of those 6 x 9 paperbacks with a big 1 or 2 or 3 (and even higher) in a circle on the front. 
I opened the book, and right there on the inside cover was a place to write a greeting, along with Matthew’s name. It’s almost like a birthday card, right? I signed it “Happy 5th birthday to Matthew. Love, Grammy and Grandpa.” Now, where’s an envelope that will work?
Nothing fit! Like Goldilocks, I found some that were too small or too large or too thick—but none that were just right. Well, challenge accepted!

Follow along with me and you’ll see how to make a lined envelope perfect for holding—and MAILING—a leveled reader instead of a card. (Or include a card. There’s room. Also: most greeting cards these days are going for $3.95 to $5.95 apiece! Sheesh! These leveled readers are only $3.99 or $4.99, and they won’t get tossed in the trash. Genius, right?)

Step One

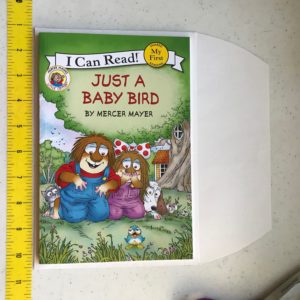
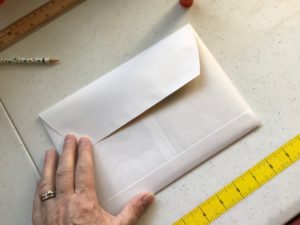
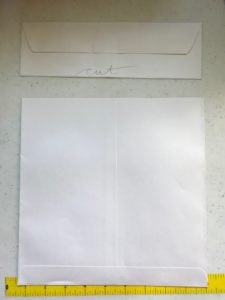
Get a 9½” x 13″ envelope that opens at the top (not the side, like some do). I’m using white, but if you prefer the standard yellow, that’s fine.

Step Two

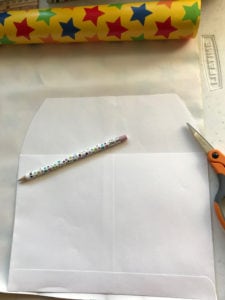
Measure from the bottom 9½” and mark with a pencil. This will be your cutting line. Yes, you’ll be cutting off the sealer at the top. Now you’ll have a 9½” x 9½” square.


Step Three

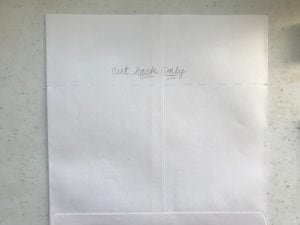
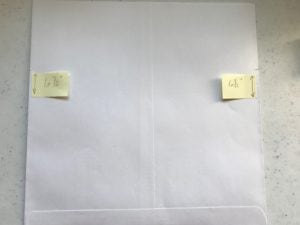
Measure from the bottom up 6½” and draw a line for cutting. But DO NOT CUT it yet.

Step Four

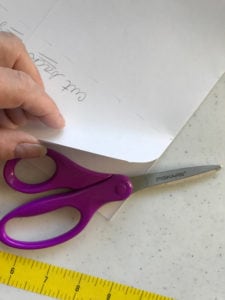
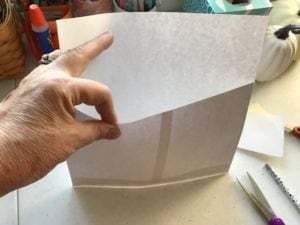
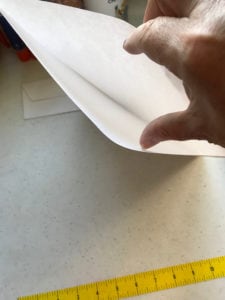
You will only cut the BACK SIDE ONLY of the envelope this time. This is how you get the envelope flap on the front.


Step Five

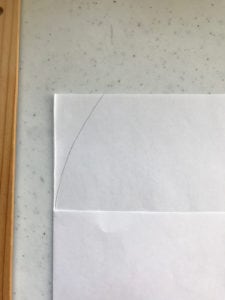
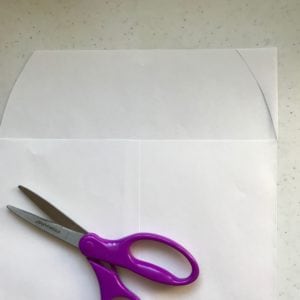
Next you will cut curves on the outer edges of the envelope flap. Try to make these as even as you can. I drew one side and cut it, then used the cut off piece to show me where to draw the other curve. It’s kind of like geometry, but fun!


Step Six

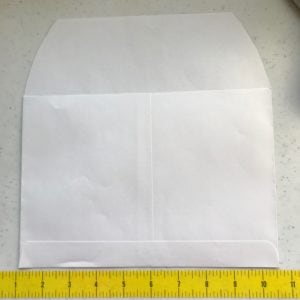
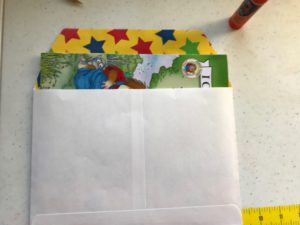
Just a quick check and you’ll see that one book fits perfectly inside! You can stop here if you want, but for some added pizzazz, let’s keep going. We’re going to make a bright, happy liner for the envelope next.

Step Seven

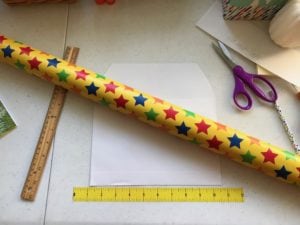
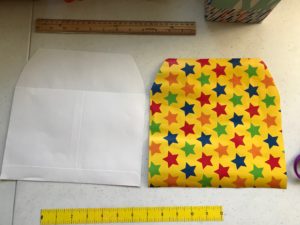
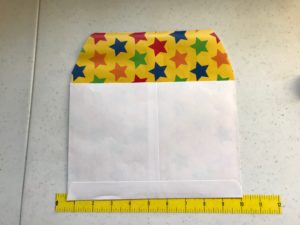
To make a liner, you can use any light- to normal-weight decorative paper. In this case, I’m using gift wrapping paper. (It can be tricky if it’s from a roll, but not difficult.) Start by cutting a piece by using your envelope as a pattern. Cut INSIDE your lines so it will fit in the envelope.


Step Eight

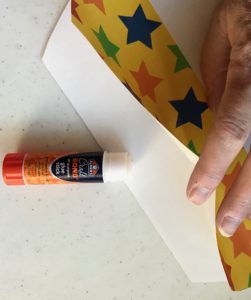
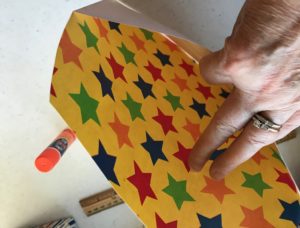
Slide the liner into the envelope so it is face-out as shown below. Then use a glue stick or other non-liquidy glue to adhere the liner to the top of the flap.


Step Nine

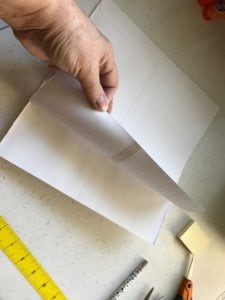
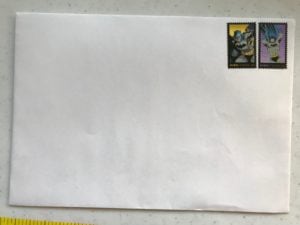
Fold over the flap. Before mailing, you can seal the envelope using a glue stick, Scotch tape, or washi tape. Just make sure it’s sealed well. Insert the book and add postage if you’re mailing it. Two first-class stamps will get it where it’s going in the U.S. 

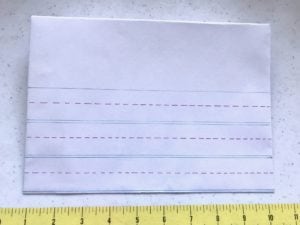
Add some envelope art or stickers to the front if you like. I made one recently that looks like notebook paper. I’ll add the name and address in big, round print, just like in kindergarten!


Other Fun Ideas

Don’t stop here. Think of ways you can share books and the love of reading. Adapt the envelope for 8″ x 8″ readers or Little Golden Books or other formats. Cards are nice, but books are better. Or throw a card in with the book. Add bookmarks, sticker sheets, trading cards, etc. Your little ones will be thrilled to get mail—and even more excited to have a gift they can keep for their very own.

Happy reading and crafting, my friends.


What the heck is a pocket letter?

When I first heard the term “pocket letter,” I thought it might be something simple like a letter in a pocket. 

Or could it be . . . a letter ON a pocket?

I’m not seeing the craft possibilities yet. Oh, I know! It’s a letter that USED to be a pocket! I feel so smart.

Wait. What? That’s not it either? So what in the heck is this newfangled fun craft thing that so many scrapbookers are crazy about—and that has the unofficial endorsement of the United States Postal Service?*

My friend Jennifer sent me a link to a Pinterest folder: Pocket Letters. She suggested we try to make some and send them to each other. I was in Ohio and she was in Florida, so it was kind of a nice way to do a craft together—but apart—you get it.

So we did. And we agreed to photograph our PLs (we quickly created an abbreviation to keep from having to write or type the words over and over again) and to post them on Pinterest for others to share and adore. That was almost a year ago! We have had a blast. Let me show you some and give you some ideas for how to start your own #PLPenPalProject.

A Few of Our PLs

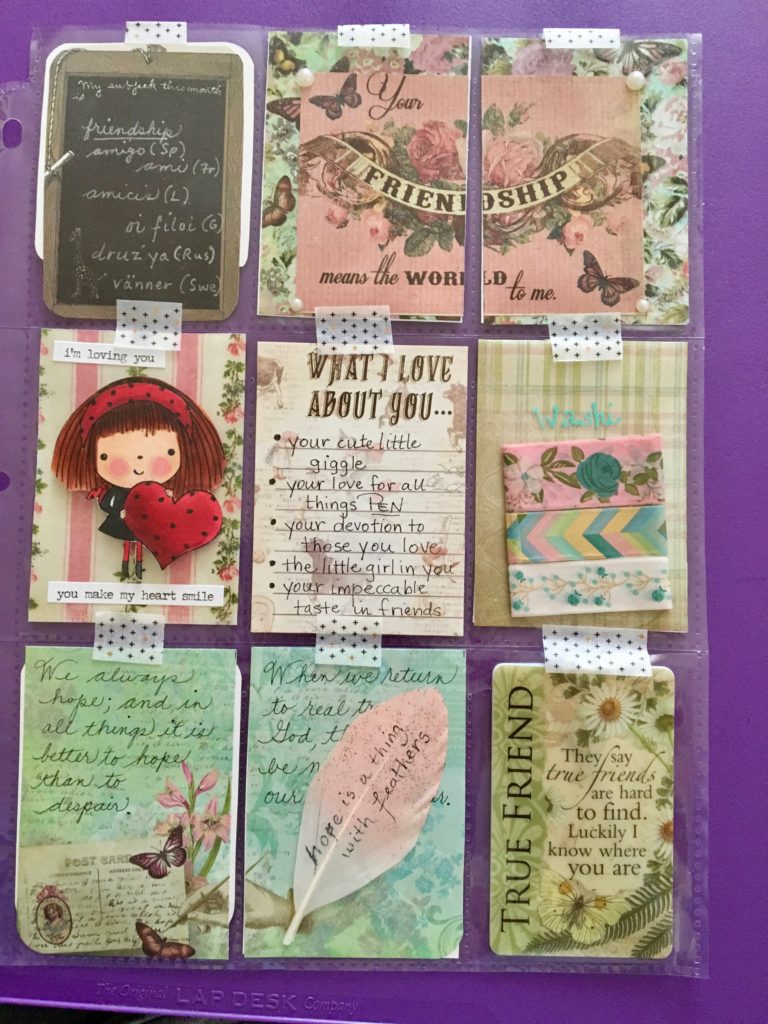
This one has a friendship theme. I made it very personal for Jennifer, the recipient. The middle row, far right pocket has samples of some washi tape I wanted to share with her. I wrapped 3-ft lengths around a piece of mylar I cut from some packaging. Good use for that mylar stuff instead of throwing it in the trash!


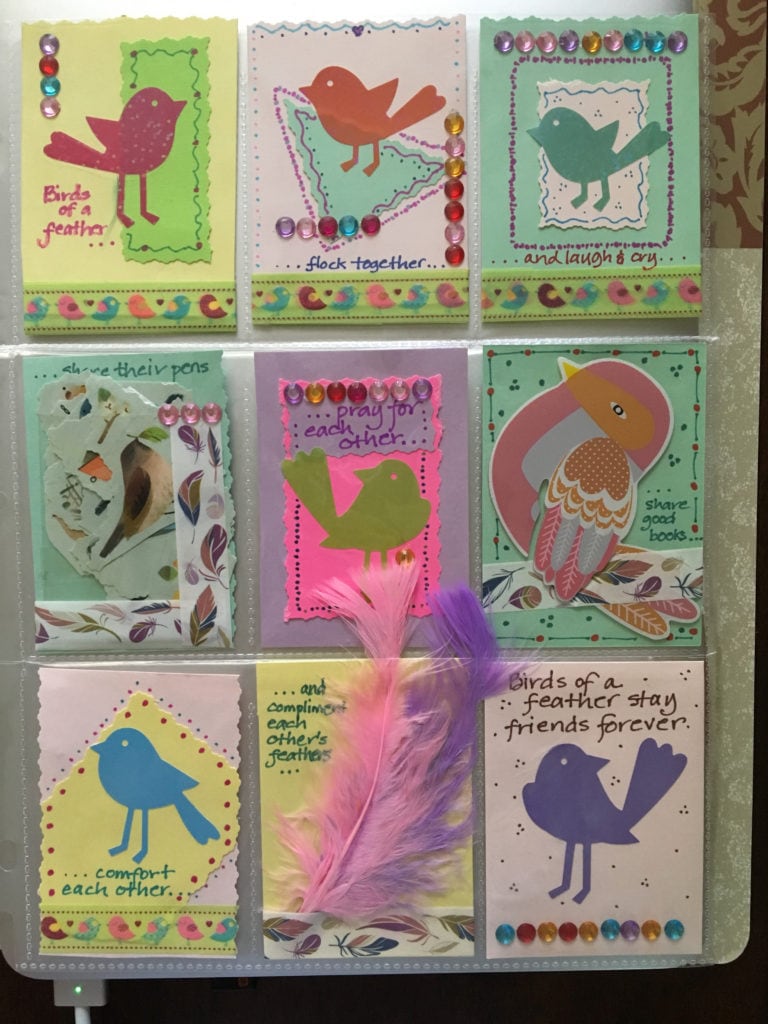
Jennifer sent me this one with a birds-of-a-feather theme. She included stickers for me to use (middle row, left) and some adorable feathers!

As you can see, coming up with a theme is half of the idea. Then you can have fun finding all kinds of things to add. Some themes we’ve used or seen others use include:

  • back to school
  • our home state (Ohio/Buckeyes for me!)
  • by the seashore
  • quotes about pennies, with a penny in each pocket
  • owls (whoooo doesn’t love owls???)
  • kitties (see above, but kitties)
  • fall/autumn
  • Christmas
  • patriotism–4th of July
  • summer fun
  • coffee and tea
  • sweet stuff (cupcakes, candy, etc.)
  • I could go on all day, but you get the idea. Check out the Pinterest link for tons of ideas!

Now that you can tell what PLs are, I’ll walk you through making one of your own in our next post.

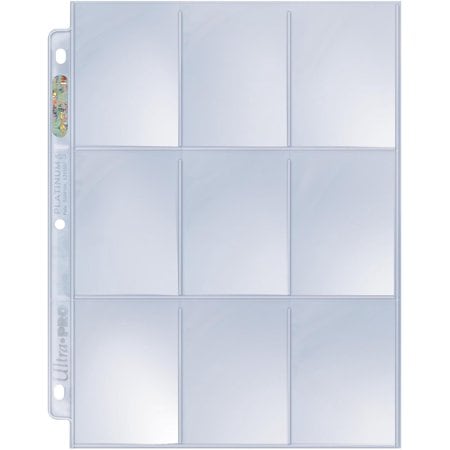
P.S. Go get some baseball card protector sleeves:


*I made that up. But I’m sure they appreciate the increase in actual snail mail that’s hitting their inboxes—I mean, mailboxes—lately. Maybe they don’t like the lumpiness or the fancy, schmancy hand lettering on the envelopes. Hey, for 50¢ (so far, but who knows what with tariffs and such—just kidding!!!), it’s a heck of a deal to send these things. Maybe they’ll even get where they’re supposed to go–and in one piece!


Crafting for Christmas … in July

If you’ve been in a craft store lately, you know that Christmas isn’t really that far away. Never mind that it’s 95 degrees outside and most of the country is dry as a bowl of Cheerios sans milk. (Really, now do toddlers eat those things dry?!) This year has been warmer and dryer than any year in recent memory, so it’s begun to feel like the title of one of those drippy teen romance novels:The Summer of Forever, or whatever. And then I saw the aisles at Hobby Lobby and JoAnn’s and Michael’s. Aisles that twinkled with red, green, and gold glitter. Santas and snowmen greeted me with crinkly eyes and fat-cheeked smiles. They reminded me that even this summer will come to an end.

My first reaction is horror. How can they even think about Christmas this early? Then I start to think about it. And realize, like the merchandisers of craft stores, that I should really get started on projects that I intend to make as Christmas gifts this year.

Granted, those kinds of gifts are fewer than they used to be. When I had small children (all boys, by the way), I made beautiful, heirloom-worthy things. My oldest son’s hand-stitched crewel embroidery stocking was a masterpiece. Unfortunately, it now resides with my ex-husband who may or may not treasure it as I would. Some part of me wants to go all ninja-like and sneak in to steal this one-of-a-kind work of art. Honestly, I learned stitches on that thing that I had never done before nor have done since. I *will* post a photo of it on here someday. Just don’t ask how I got it.

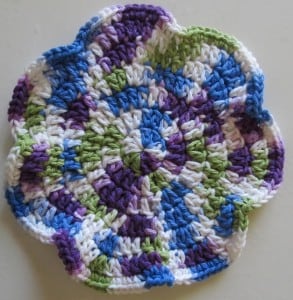
Nowadays I satisfy my crafting urges by making smaller things: dishcloths, dishcloths, earrings, dishcloths, bracelets, hot pads that can double as dishcloths. I go for quantity over quality now. That Christmas stocking took me more than 80 hours to finish, I’m sure. Now I can whip up a dishcloth in about 15 minutes. It’s a good one, too, don’t get me wrong. Just look:

Ask yourself honestly, would you give away something that took you much longer than 15 minutes to make if you knew it was going to be submerged in dishwater for wiping peanut butter or pasta sauce off a stack of plates? I rest my case. (The one on the right here is especially good for cleaning up grape jam, by the way.)

How many have I made for Christmas 2012 so far? At last count, about 25.

Anybody want a dishcloth?