Sugar and spice and everything nice, that’s what the grown-up girls on your list are made of. Let’s make something special just for them. A bag of seasoning with some mini accessories!
This easy felt project can be completed in about one hour.
But first you need to gather all the ingredients.
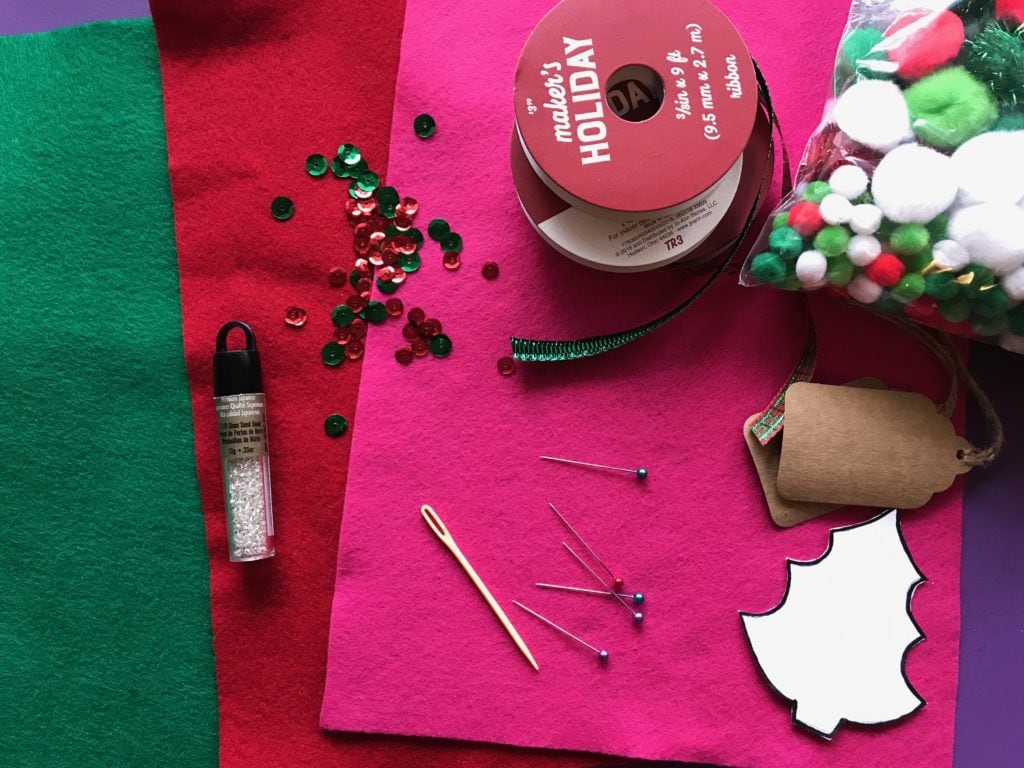
Ingredients:
- 8 1/2 x 11″ felt piece in main color
- felt scrap in green
- scissors
- pins
- sewing needle
- embroidery floss in matching or contrasting color
- plastic yarn needle
- two (2) 18″ pieces of ribbon 3/8″ wide
- pompoms (optional)
- sequins (optional)
- glass beads for sewing on sequins (optional)
- gift tag
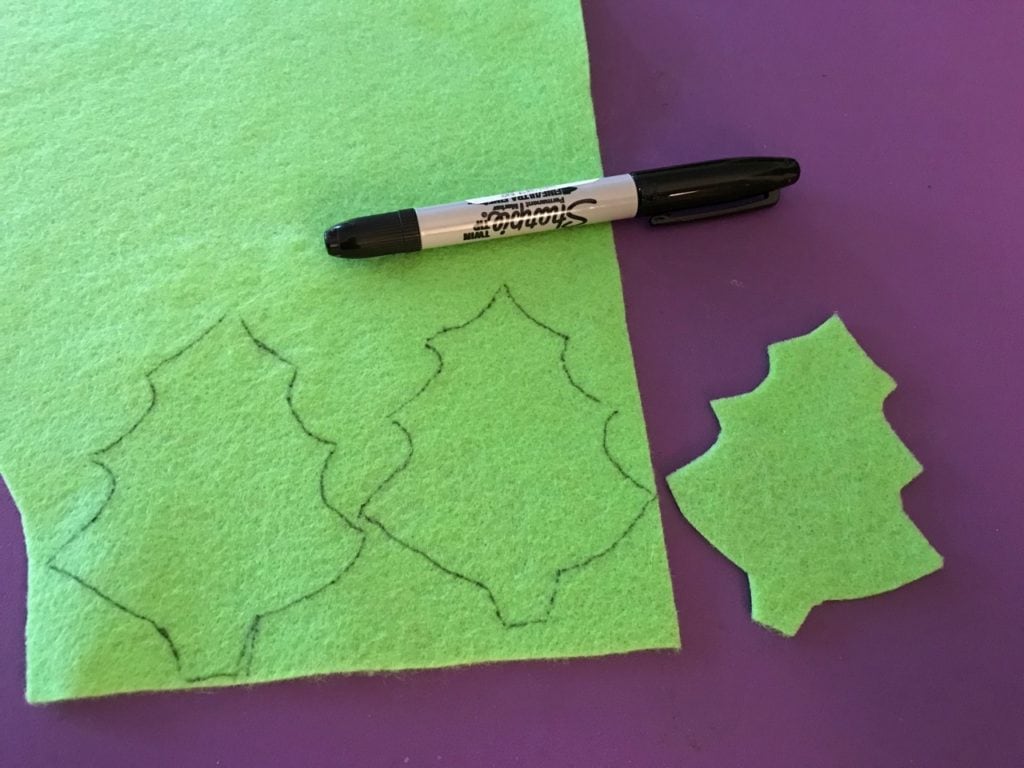
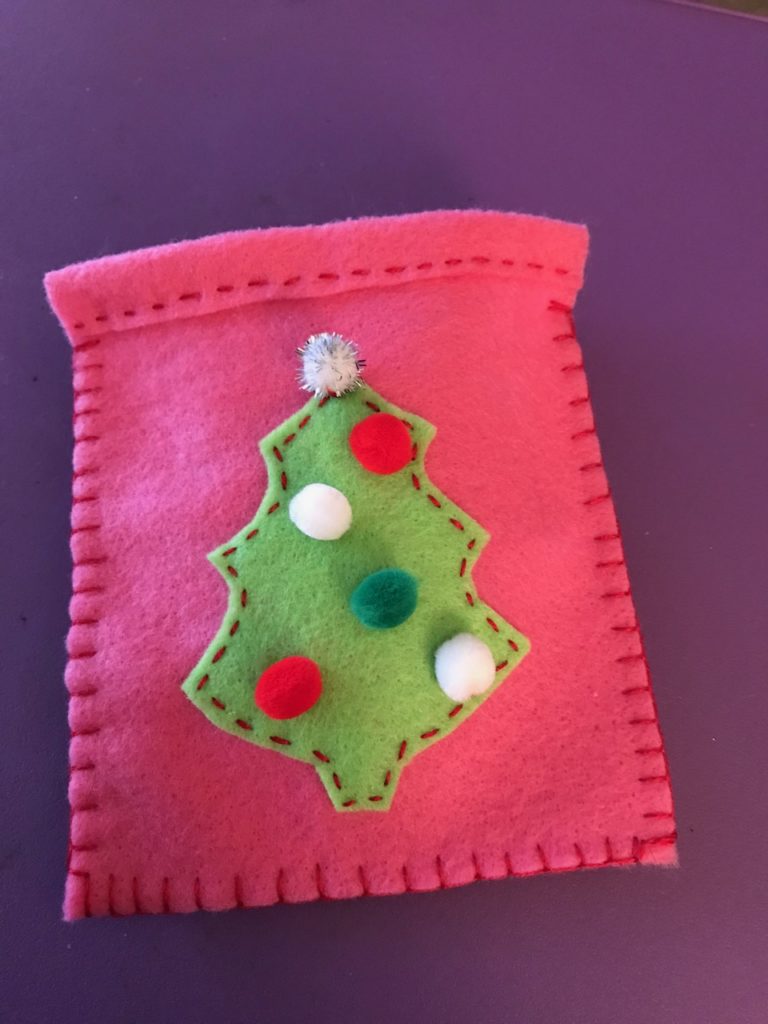
Lay everything aside and start with the green scrap piece of felt. This piece is for the Christmas tree. Use the pattern (download here) and trace the outline of the tree onto the green felt. Then cut it out. The second photo shows you the finished size of the tree.
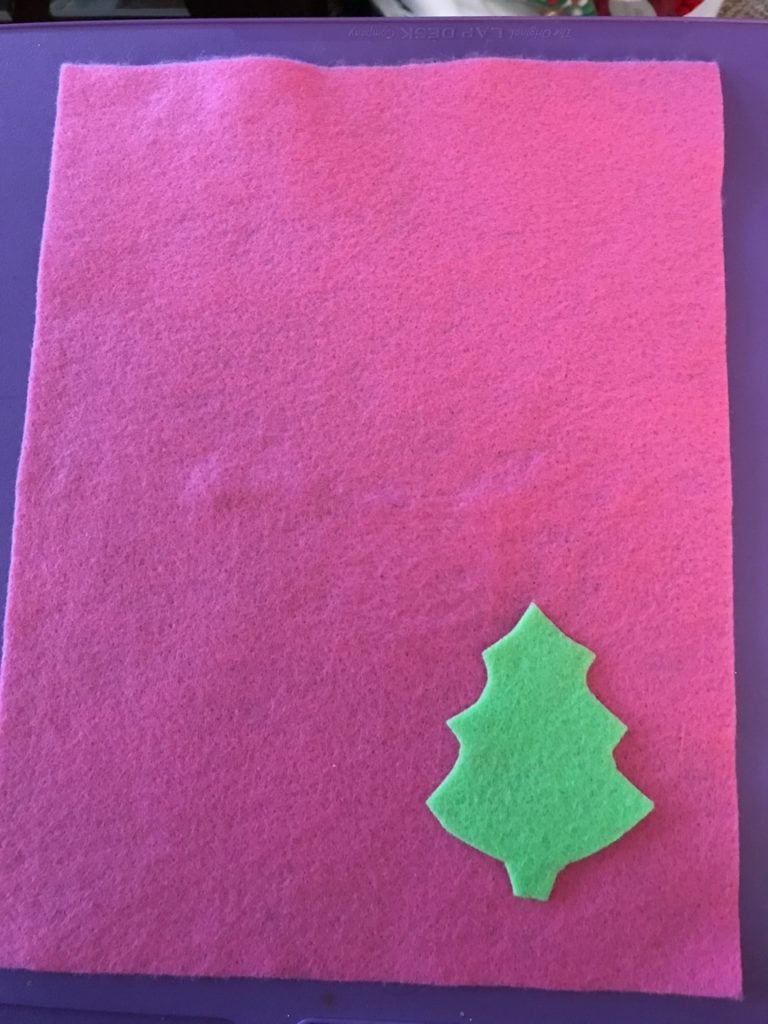
Next, take the full-size piece of felt (pink is shown here). Fold it in half and cut along the fold.
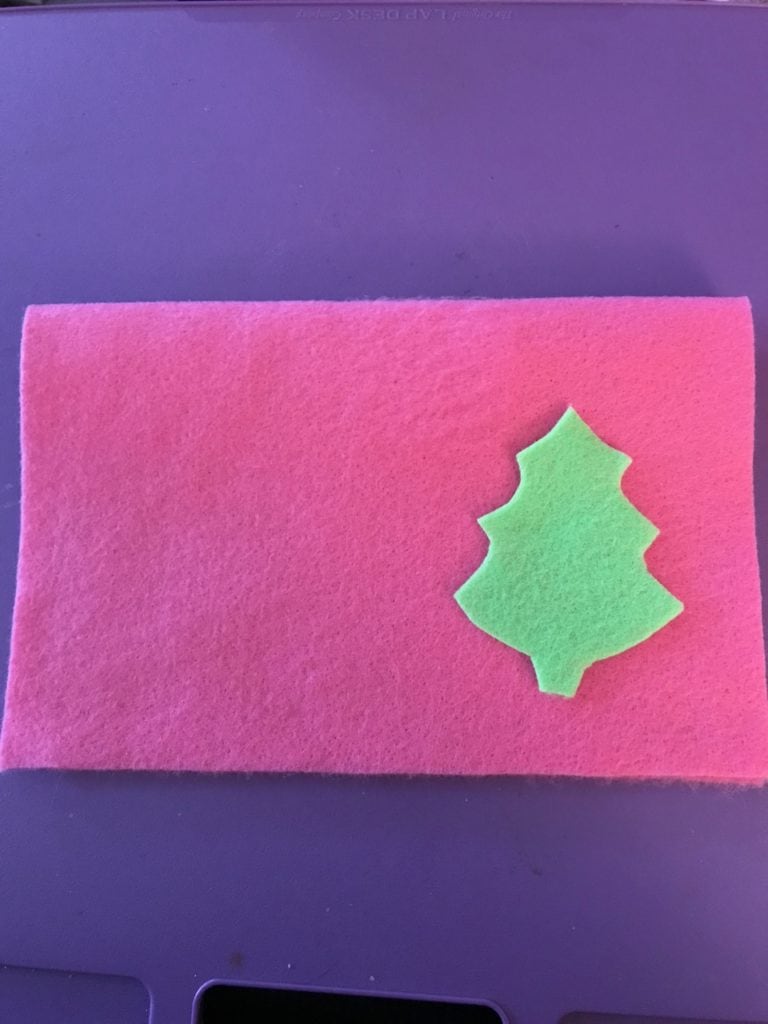
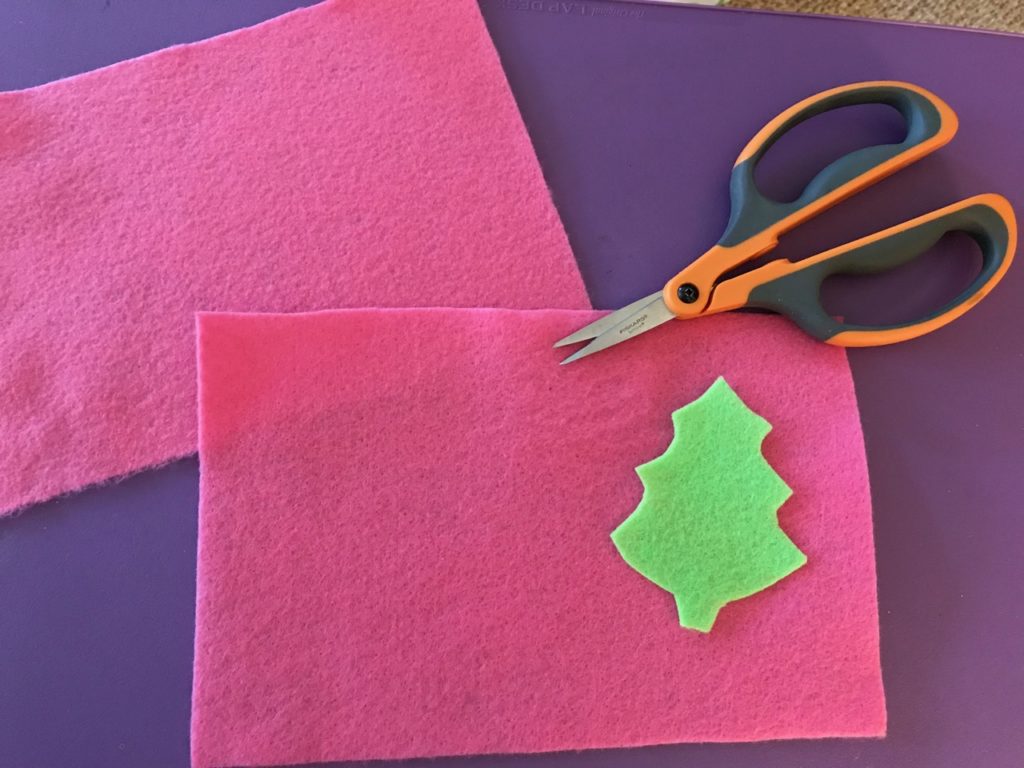
Now you will fold one of these pieces in half and cut along the fold, as shown below.
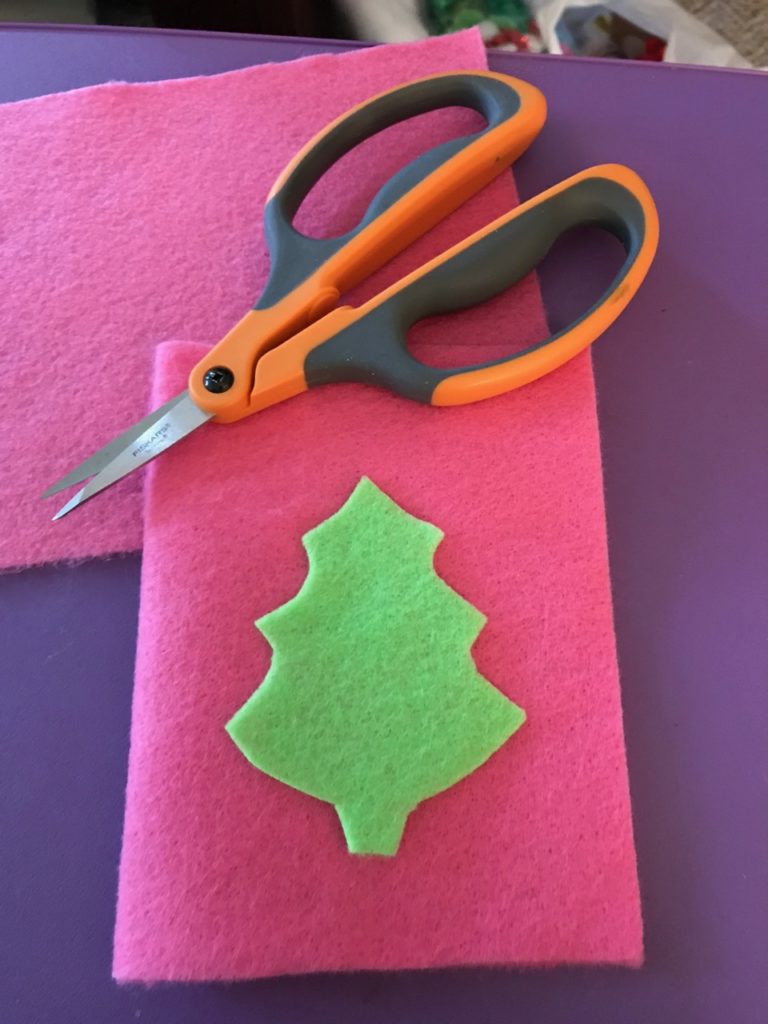
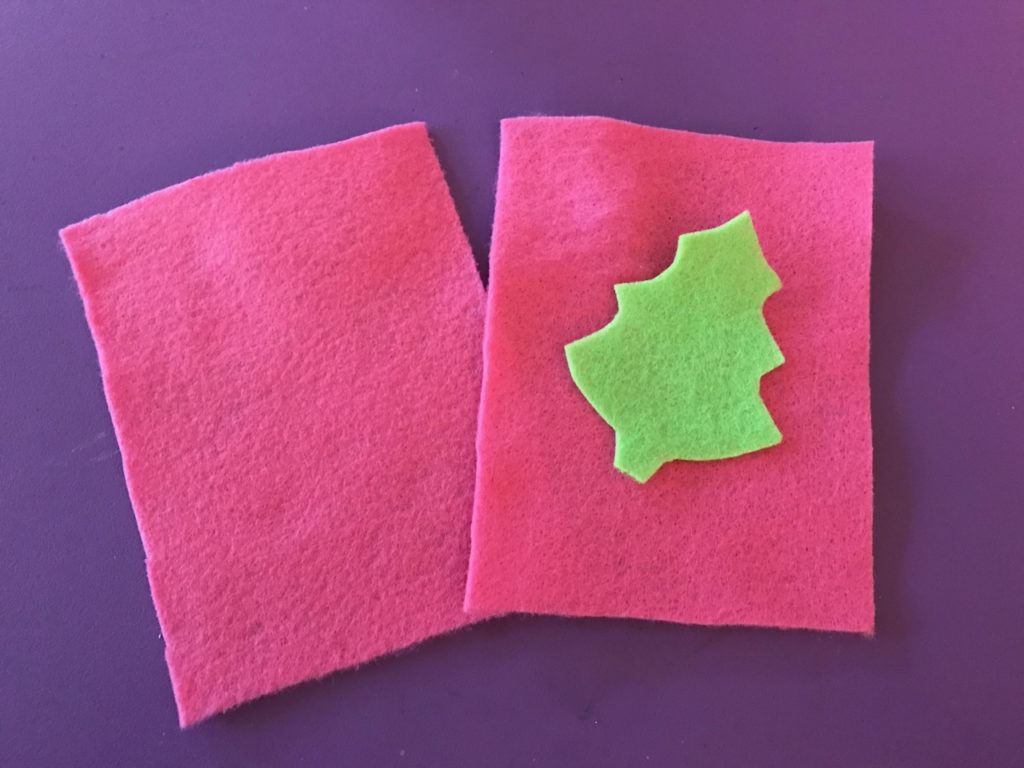
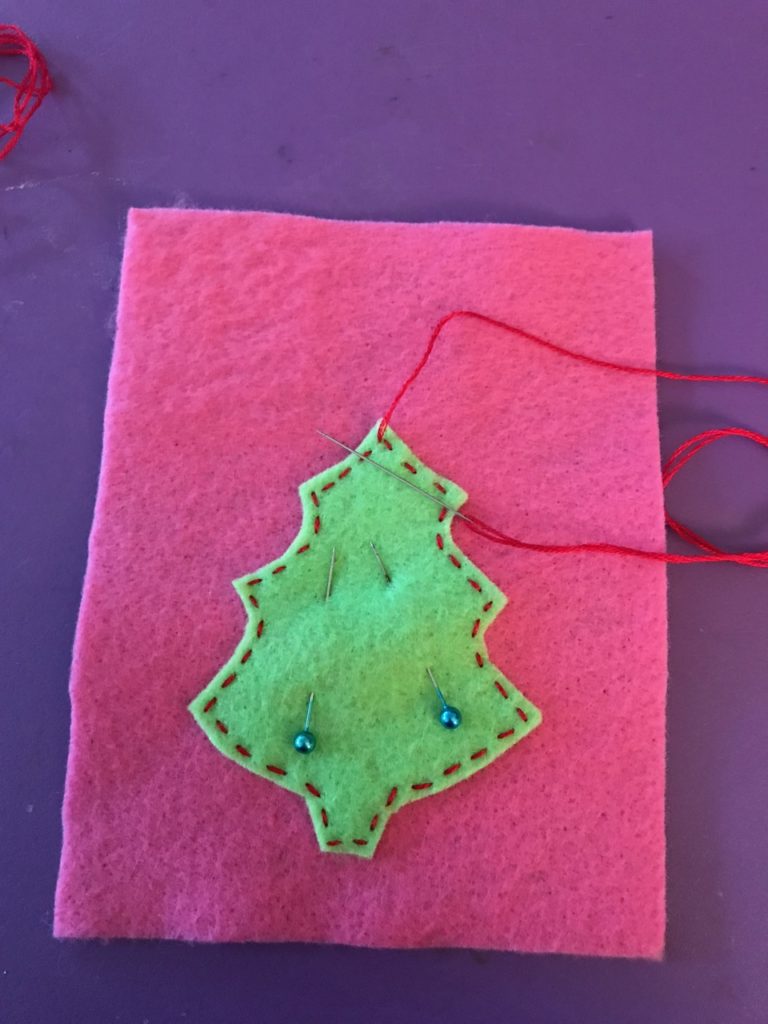
Now you’re going to add the tree, like an appliqué, and stitch around the edges. I like to use a running stitch (basic, basic), but you could use any embroidery stitch you want: blanket stitch, back stitch, French knots, daisy chains, etc. Begin by pinning the tree in the center but slightly lower, as shown below.
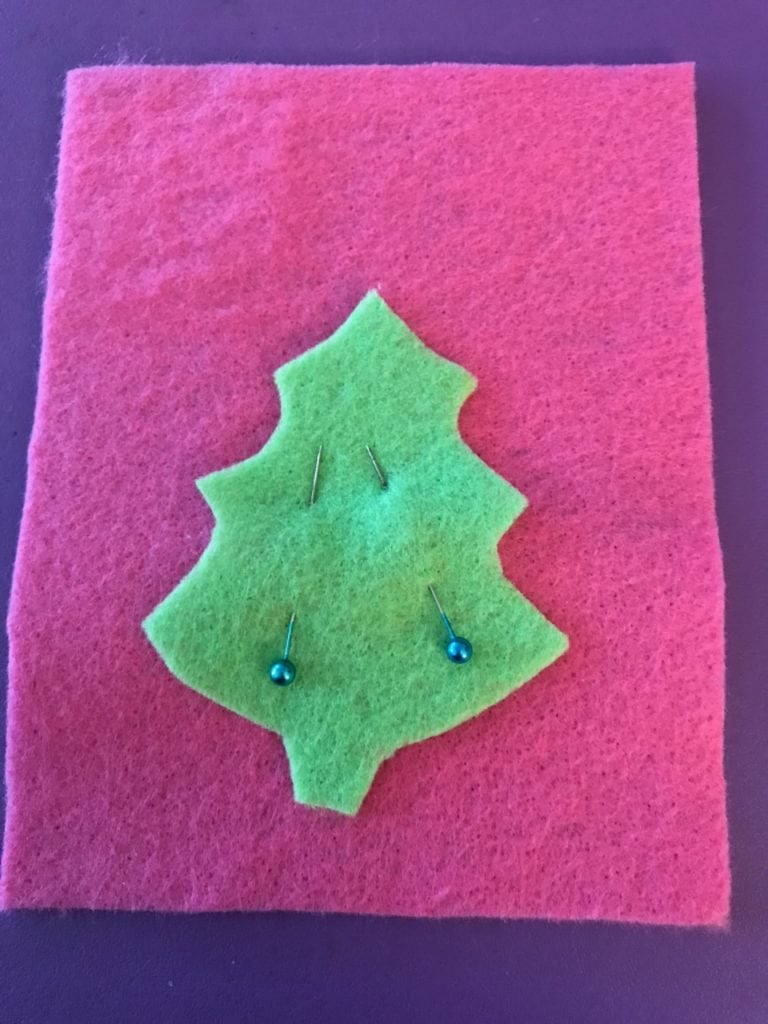
Using the contrasting colored embroidery floss (I use three strands), stitch the tree to one piece of the background felt. Do NOT tie off the thread yet.
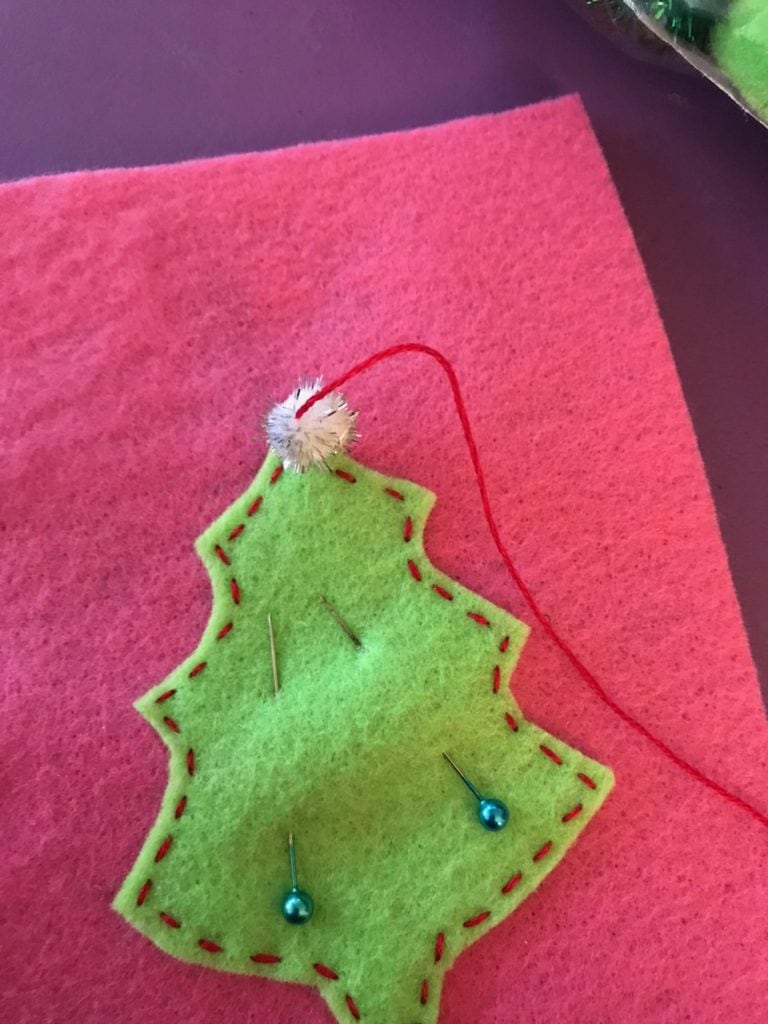
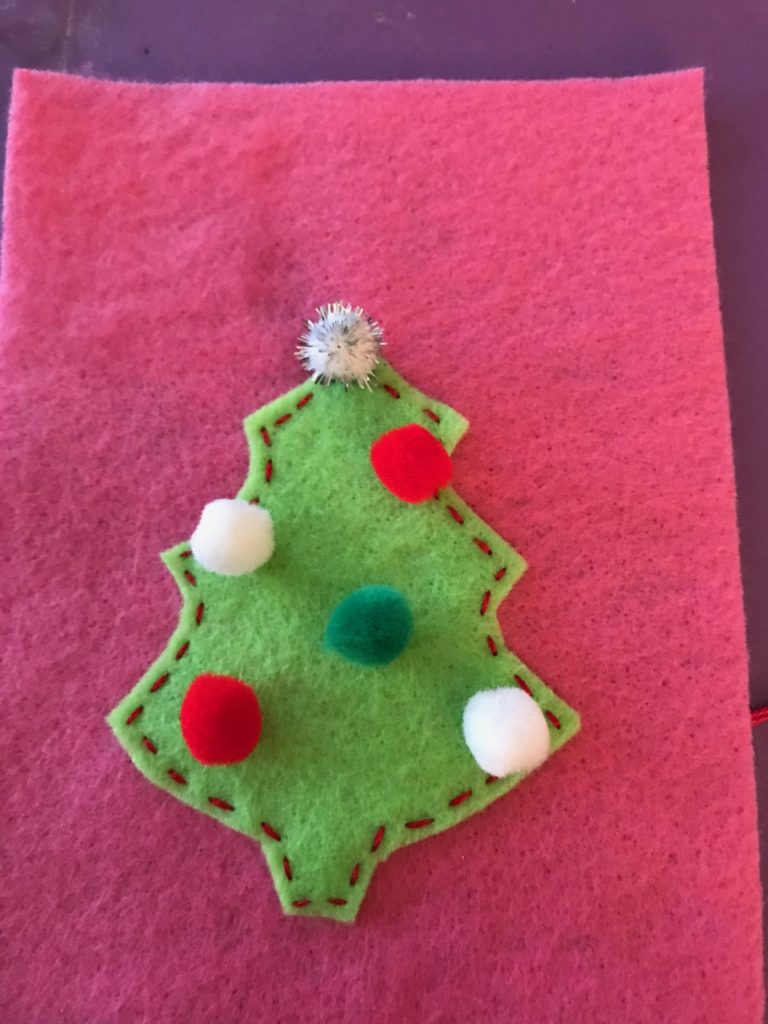
Now it’s time to decorate the tree! The demonstration below uses mini pompoms, but as you’ll see at the end of this post, I also use sequins and beads to decorate. Add each decoration by stitching it securely through both layers, the tree and the background piece. When finished, tie off the thread on the back and cut.
Now you’re going to assemble the bag. Get the second piece of background felt. On both pieces, fold over the top to make a casing for the ribbon. Pin in place to keep the felt from moving around on you.
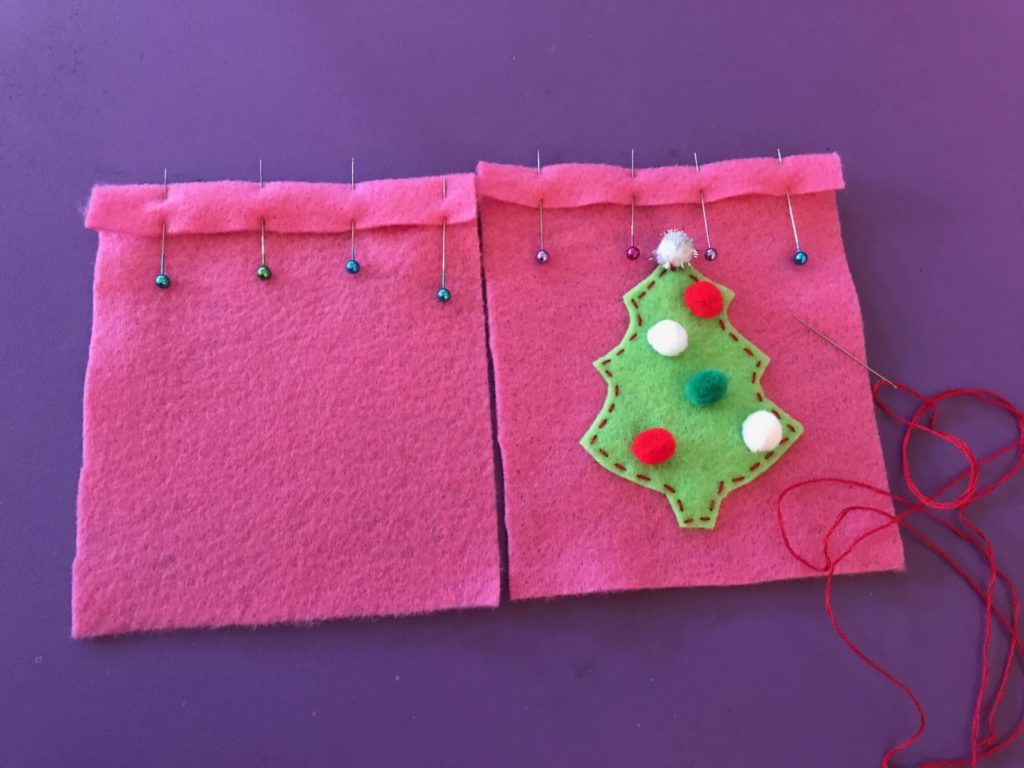
You can use the same color embroidery floss as before or you can change it up if you like. You are going to using a running stitch to complete the casing on both pieces, slightly wider than the 3/8-inch ribbon, like this:
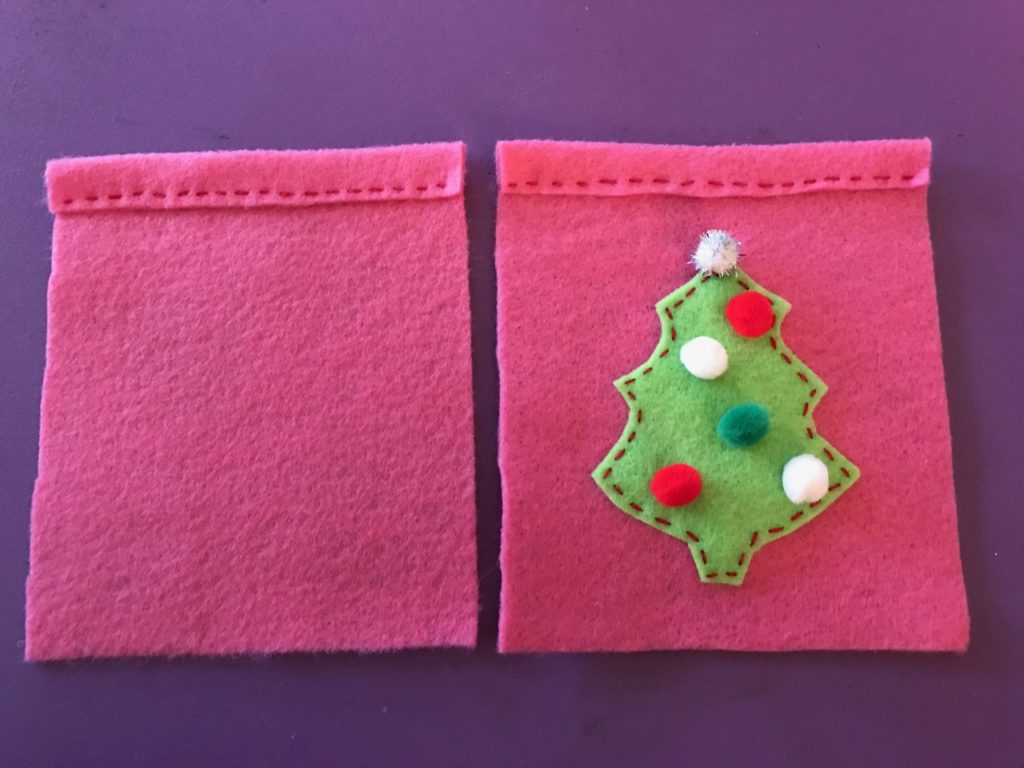
Now it’s time to put the bag together. Place the insides of the bag so they touch, leaving the folded over casing to show on the front and the back, as seen below.
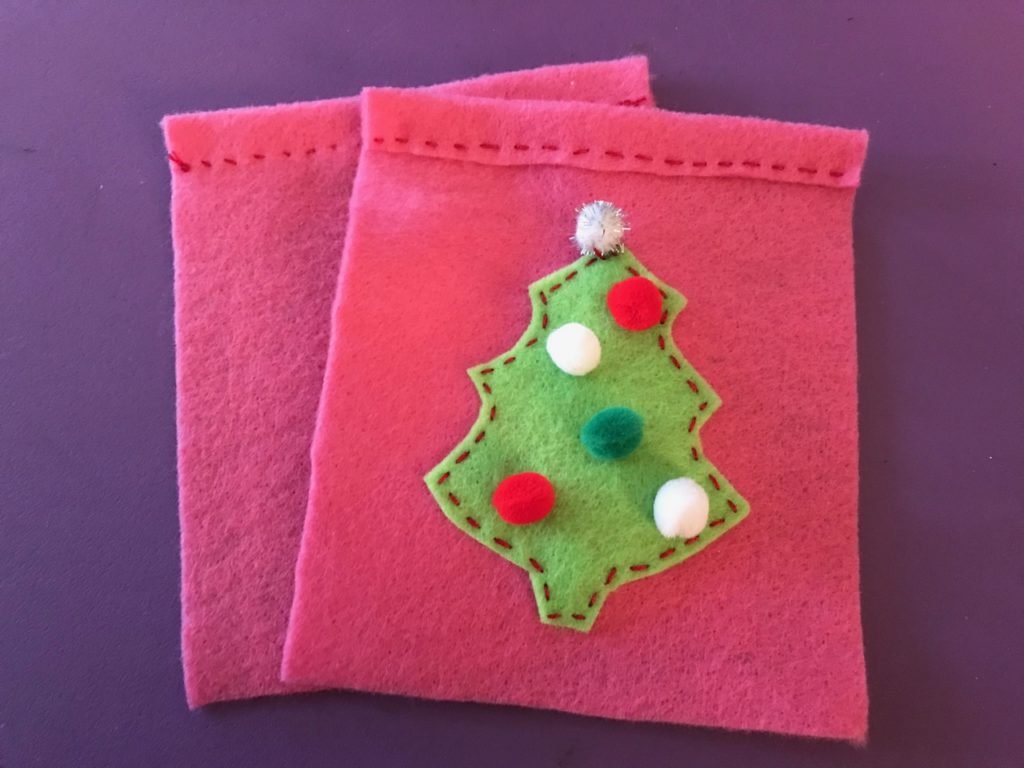
You can either use a blanket stitch (as I did) or a running stitch to sew the sides and bottom of the bag. (There are lots of great YouTube videos on how to do the blanket stitch. It’s easy! You can do it!!! )
Do NOT stitch over the casing openings. Start below the casing and end when you reach the other casing.
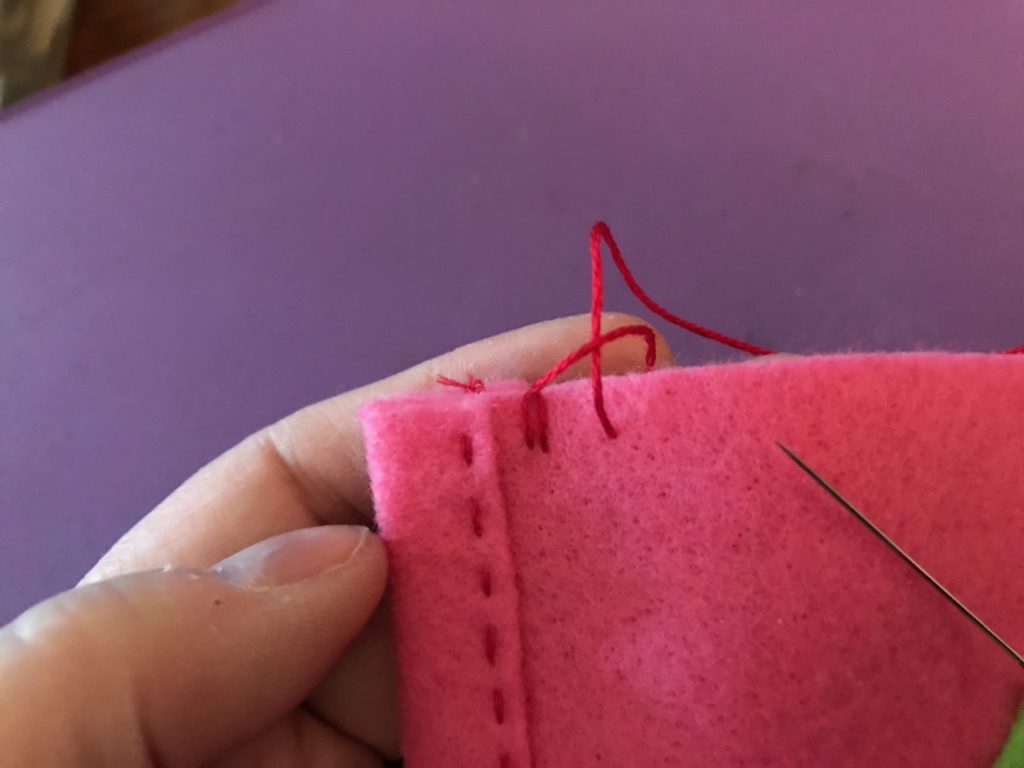
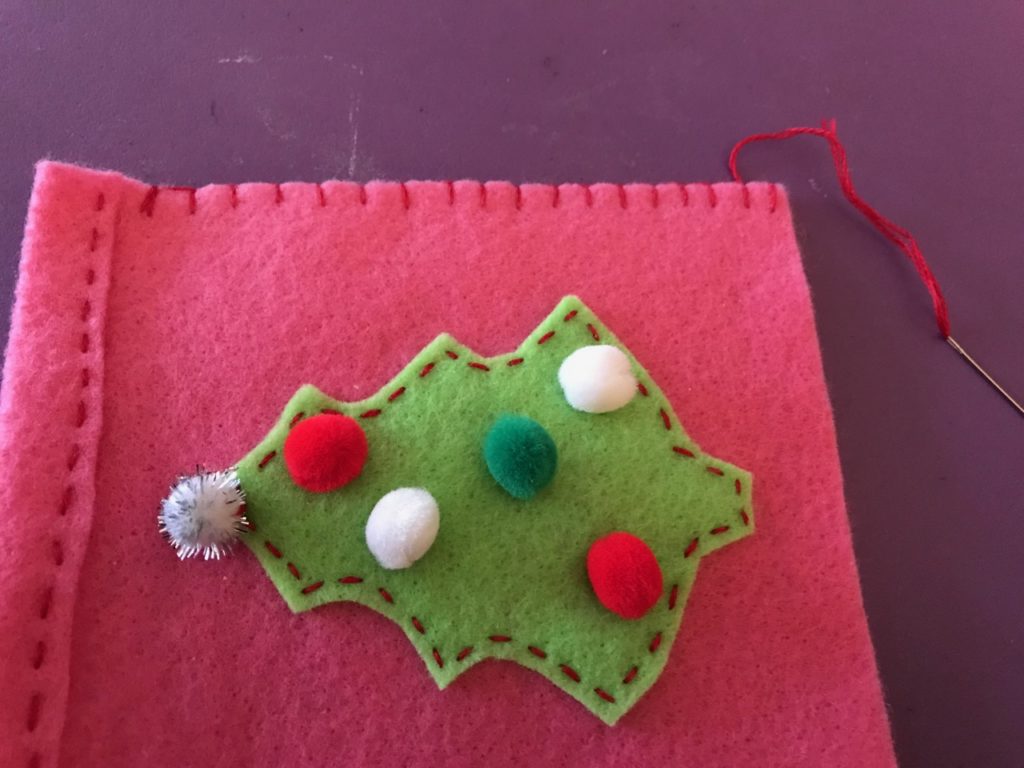
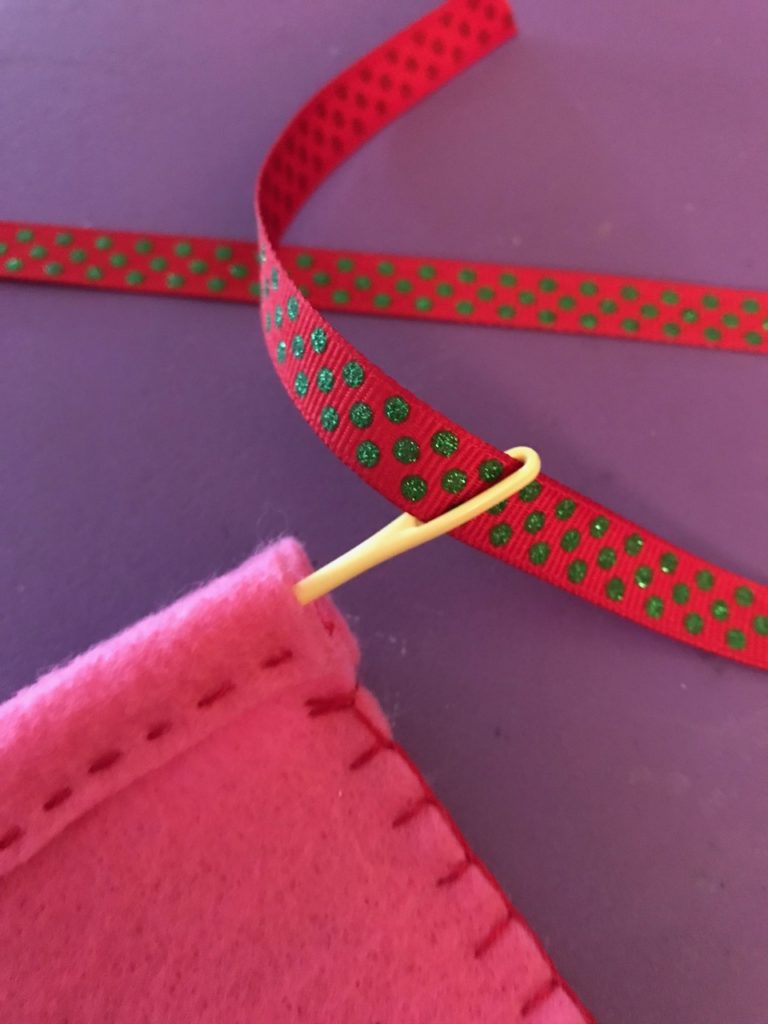
The final step is adding the ribbon. I like to use a plastic yarn needle because it won’t get caught in the felt (usually). Take one of your 18″ ribbons and thread it through the needle’s eye. Then draw it through the FRONT of the bag. Repeat with the second piece of ribbon for the back of the bag.
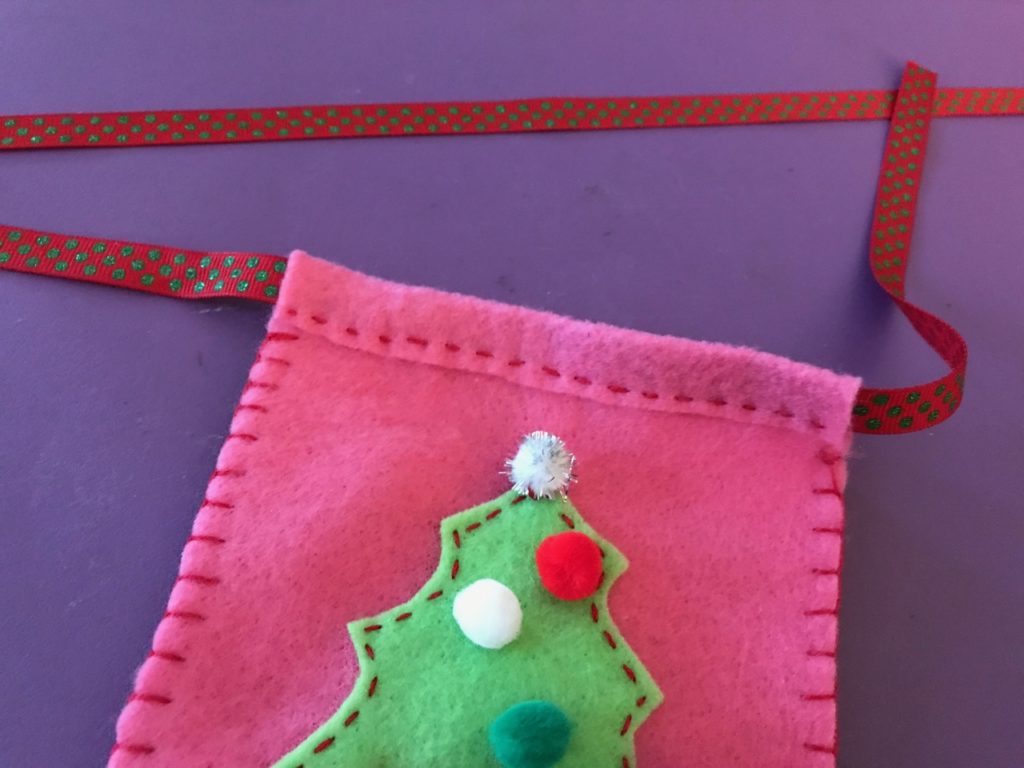
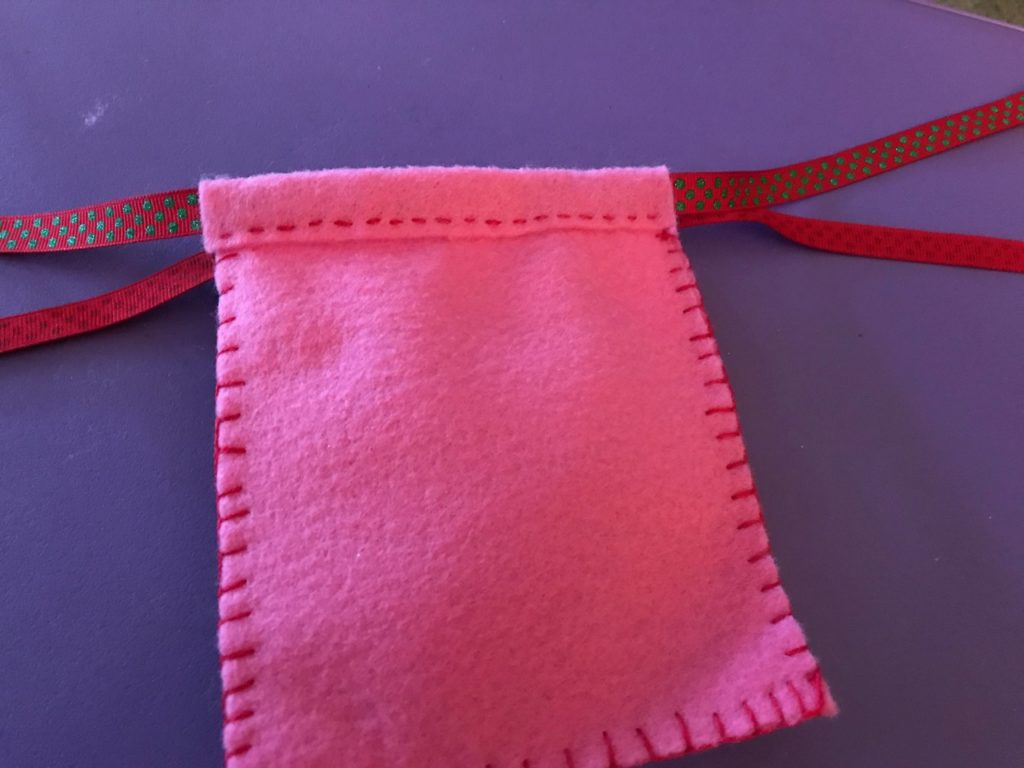
Pull most of the ribbons to one side of the bag. Tie a knot in the shorter side to secure it. Then you’re ready to fill the bag, tie the ribbon in a big bow, and add the gift tag.
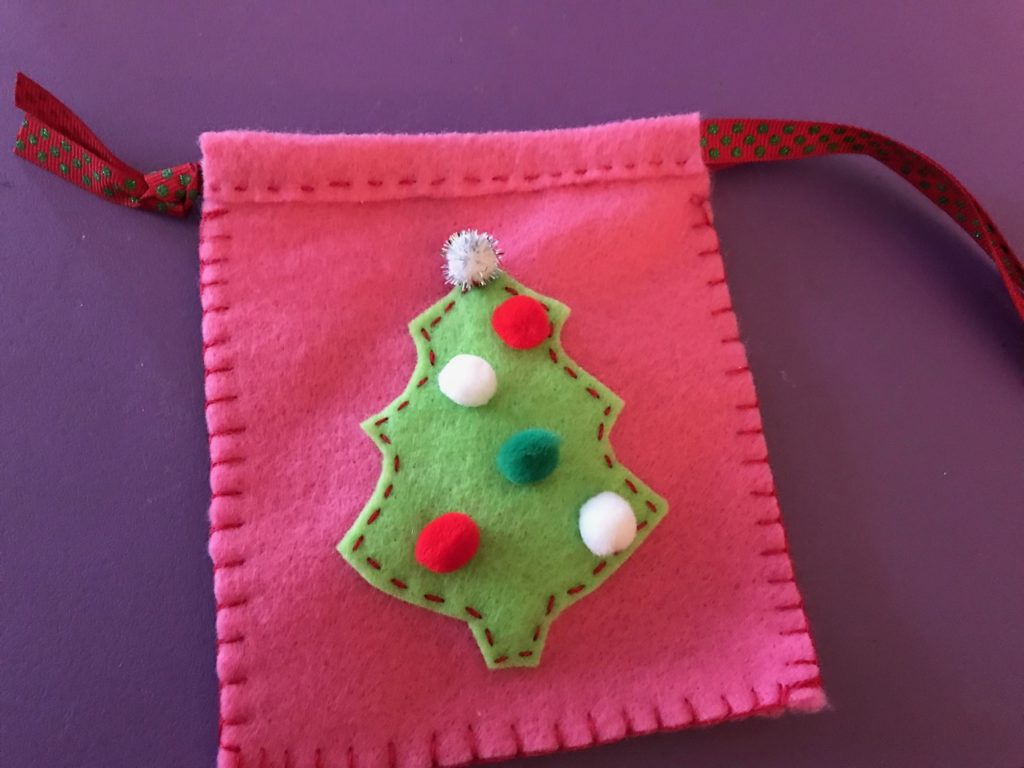
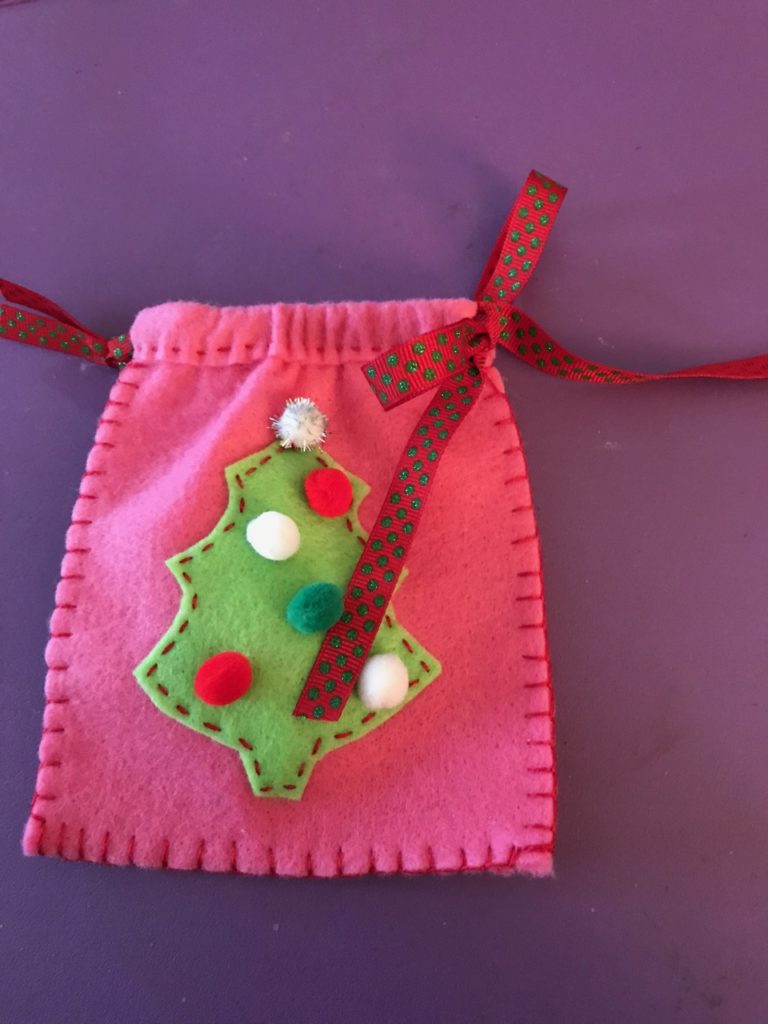
I decided to make my bag a kitchen gift. So I added a small jar of seasoning (Penzey’s is one of my favorite brands!), a mini spatula, and a mini grater (perfect for cinnamon sticks). Then I made two more!
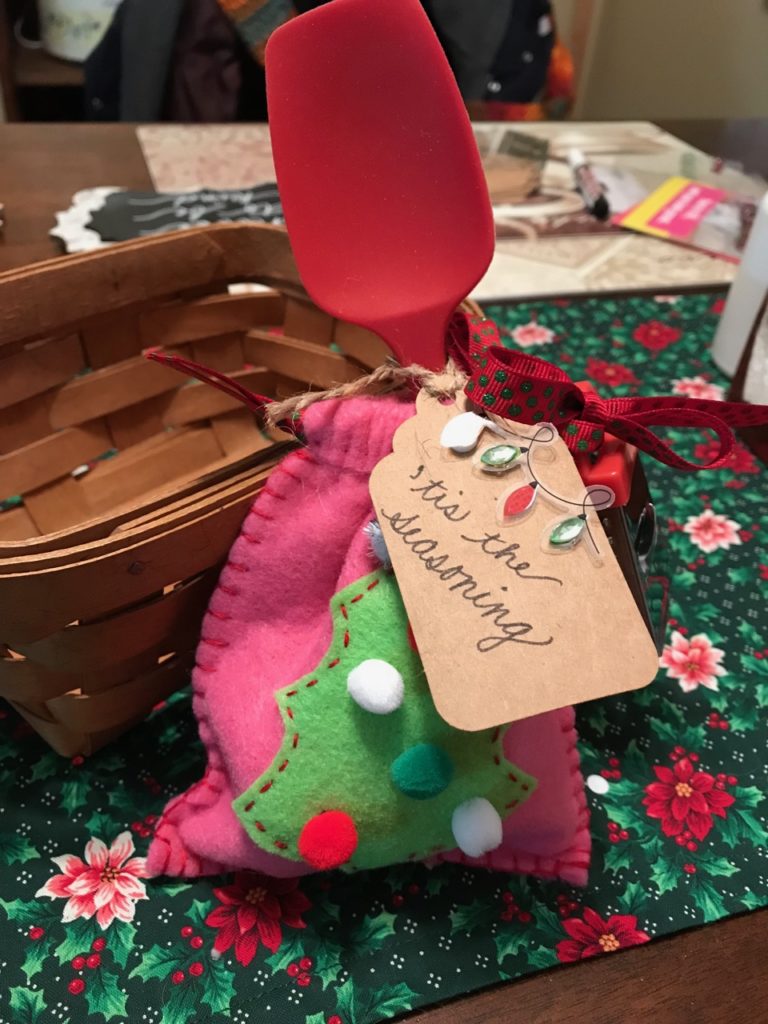
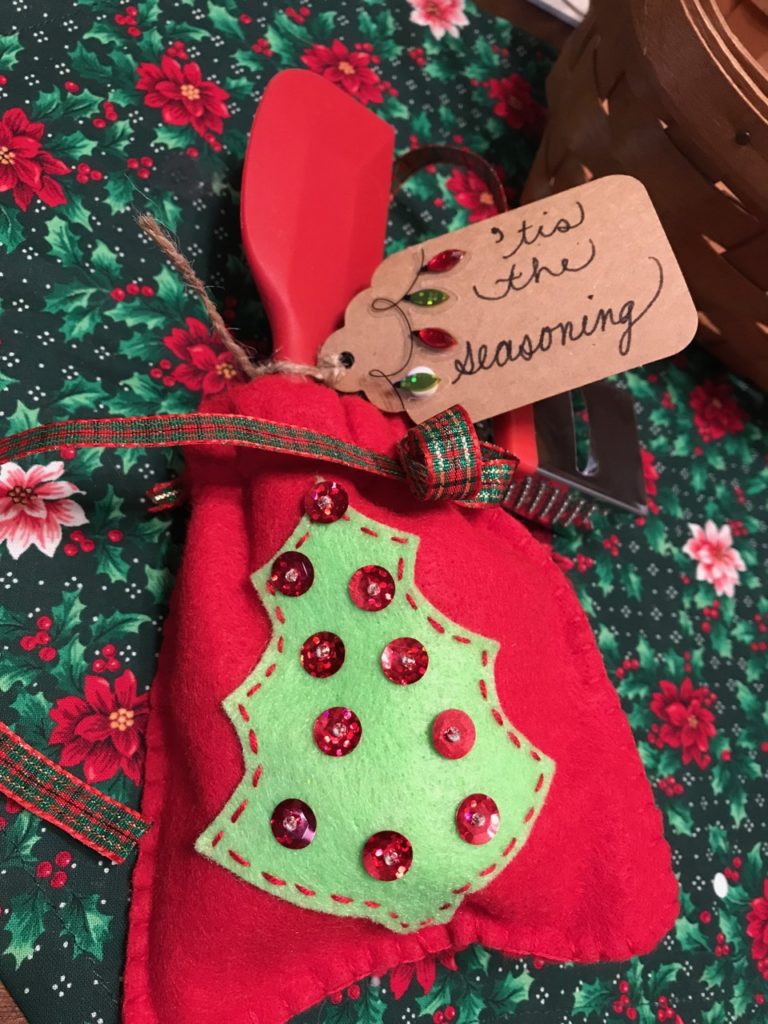
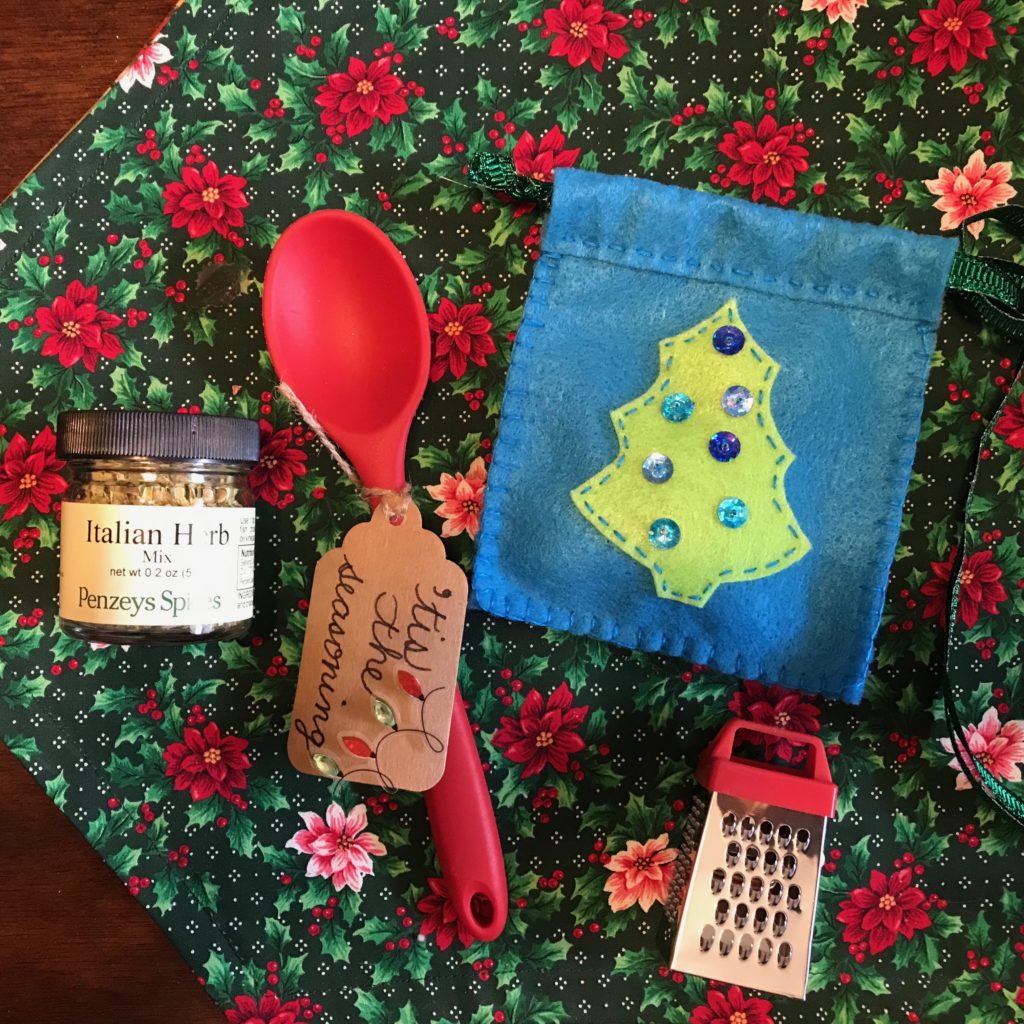
Of course, you can fill your bag with anything you want. Candies. Money $$$$. A gift card. But whoever receives it will be happy to have something handmade by you just for them.
I wish you all a blessed, happy, healthy holiday season! I’ll be back in 2019 with more Heartfelt Crafts for us to share.

