It’s been a couple of weeks since I’ve posted, but that’s because there’s been so much good stuff going on. I did some editing assignments, writing assignments, and crocheting for the season. (I usually donate hats and scarves to the Salvation Army for their winter clothing drive.) And the BIG event was my grandson’s fifth birthday!
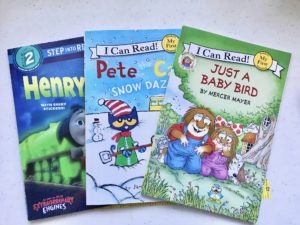
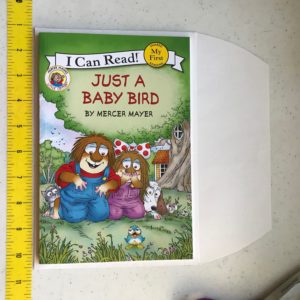
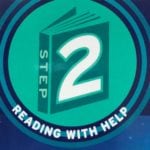 As I was wrapping his gifts, I realized that I had forgotten to buy him a card. Oh no! And that made me think: Why do we all need to give him cards when he’s probably never going to look at them again? What can I do that is different and useful? I spotted, among my gifts, a leveled reader. You know, one of those 6 x 9 paperbacks with a big 1 or 2 or 3 (and even higher) in a circle on the front.
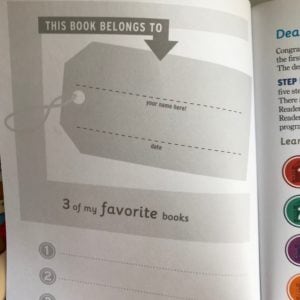 I opened the book, and right there on the inside cover was a place to write a greeting, along with Matthew’s name. It’s almost like a birthday card, right? I signed it “Happy 5th birthday to Matthew. Love, Grammy and Grandpa.” Now, where’s an envelope that will work?
Nothing fit! Like Goldilocks, I found some that were too small or too large or too thick—but none that were just right. Well, challenge accepted!
Follow along with me and you’ll see how to make a lined envelope perfect for holding—and MAILING—a leveled reader instead of a card. (Or include a card. There’s room. Also: most greeting cards these days are going for $3.95 to $5.95 apiece! Sheesh! These leveled readers are only $3.99 or $4.99, and they won’t get tossed in the trash. Genius, right?)
Step One
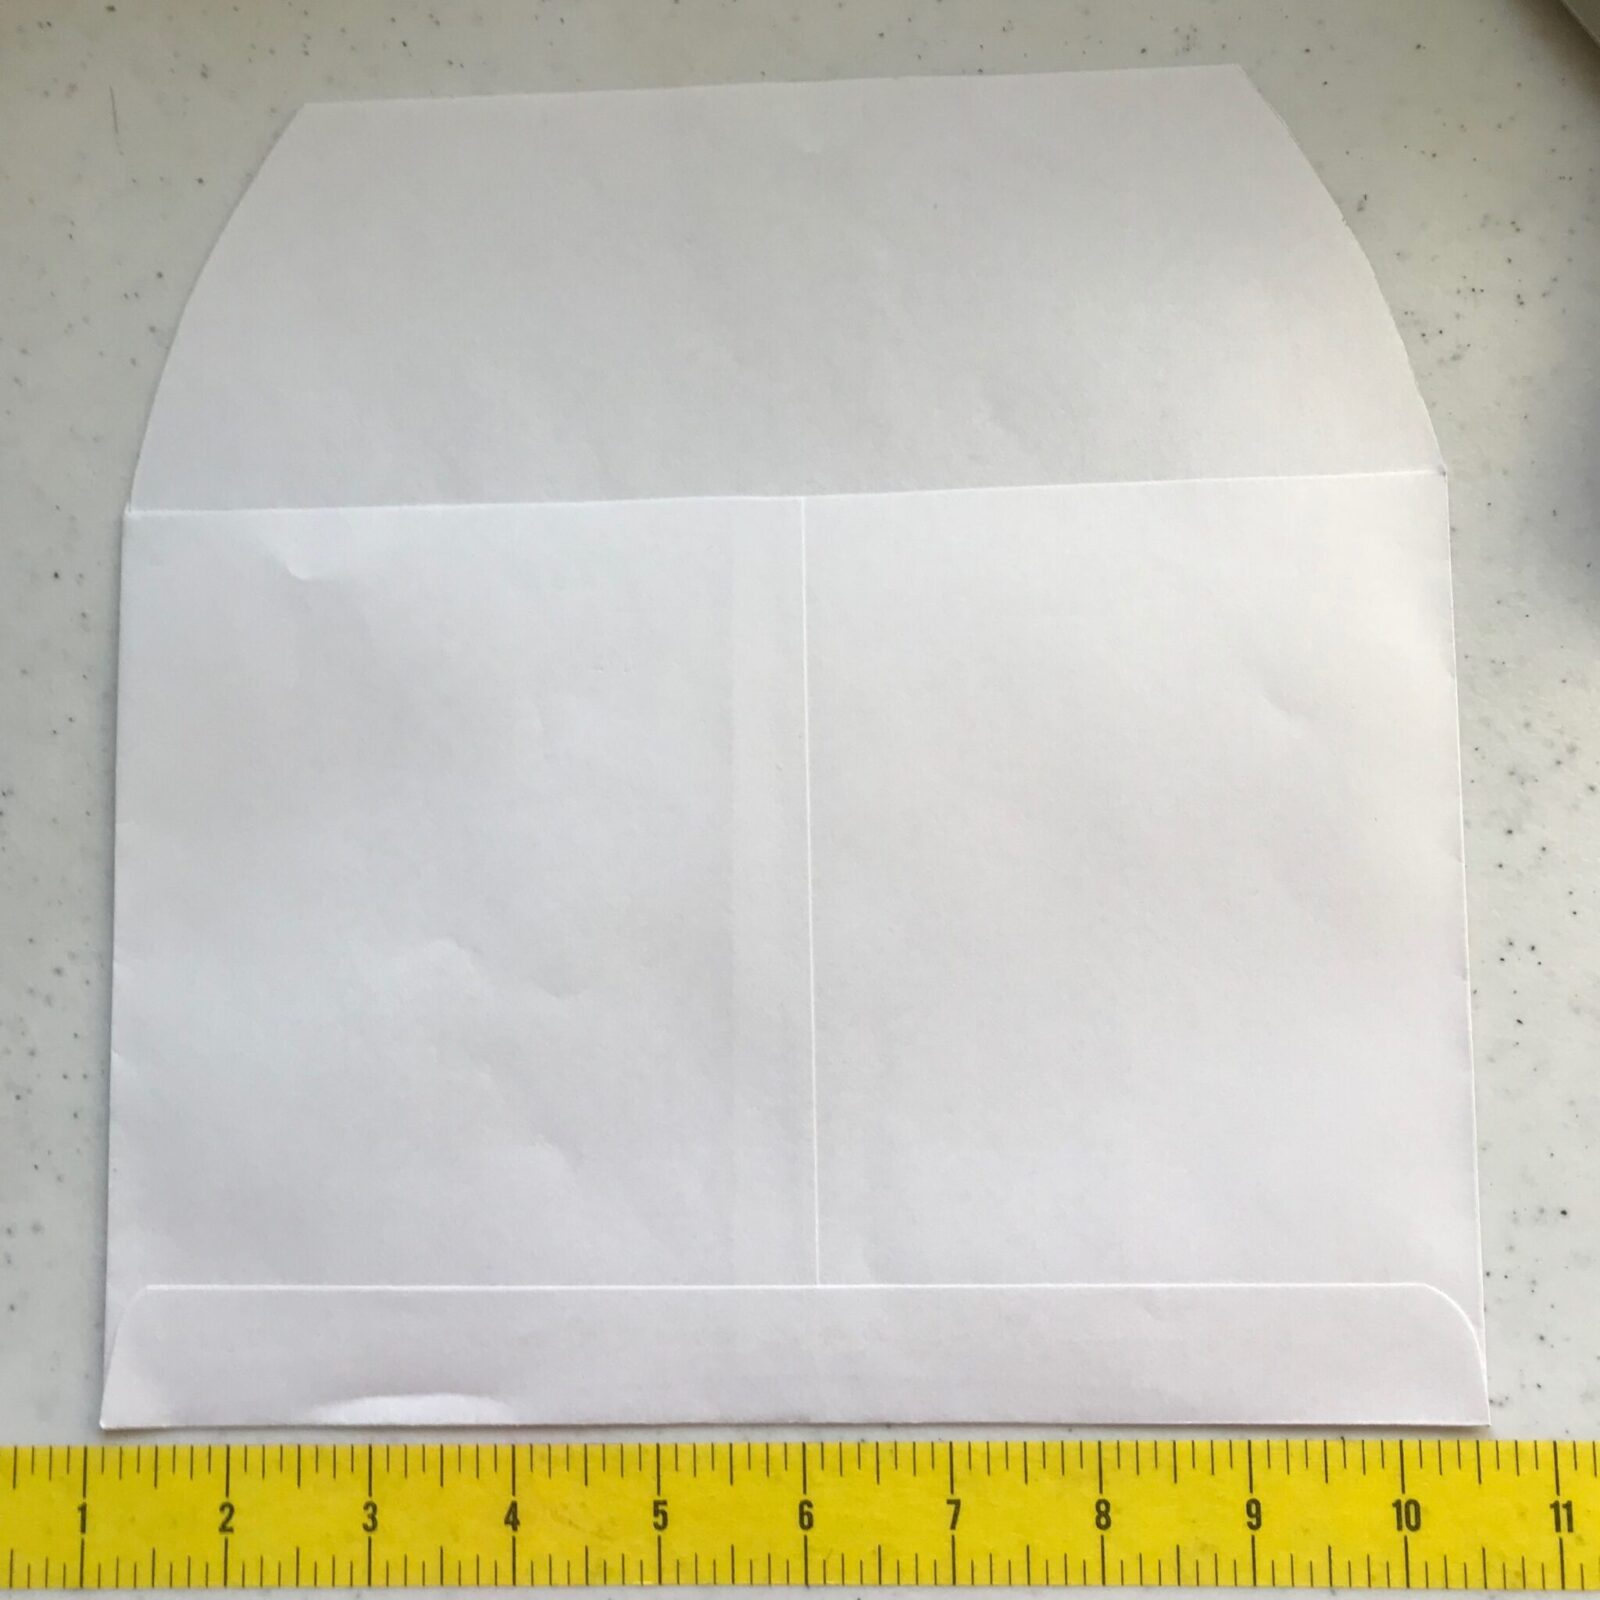
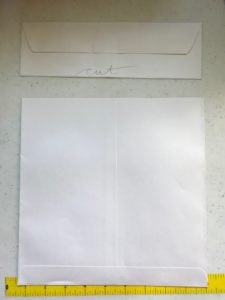
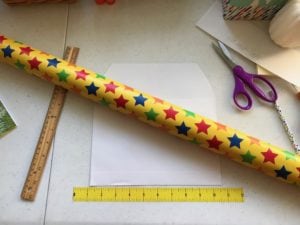
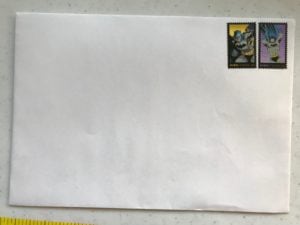
Get a 9½” x 13″ envelope that opens at the top (not the side, like some do). I’m using white, but if you prefer the standard yellow, that’s fine.
Step Two
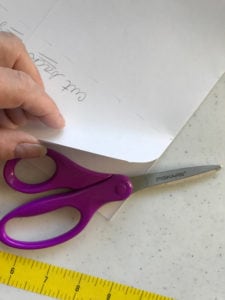
Measure from the bottom 9½” and mark with a pencil. This will be your cutting line. Yes, you’ll be cutting off the sealer at the top. Now you’ll have a 9½” x 9½” square.
Step Three
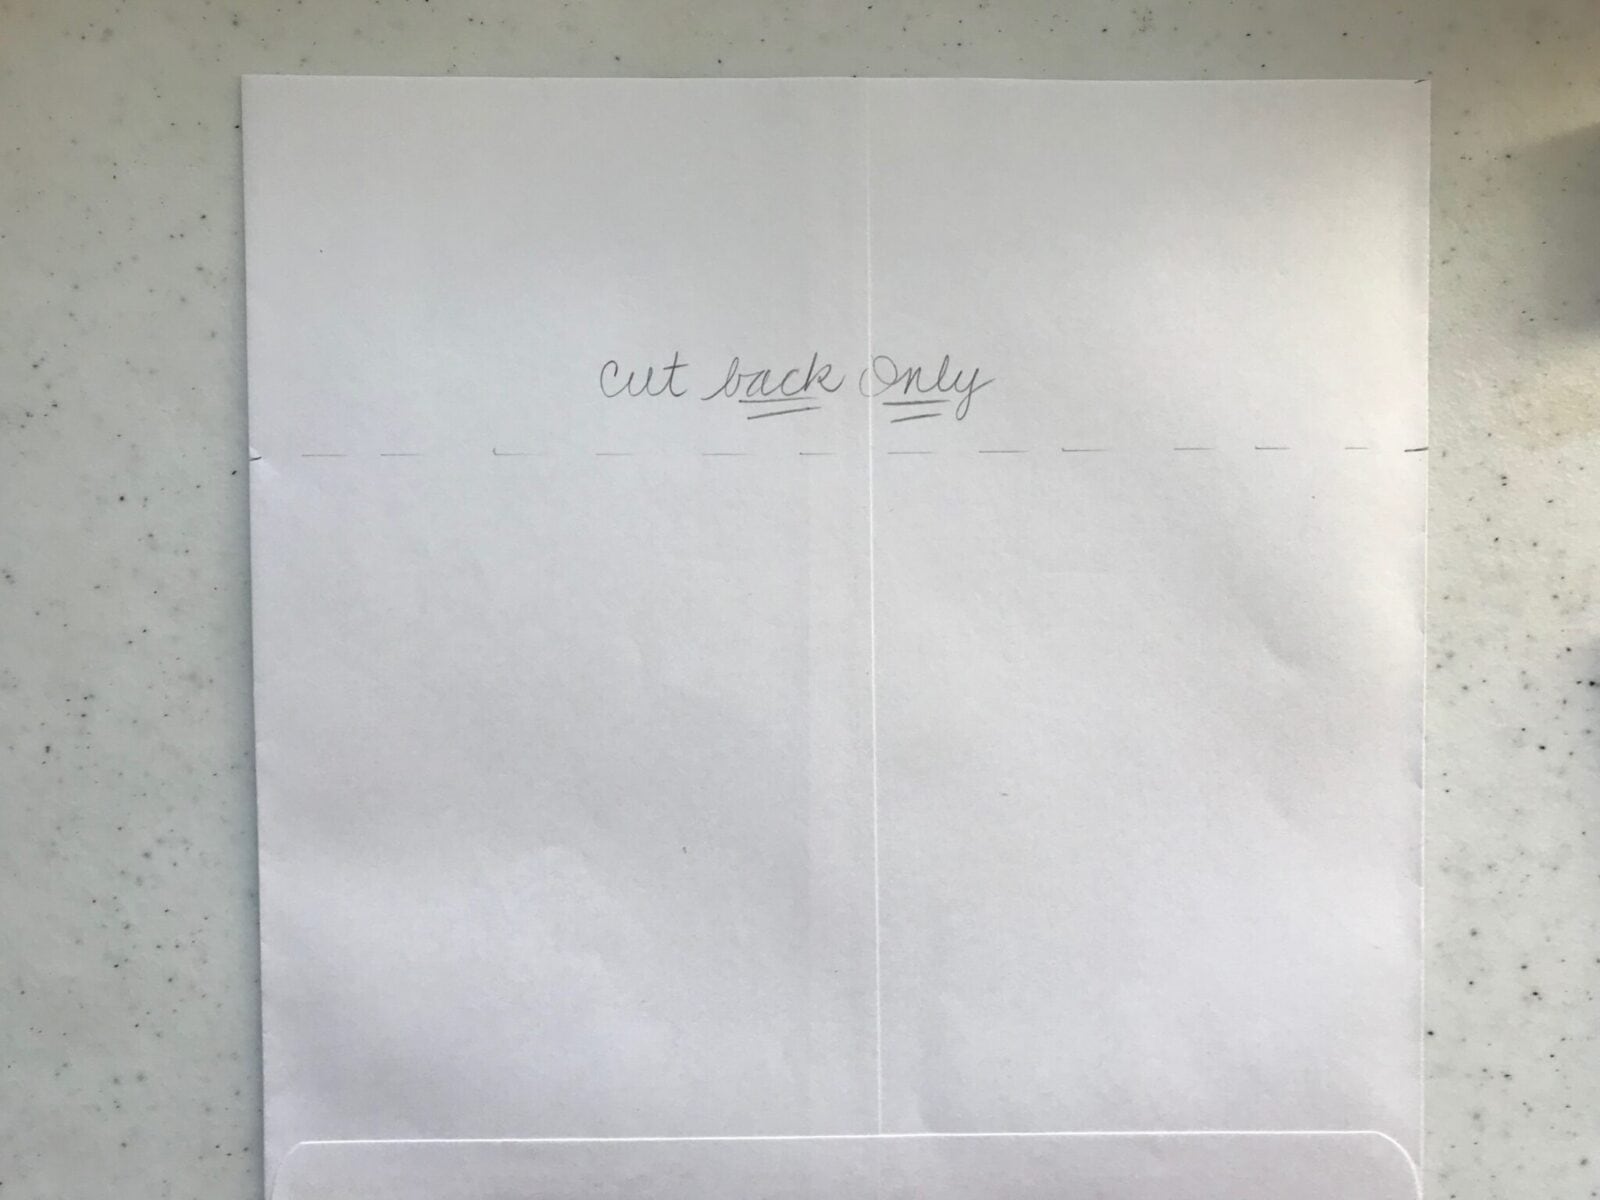
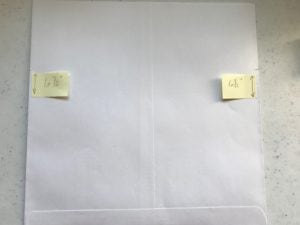
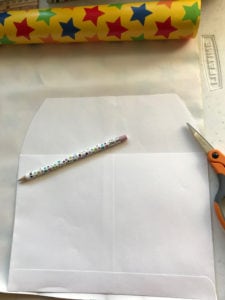
Measure from the bottom up 6½” and draw a line for cutting. But DO NOT CUT it yet.
Step Four
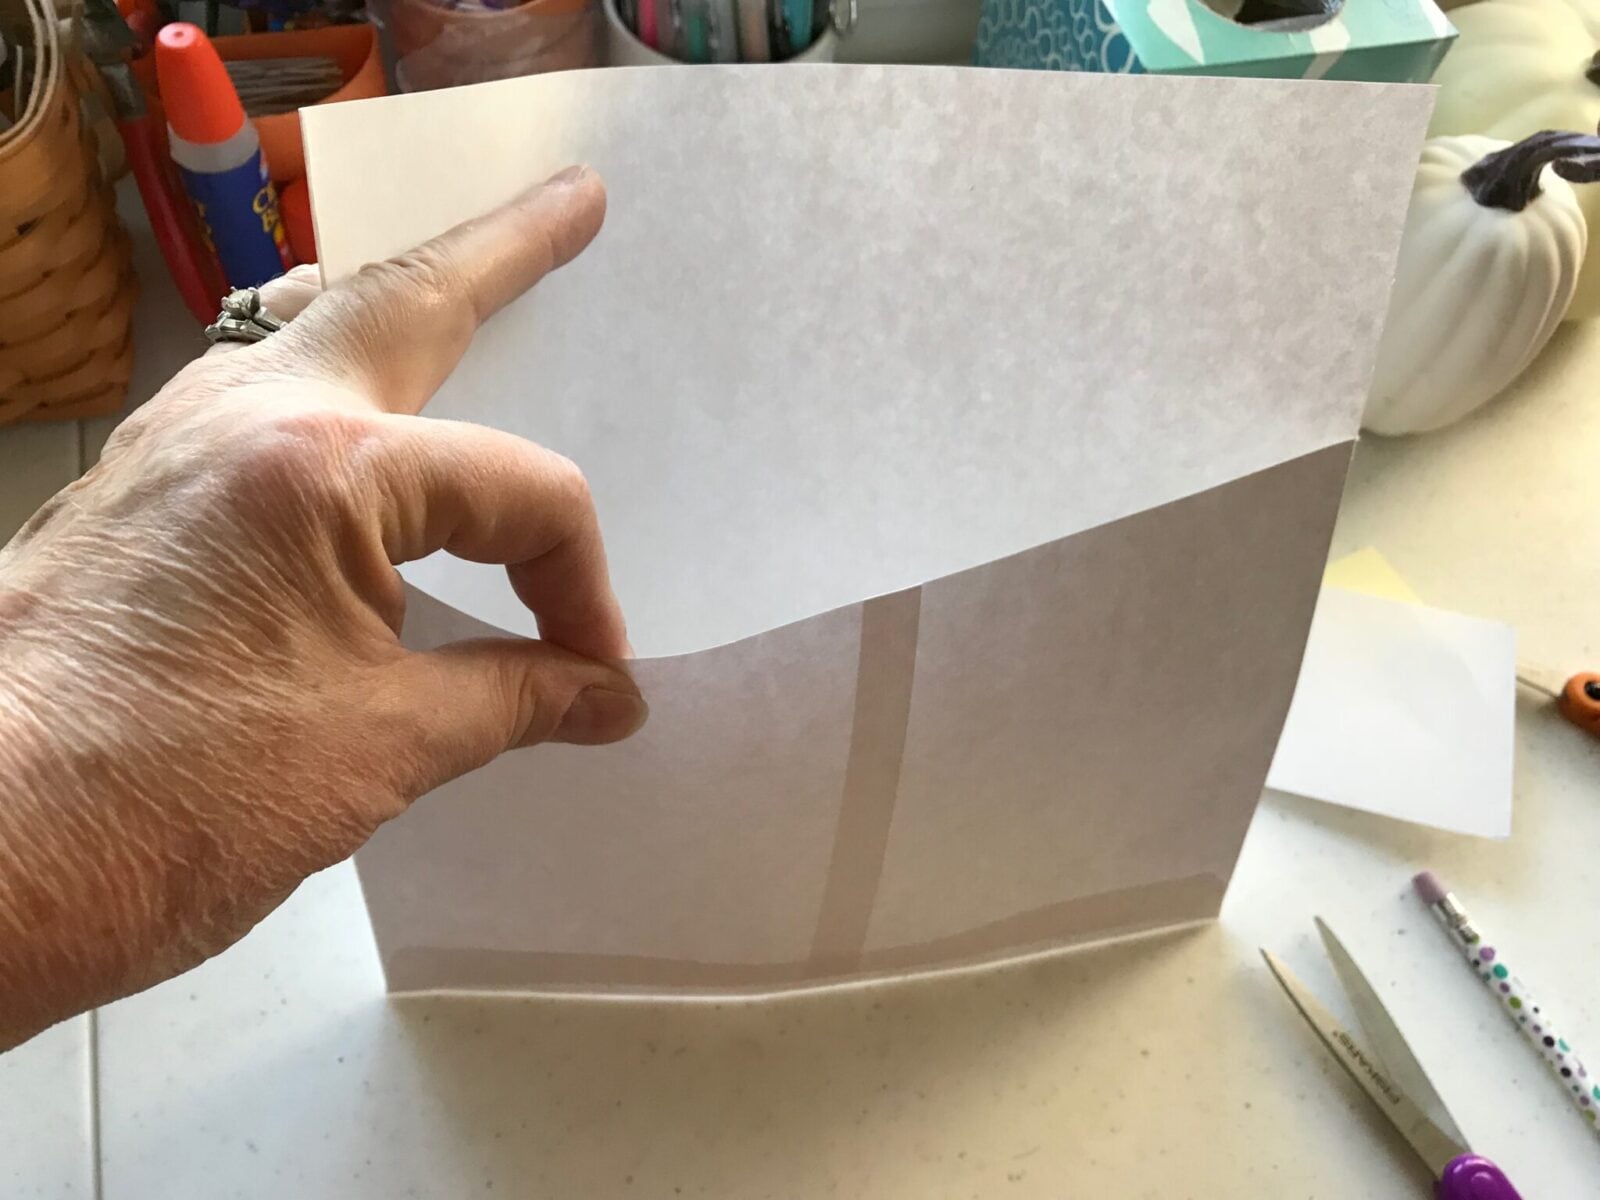
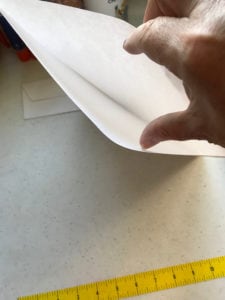
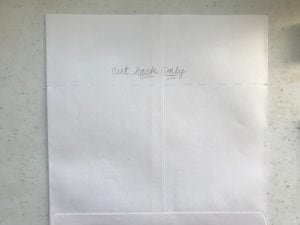
You will only cut the BACK SIDE ONLY of the envelope this time. This is how you get the envelope flap on the front.
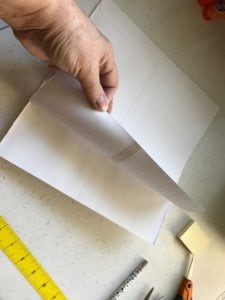

Step Five
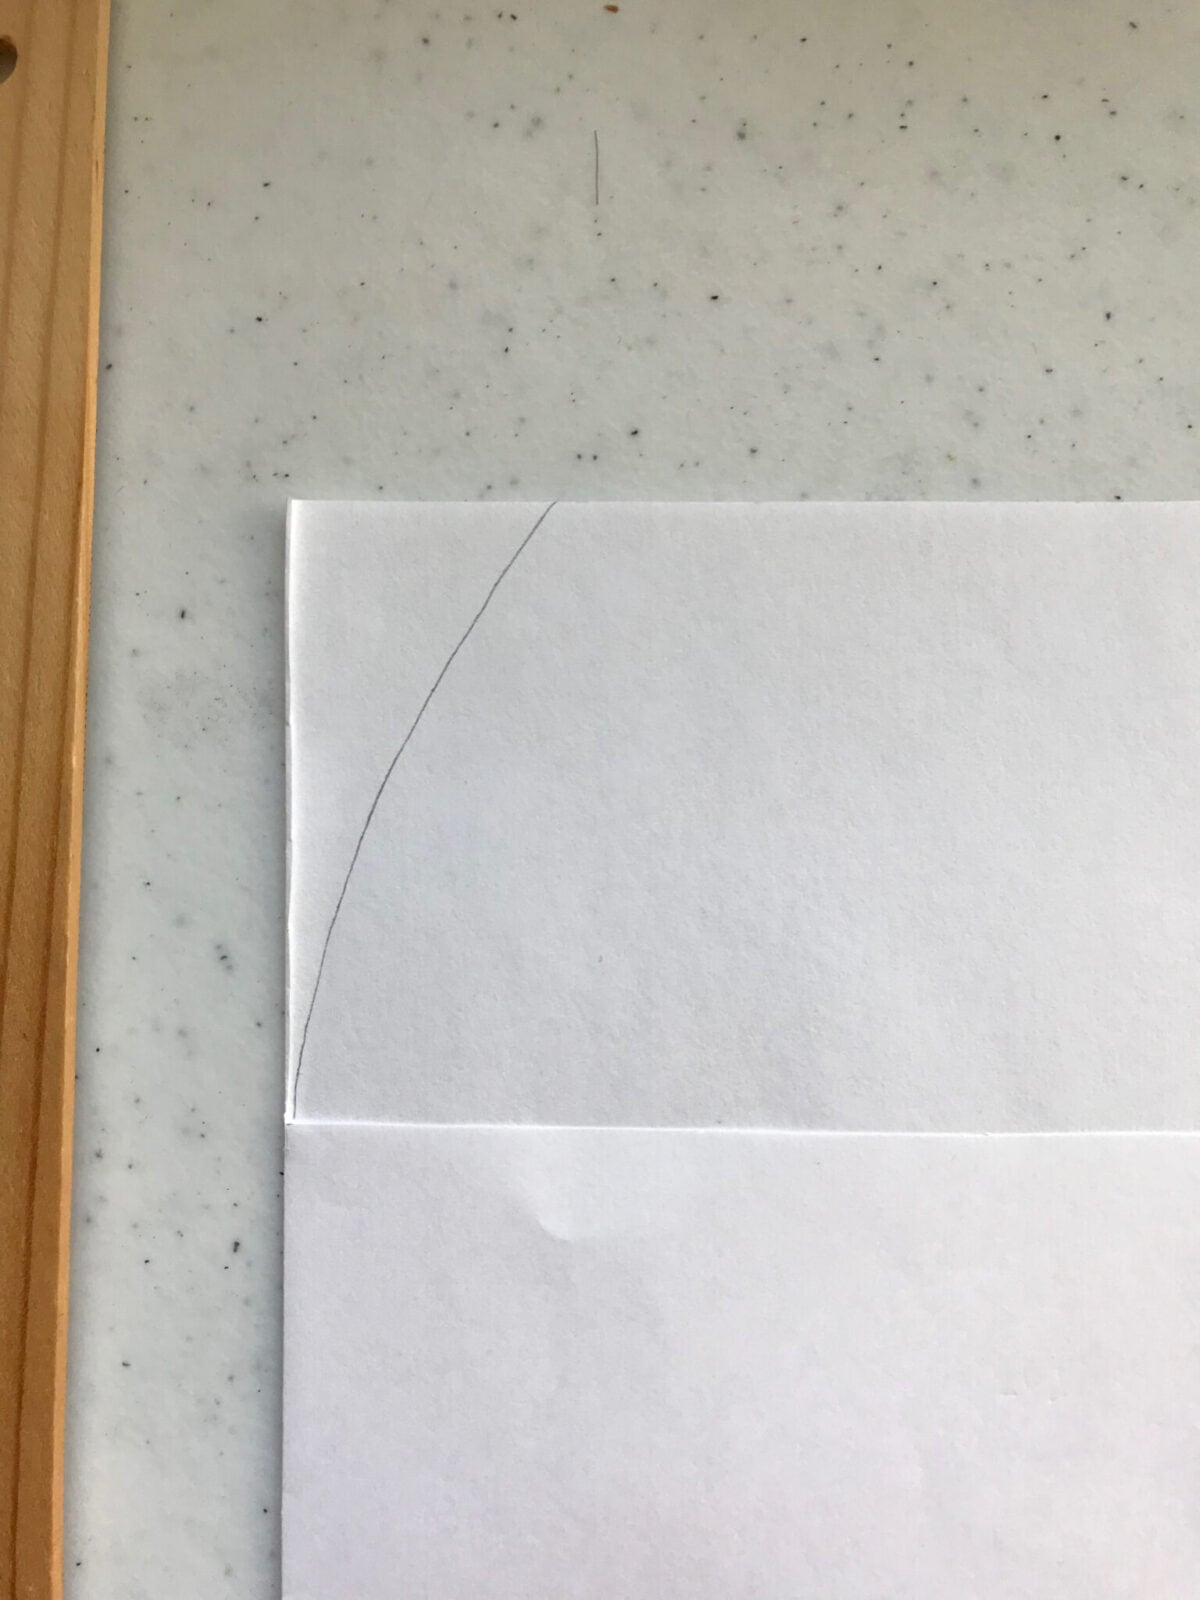
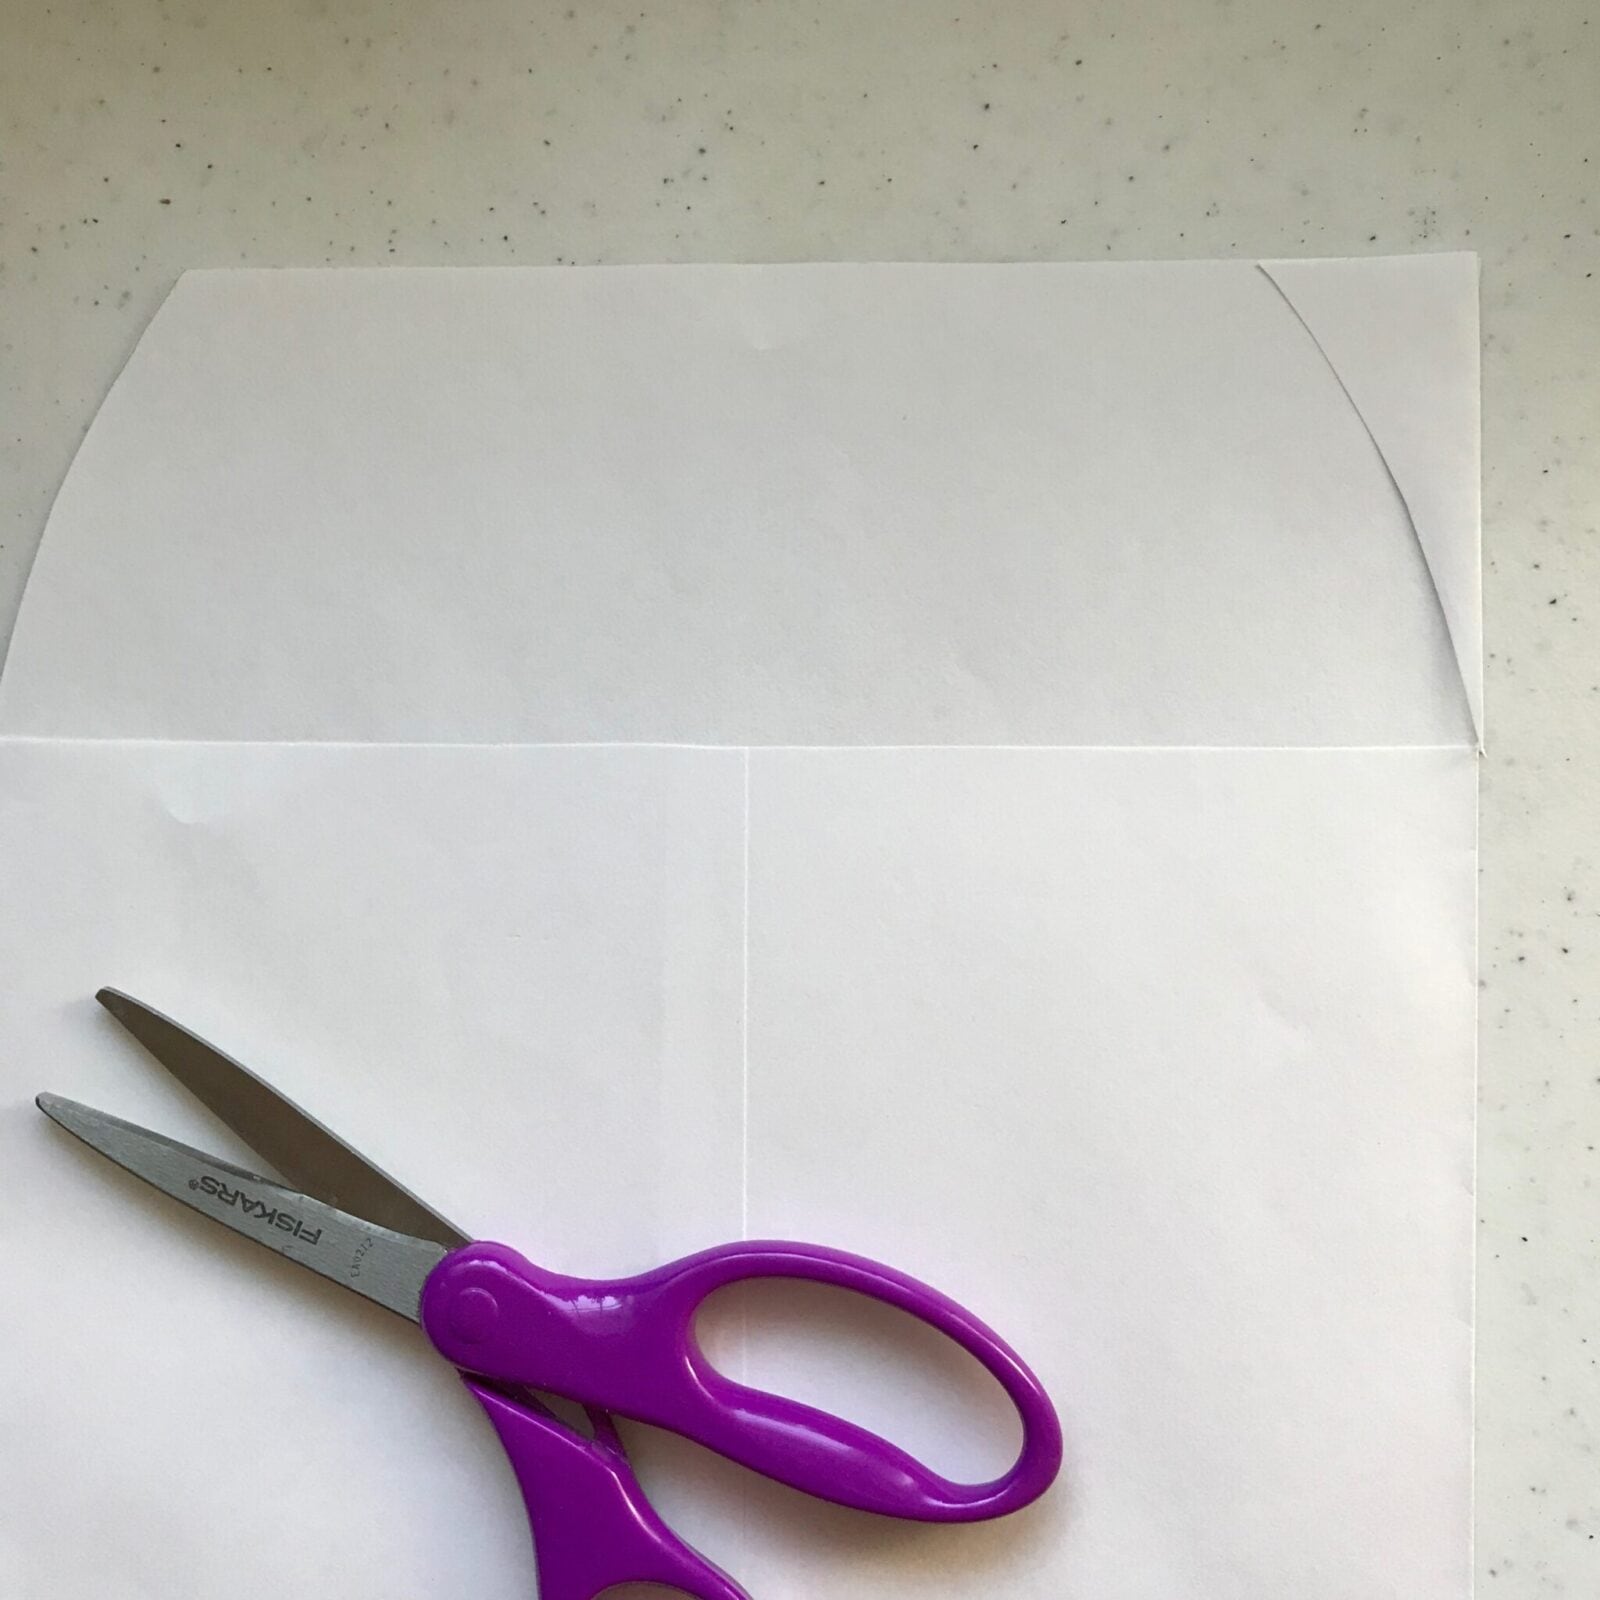
Next you will cut curves on the outer edges of the envelope flap. Try to make these as even as you can. I drew one side and cut it, then used the cut off piece to show me where to draw the other curve. It’s kind of like geometry, but fun!
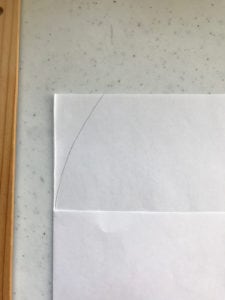

Step Six
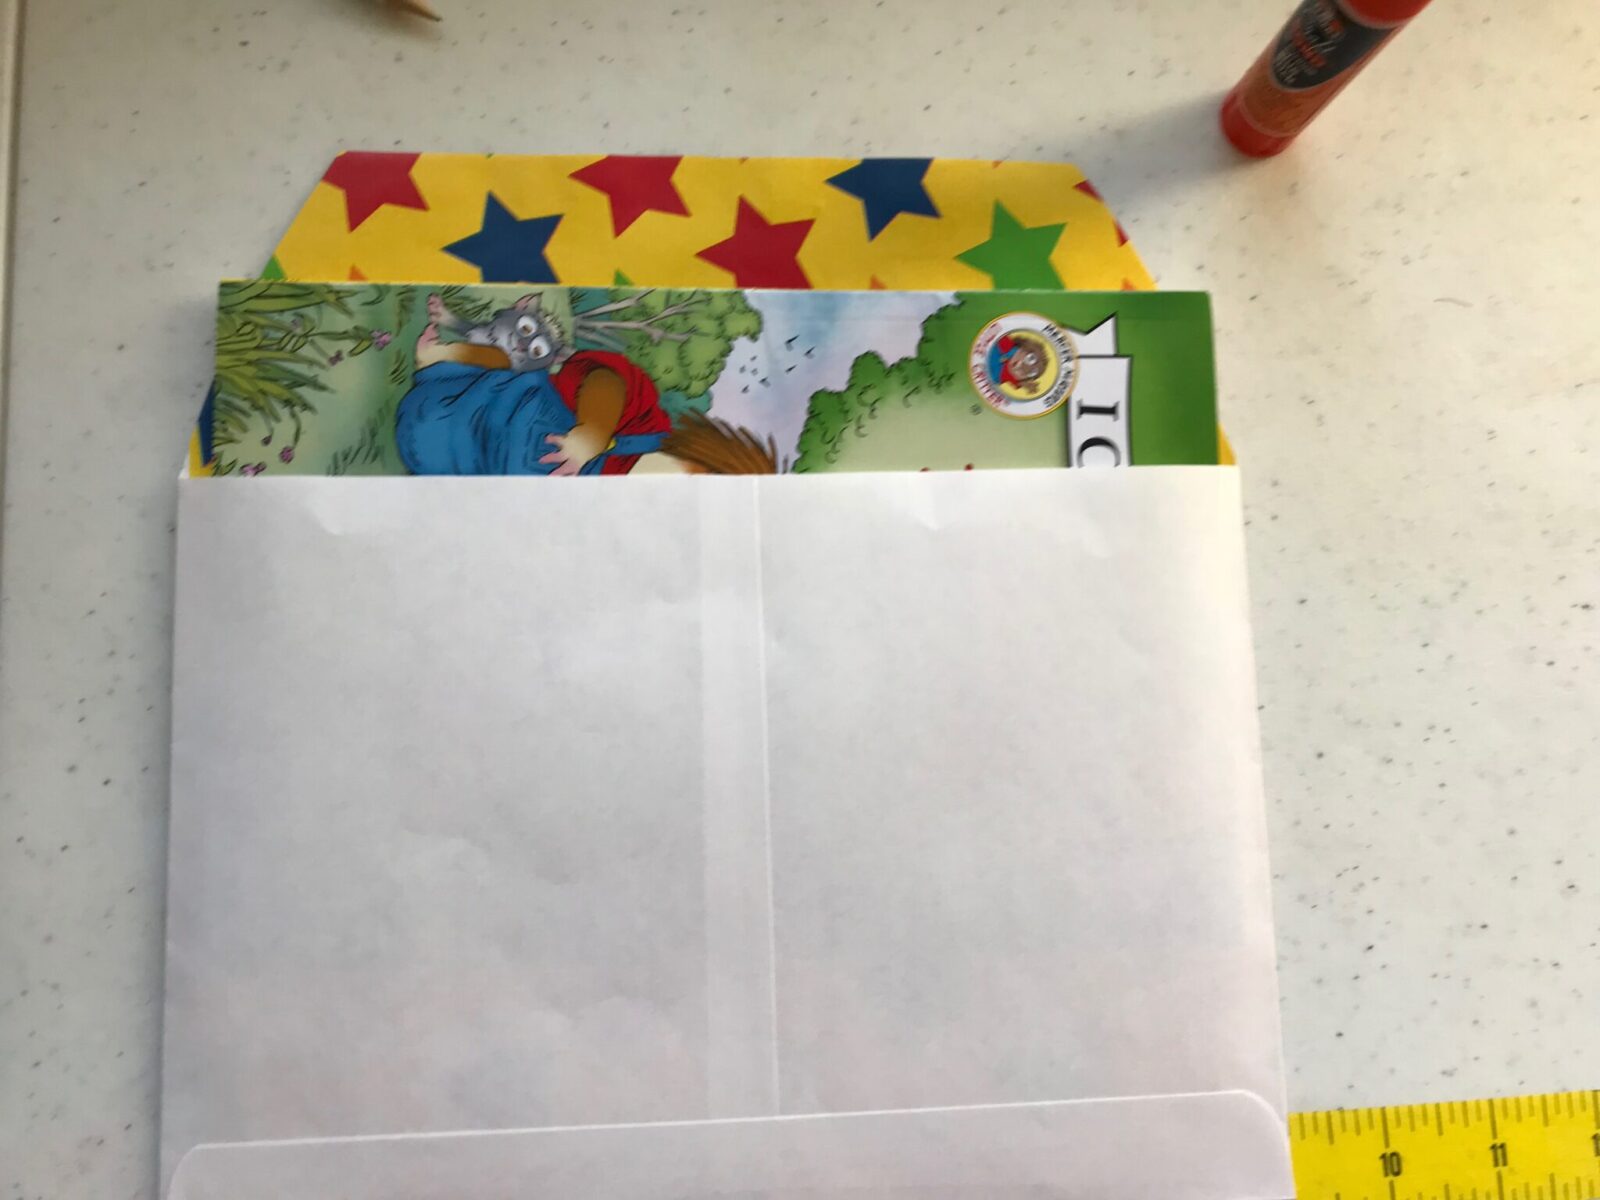
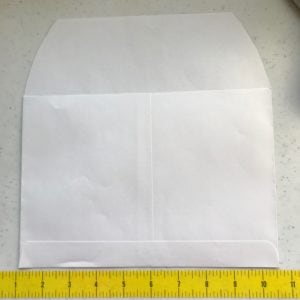
Just a quick check and you’ll see that one book fits perfectly inside! You can stop here if you want, but for some added pizzazz, let’s keep going. We’re going to make a bright, happy liner for the envelope next.
Step Seven
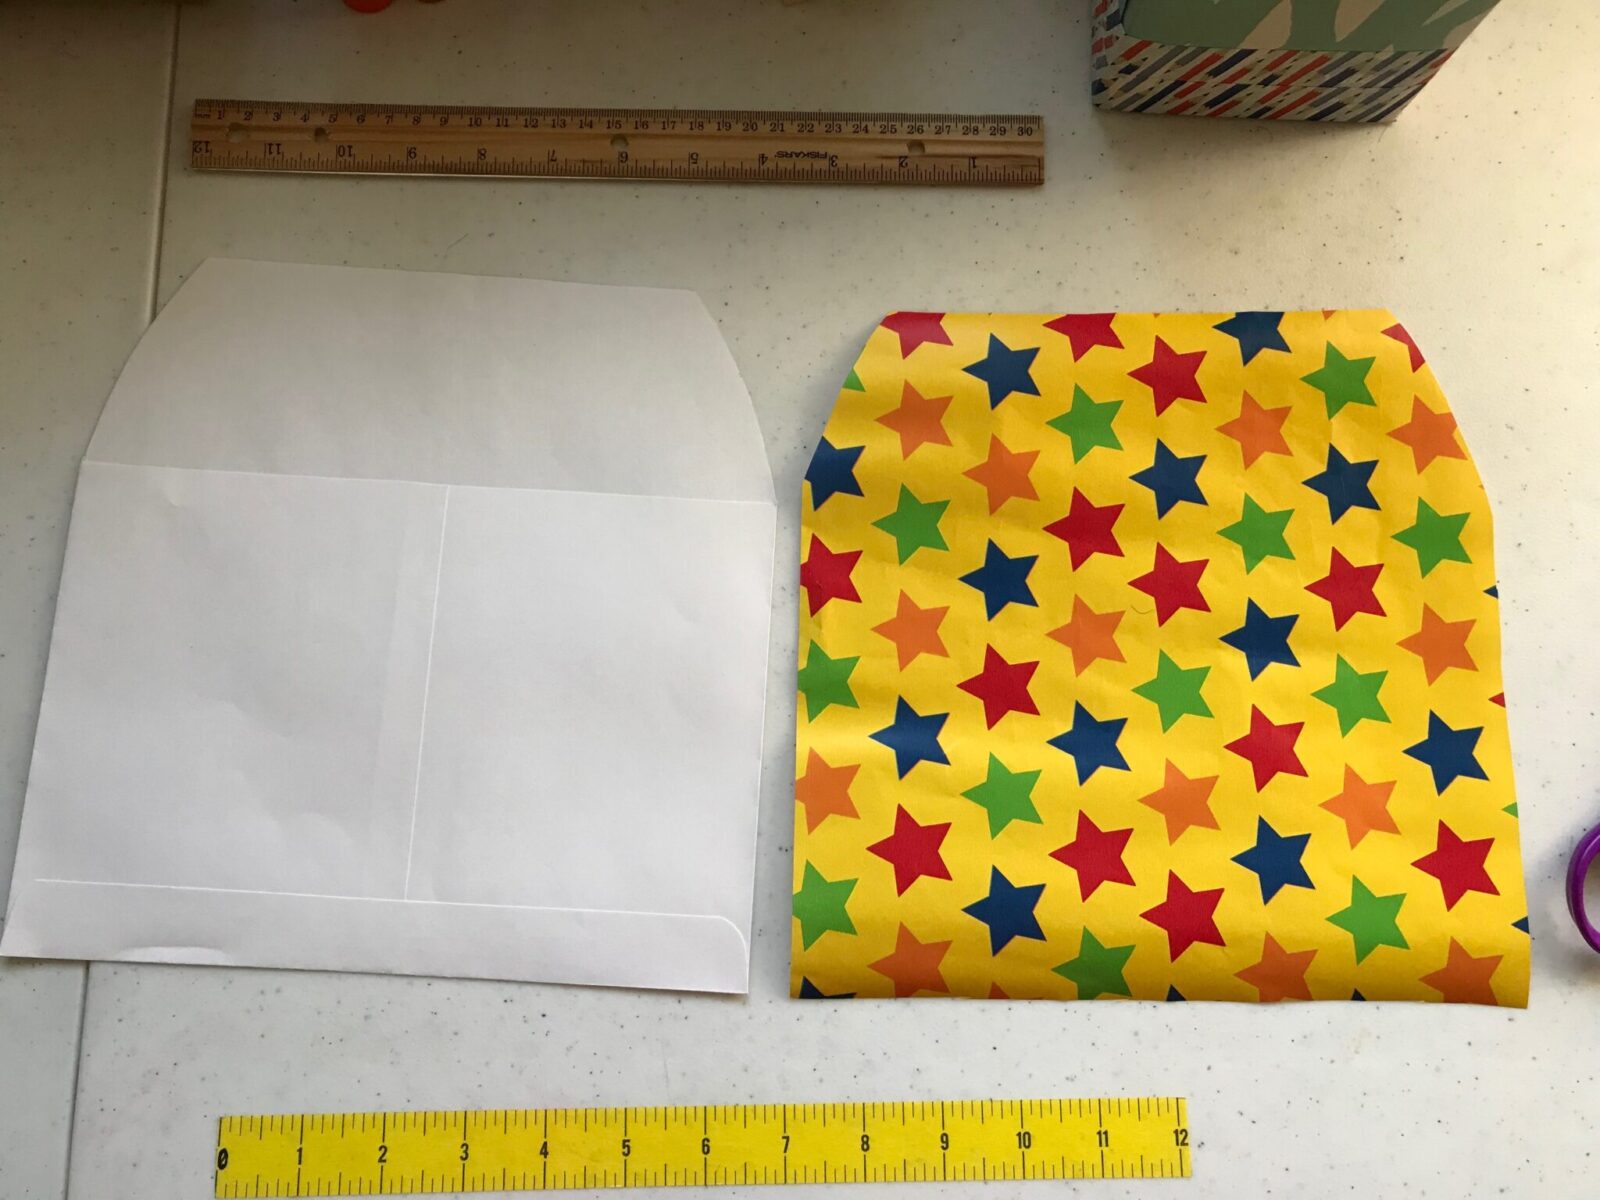
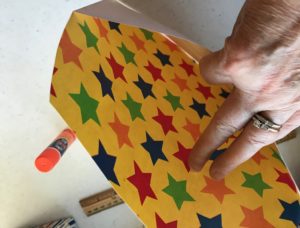
To make a liner, you can use any light- to normal-weight decorative paper. In this case, I’m using gift wrapping paper. (It can be tricky if it’s from a roll, but not difficult.) Start by cutting a piece by using your envelope as a pattern. Cut INSIDE your lines so it will fit in the envelope.
Step Eight
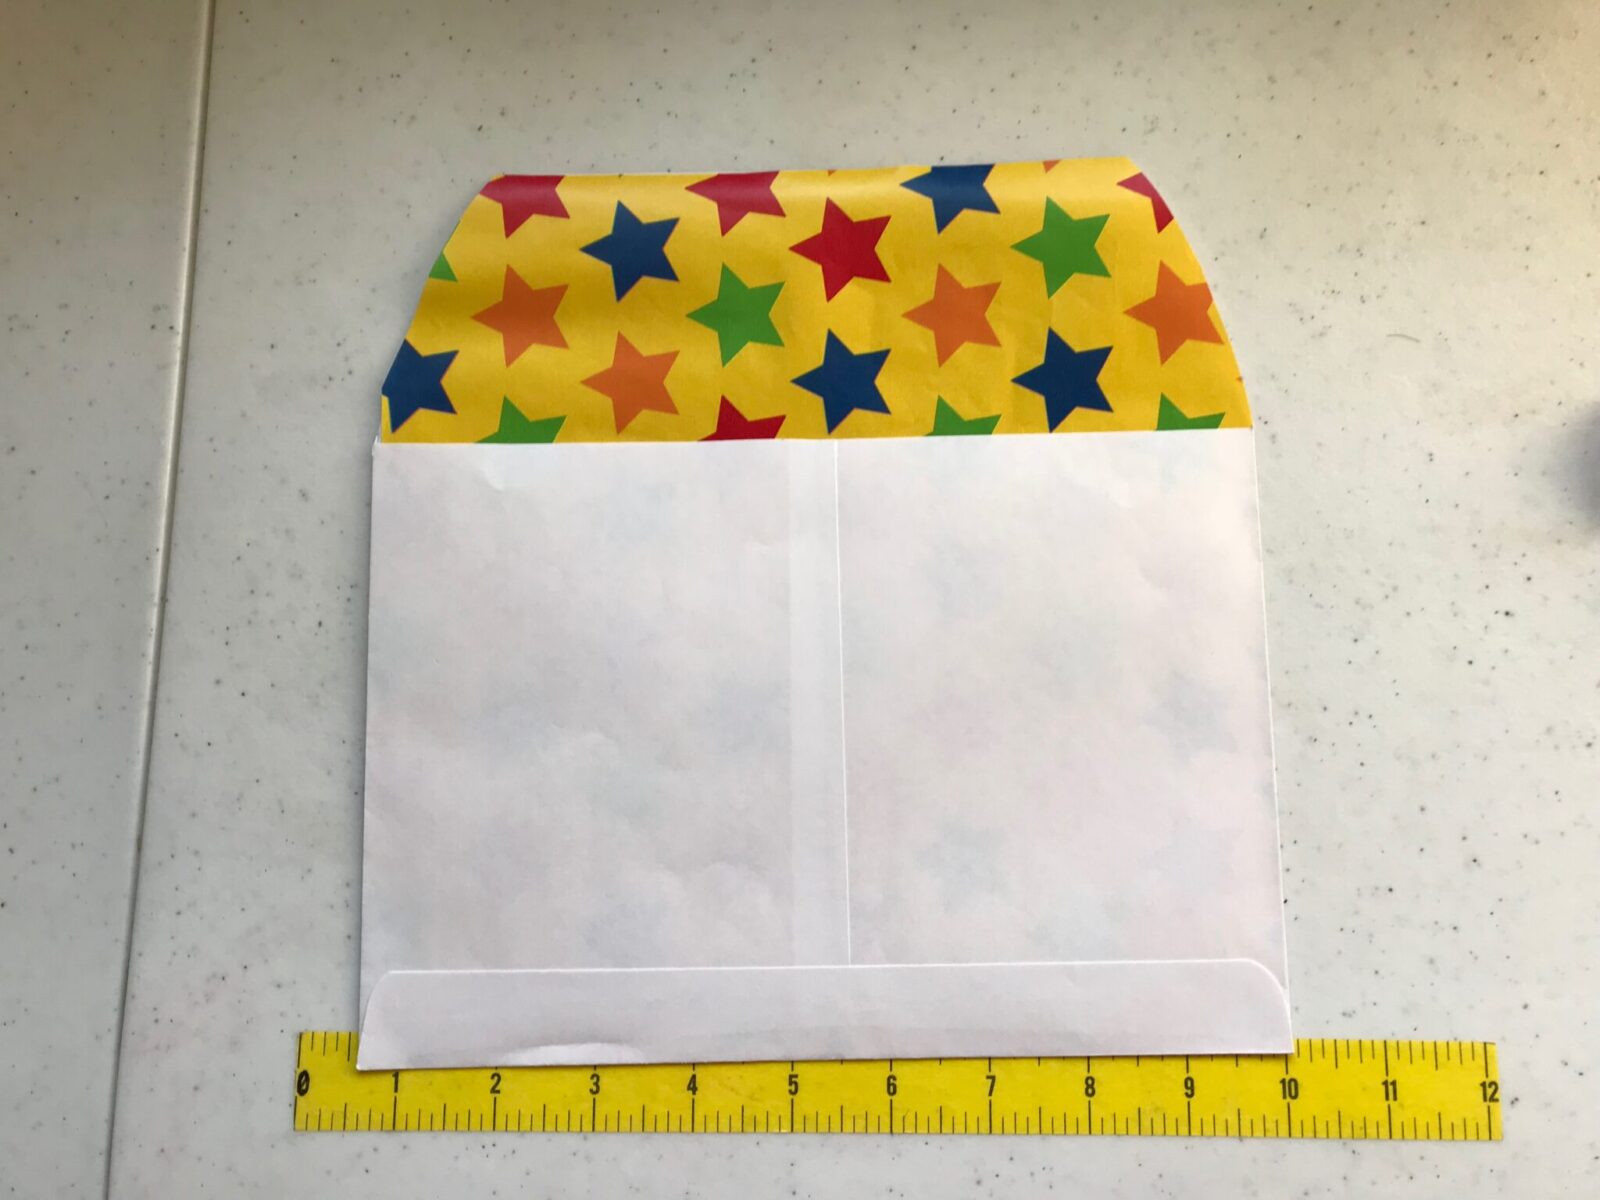
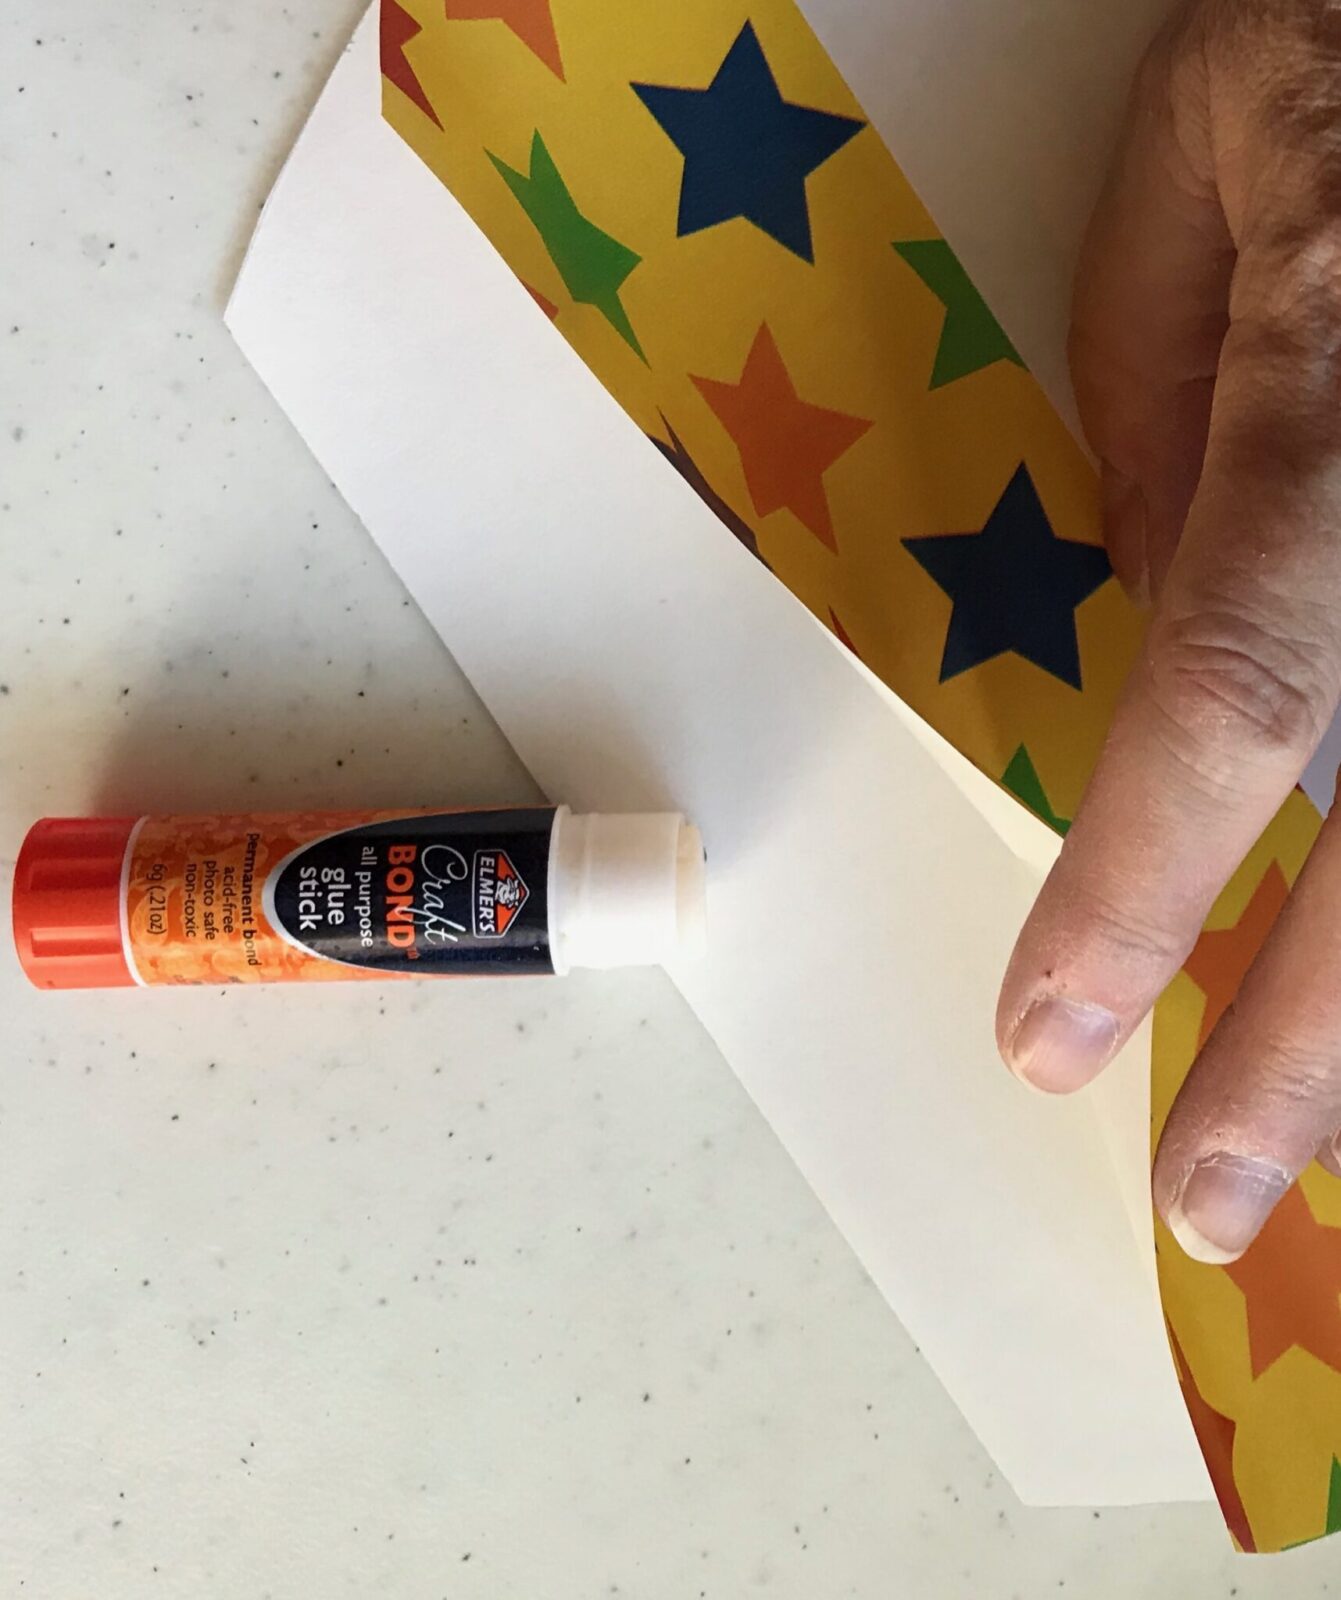
Slide the liner into the envelope so it is face-out as shown below. Then use a glue stick or other non-liquidy glue to adhere the liner to the top of the flap.


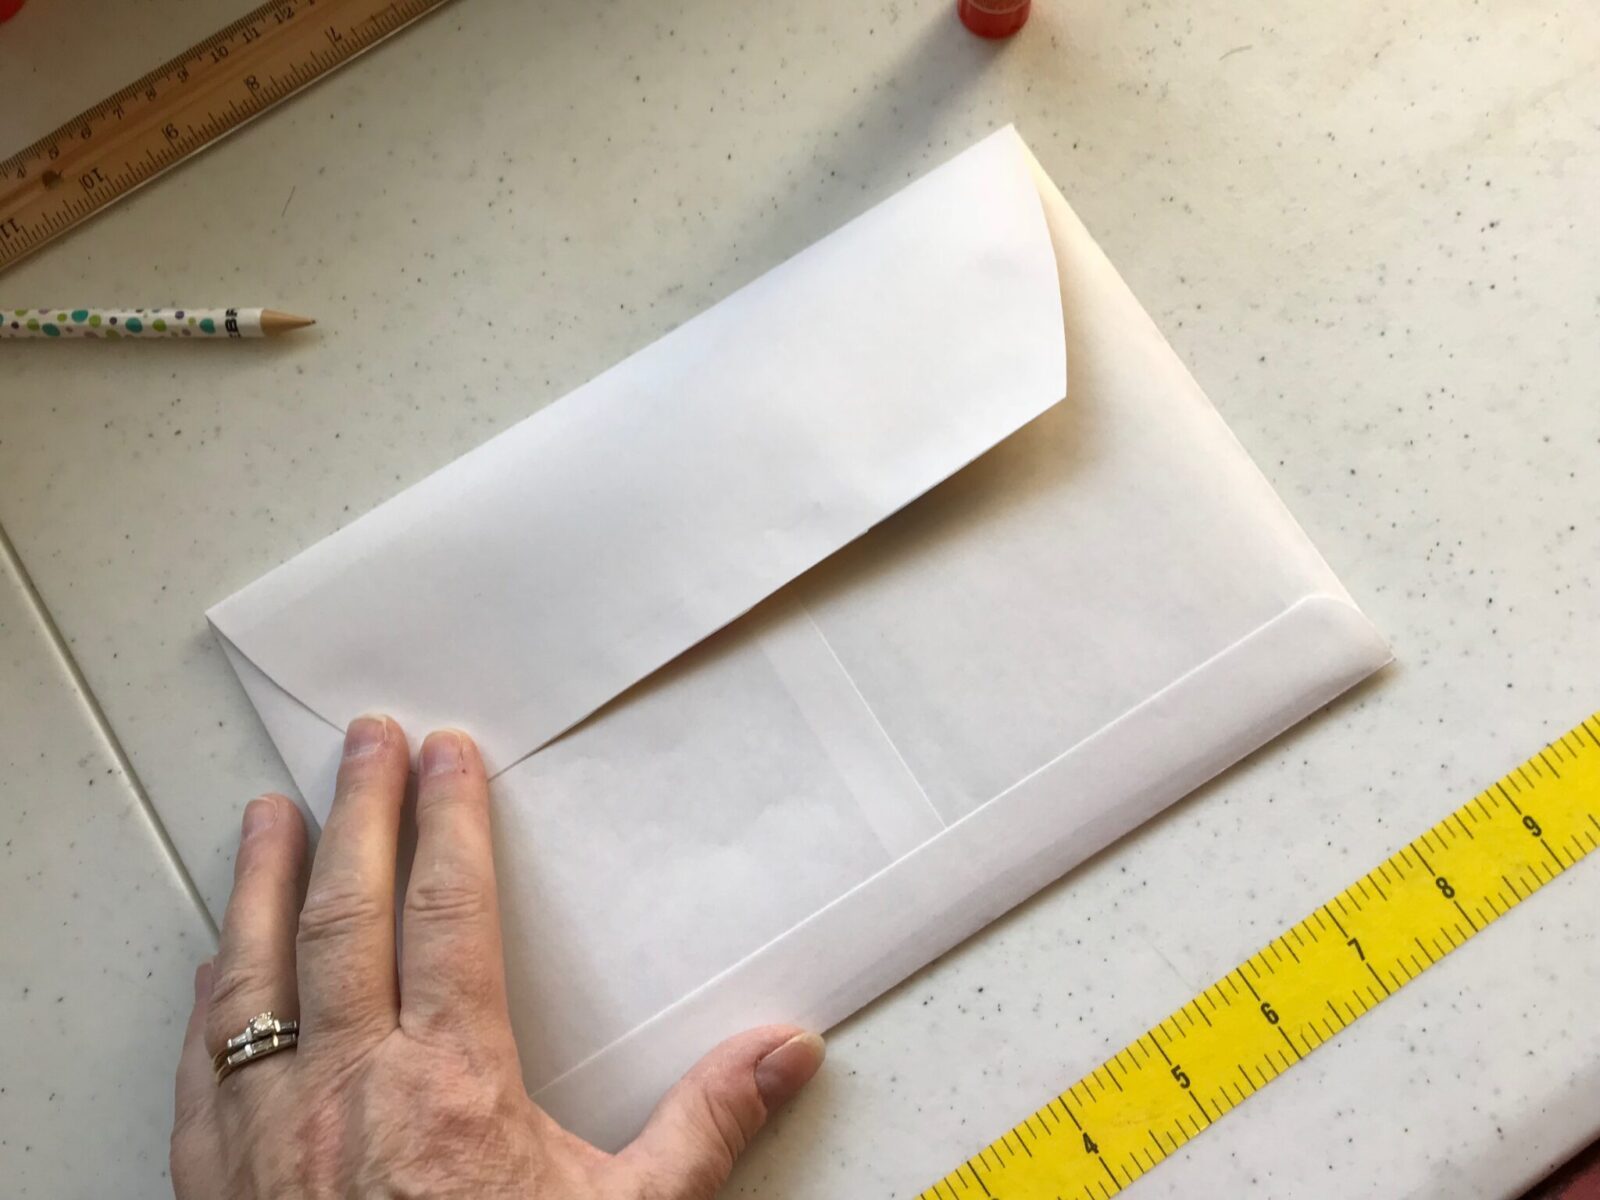
Step Nine
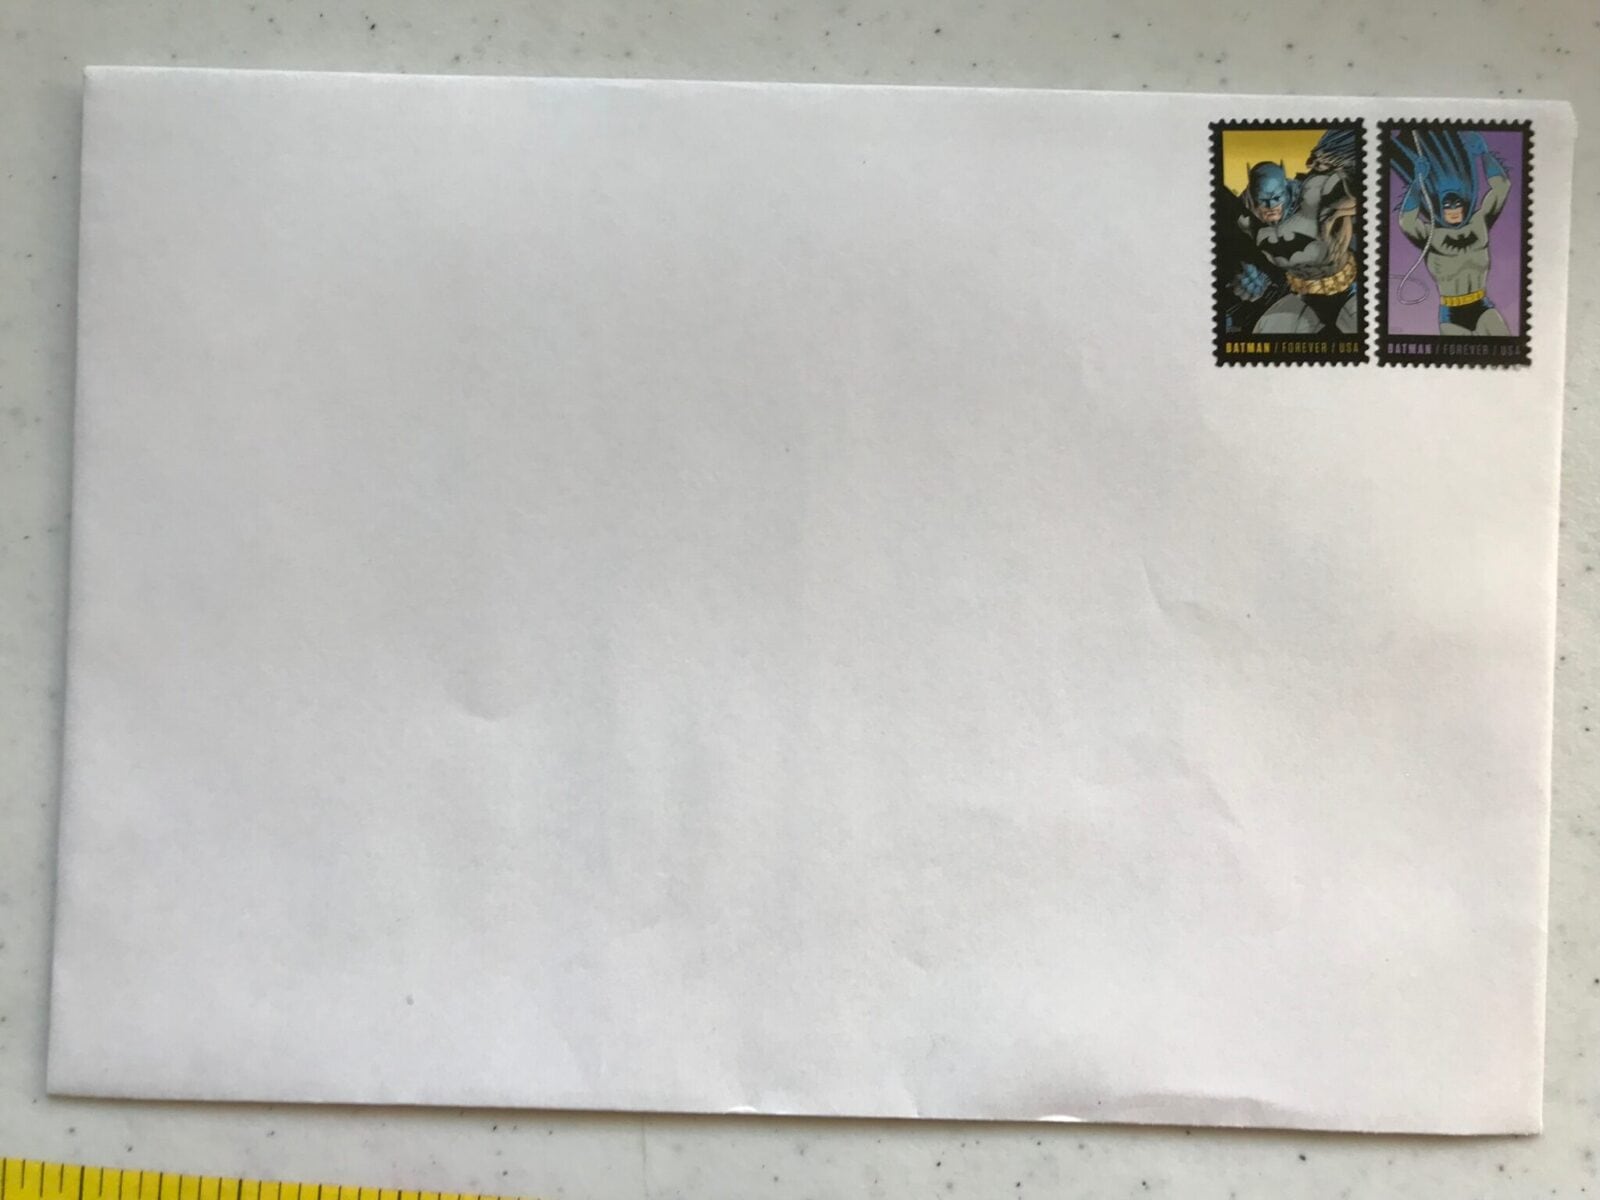
Fold over the flap. Before mailing, you can seal the envelope using a glue stick, Scotch tape, or washi tape. Just make sure it’s sealed well. Insert the book and add postage if you’re mailing it. Two first-class stamps will get it where it’s going in the U.S.
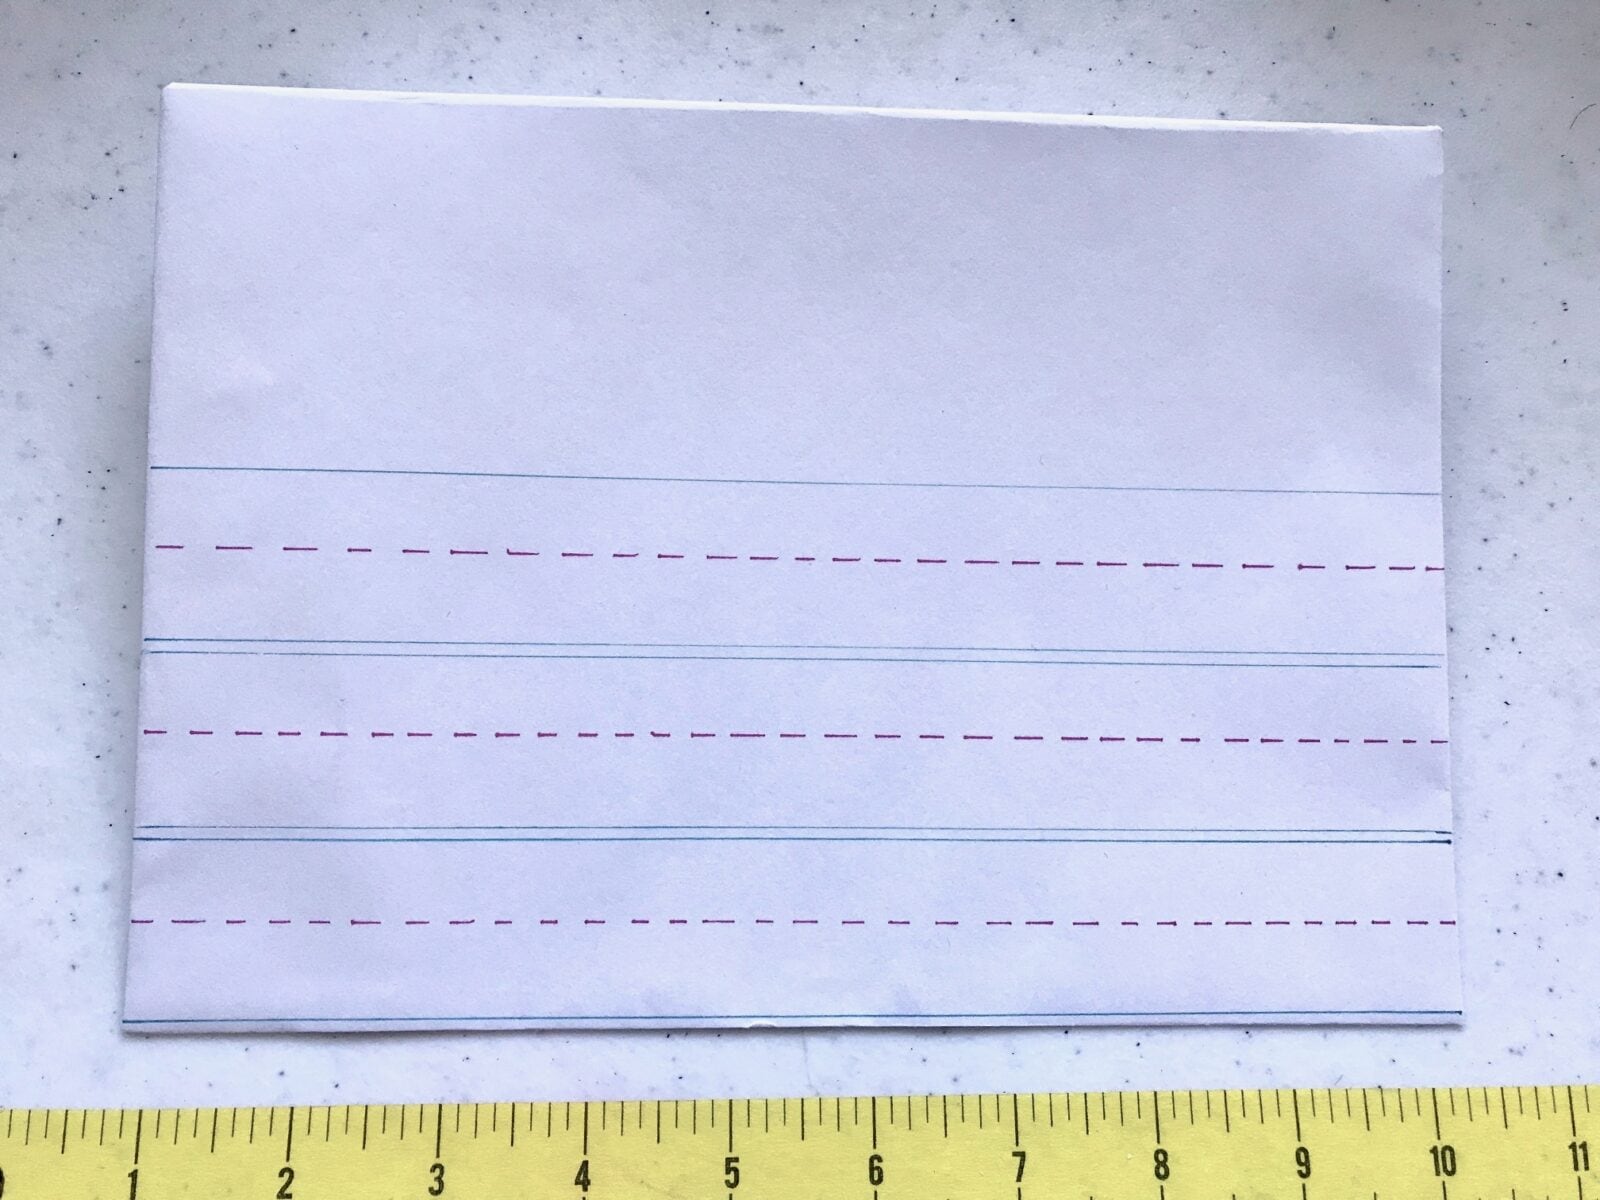
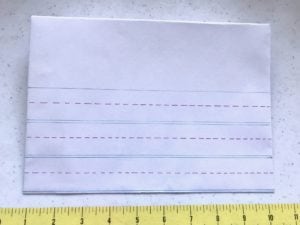
Add some envelope art or stickers to the front if you like. I made one recently that looks like notebook paper. I’ll add the name and address in big, round print, just like in kindergarten!


Other Fun Ideas
Don’t stop here. Think of ways you can share books and the love of reading. Adapt the envelope for 8″ x 8″ readers or Little Golden Books or other formats. Cards are nice, but books are better. Or throw a card in with the book. Add bookmarks, sticker sheets, trading cards, etc. Your little ones will be thrilled to get mail—and even more excited to have a gift they can keep for their very own.
Happy reading and crafting, my friends.