Origins and Other Names for This Fun Craft
A crafter named Janet Lane takes credit for inventing the concept and the name “pocket letter.” She has a terrific website (www.pocketletters.com), and, for a fee, you can join a pen-pal service that lets you share your PLs with other PL creators. Check out her videos (free) to get all kinds of ideas. It’s almost as entertaining as watching videos of kittens doing silly stuff.
But wait…there’s more!
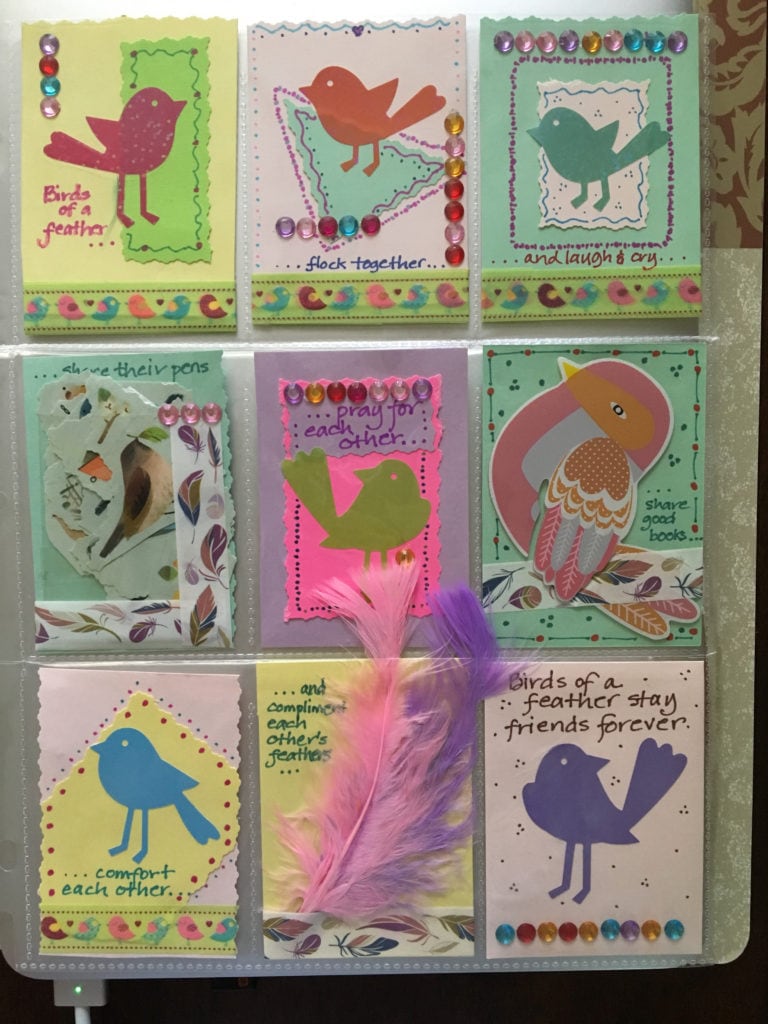
After the whole pocket letter phenomenon took off, crafters were finding a lot of other ways to use the trading card protectors to feature their work. The basics are all the same: nine compartments, each 2 ½” x 3 ½”, that hold all manner of creative expression.
Some call this pocket scrapbooking—use photos in some of the pockets and scrapbook papers and embellishments in the others. Many scrapbookers use a different pocket filler that is 12″ x 12″ to fit in their scrapbooks. For our purposes, however, we’ll focus on the 8½” x 11″ version.
Others use the pockets to hold artists’ trading cards (ATCs). Crafters who like to dabble in various art forms create a pieces of art on 2 ½” x 3 ½” cards made of different kinds of paper. This YouTube video from art supply store Dick Blick® explains ATCs and the papers available:
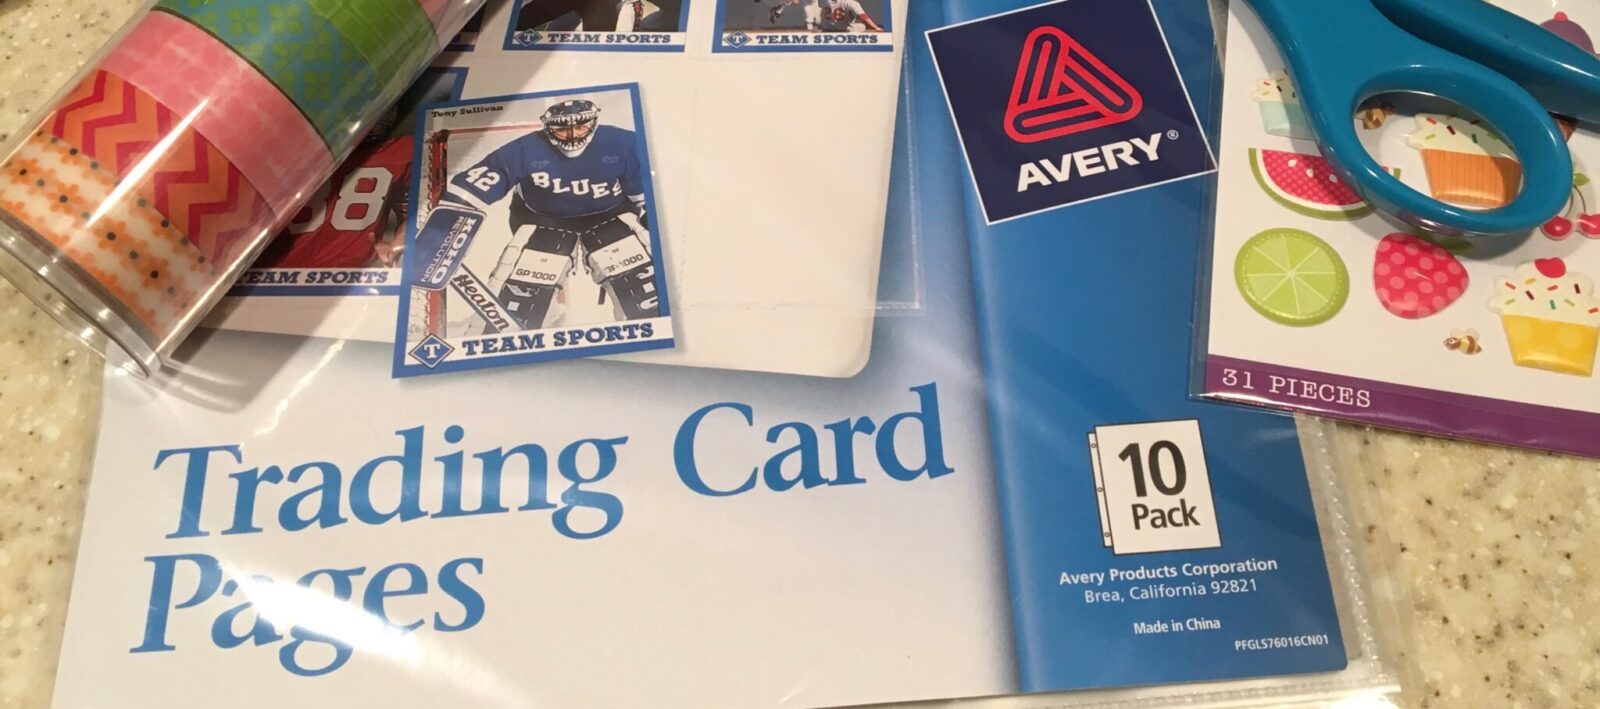
Basic Supplies
My favorite part of any craft is going shopping for the supplies—or looking around my office, kitchen, garage, bathroom (oops, maybe not) for ideas and objects.
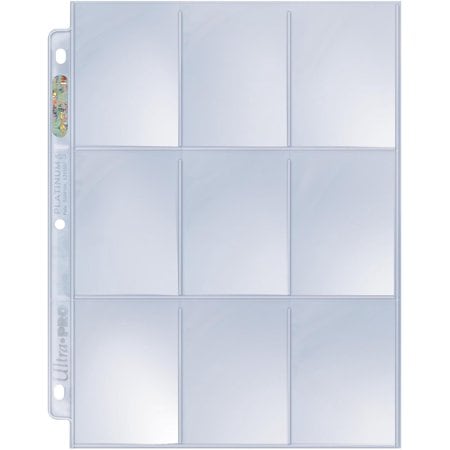
Trading Card Pages: 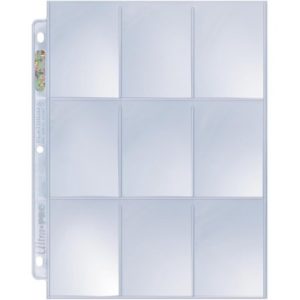 These vinyl pages hold nine trading cards, 2 ½” x 3 ½”. Now they will be holding your beautiful, quirky, wonderful pocket letters!!! I have found several brands (Avery, Ultra Pro, Office Depot), and they come in packs of 10 to 100 for between $3.50 to $15.00, respectively. Super reasonable!
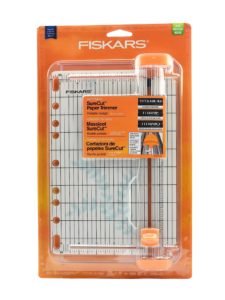
Cutting tools: You can just use scissors if you want. However, I found that using a cutting ruler thingie saved me a lot of time and was more precise. I like the 12″ paper trimmer by Fiskars. You can find them at any craft store—and even at my favorite place to spend too much money, Target.
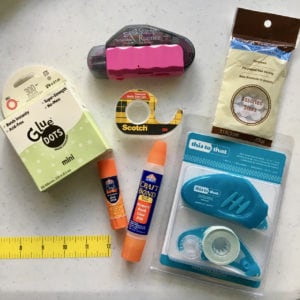 Adhesives: Glue stick, glue dots, Elmer’s glue, double-sided tape, basically anything that you can use to get paper to stick to stuff and stuff to stick to paper. To get a 3-D effect for some designs, I like to use Glue Dots and Foam Adhesive pieces.
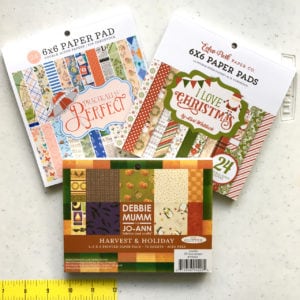 Paper: Now we can get creative! It helps to start with a theme or color palette. You can use construction paper, notebook paper, gift wrap, scrapbook paper—basically anything you can cut into the card shape and glue stuff onto. (It helps if the paper is stiff enough to be able to slide into the pocket. For that reason, I don’t recommend using toilet paper. For this.) The easiest way to get a good theme going is to find a pad of printed paper that paper crafters use for scrapbooking, cardmaking, and general paper wizardry. Each pad has its own theme or color scheme and costs from about $5.00 a pad to $6.99 and more for specialty papers.
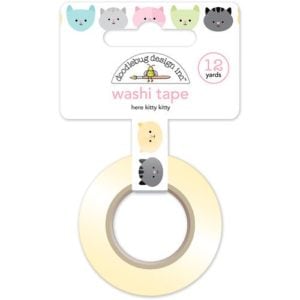
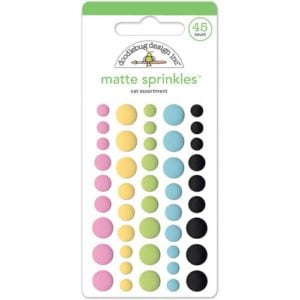
Extras: The craft stores are filled with all kinds of embellishments. You can use buttons, stickers, washi tape, sequins, adhesive jewels and dots, lace, ribbon, etc. You are only limited by your imagination (and budget and possibly federal laws that prohibit the mailing of certain substances).
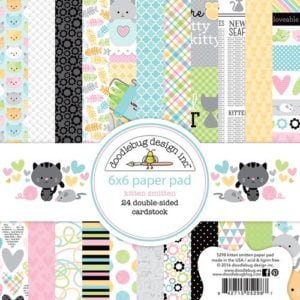
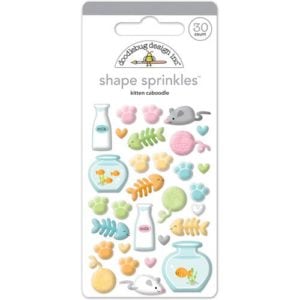
Some of the themed pads also have matching add-ons. The easiest, fastest, but not the least expensive, way to make PLs is to get a group of that kind of stuff. This can be fun—and expensively addictive. Here’s a set I used recently. (All items purchased online at www.scrapbook.com.)

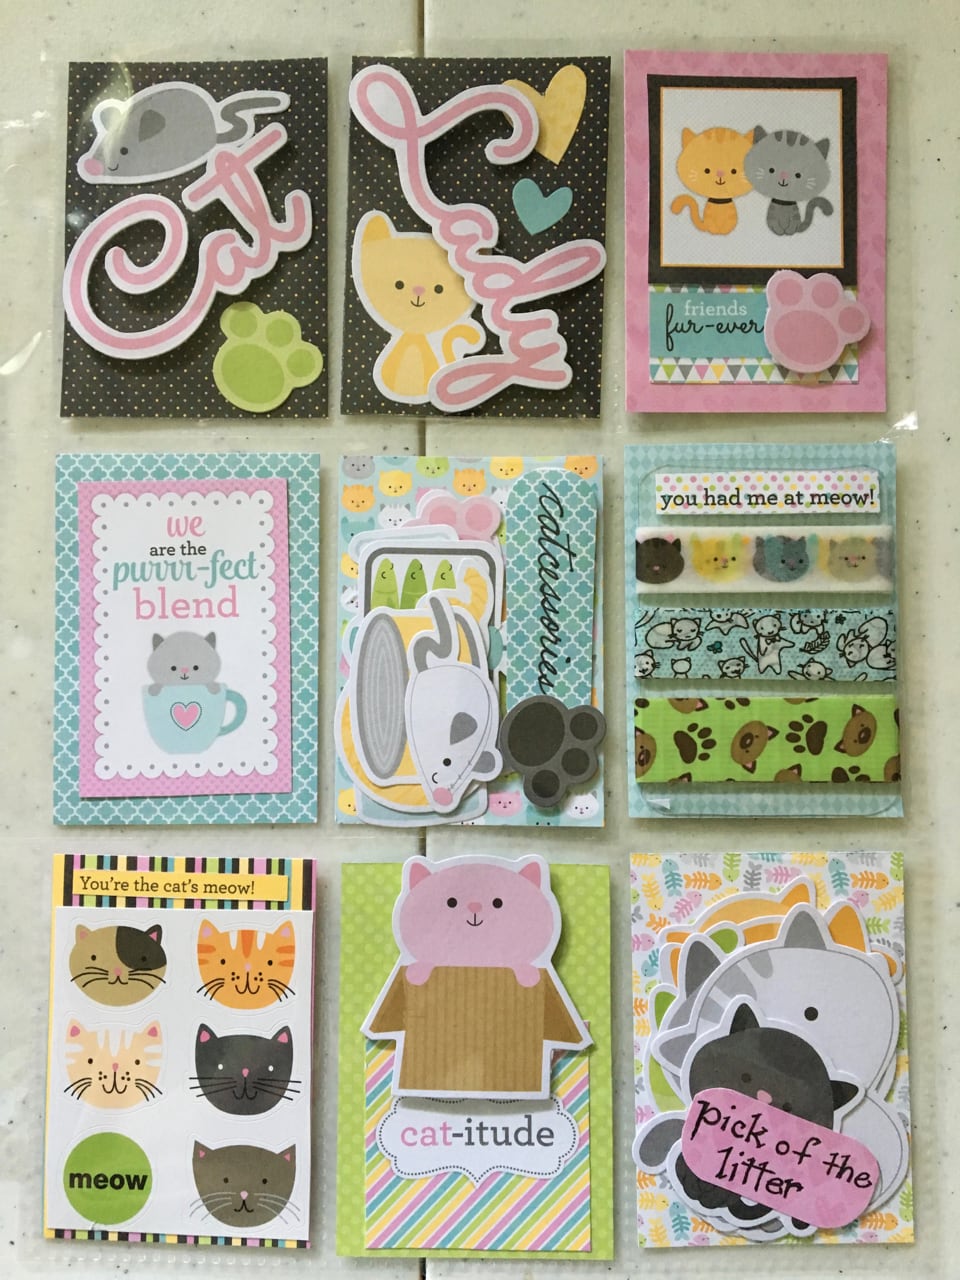
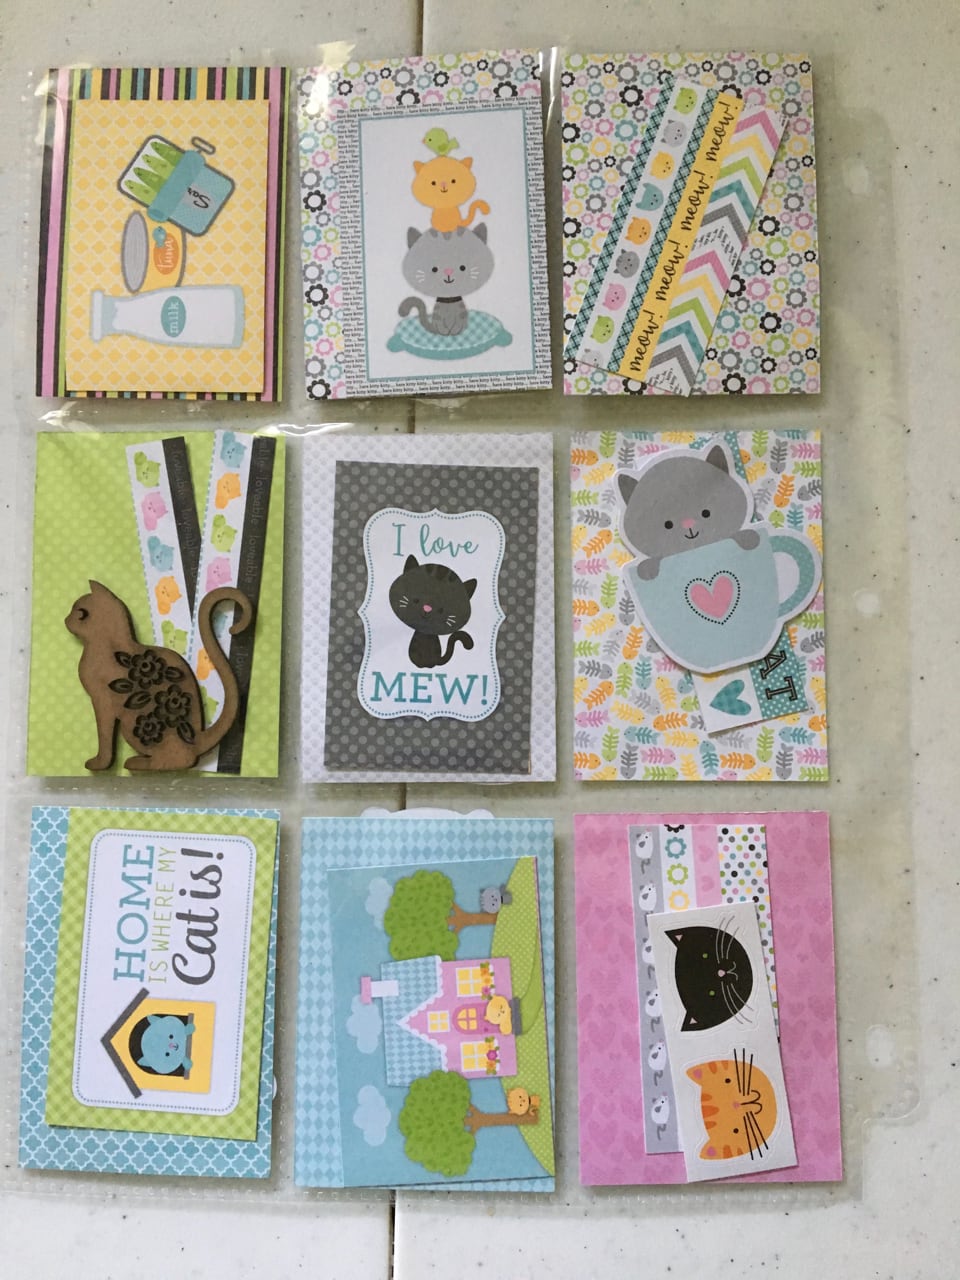
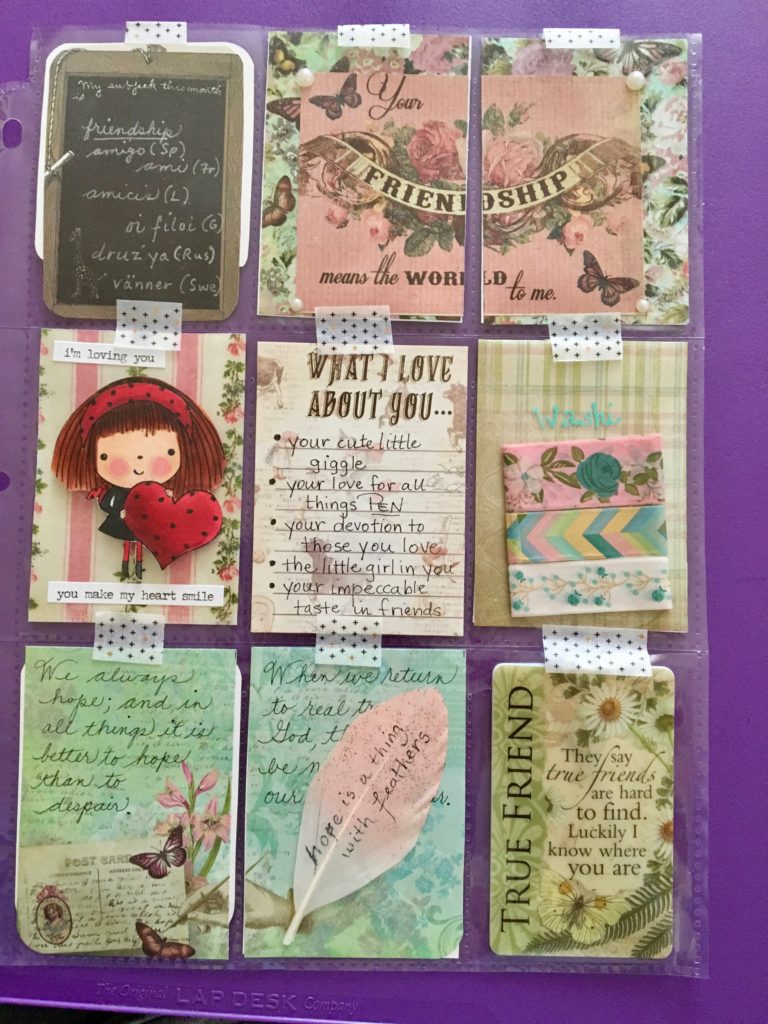
And here’s the PL I made using some of these kinds of items (plus some other kitty items I had around):
So, that’s all you need to get started. Gather your papers, adhesives, cutters, stickers, tapes, and card pocket holders—we’re going to put one together in our next post! Join me, won’t you?
Spoiler alert: There’s going to be a giveaway offered in the next post. You could be a winner! Of course, you’re already a winner in so many ways, but why not add this to your list? (Oh, and be thinking of someone with whom you’d like to exchange PLs. It’s a team sport.)

 Aunt Sue and I showed up with our McDonald’s Buckets o’ Tea (really, what a deal for a buck!). We figured we’d need all our senses to complete this project. Neither of us had done much with acrylic paints before. It was an adventure in artistry! We watched the instructor and did what she did (kinda). Thanks to having lids on our iced tea, we never dipped our paintbrushes into our drinks, so there’s that. My main goal was to have a fun evening, not to paint a masterpiece. (Aunt Sue, bless her heart, had had shoulder surgery the month before, so she gave it her best. She’s usually very artistic! I was scared.)
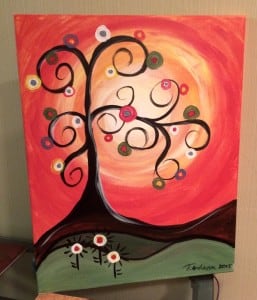 Which is why I was so surprised when my painting actually turned out to be something I might hang on a wall. I mean I was SURPRISED. And the instructor complimented me, which, all of us who live for the approval of others know, is the cherry on top. Here’s what I discovered: