Super simple fall ideas #1

It might not feel like fall yet, but inside most stores you’ll see more orange, yellow, and brown than any other colors. While you’re trapped indoors enjoying the AC, why not put together some quick, easy, fall-appropriate items? Let’s get started.

Personalized Pumpkin Placeholders

SKILL LEVEL ♥ easy

I found these wooden pumpkins at Hobby Lobby for $3.99 each (plus a 40% discount when I used my coupon). Other stores have similar if not identical seasonal pumpkin flatties. They’re about 6½” x 3½”. Perfect for small places! But they need a crafty touch, don’t you think? Simple! Grab your black Sharpie, my friends!

I decided to make a pair of personalized pumpkins for one of my favorite couples: Tom and Jen F. 

I added the names in the center. (I did mine horizontally since the names were short, but you could write longer names vertically down the middle. You can also use a super-fine point Sharpie for longer names and more detailed drawing.) I drew some wheat and some other nondescript plant to the sides and some grass on the bottom. Here’s the final version:

Think of what you could do when you have a fall dinner or Thanksgiving feast for your loved ones! Place one at each table setting. They’ll know where to sit—AND they have a handmade gift to take home. Winner, winner, turkey dinner!

As always, feel free to send me your photos of finished projects—or ask me any questions about crafts! tanya (a) heartfeltcrafts (dot) com

Project #2 coming next week! Tell others. Join the blog. Share on Facebook, Twitter, Instagram. Let’s build a big ole team of Heartfelt Crafters! Who knows? Someday I may give out badges!


Hello, Doily!

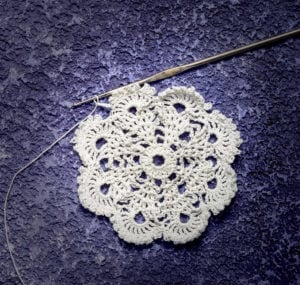
Sometimes you just have to combine two crafts that you love—and come up with a new one to love, as well. This week’s project is easy, Zen-like, and oh-so-pretty!

Those of us of a certain age grew up in homes decorated with doilies. Think of them as lacy coasters, if you will, underneath everything from lamps to candlesticks to the make-me-beautiful objects found on a bedroom vanity.

Before you panic, don’t! I’m not going to entice you to learn the needlecraft of thread crochet or tatting. (My grandmother knew how to do both to perfection.) No, we’re going to do something that will take much less time, fewer materials, and no stress. (Unless you stress about everything, in which case, I can’t promise much. tee hee

Remember some of my previous posts about learning to Zentangle®? I’m going to show you how to apply some of the basics of calming, creative, mindful doodling to make a lovely circle of sweetness. Let’s begin with what you’ll need:

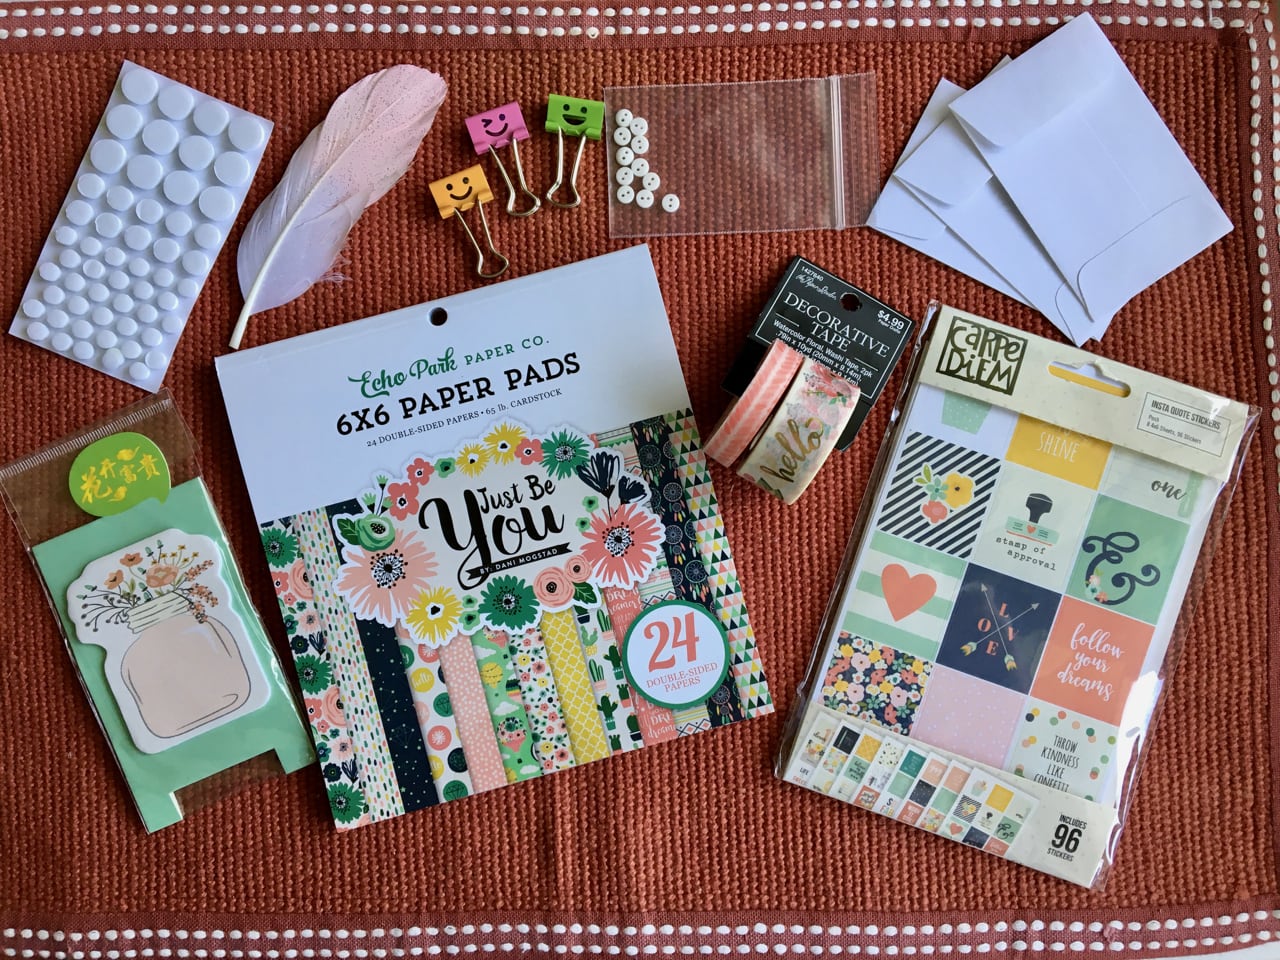
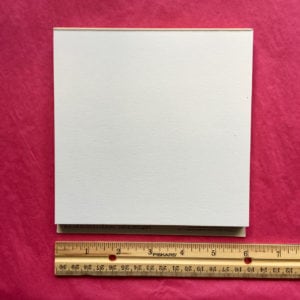
  1. Plain paper—a square size of your choice—that doesn’t bleed when using markers. Any color is fine, as long as your marker will show up on it. You could even use black paper if you have a white marker. (I’ll show you how that looks at the end.) I use 6″ x 6″ cardstock paper: 
  2. A ruler
  3. Anything you can find to make concentric circles: a compass, circle stencils, circle templates, or a variety of round objects from small (about the size of a dime) to large (for this purpose, about the size of a small saucer).
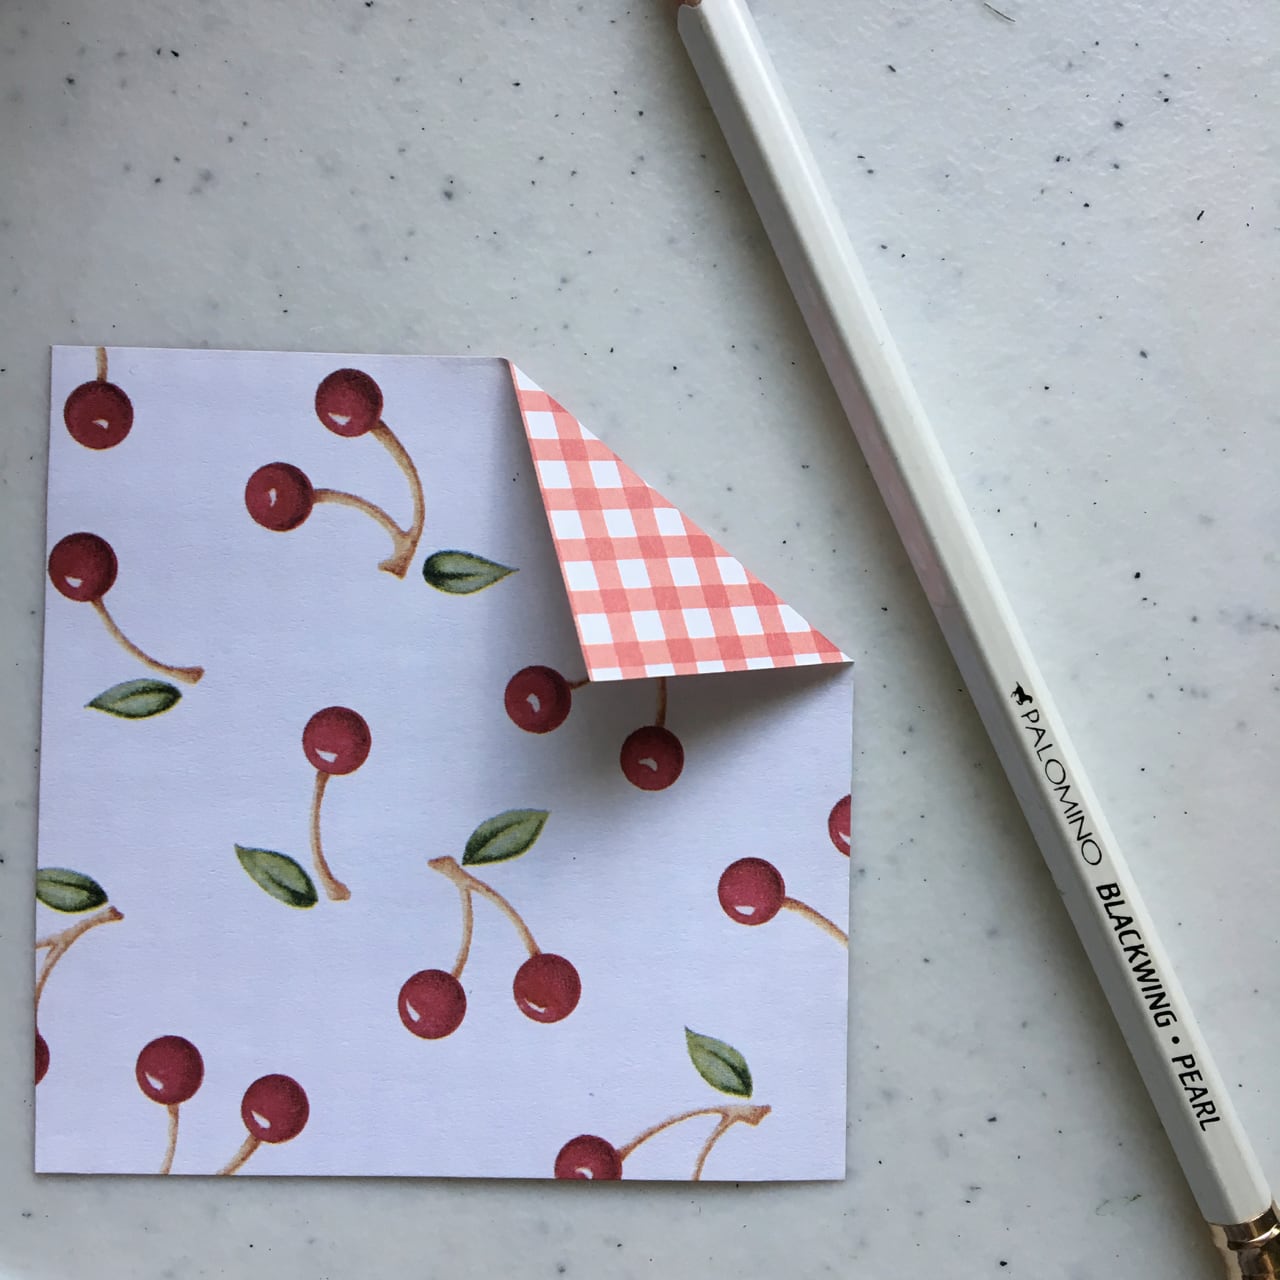
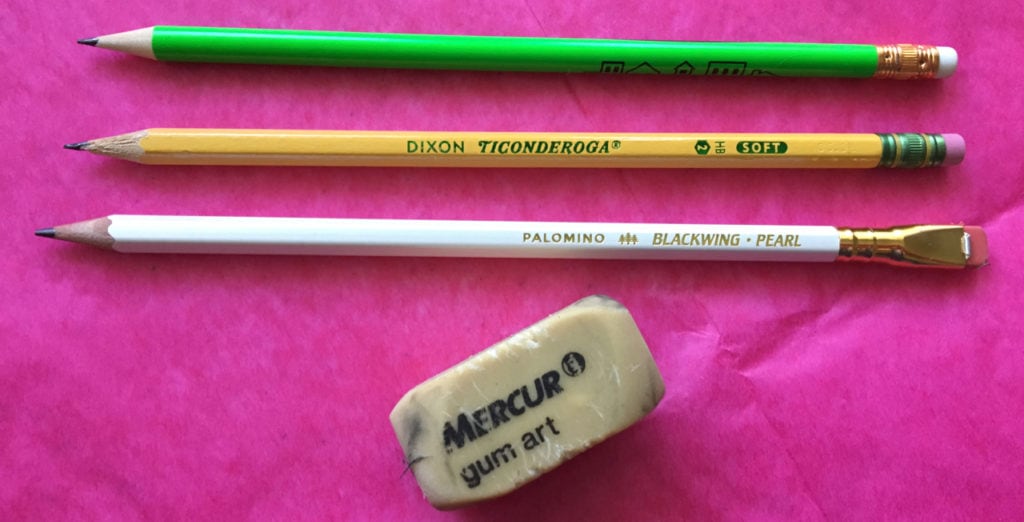
  4. A good pencil and eraser. My favorite pencils for things like this (because they erase completely) are Ticonderoga No. 2 and Palomino Blackwing Pearl. Any good pencil will do if you find you can create soft lines and erase without leaving any graphite behind. My favorite erase is not on the end of the pencil. I prefer the old-fashioned, bouncy, chunky art gum erasers. They are unbeatable for erasing pencil marks and not taking away any ink from your work.
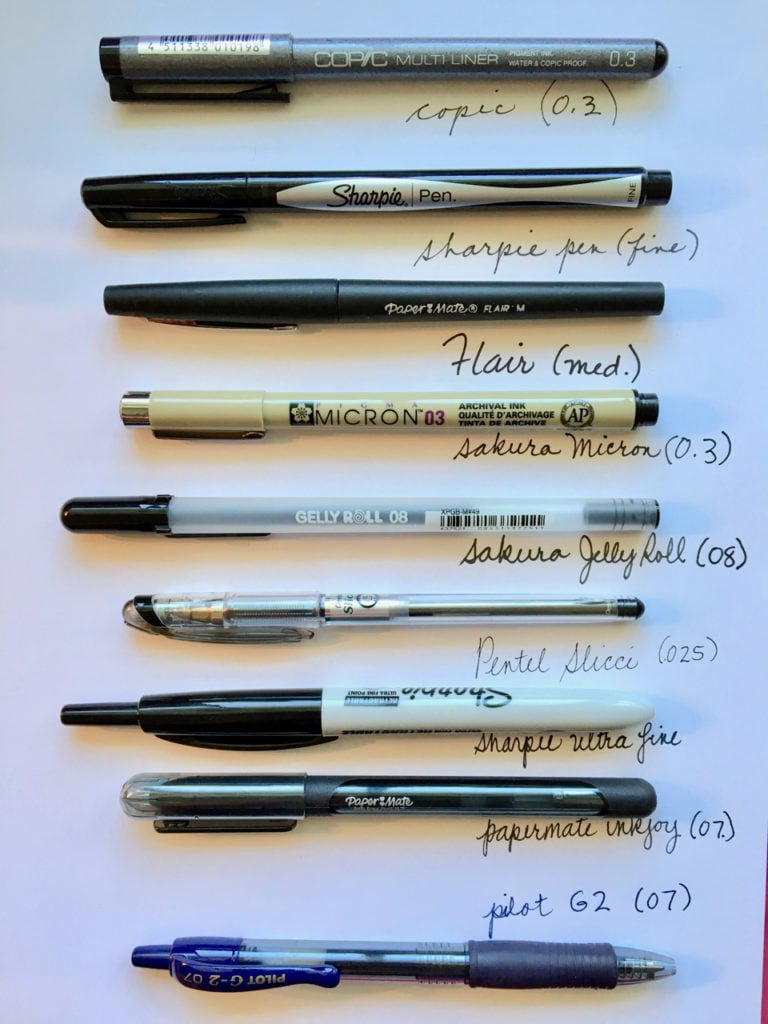
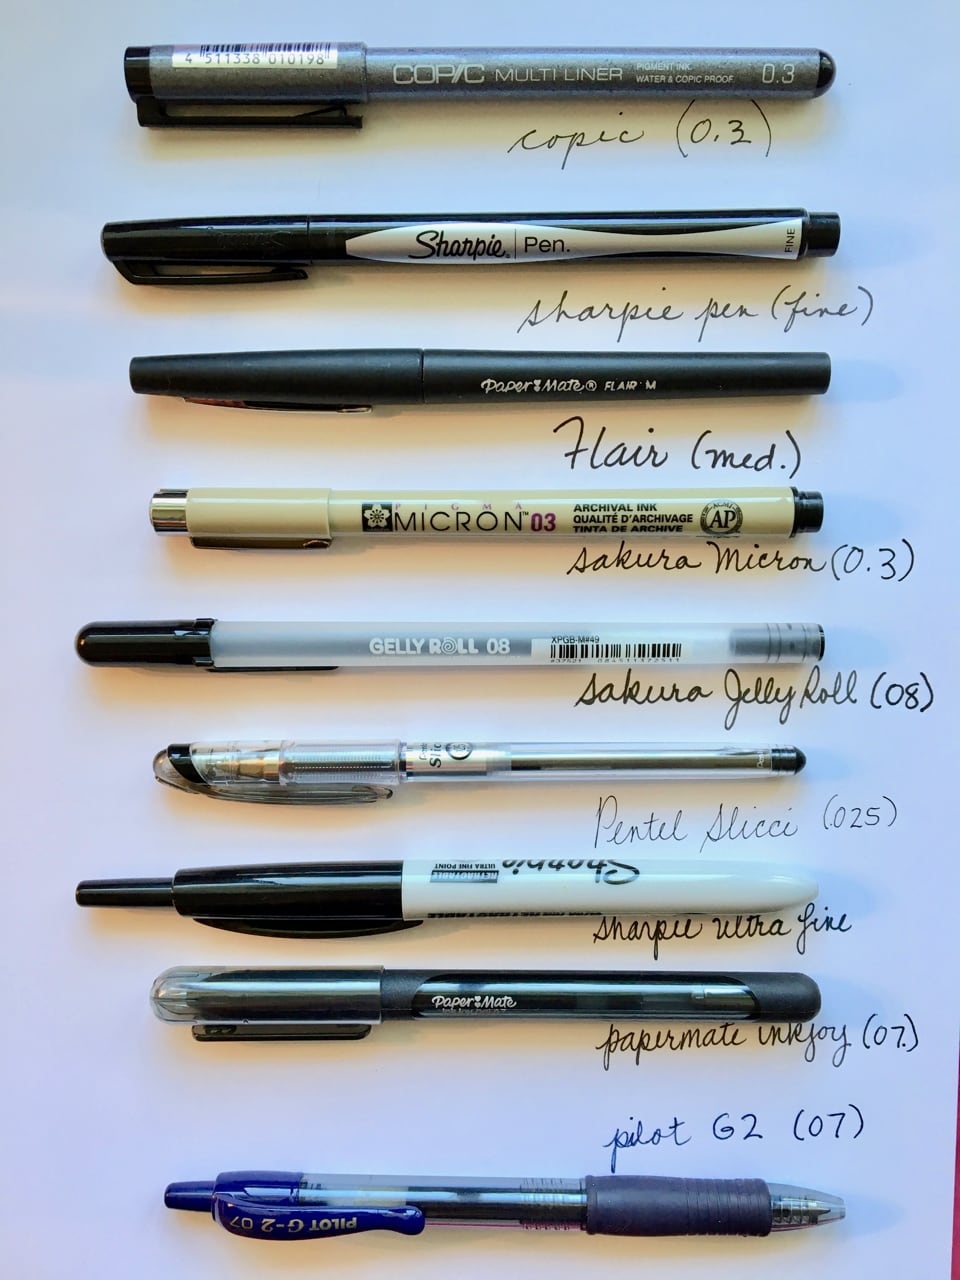
  5. Fine-tipped colorfast markers or gel pens such as Sharpie, Copic, Sakura Micron, Sakura Jelly Roll, Pilot G2, Stablio, etc. Here’s a photo to show a few of these and a writing sample of each. For the project you’ll see here, I used the fourth one down, the Sakura Micron 0.3 marker.

That’s it. Now we can start. Find a place where you can work comfortably and where the light is good. You’ll be making faint pencil marks, so it’s good to be able to see them easily.

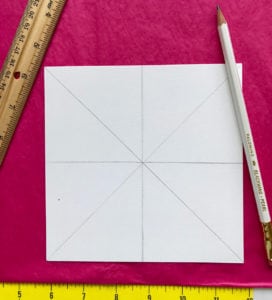
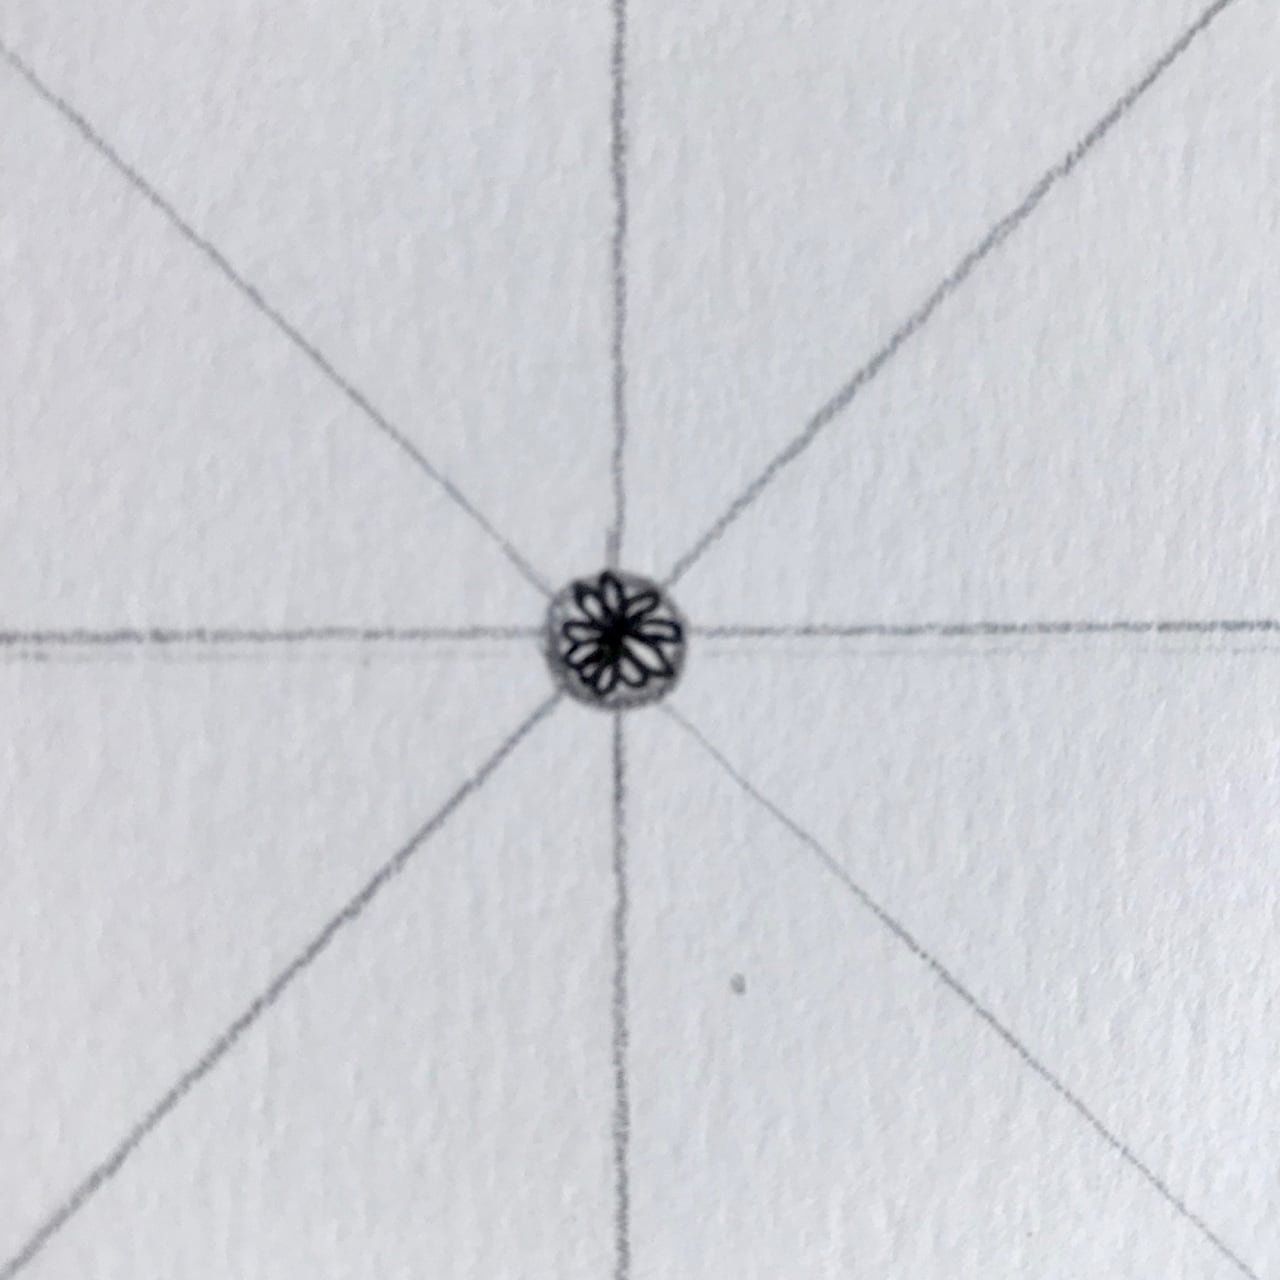
First, using your pencil, start by drawing straight lines from corner to corner so you can find your center.


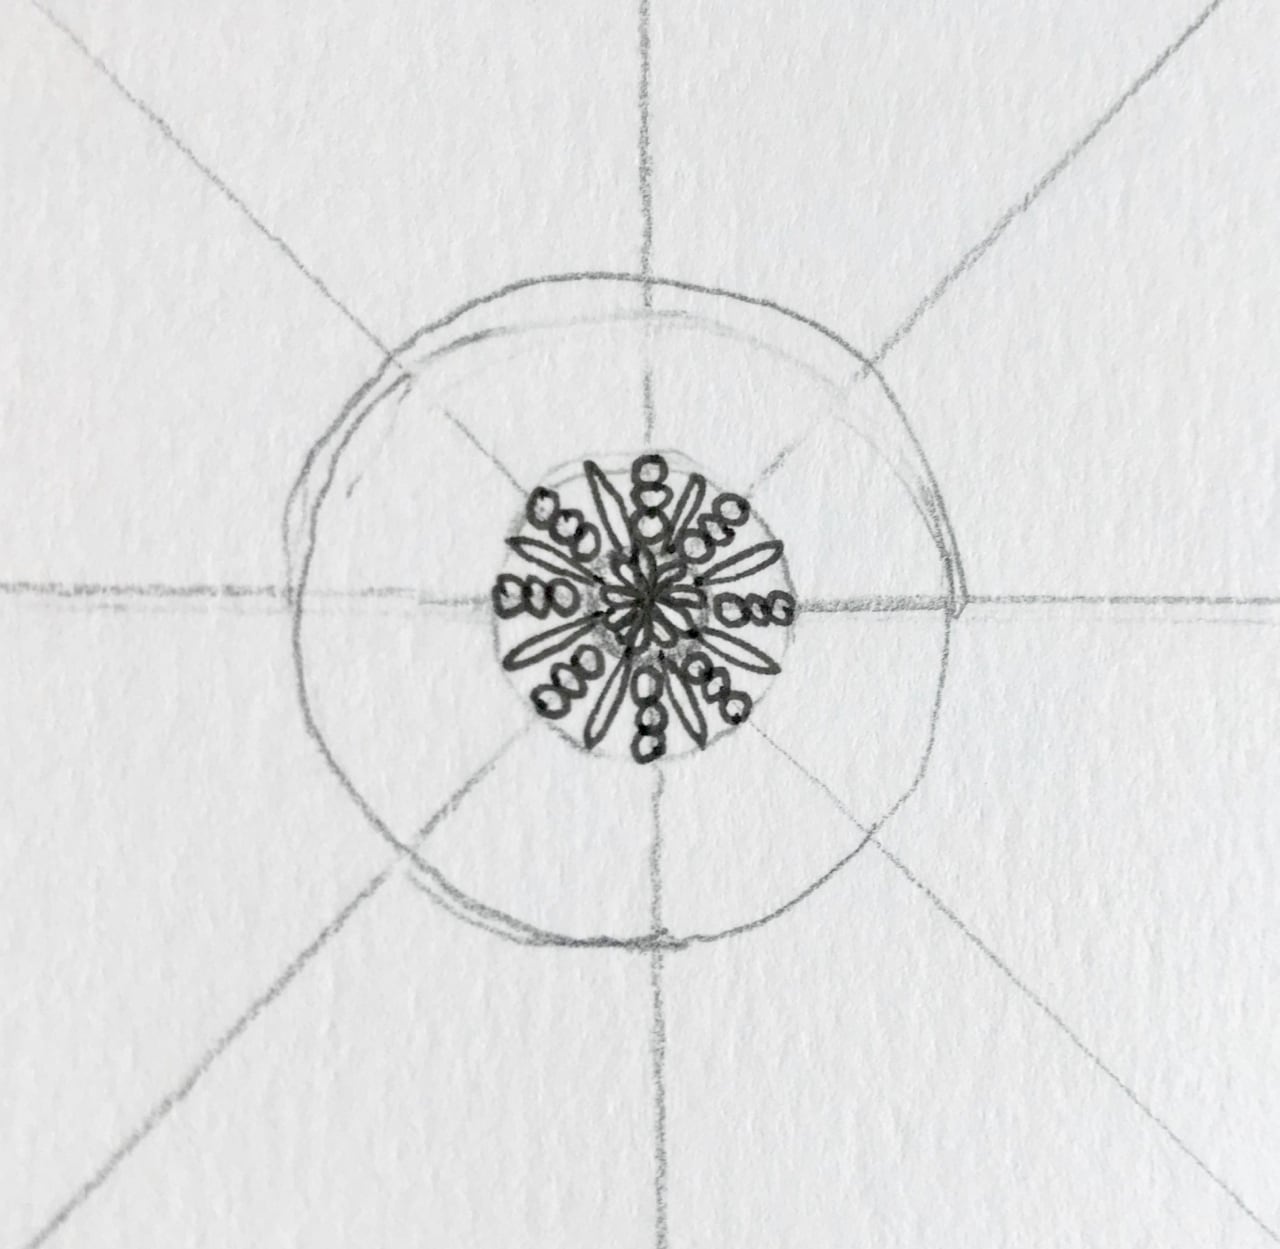
2. Draw a small circle in the center. Use a compass or template or just freehand it.

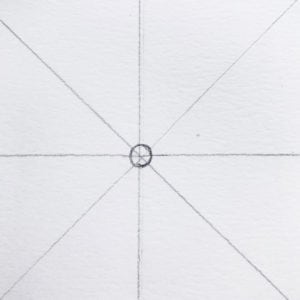
3. Make a design around the circle. I’m using long ovals that look like petals. You don’t have to do exactly what I’m doing on these steps. Whatever design you want, go for it!

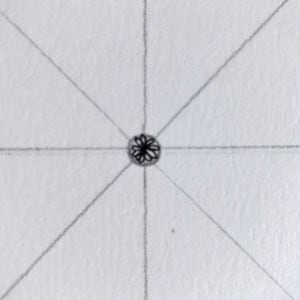
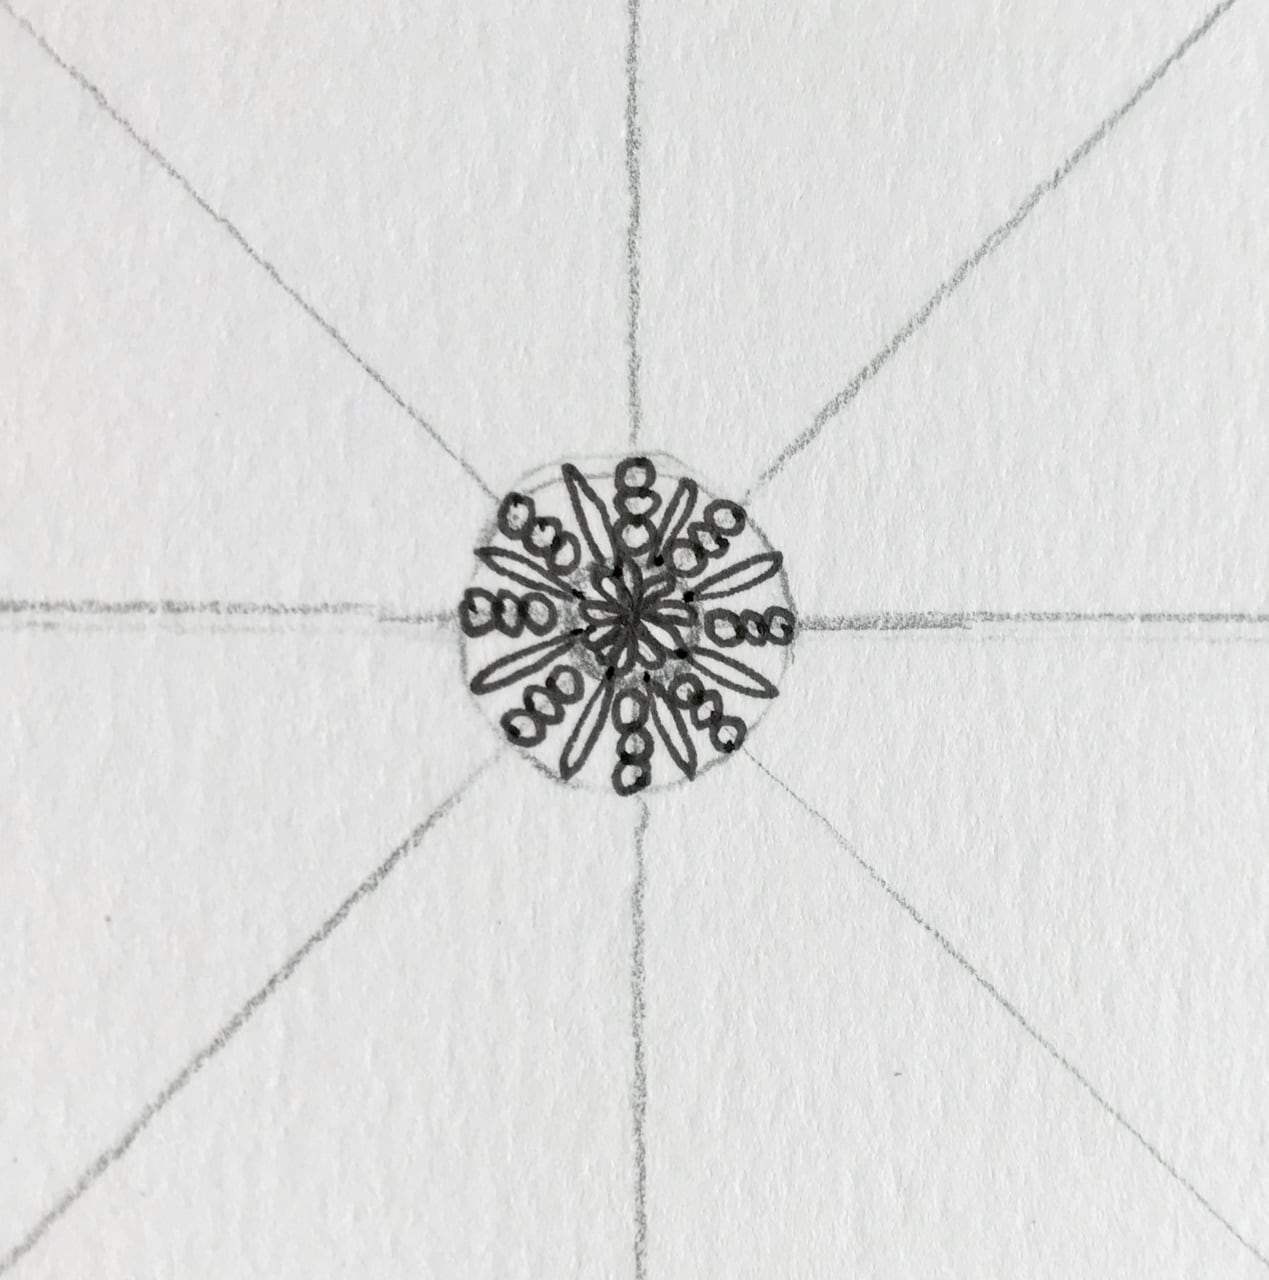
4. Draw another circle around the first one to keep your designs equidistant from the center. Remember, all of the pencil marks will go away at the end.

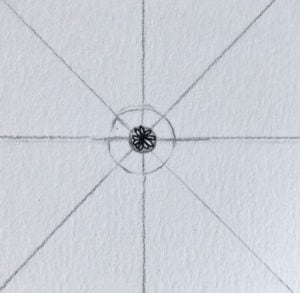
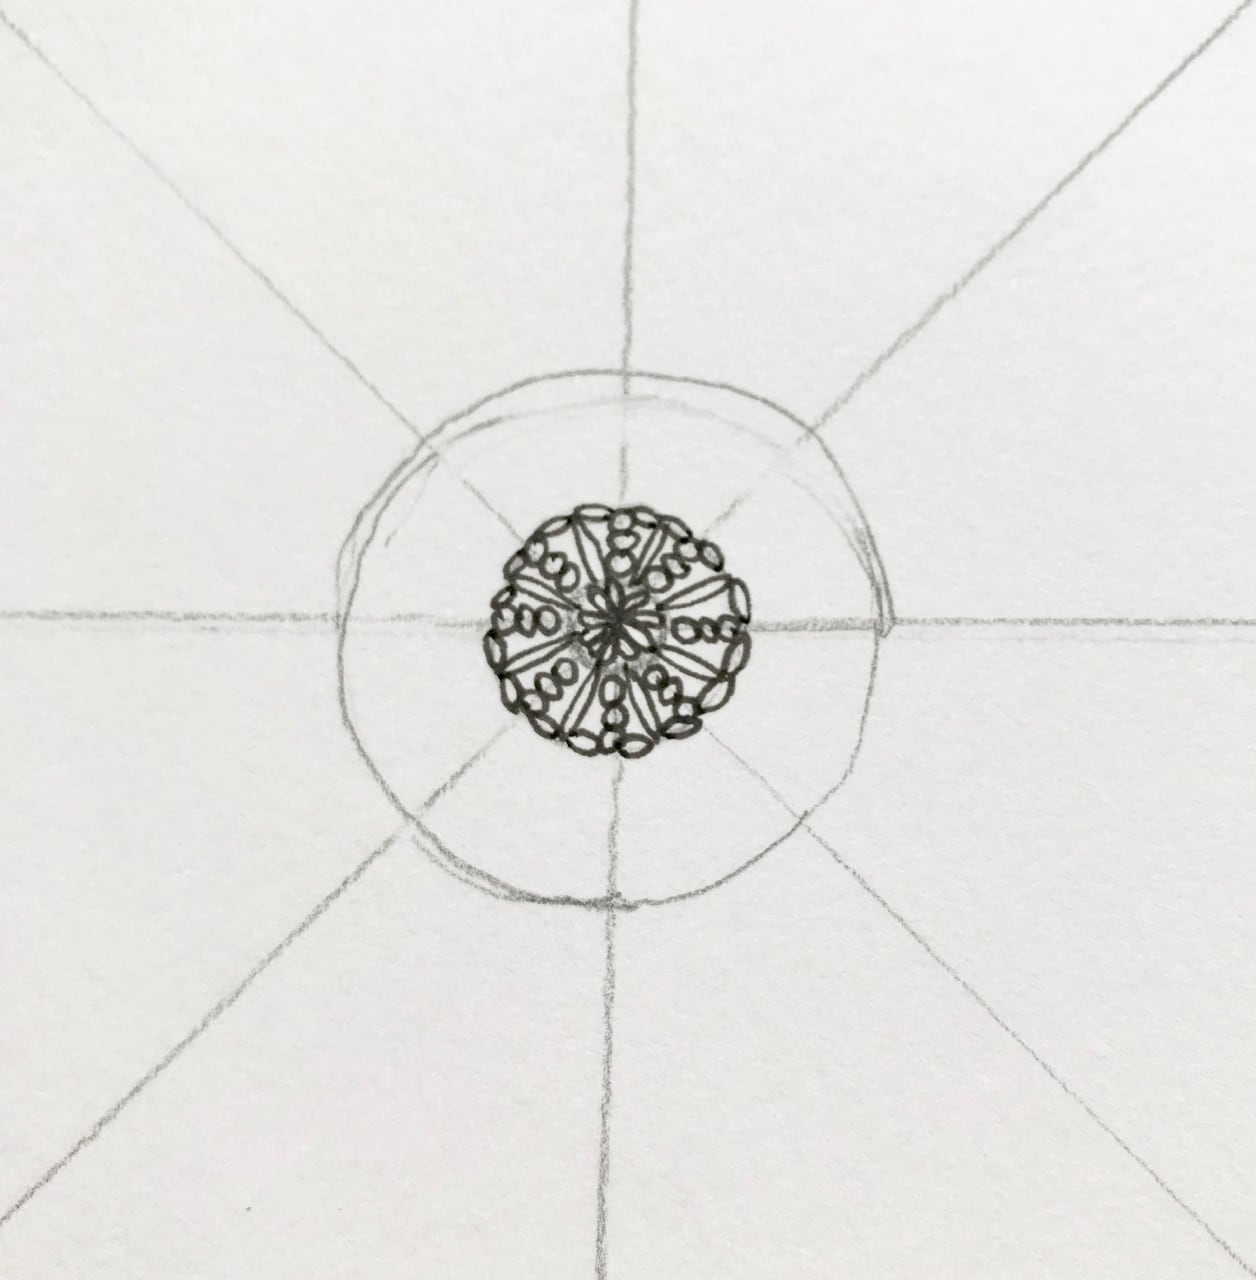
5. Doodle a different design around this circle. Make sure it touches the first circle’s design so it seems to hold together, like a doily!
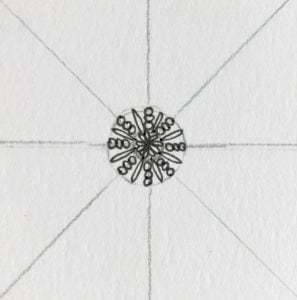
6. Sketch in another circle around that one.

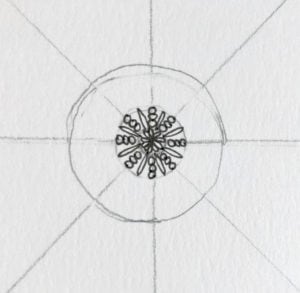
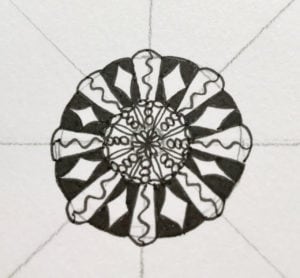
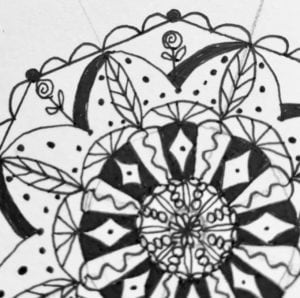
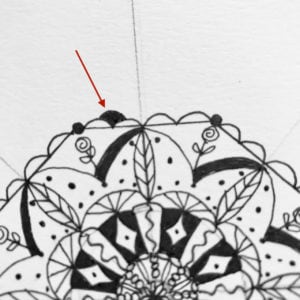
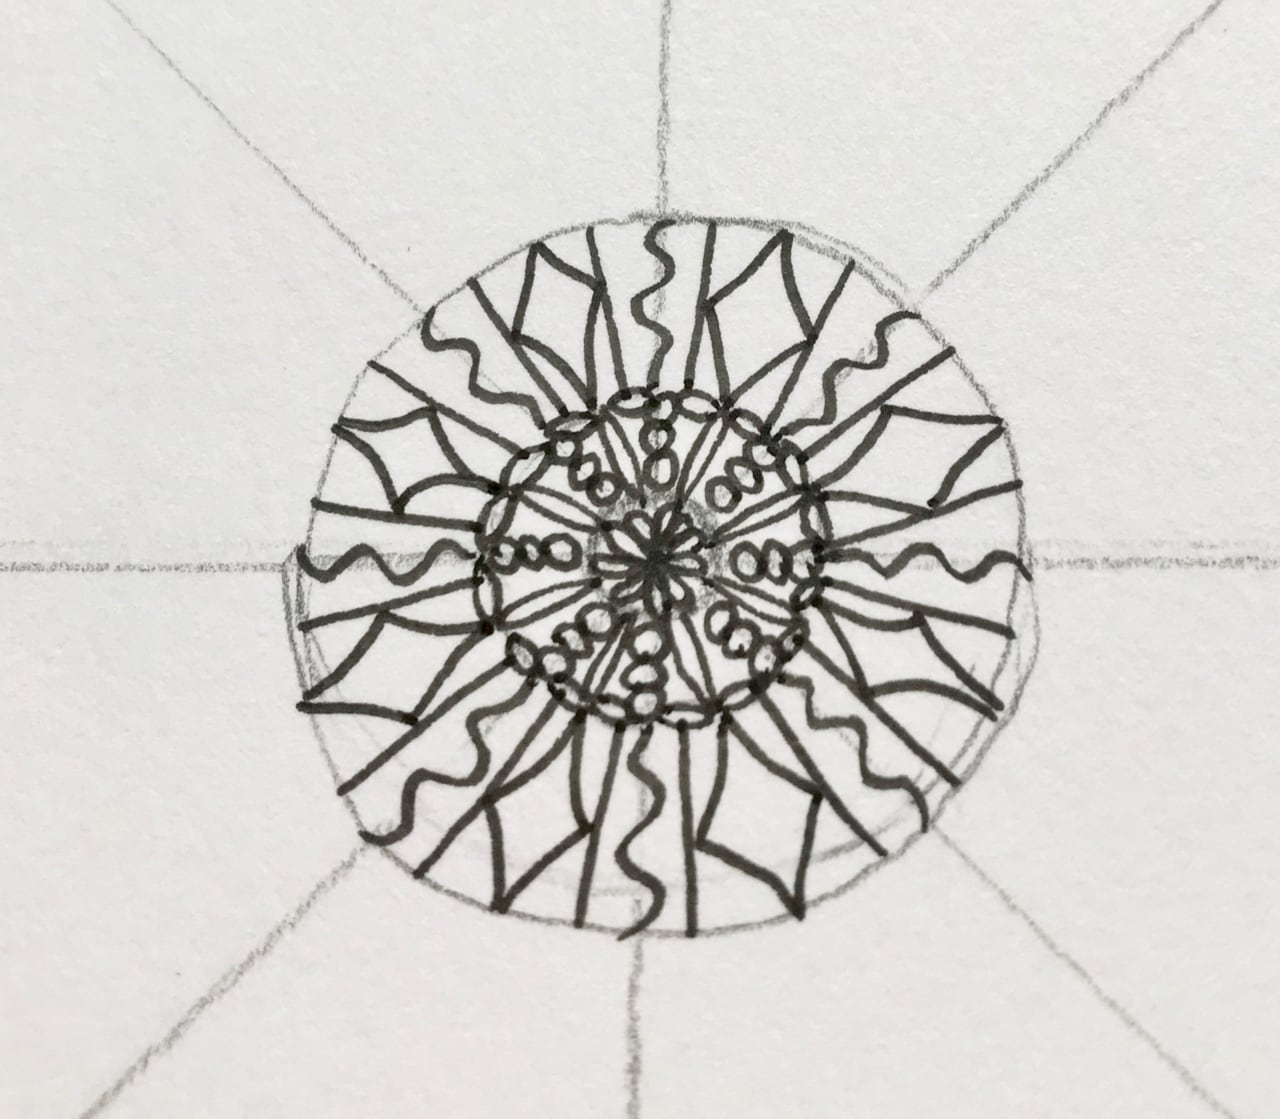
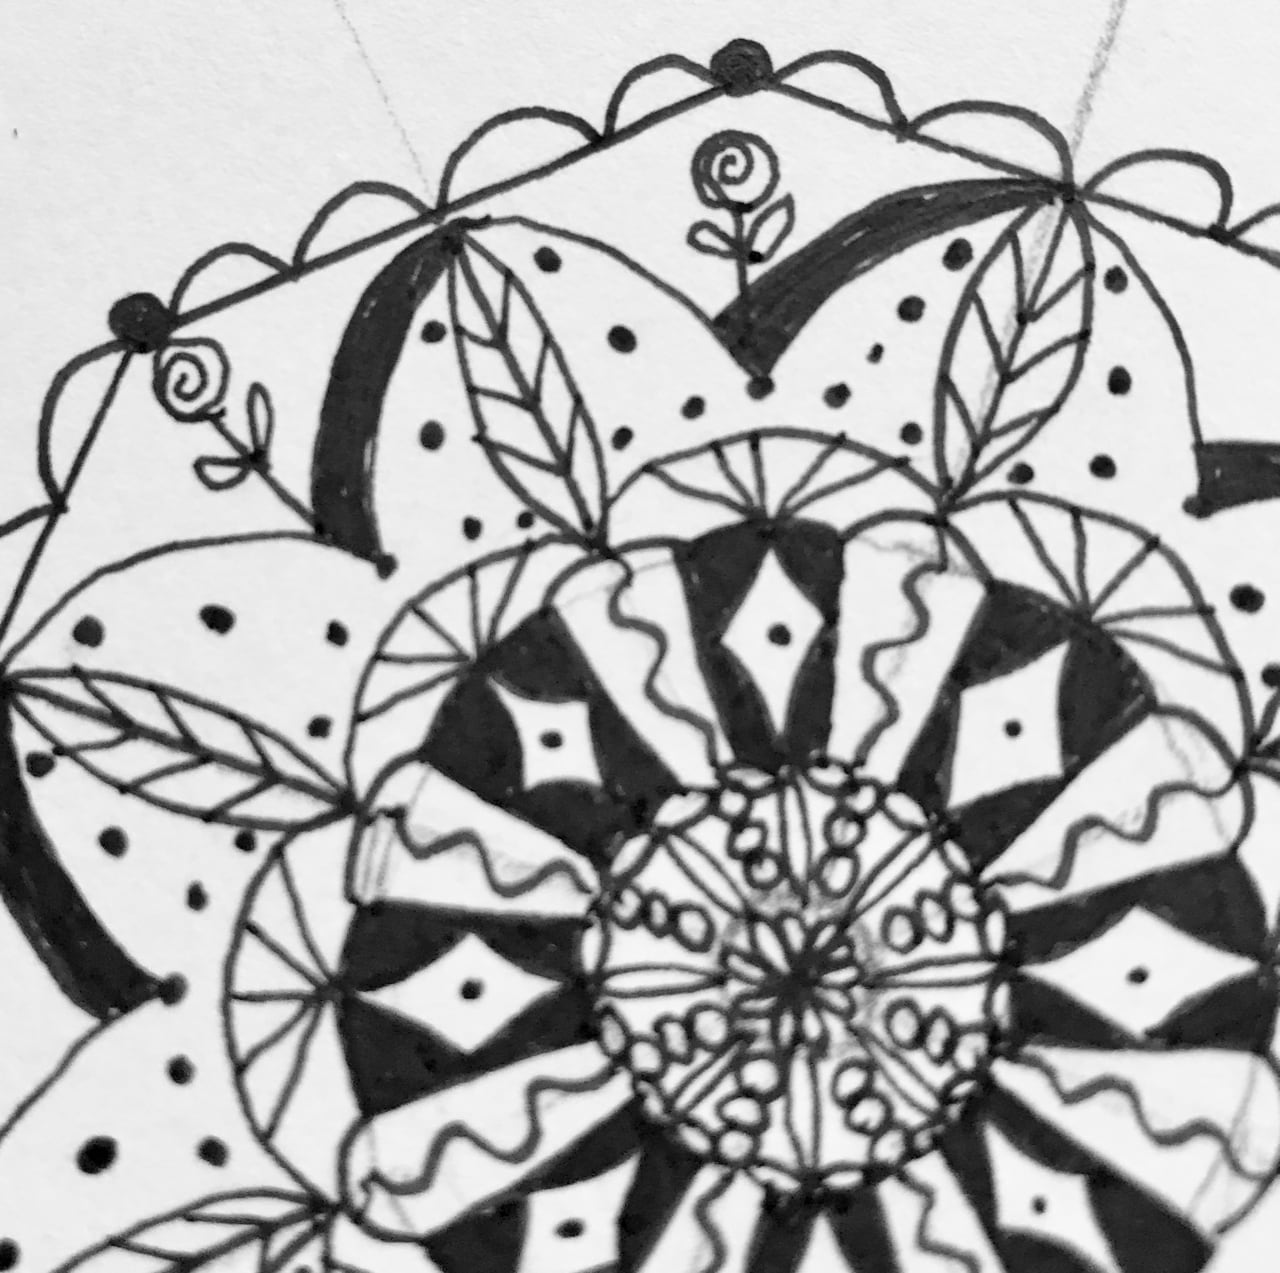
7. I decided to border the entire second circle with a chain effect. You could use dots, scallops, lines, or nothing!

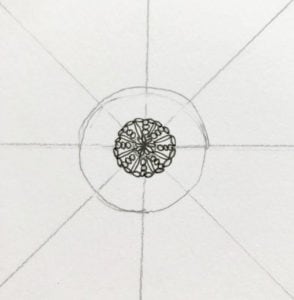
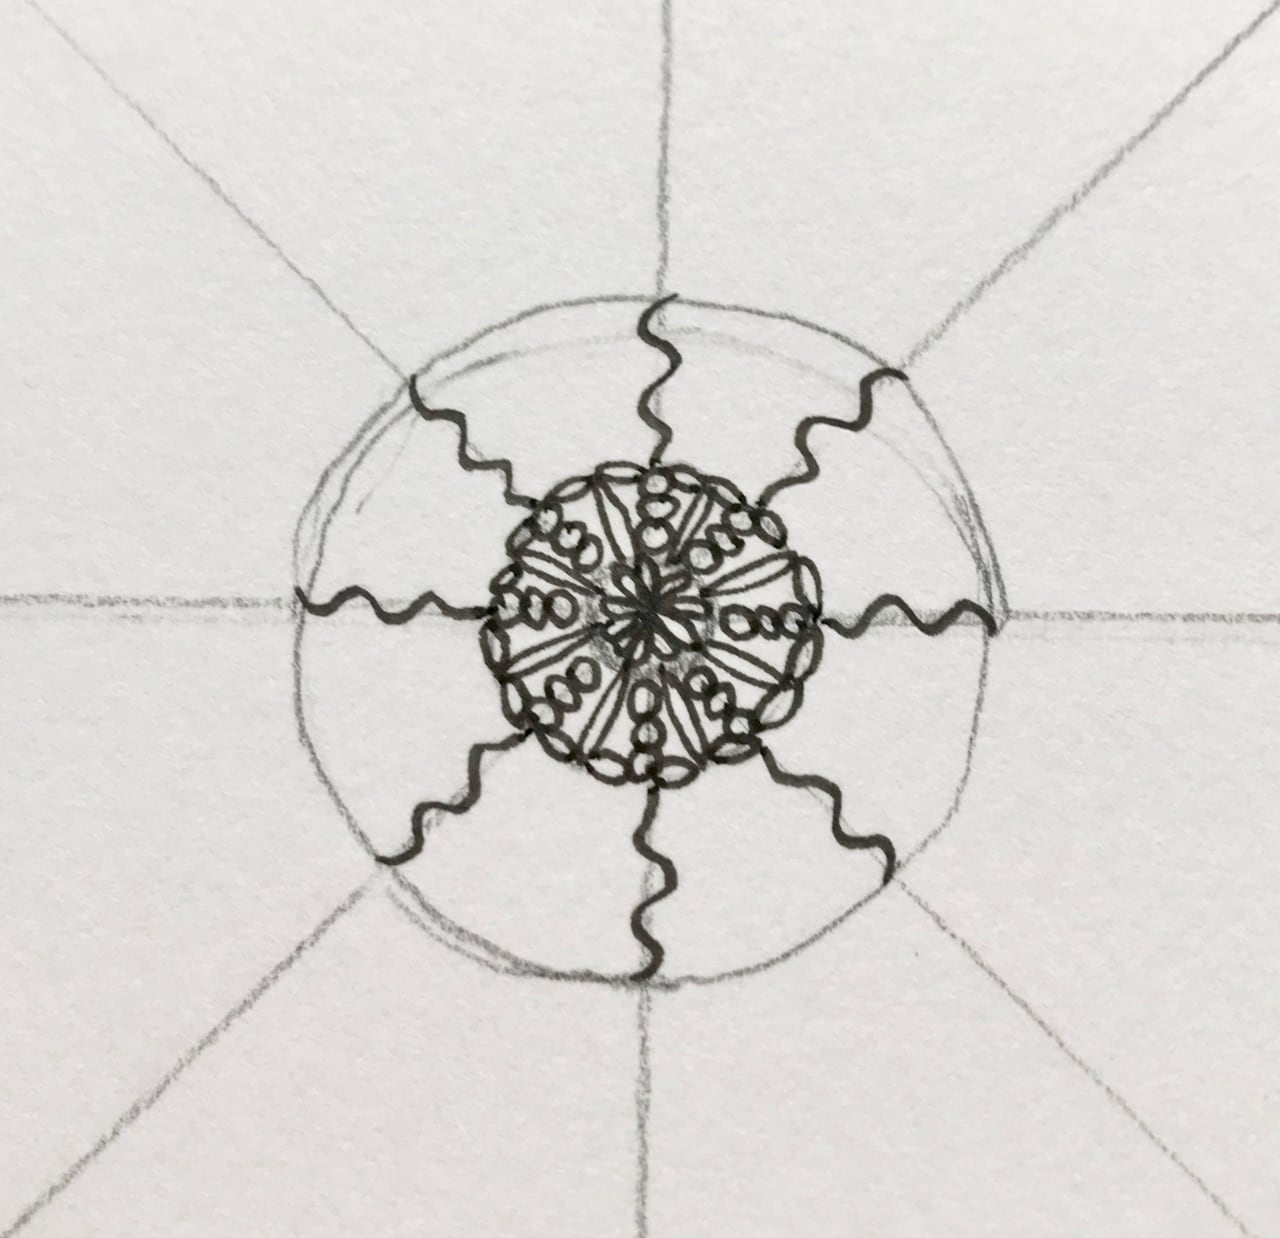
8. Using the lines you drew at the beginning, begin to pull your design outward. As you do this, you won’t have to keep drawing circles to keep your distance from the center. However, you may draw circles if you feel better about that. The goal here (as you can clearly see from my example) is NOT perfection. It’s about play, imagination, design, and feeling calm as you discover what wants to appear.

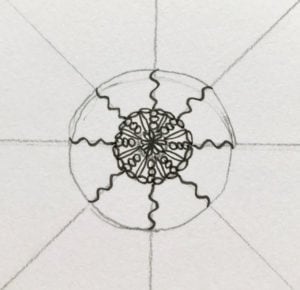
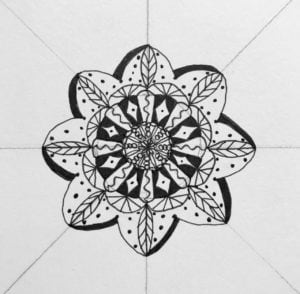
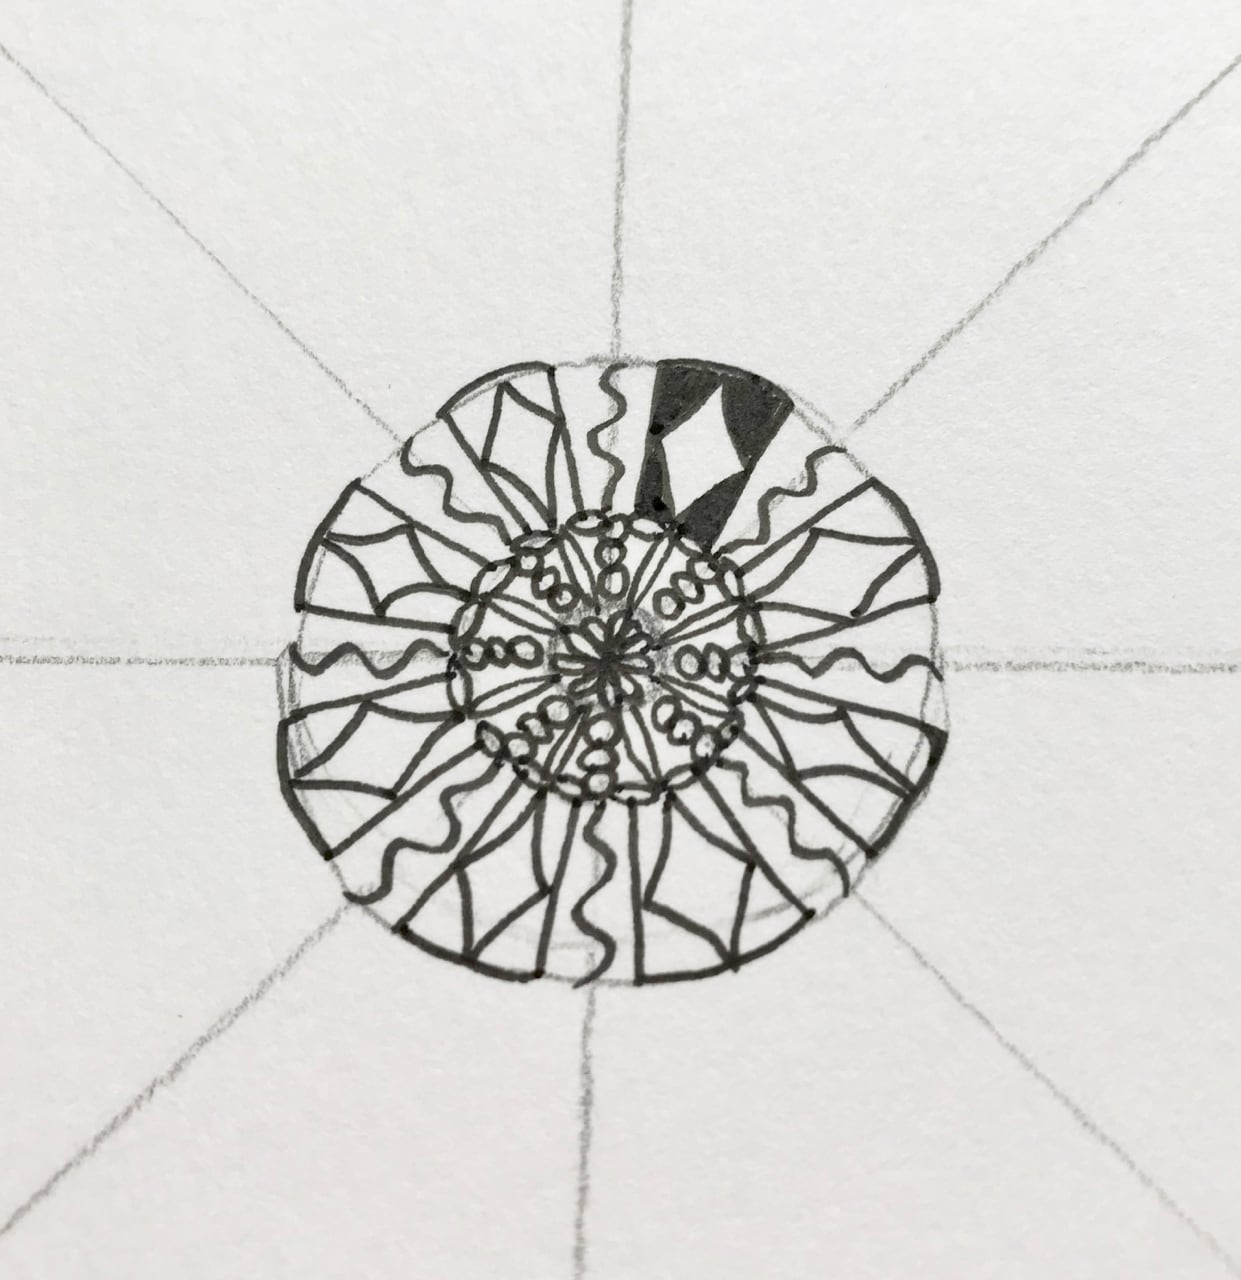
9. Just keep adding designs as you wish. Here’s a progression of mine for this round. (When crocheting a doily, each time you start on a new circle, it is called a “round.”)      

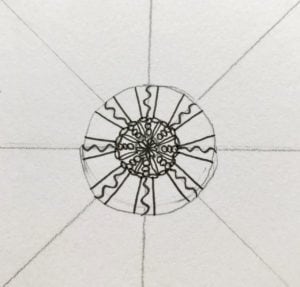
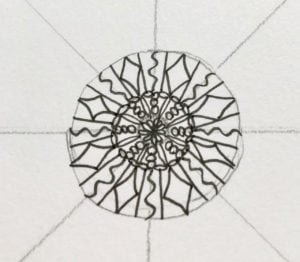
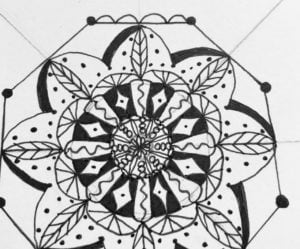
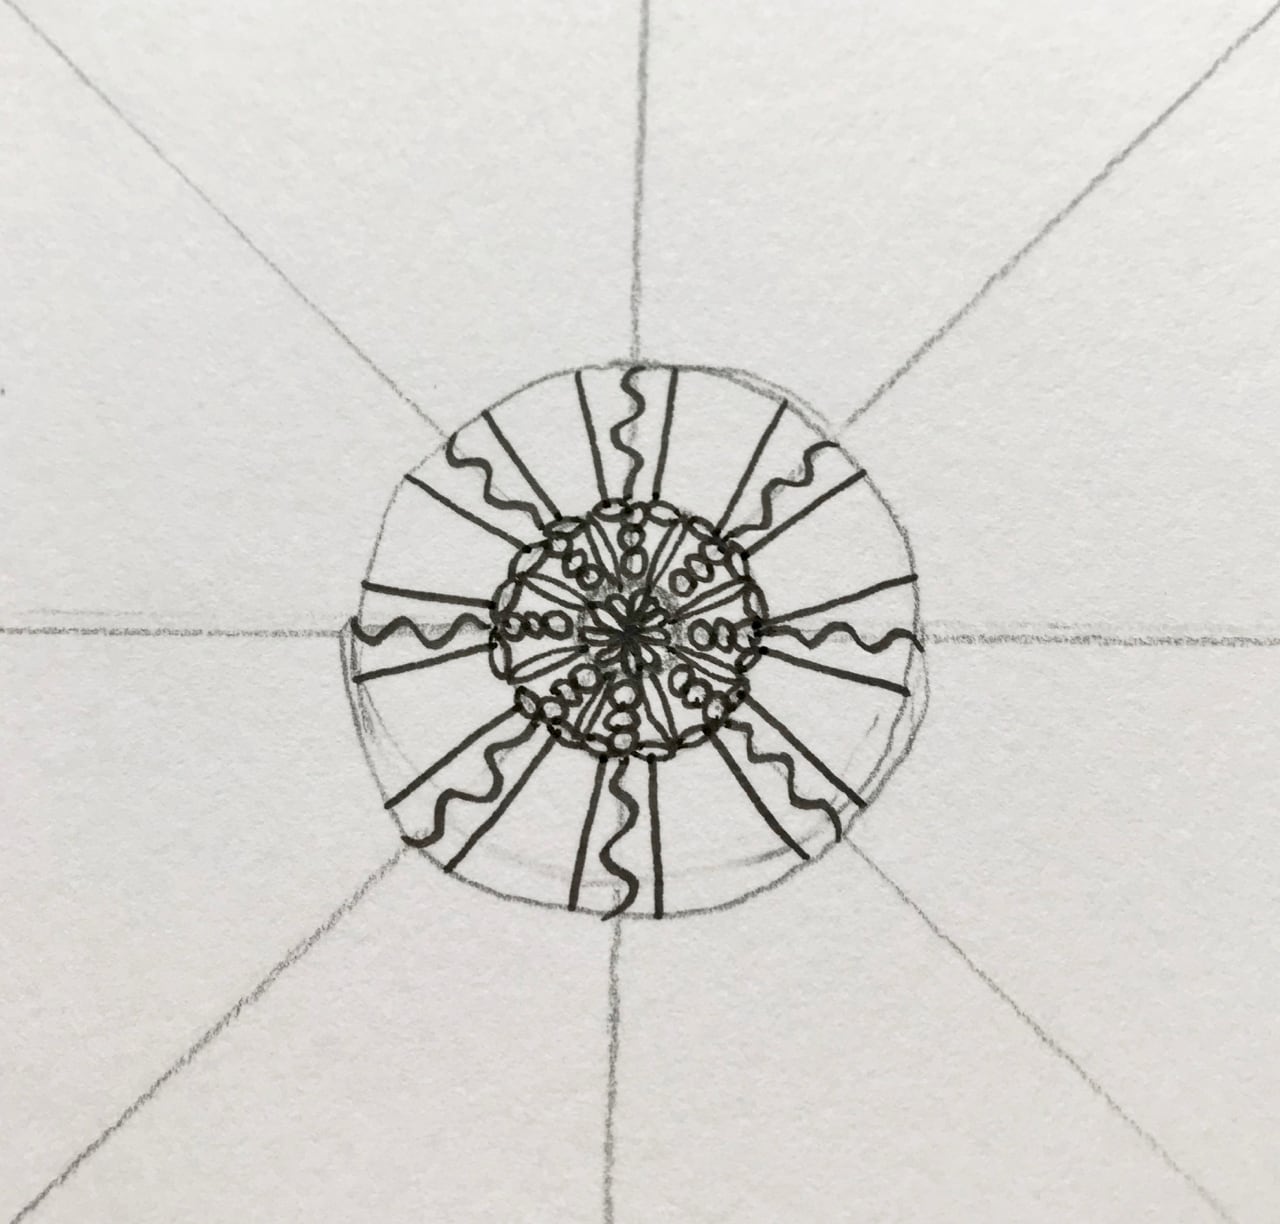
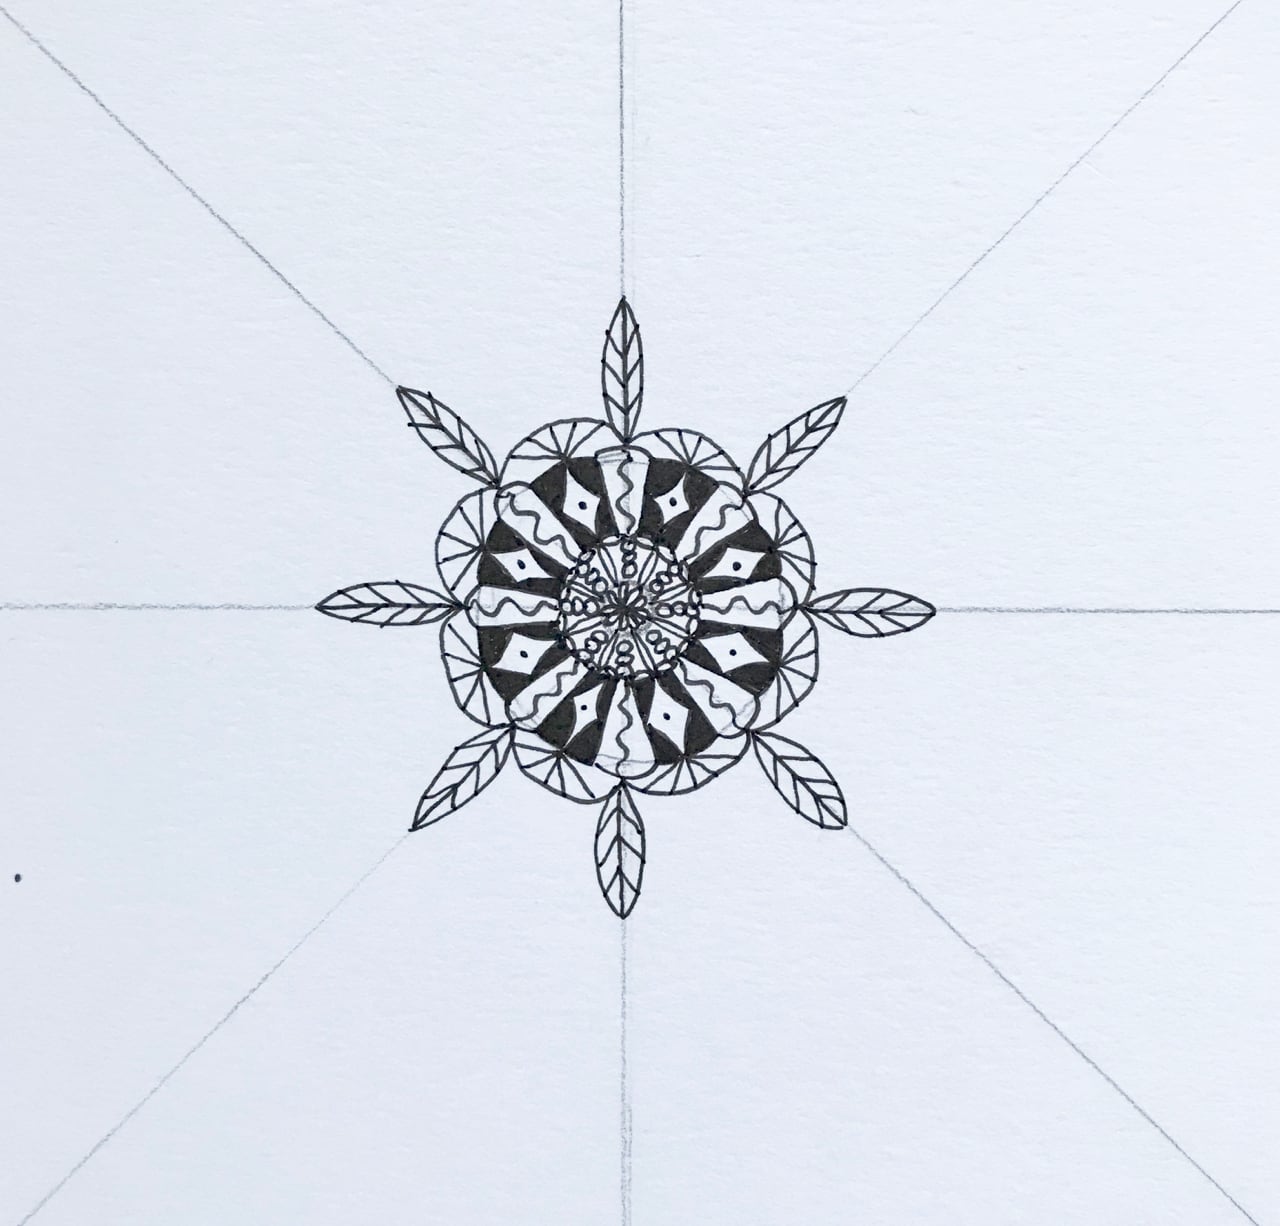
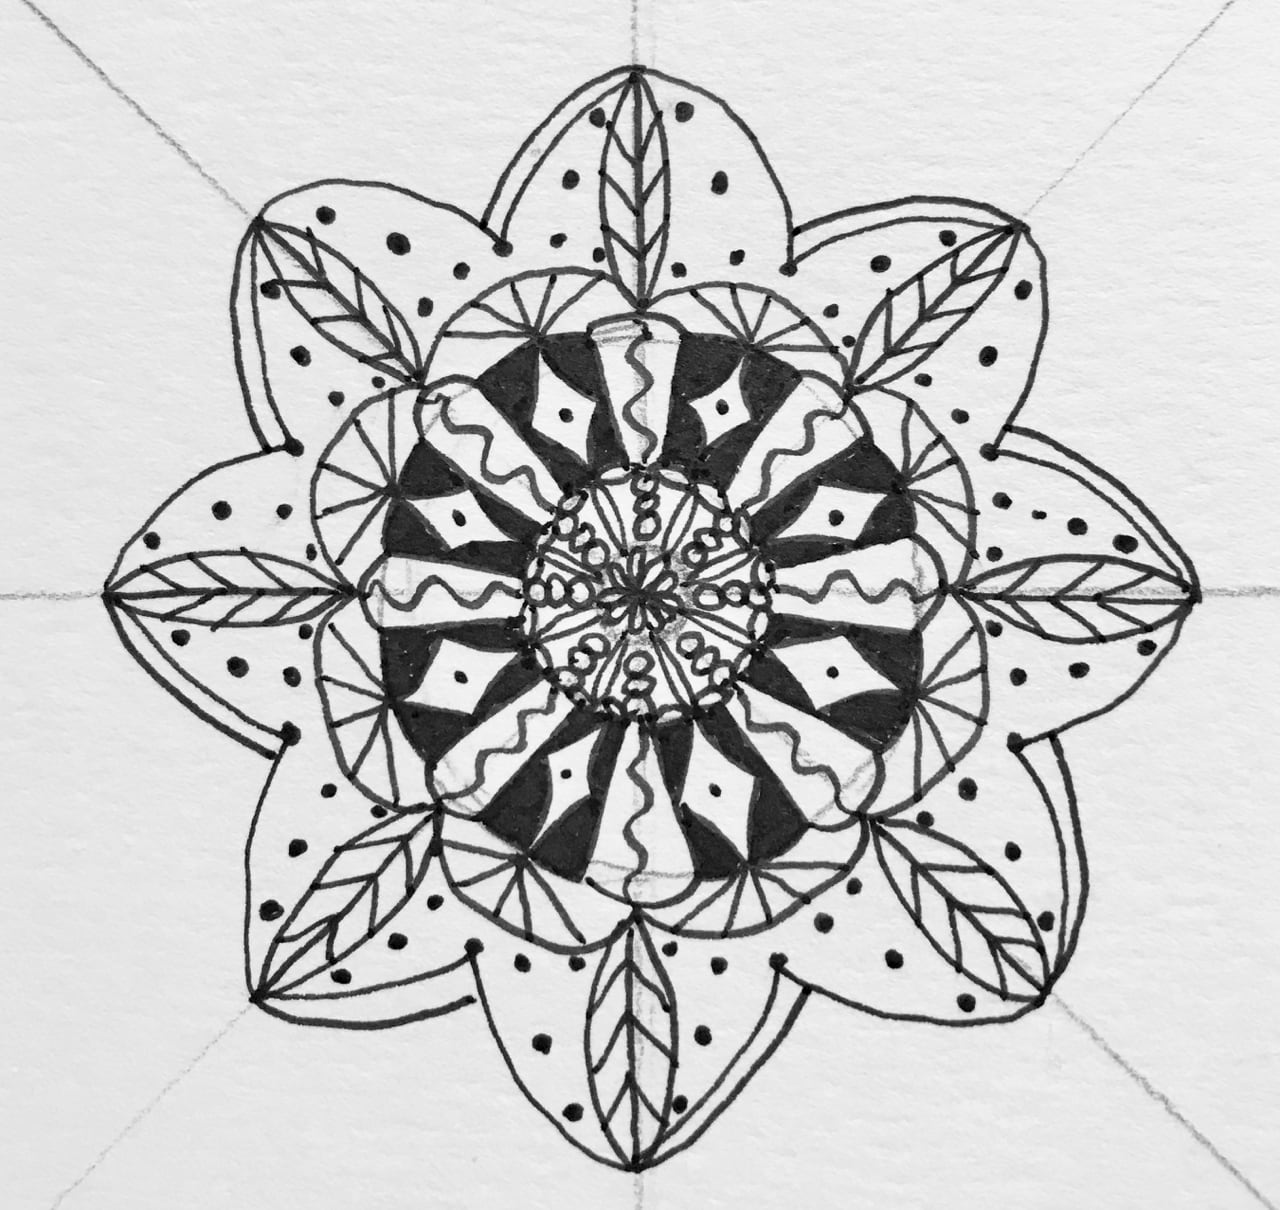
10. Now I’m using the rays (lines) to pull the design again. These leaf/feather pieces also add something recognizable. 

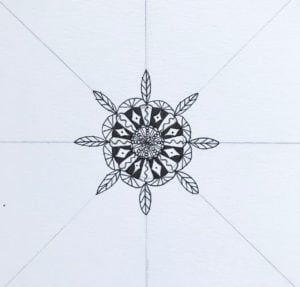
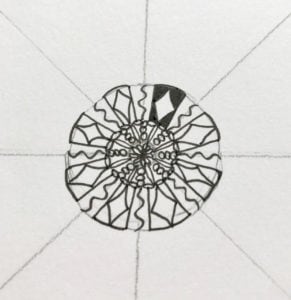
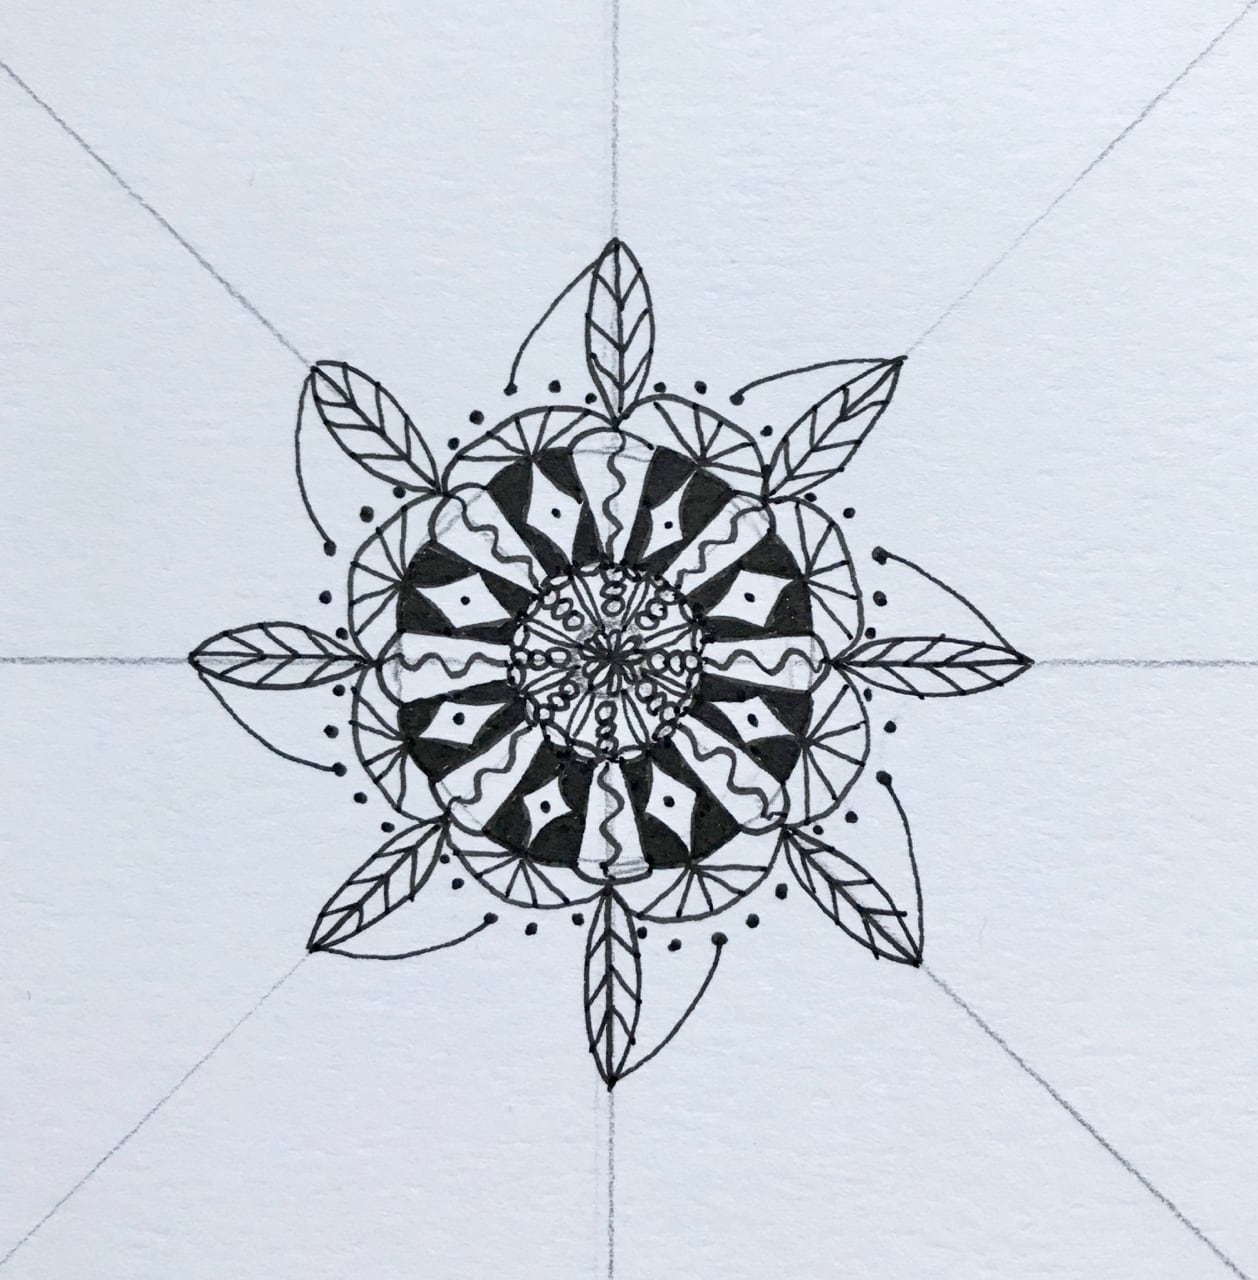
11. After I put the dots in, I pull a “wing” down to the center dot of each section.

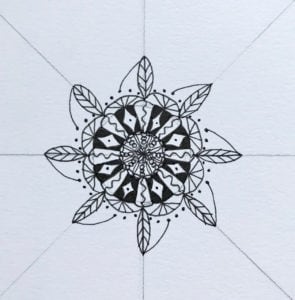
12. Then I do the same to the other side.

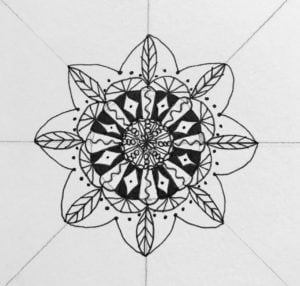
13. I add some dots as fillers and draw a lefthand line that I’ll be using to shade the design.   

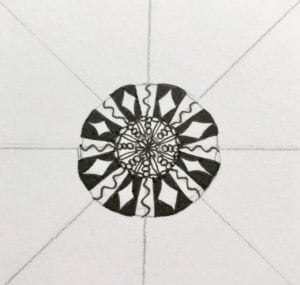
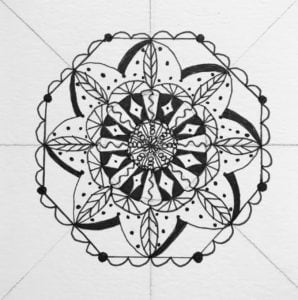
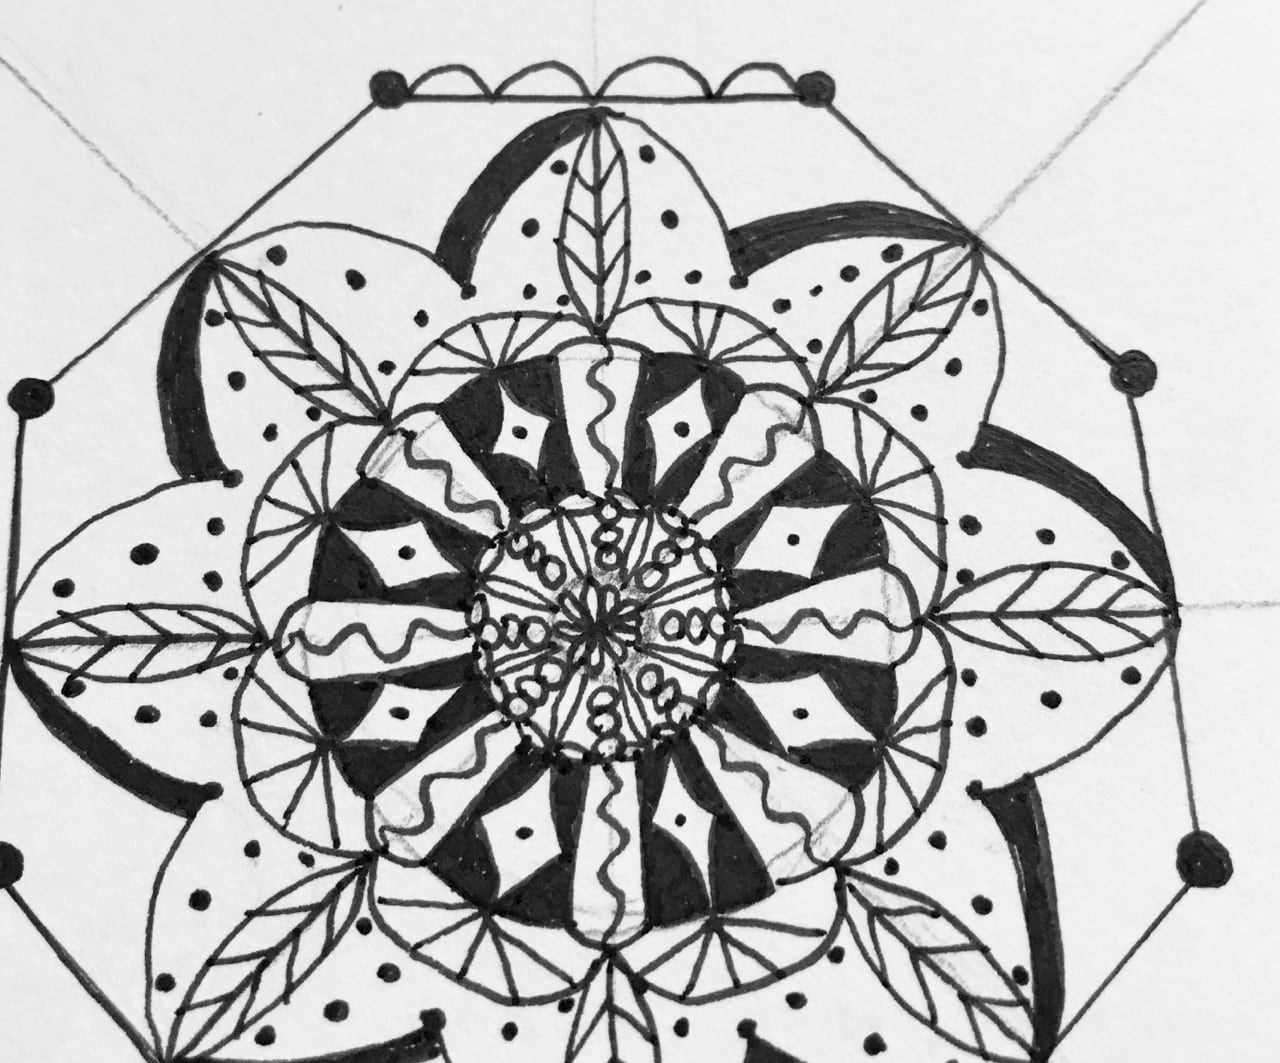
14. Again, I’m pulling the design outward by placing these small circles in the center of each section. (See how you don’t have to keep drawing circles now?)

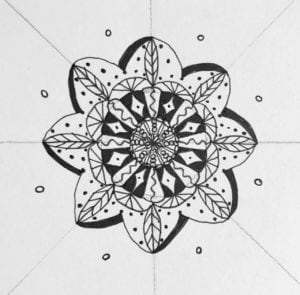
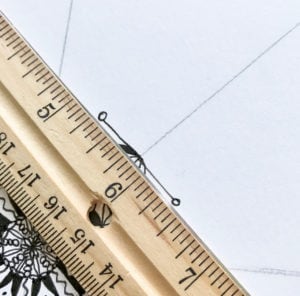
15. Use your ruler to draw a straight line from tiny circle to tiny circle, making sure you touch the top of each arc (petal).


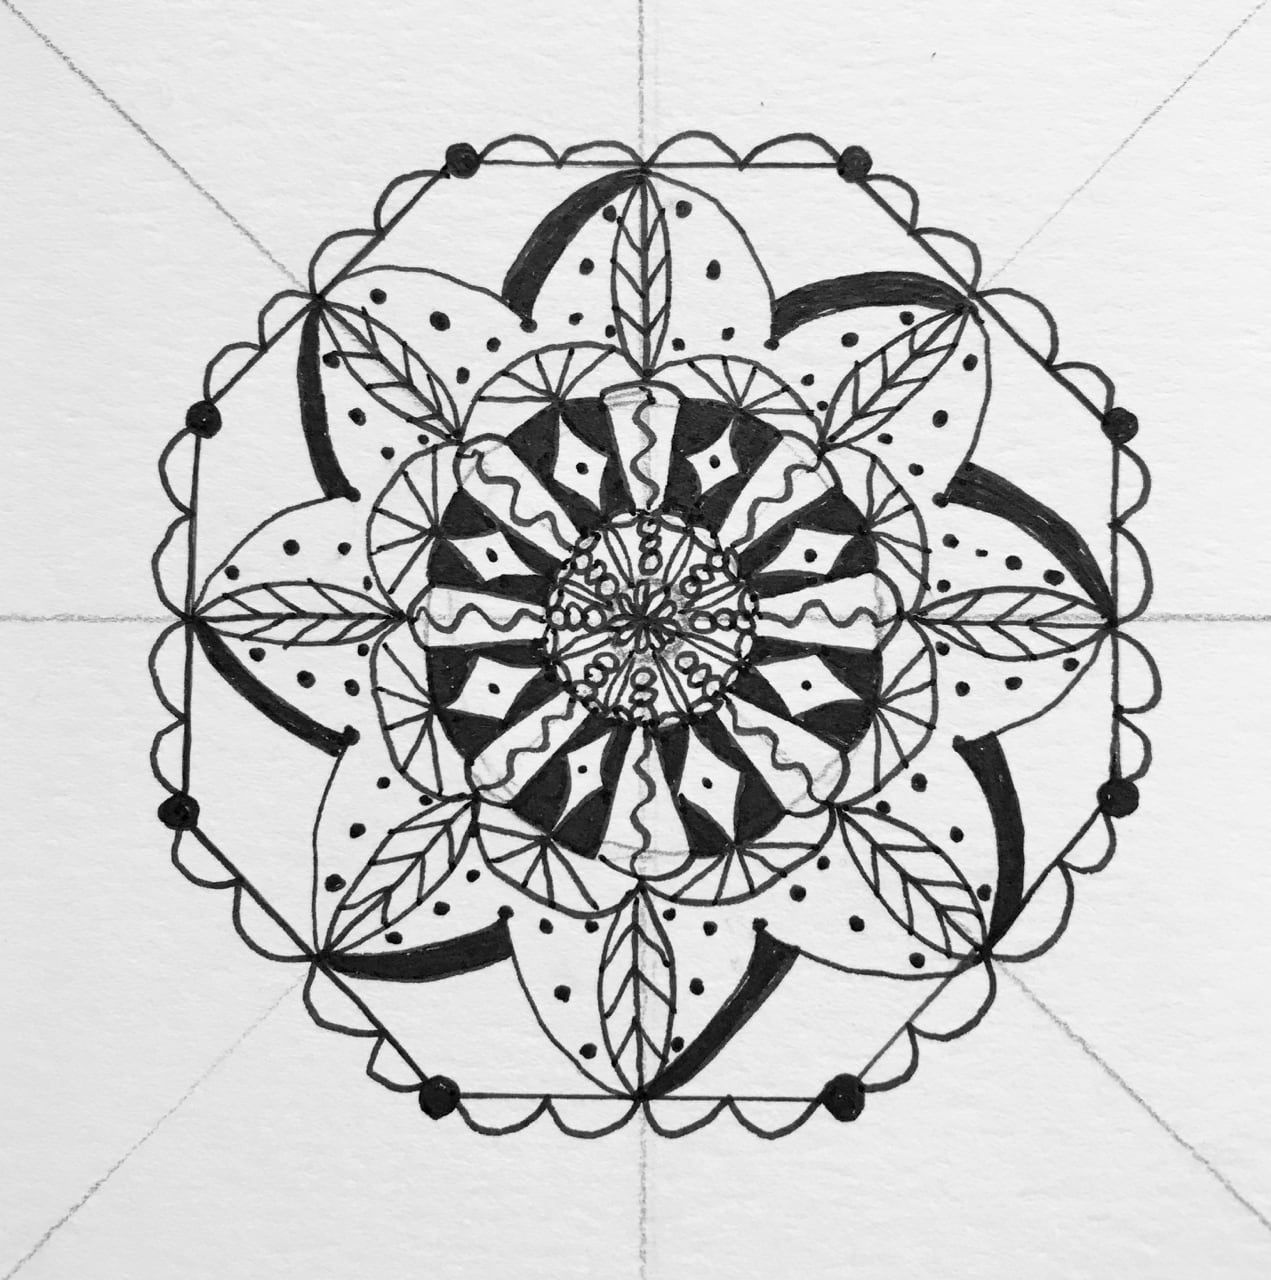
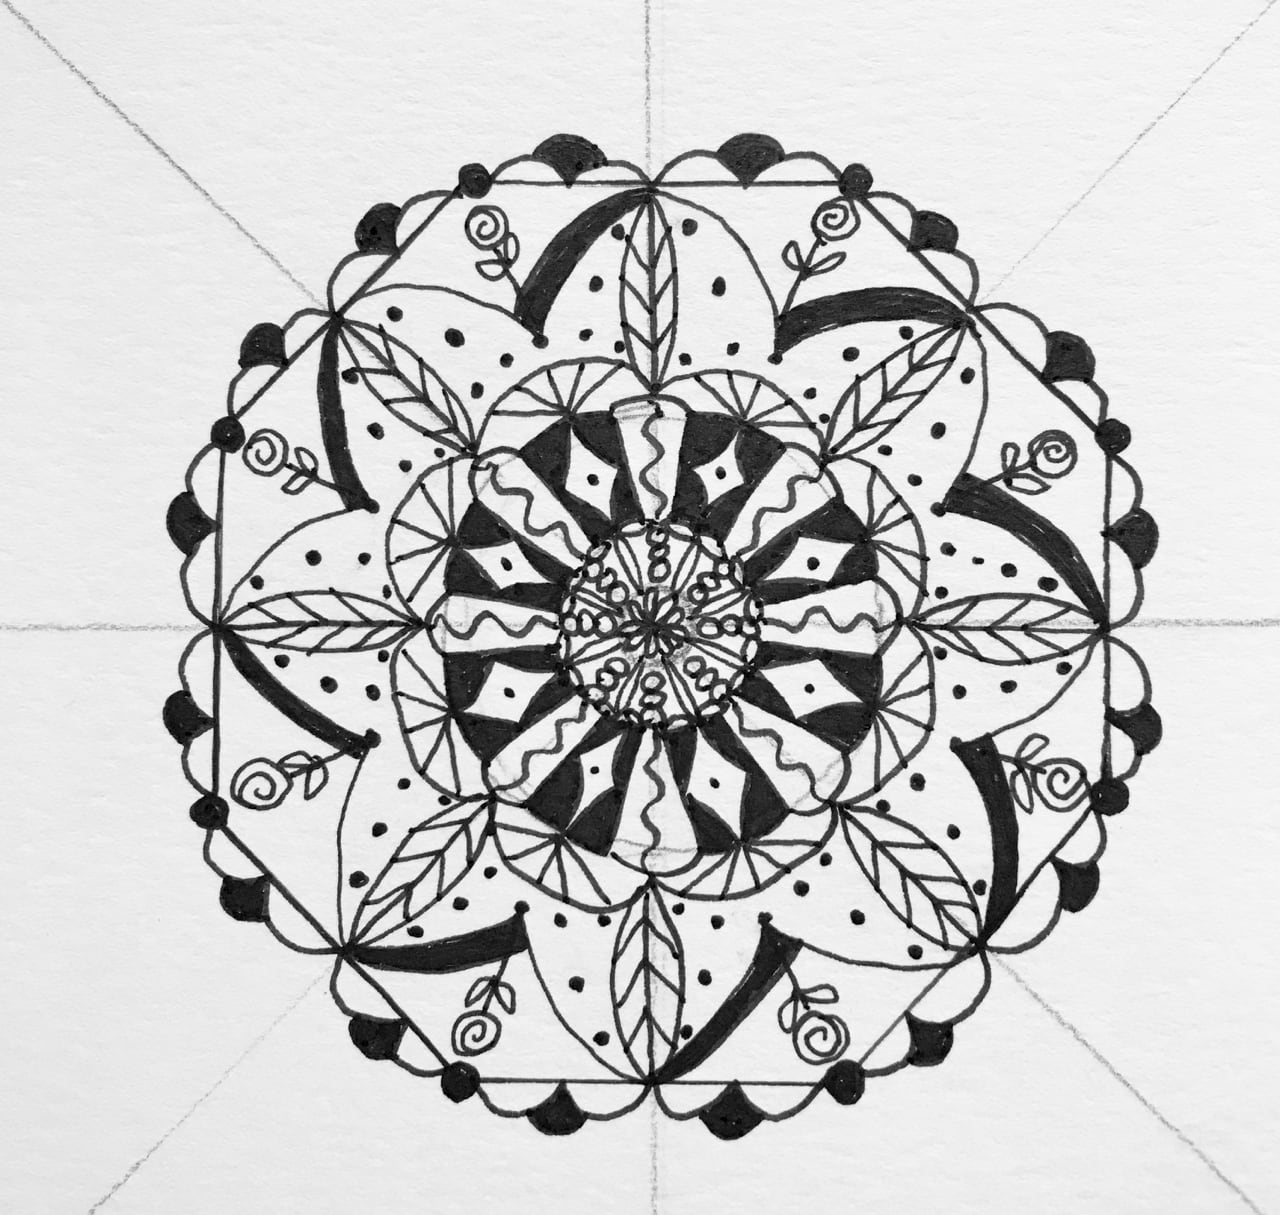
16. Progress by adding elements to this round. We’re almost done!


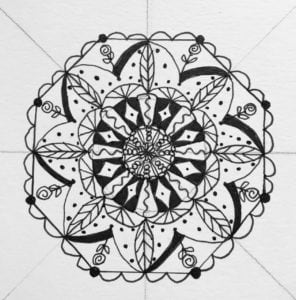
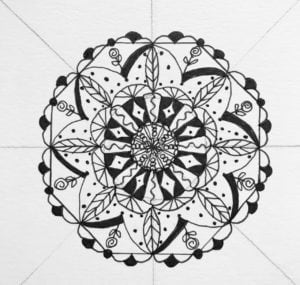
17. You can keep adding rounds as long as you want. The project can be as large or small as you want. When you’re happy with your final round, it’s time to erase—but wait! Let your ink completely dry before you start rubbing the paper with an eraser. The time varies, but I try to wait at least 15 minutes. Some inks take longer. I prefer to use a gum eraser. It takes out everything the pencil has done, but doesn’t interfere with the ink at all. 

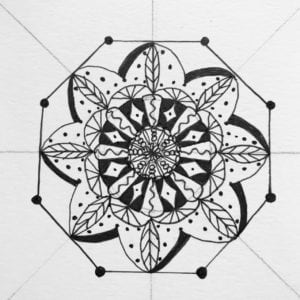
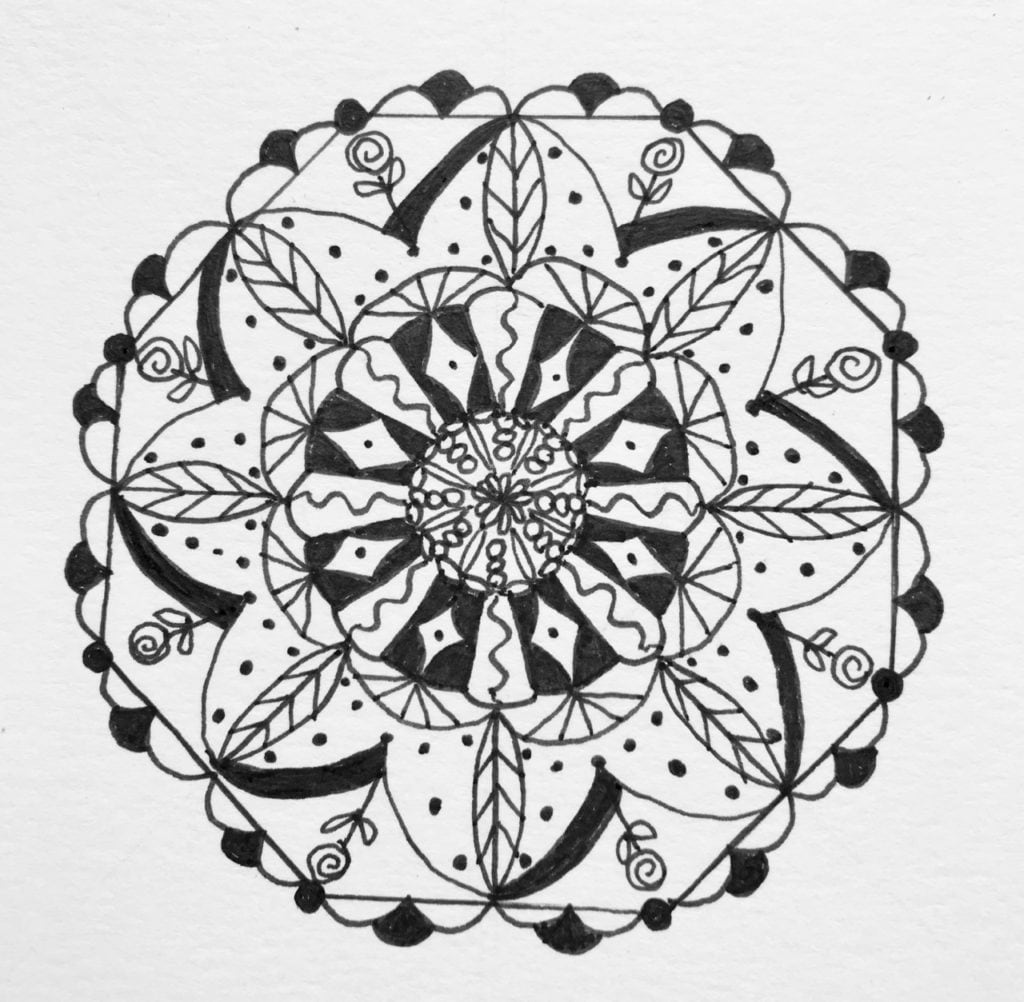
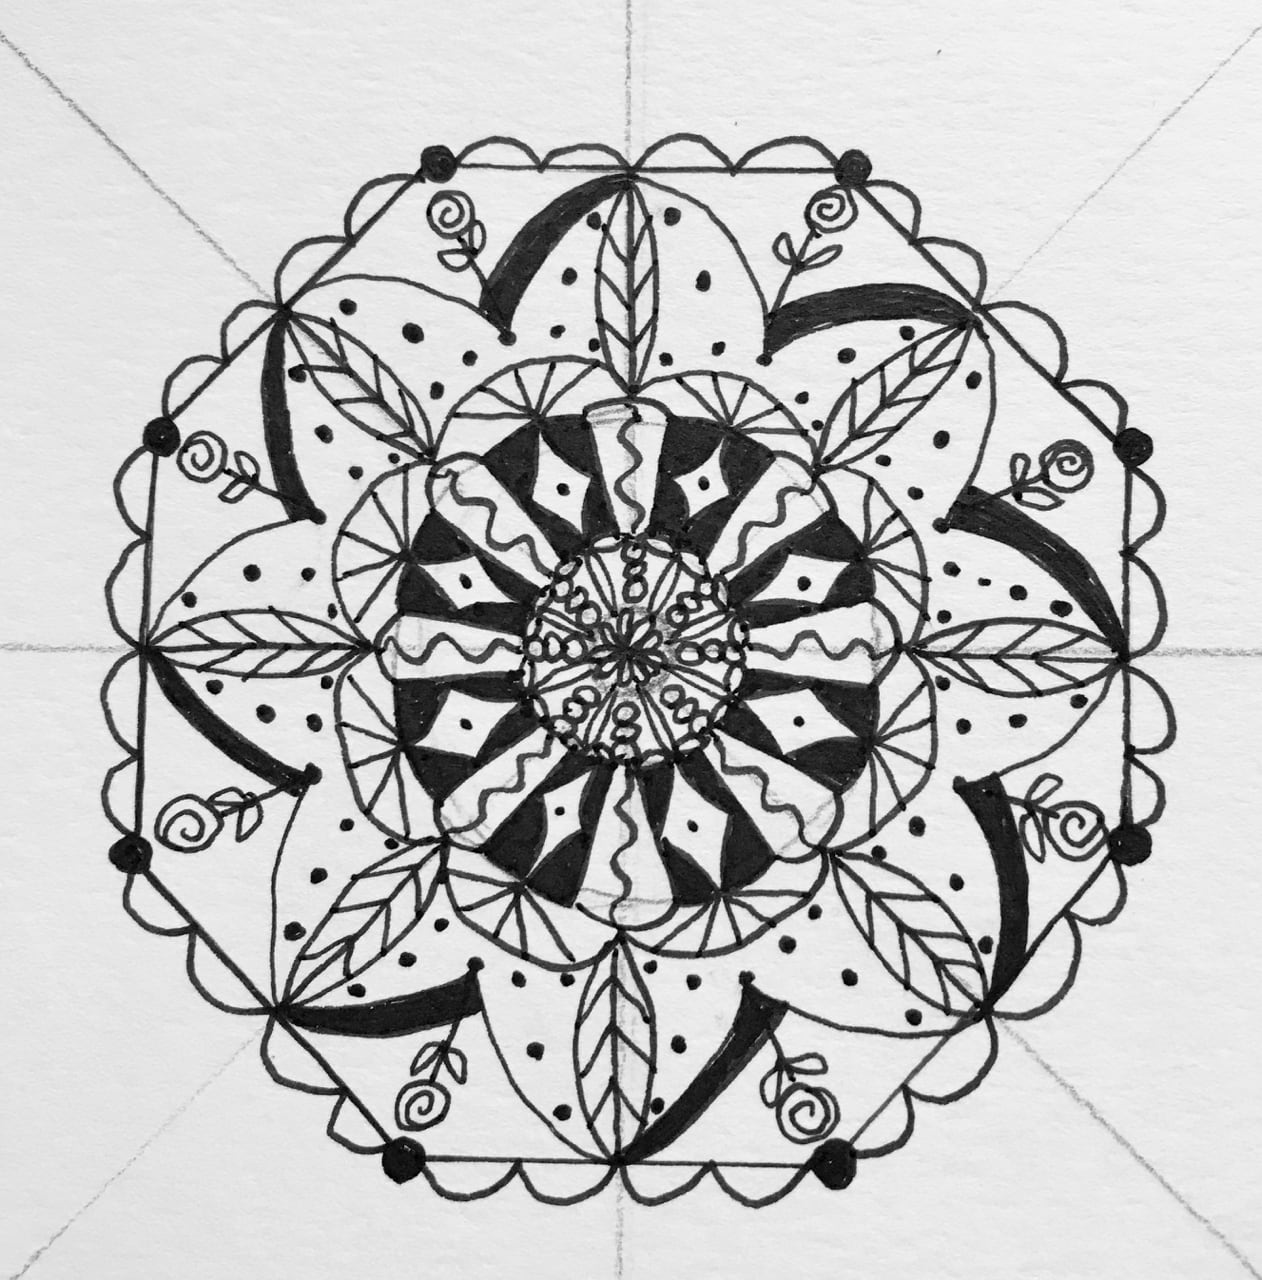
Here’s the final product! No, it’s not perfect. But it’s nice and pretty and ready for a little frame. Unless…I decide to color some areas. That’s entirely up to you! Use gold or silver metallic pens to put some elegance on it. Or use colored markers or colored pencils to make it pop. 

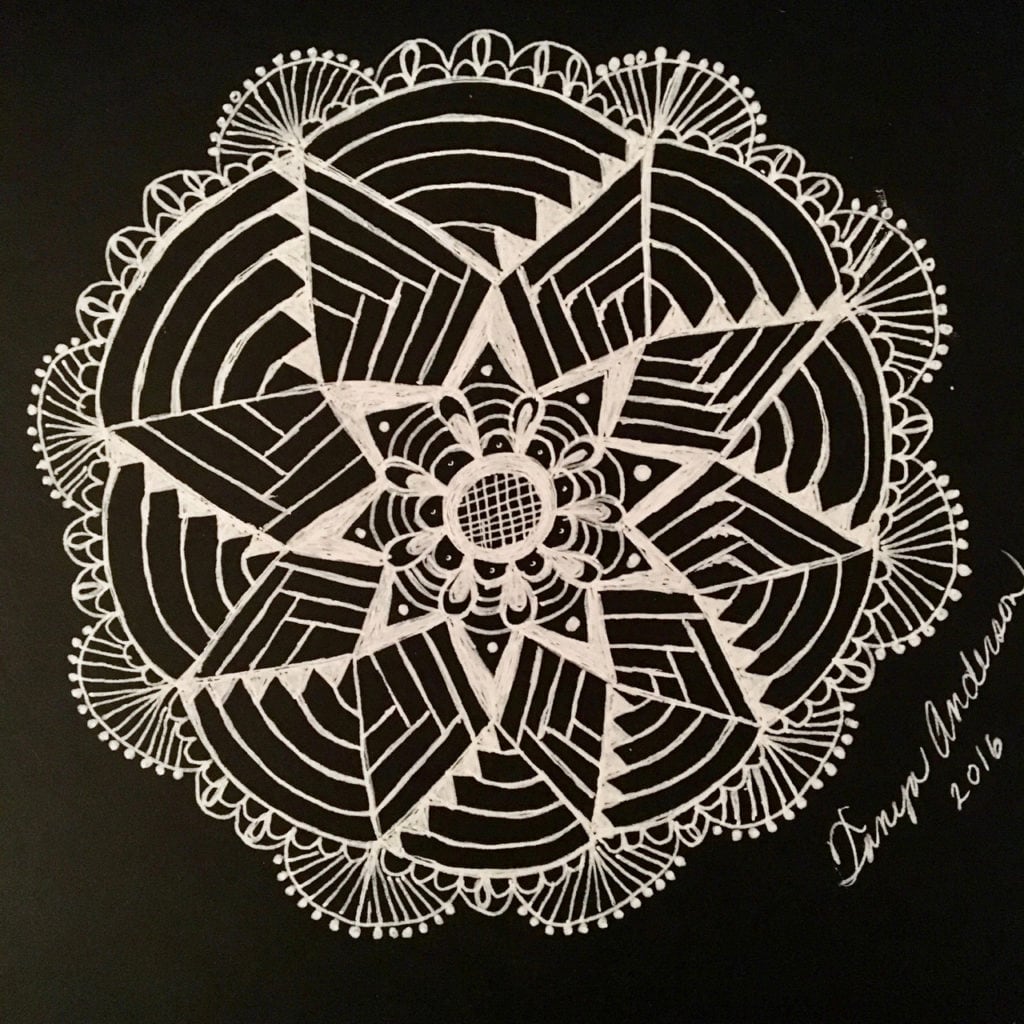
I hope you had fun doing this project with me. As promised, here’s an example of one I did on black paper with a white gel pen—again, NOT perfect.

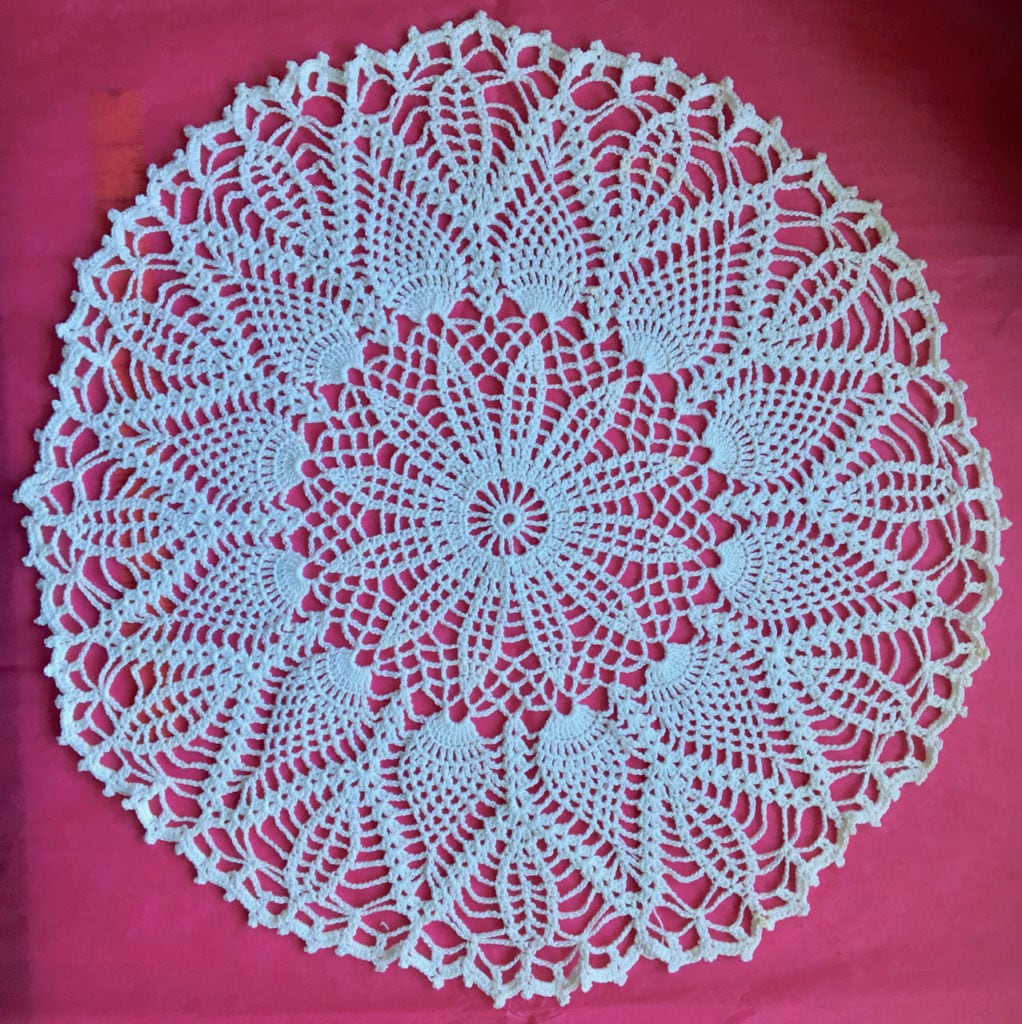
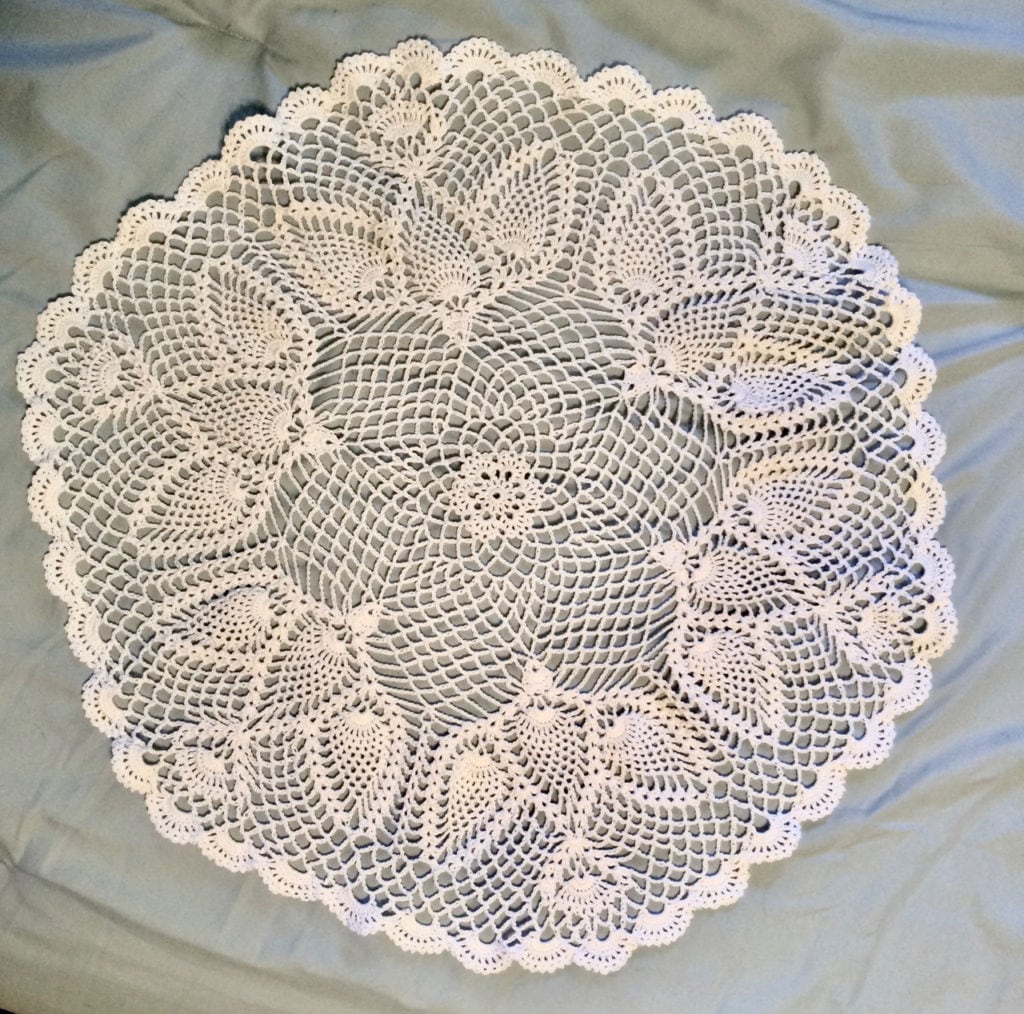
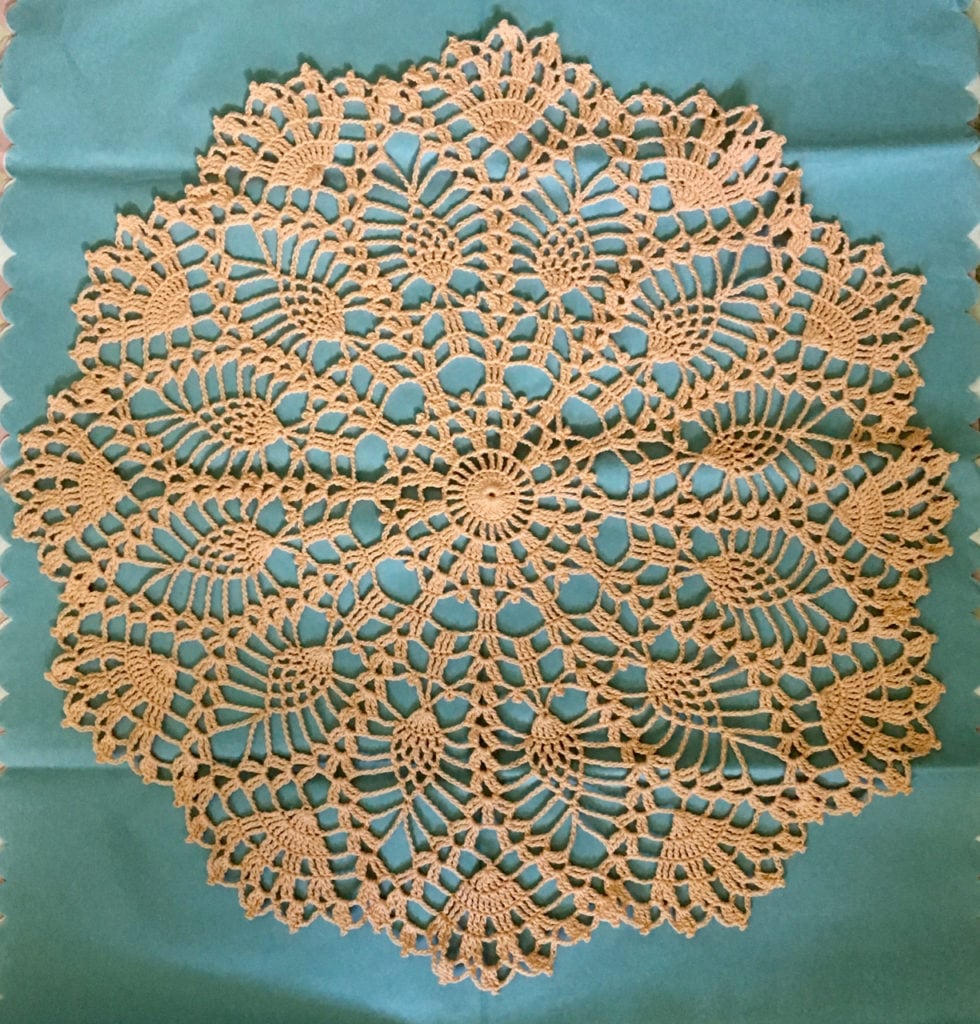
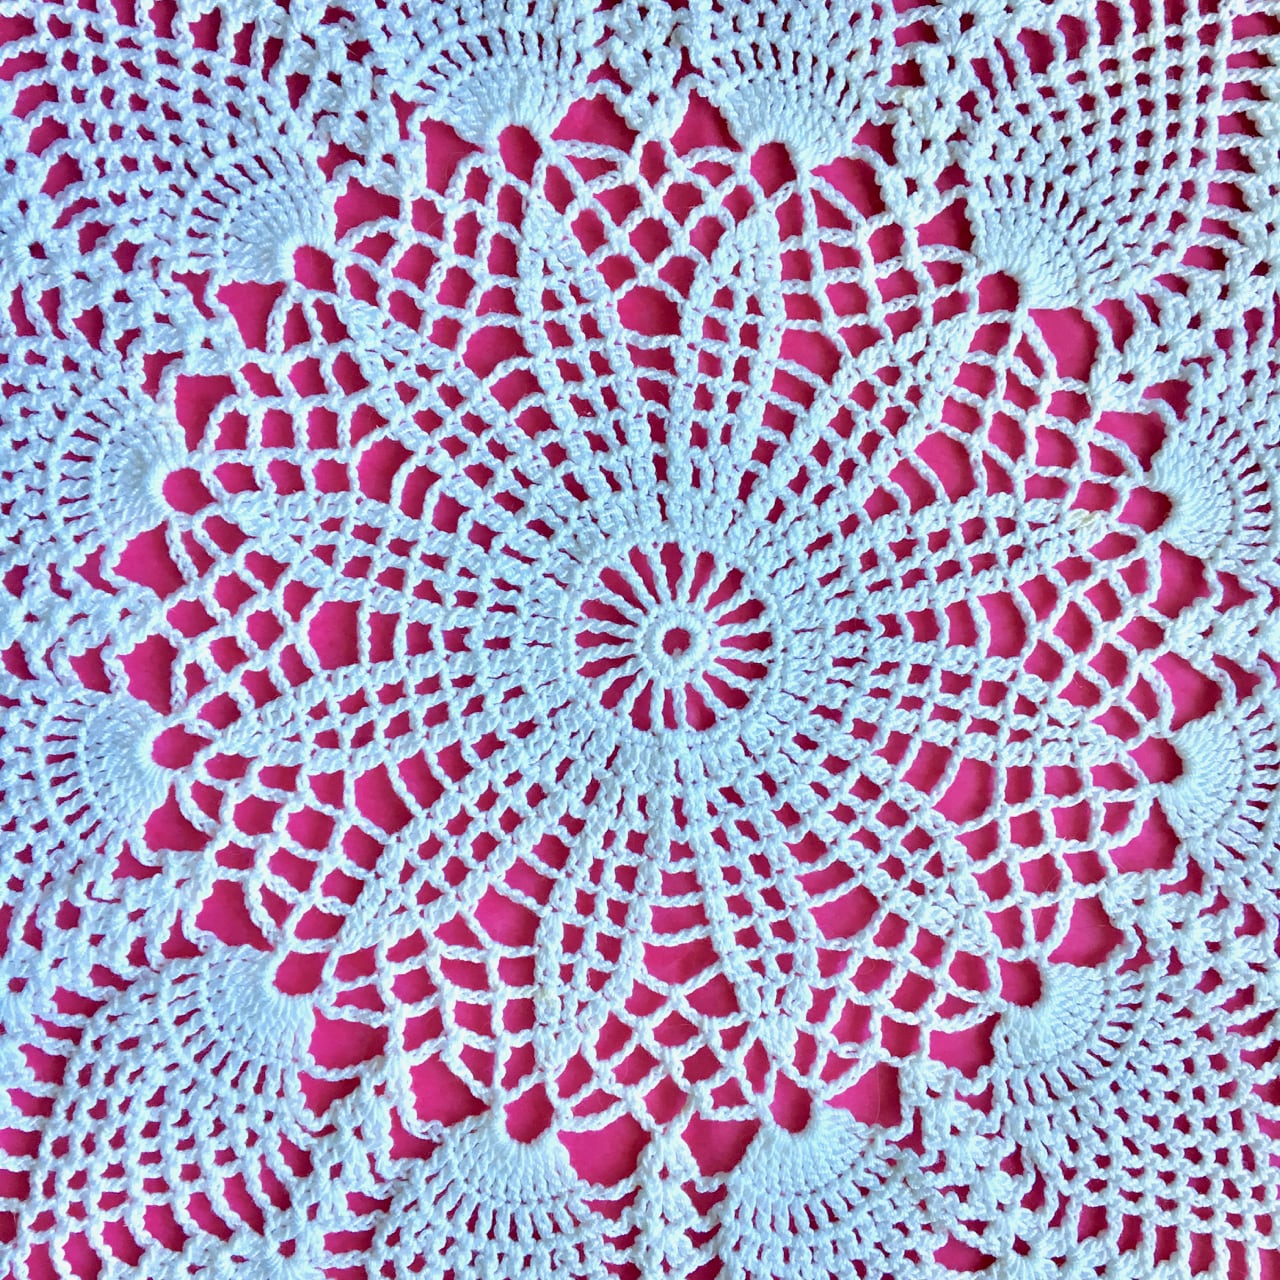
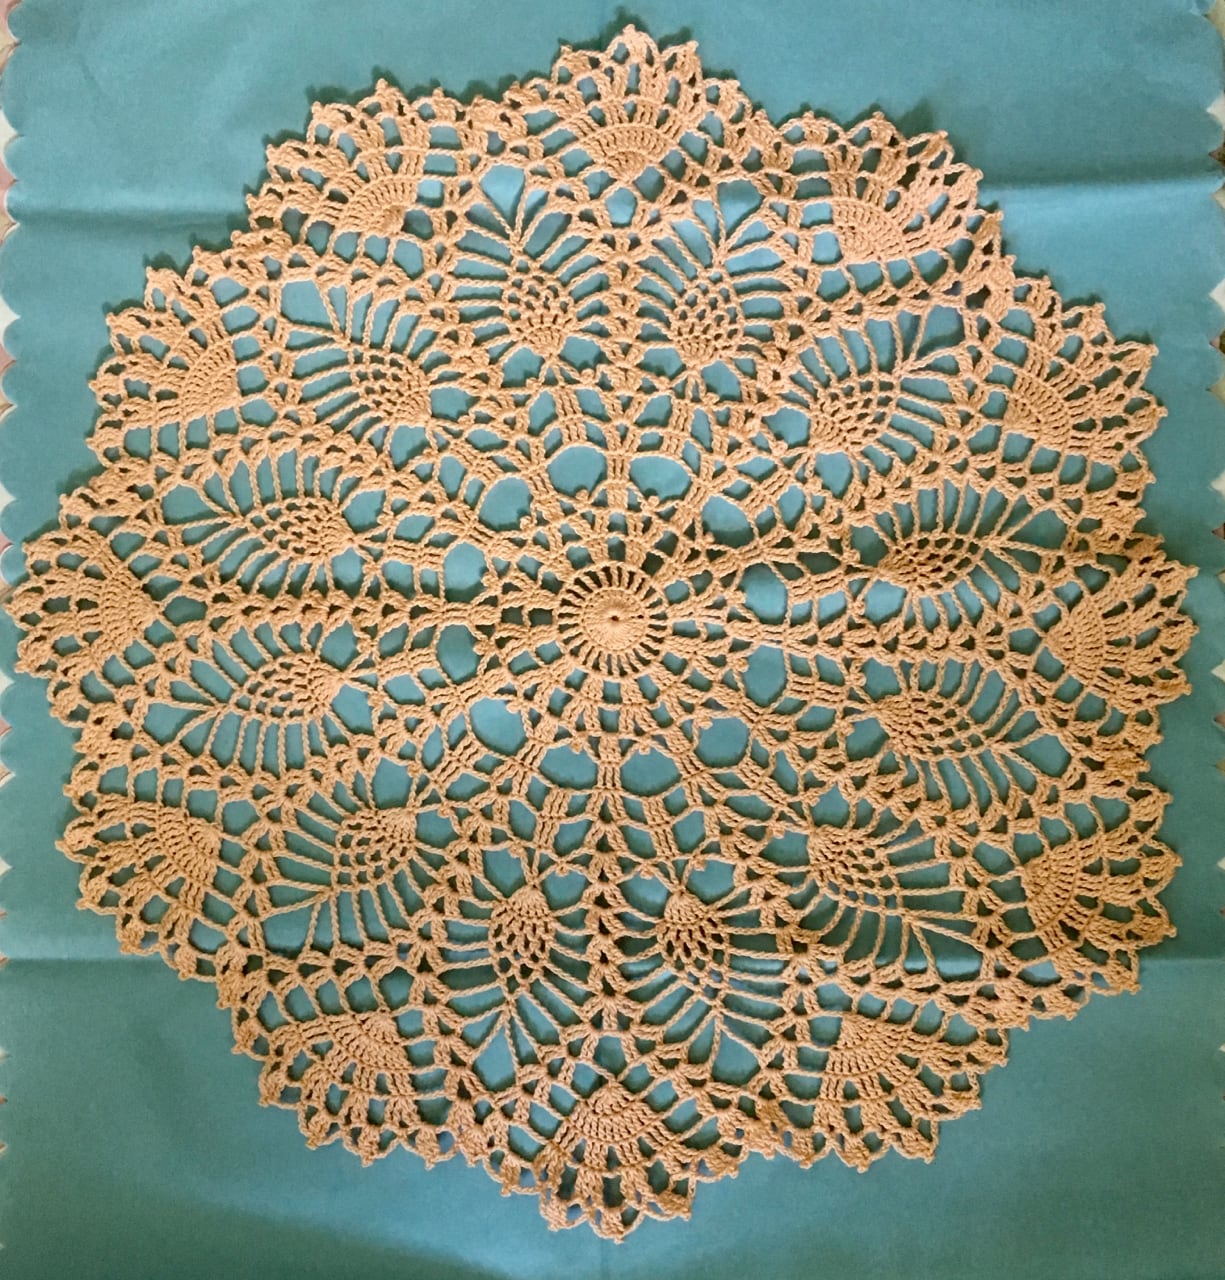
Here are some crocheted doilies I’ve made. Most were given as gifts. And now I can draw them (which is SO much faster!) 

Send me pics of your paper doilies when they’re done. I love to see what you create! 


Let’s Fill Those Pockets, Part 2

In everyone’s life, at some time, our inner fire goes out. It is then burst into flame by an encounter with another human being. We should all be thankful for those people who rekindle the inner spirit. —Albert Schweitzer

This is one reason I love doing pocket letters. It allows me to send a little spark of hope, friendship, laughter, or love to my friends. Jennifer and I have known each other for more than 20 years, and most of those years we’ve been separated by hundreds of miles. Mailing each other cards, notes, stickers (I got those yesterday!), packages, and now pocket letters has kept our friendship alive and well. I believe in connections. But connections break if we don’t tend to them. This project we’re working on together in this set of blogs can strengthen the bonds of friendship no matter the distance between the sender and receiver.

Today we’re going to finish that pocket letter! Get out your supplies, including the cards you’ve cut to size. Let the fun begin!

FIRST: I like to insert all of my cards and arrange them in a way that’s random, attractive, and colorful.

   Front (see the binder holes on the left?)
Back

My mixed-bag of papers has a loose theme that could be kitchen-y or calico-y or retro. I just liked how all of the patterns and colors worked together.

NEXT: Now I get to go digging through my containers of embellishments. (I won’t admit how many of those I have.) I’m looking for stickers, decorative elements, etc. to add to each card. Here’s one of my hoards:

ALSO NEXT: The next photos will show you how I took different paper cards and applied stuff to them. 


ALMOST DONE: After every card has its special message, design, or gift included (tea bags fit perfectly in a pocket!), just put them into the spaces until the page is filled (on both sides if you want).

I added some tea bags to three pockets in the back before sending this PL to one of my new friends, Linda. (Hi, Linda!)

Sending? That’s right! These are meant to be mailed. Just accordion-fold the three horizontal sections and the whole thing fits a standard business-size envelope. If it weighs less than 13 ounces, you only need one first-class stamp. Most of mine take two stamps—sometimes I add a third one if the envelope is extra-thick.

So try one! There’s nothing about this that has to be perfect. It’s easy, creative, and filled with love. That’s almost as good as a doughnut!

Send me your photos of finished or in-progress pocket letters. I’d love to share them with my blog followers and on my Heartfelt Crafts Facebook page. Send them to me at tanya (at) heartfeltcrafts (dot) com.


And we have a winner!

Kirby was under the weather, so he opted out of helping choose the winner of my first giveaway. I used the old-fashioned pick-a-name-out-of-a-bowl method instead. A tiny bowl. Only seven entries. Only three different names. But I promised a winner, and I’m delivering! So . . .

Congratulations, Jane Heitman Healy! I hope you like the goodies coming your way. What are they? Well, just look! (I’ll be messaging you to get your mailing address today.) 

Hey, I don’t mess around when it comes to sharing craft supplies! Stay tuned for another giveaway not so long from now. Subscribing helps. And following Heartfelt Crafts on Facebook doesn’t hurt either.

I love you, my crafting friends!


Let’s Fill Those Pockets, Part 1—Plus a Giveaway Prize!

Okay, fellow crafters, gather all your goodies from the previous post and let’s get started!

First, place your pockets nearby. Note that there are nine pockets and each of them opens at the top. (If you have it upside-down, your papers will just fall out. You’ll feel sad, bad, and slightly mad. No one has ever done this. Ahem…) Let’s do some math!

9 pockets = 9 papers, right?

Well, only if you want to make a one-sided PL, which is okay with me. My first one was one-sided. Then I thought, “Hey, what a missed opportunity to double my fun!” So I made sure there were enough papers for 9 + 9 = 18 sides. Does that mean you need to cut 18 pieces? Not necessarily.

If your papers are printed only on the front and the back is white, then you will need 18 pieces (2 per pocket) to cover both sides. However, the wonderful world of paper crafting has provided us with 2-sided printed papers, too. Here’s an example. One side is covered with sweet cherries and the other has a complimentary color/design of gingham. When you slide one of these cards in a pocket, you get a different design on the front and back. This can save you time, but you will want to have 2-sided papers that you really like. 

If you want more control over your colors and patterns, then you will want to cut 18 individual papers. Quick Quiz: Do you remember the dimensions?

2.5 inches wide
3.5 inches tall

How should you cut them? Very carefully! But seriously, folks, you can either cut them with scissors (trace your cards with pencil or make a template and use it) or use a paper trimmer like the one shown below. As you can see, I’ve marked the 2.5 and 3.5 inch lines so I don’t mess up. (Remember the old adage “measure twice, cut once”? Yeah, that actually works.) Having markers helps me get it right the first time. Do what you feel most comfortable doing. Using the trimmer looks like this:


As you can see, the 3.5 x 2.5 paper fits perfectly in a pocket.


It’s fun to move the pieces around until you get them in an array that makes you happy. Here’s mine, from various papers with a kitchen/Americana/fruit theme (front and back). Yes, I’ve made two of several papers, one for each side. It keeps my theme from running amok.


This post is running a bit long, so we will finish our PLs in the next post. Here’s a tip: scrounge around your craft room, home office, kitchen, garage, local craft store, etc. for little items that will fit your theme and the pockets. Ideas: stickers, buttons, tiny envelopes (!), misc. embellishments, quotes, photos, cards, decorative tapes, recycle-able stuff, and whatever your heart loves. We’ll be using them to decorate the pockets.

Okay, so here’s the GIVEAWAY!!! You will get points for each of the following. Each point gives you an entry into the drawing. The prize is described below the list.

  1. Subscribe to this blog. (If you already have, you’re my best friend. Truly.)
  2. Post a link to my blog on your Facebook page, Instagram, Pinterest, or Twitter in the next 72 hours (ends at 11:59 p.m. on Sunday, August 5, 2018). If you do all four, that’s more chances to win! Use the hashtag #heartfeltcraftblog so I can keep track.
  3. Leave a comment at the bottom of this post.
  4. Post a photo of your PL with its papers in place on the Heartfelt Crafts Facebook page. I’ll give you a “like” to show I’ve seen it.

Each entry will earn you a name on a slip of paper. I’ll put all of the papers out on my floor and let my adorable dog, Kirby, select the winner. Photos will follow!!!

Drumroll please! THE PRIZE!

The winner will be mailed a themed set of papers, stickers, and other goodies, perfect for making your own PLs or other paper craft. (Retail value around $15.)

Ready, set, CUT THOSE PAPERS AND GET POSTING!!!